



Microcement (A-Components)
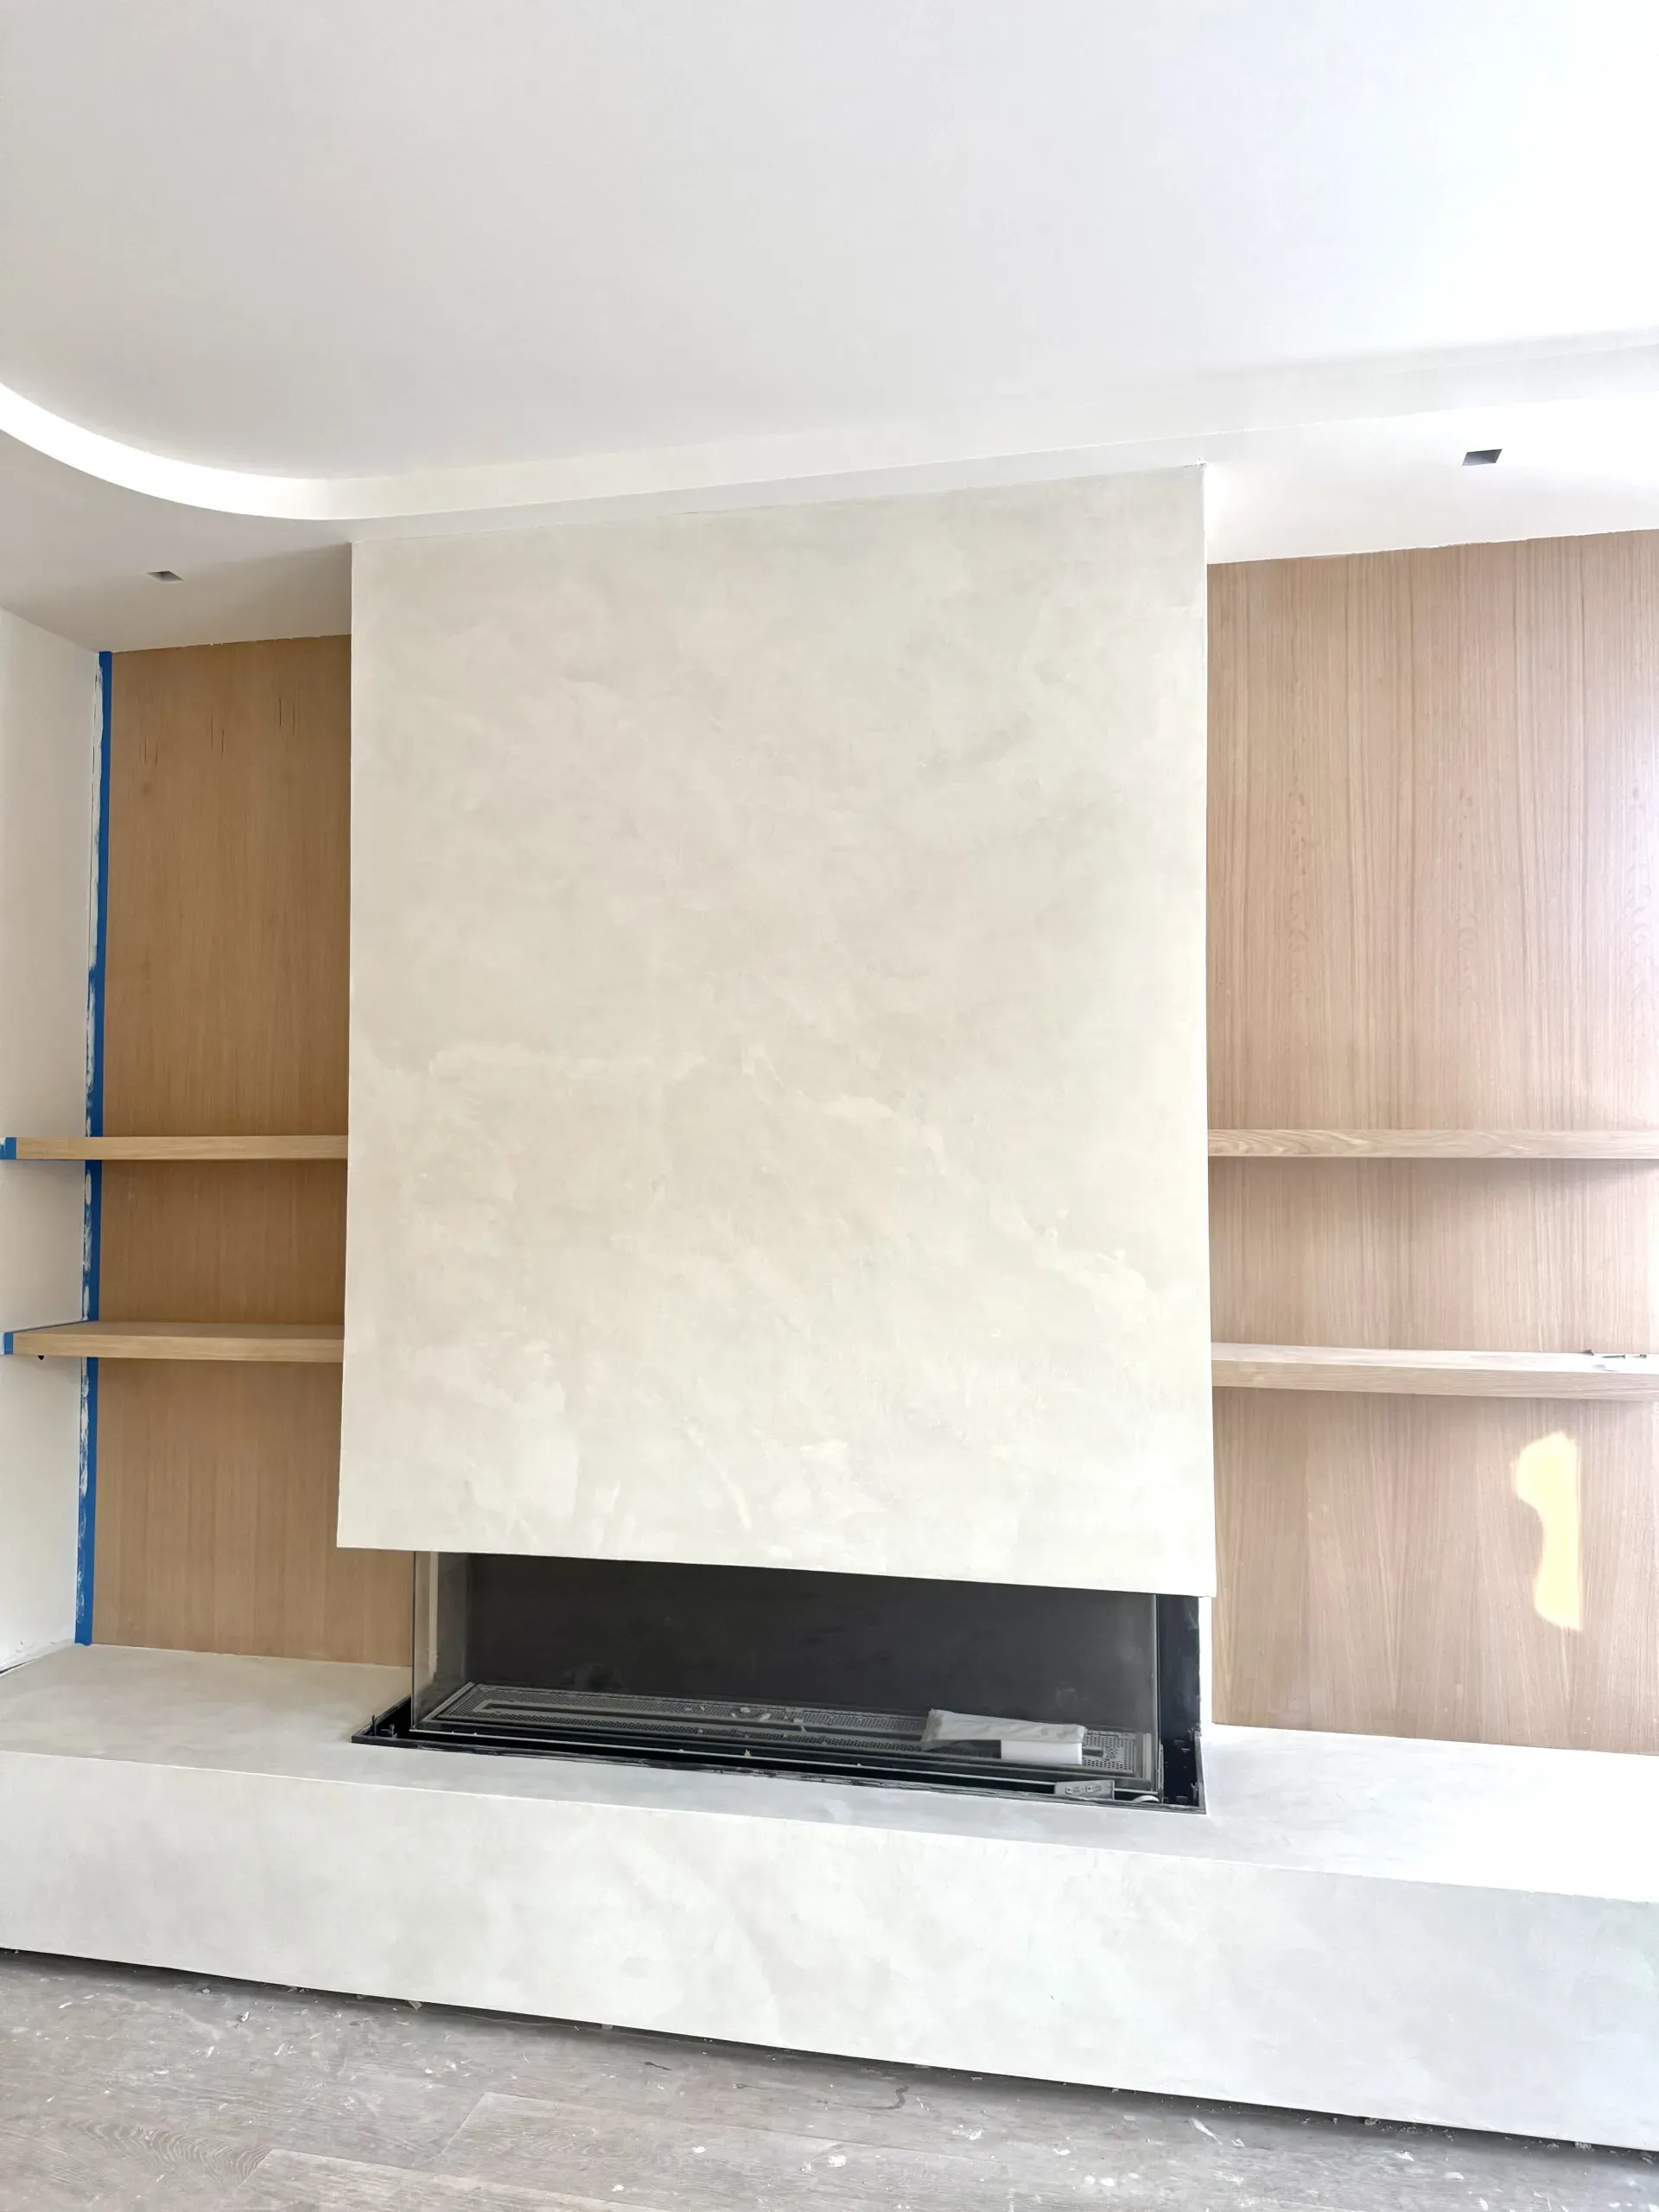
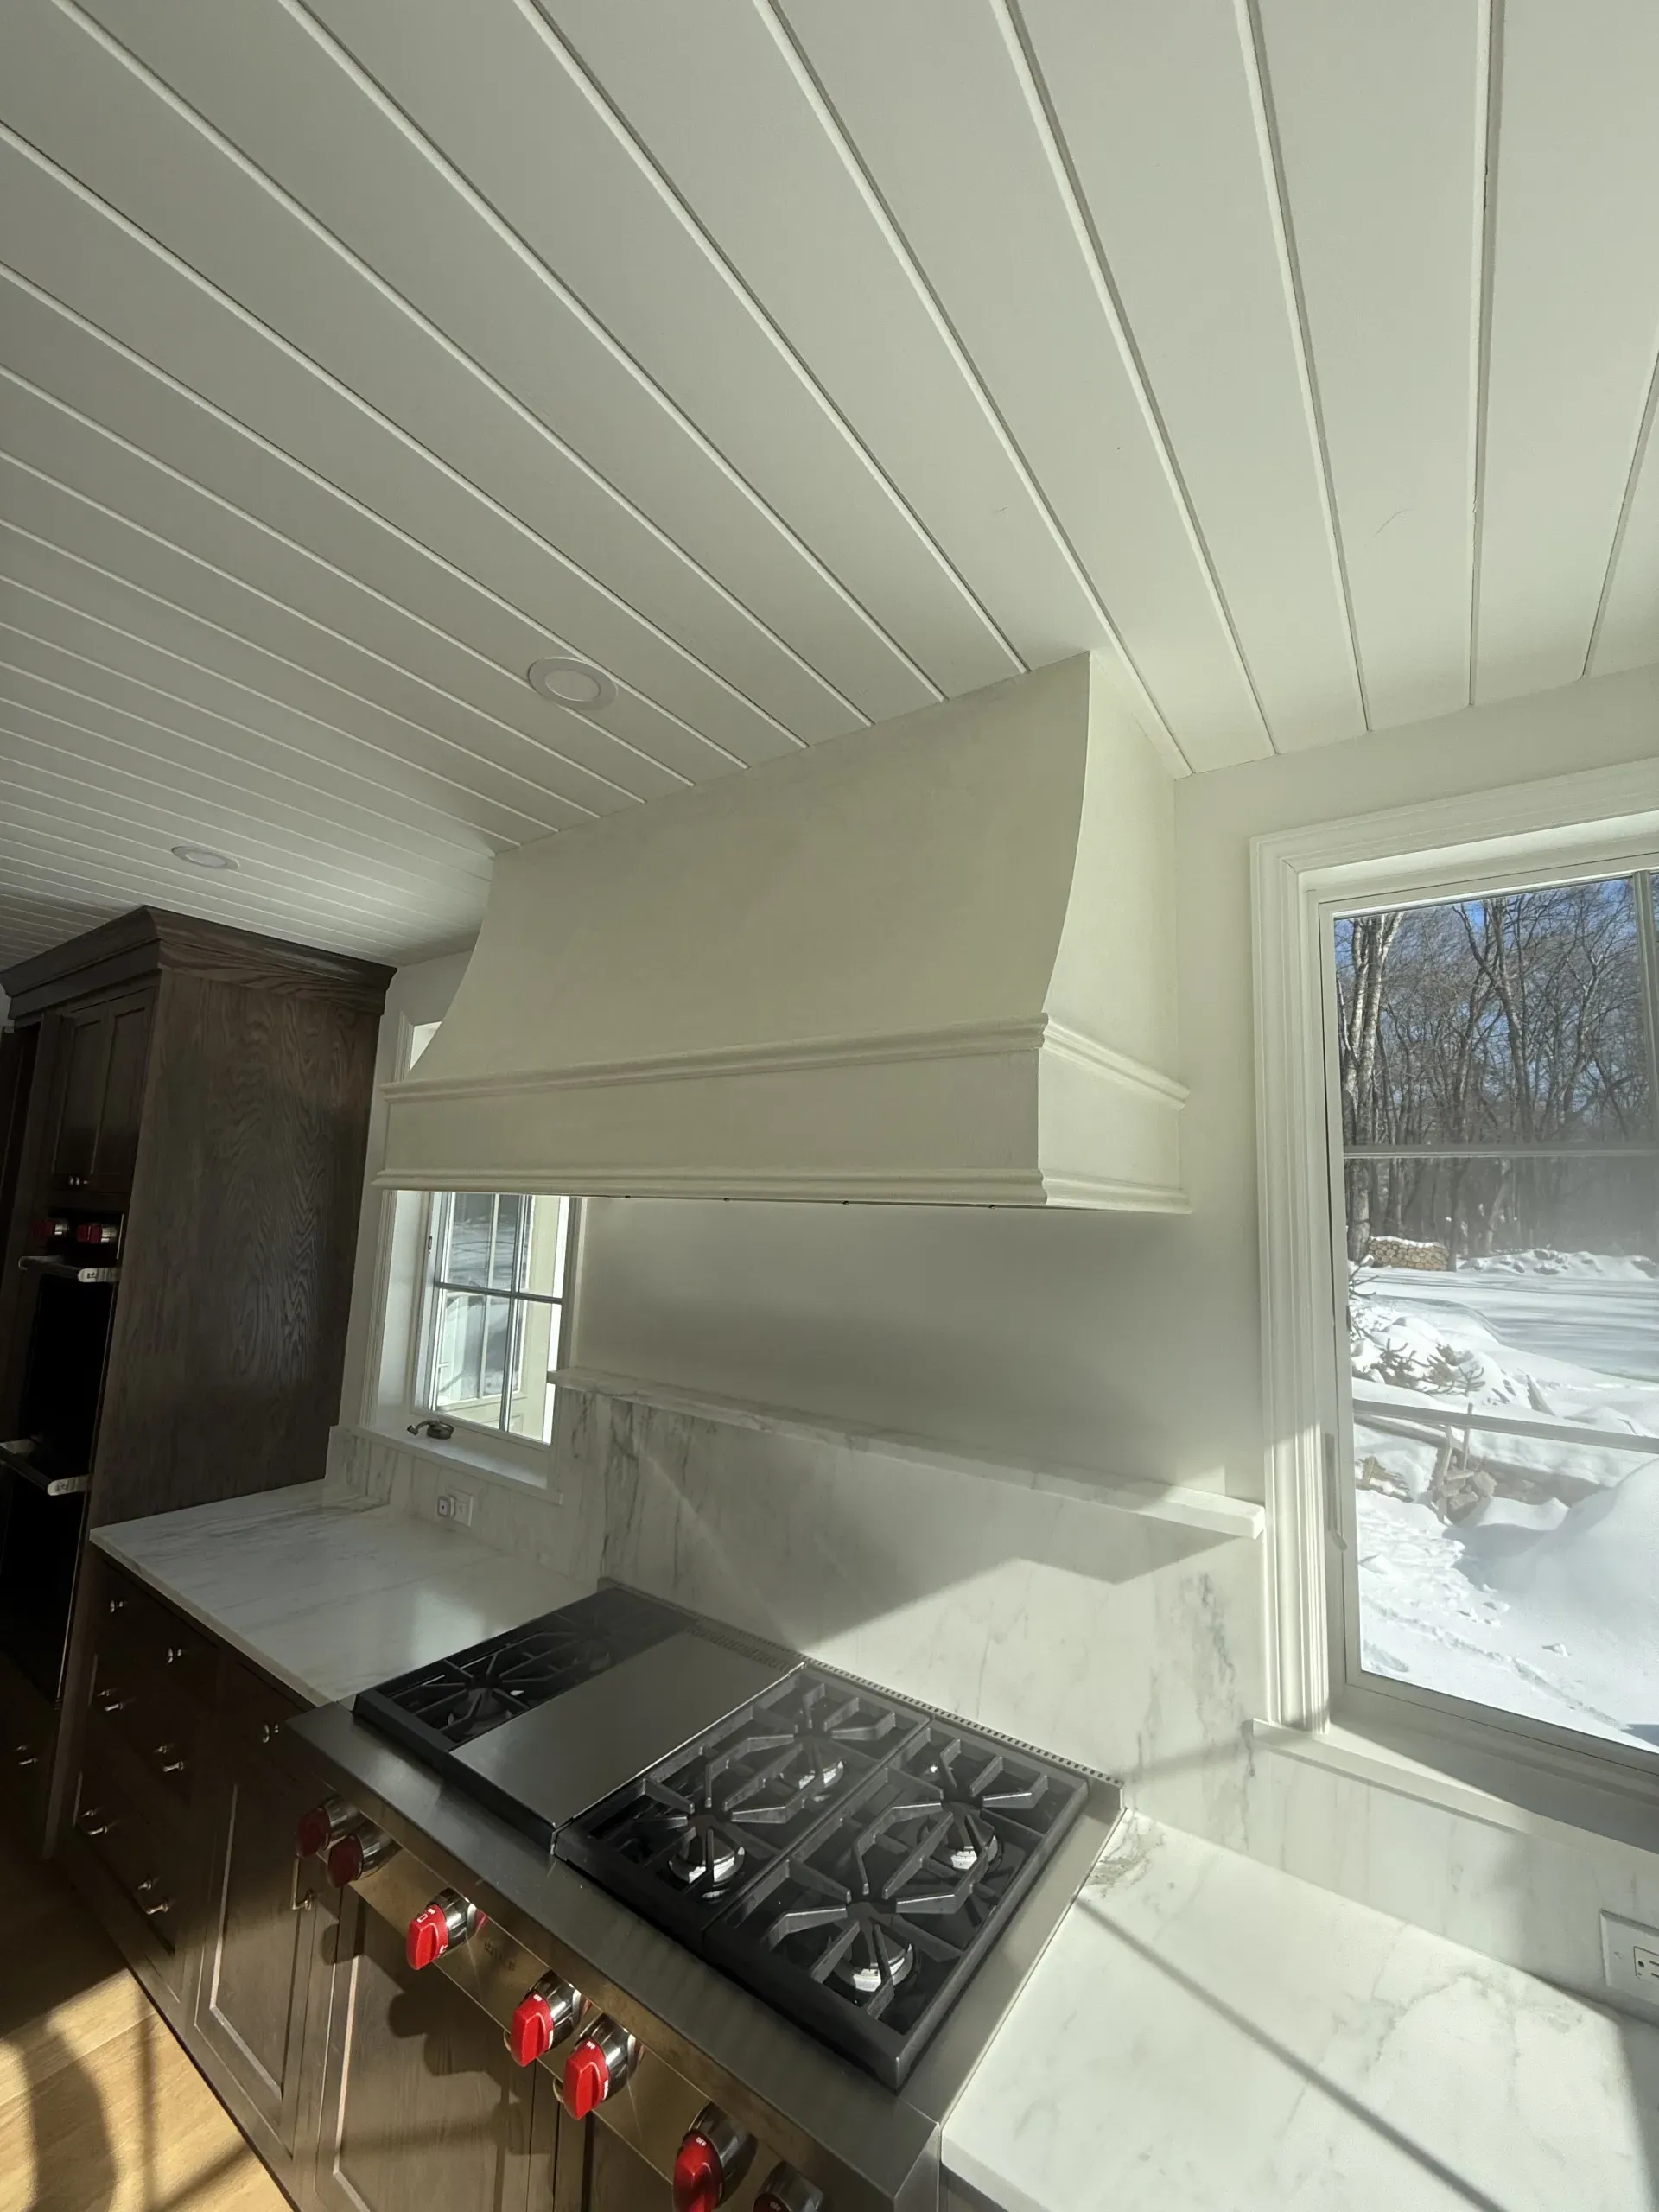
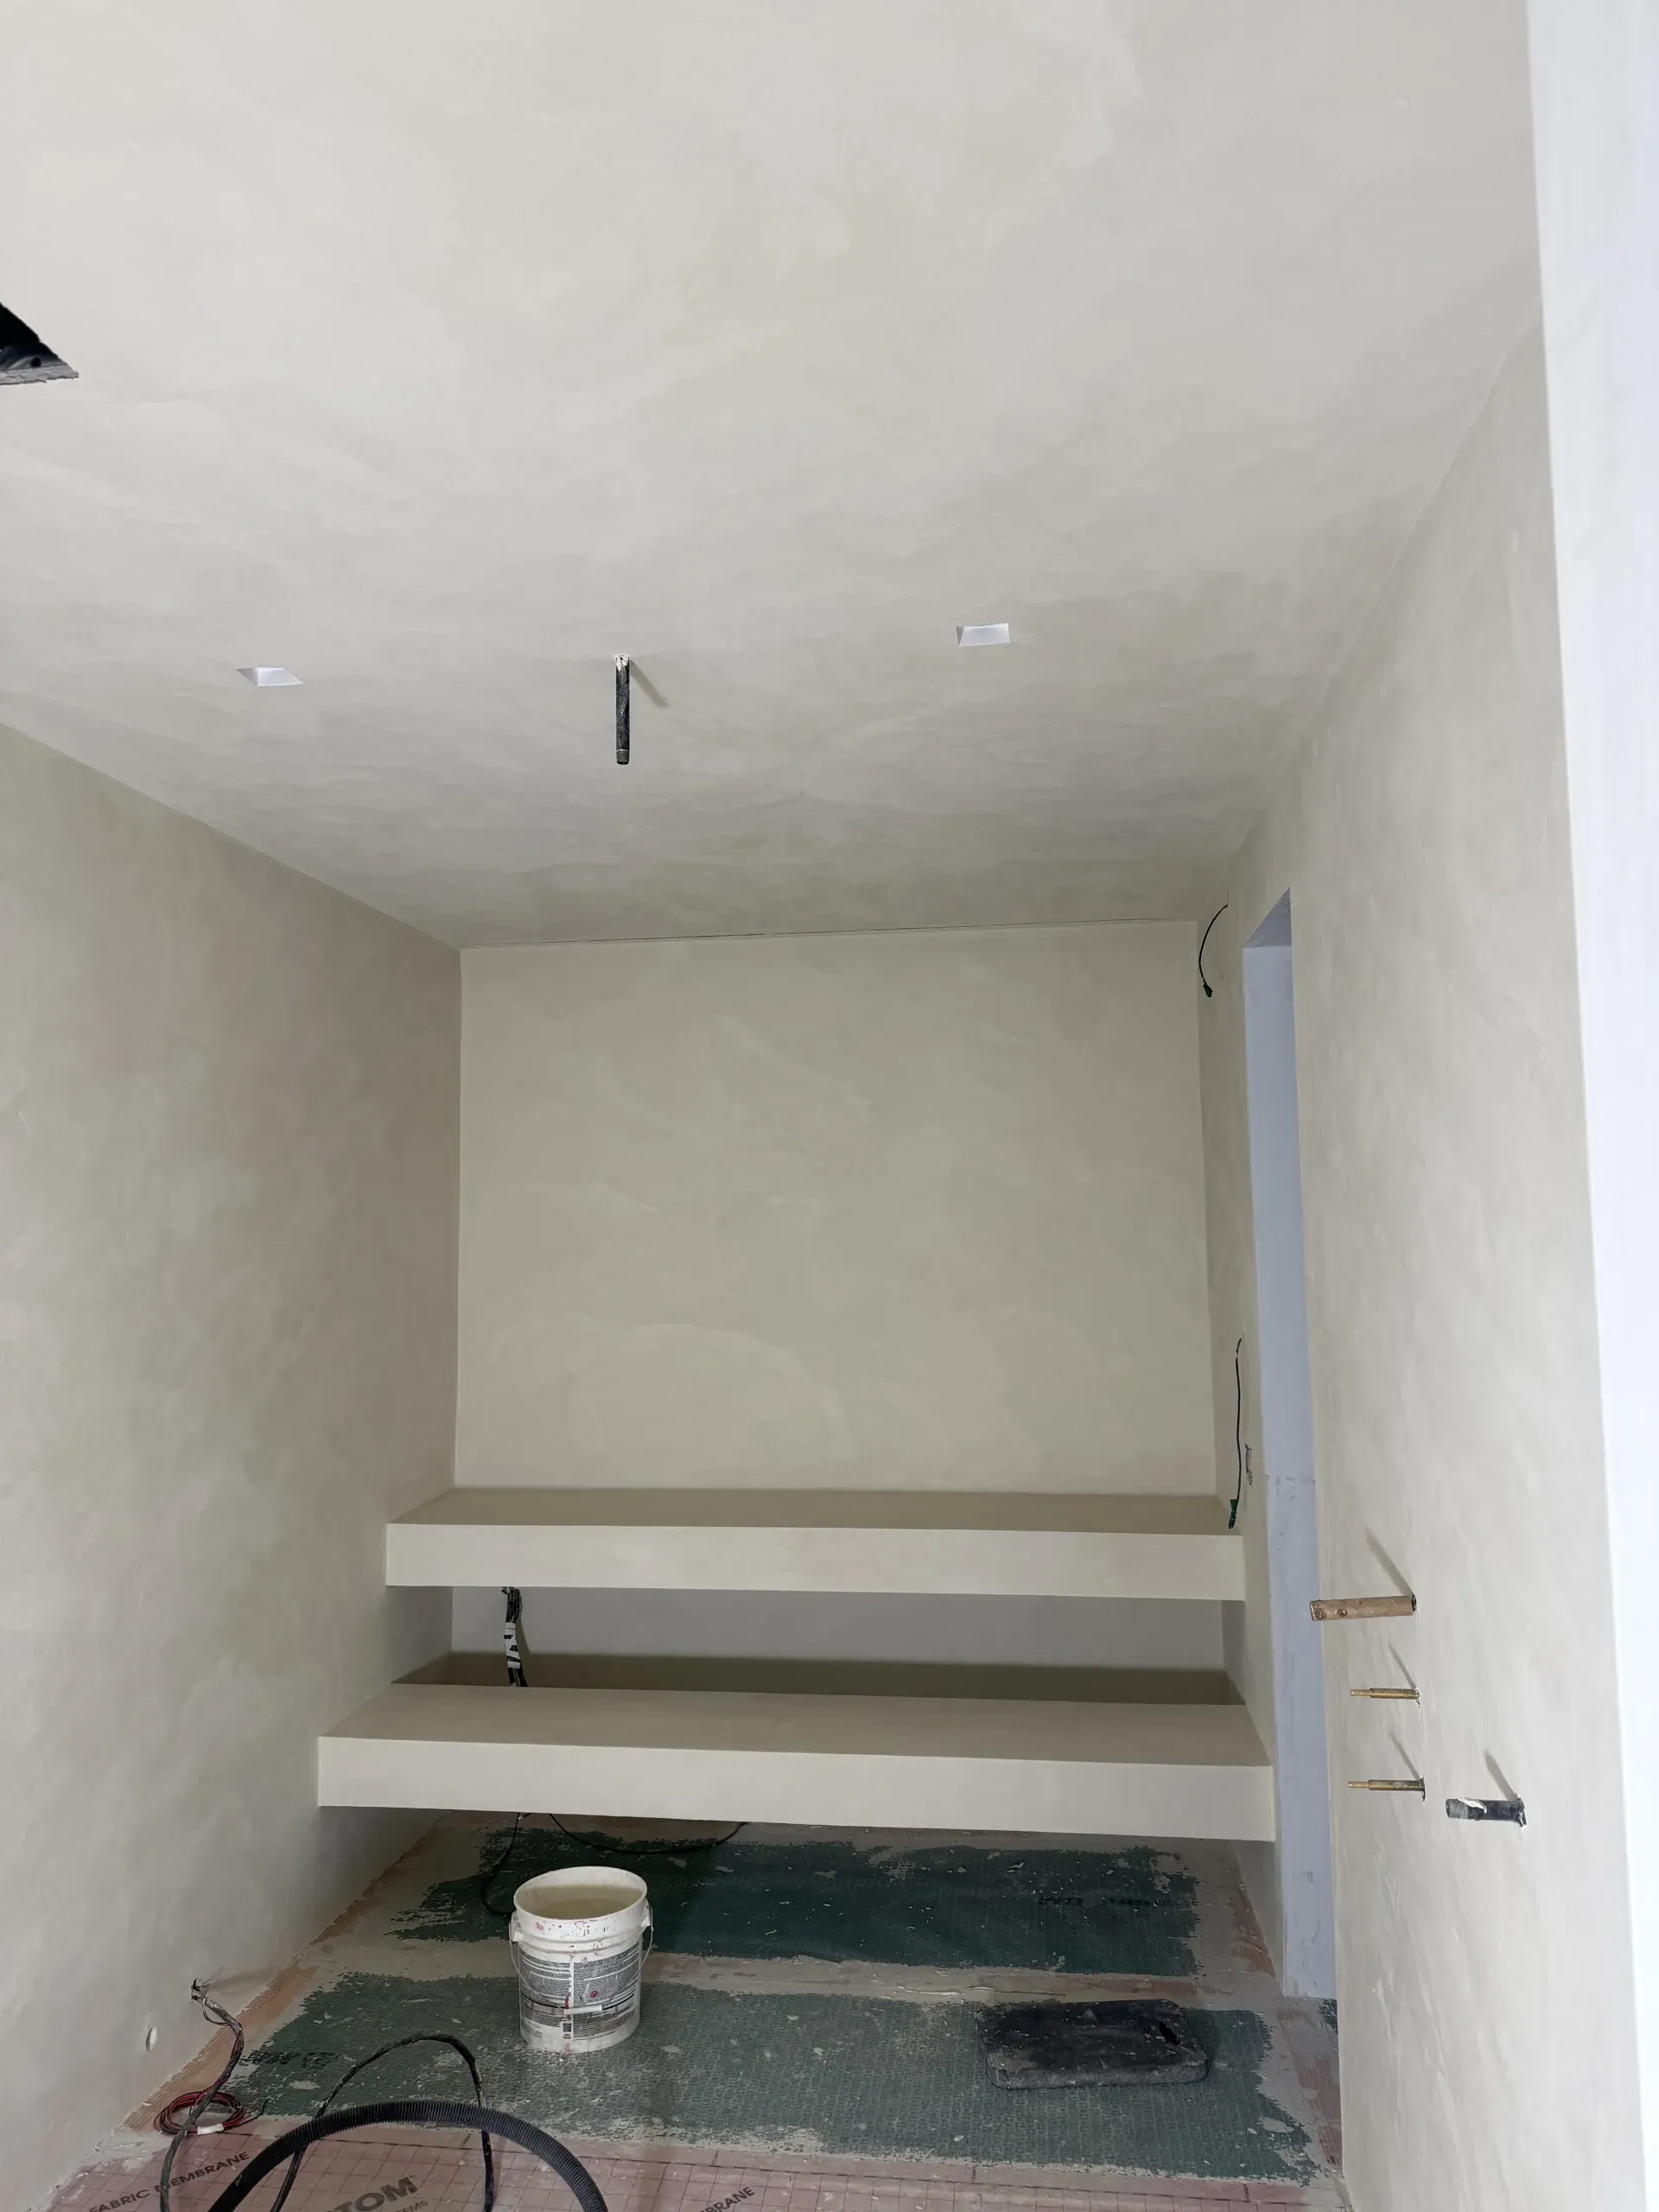
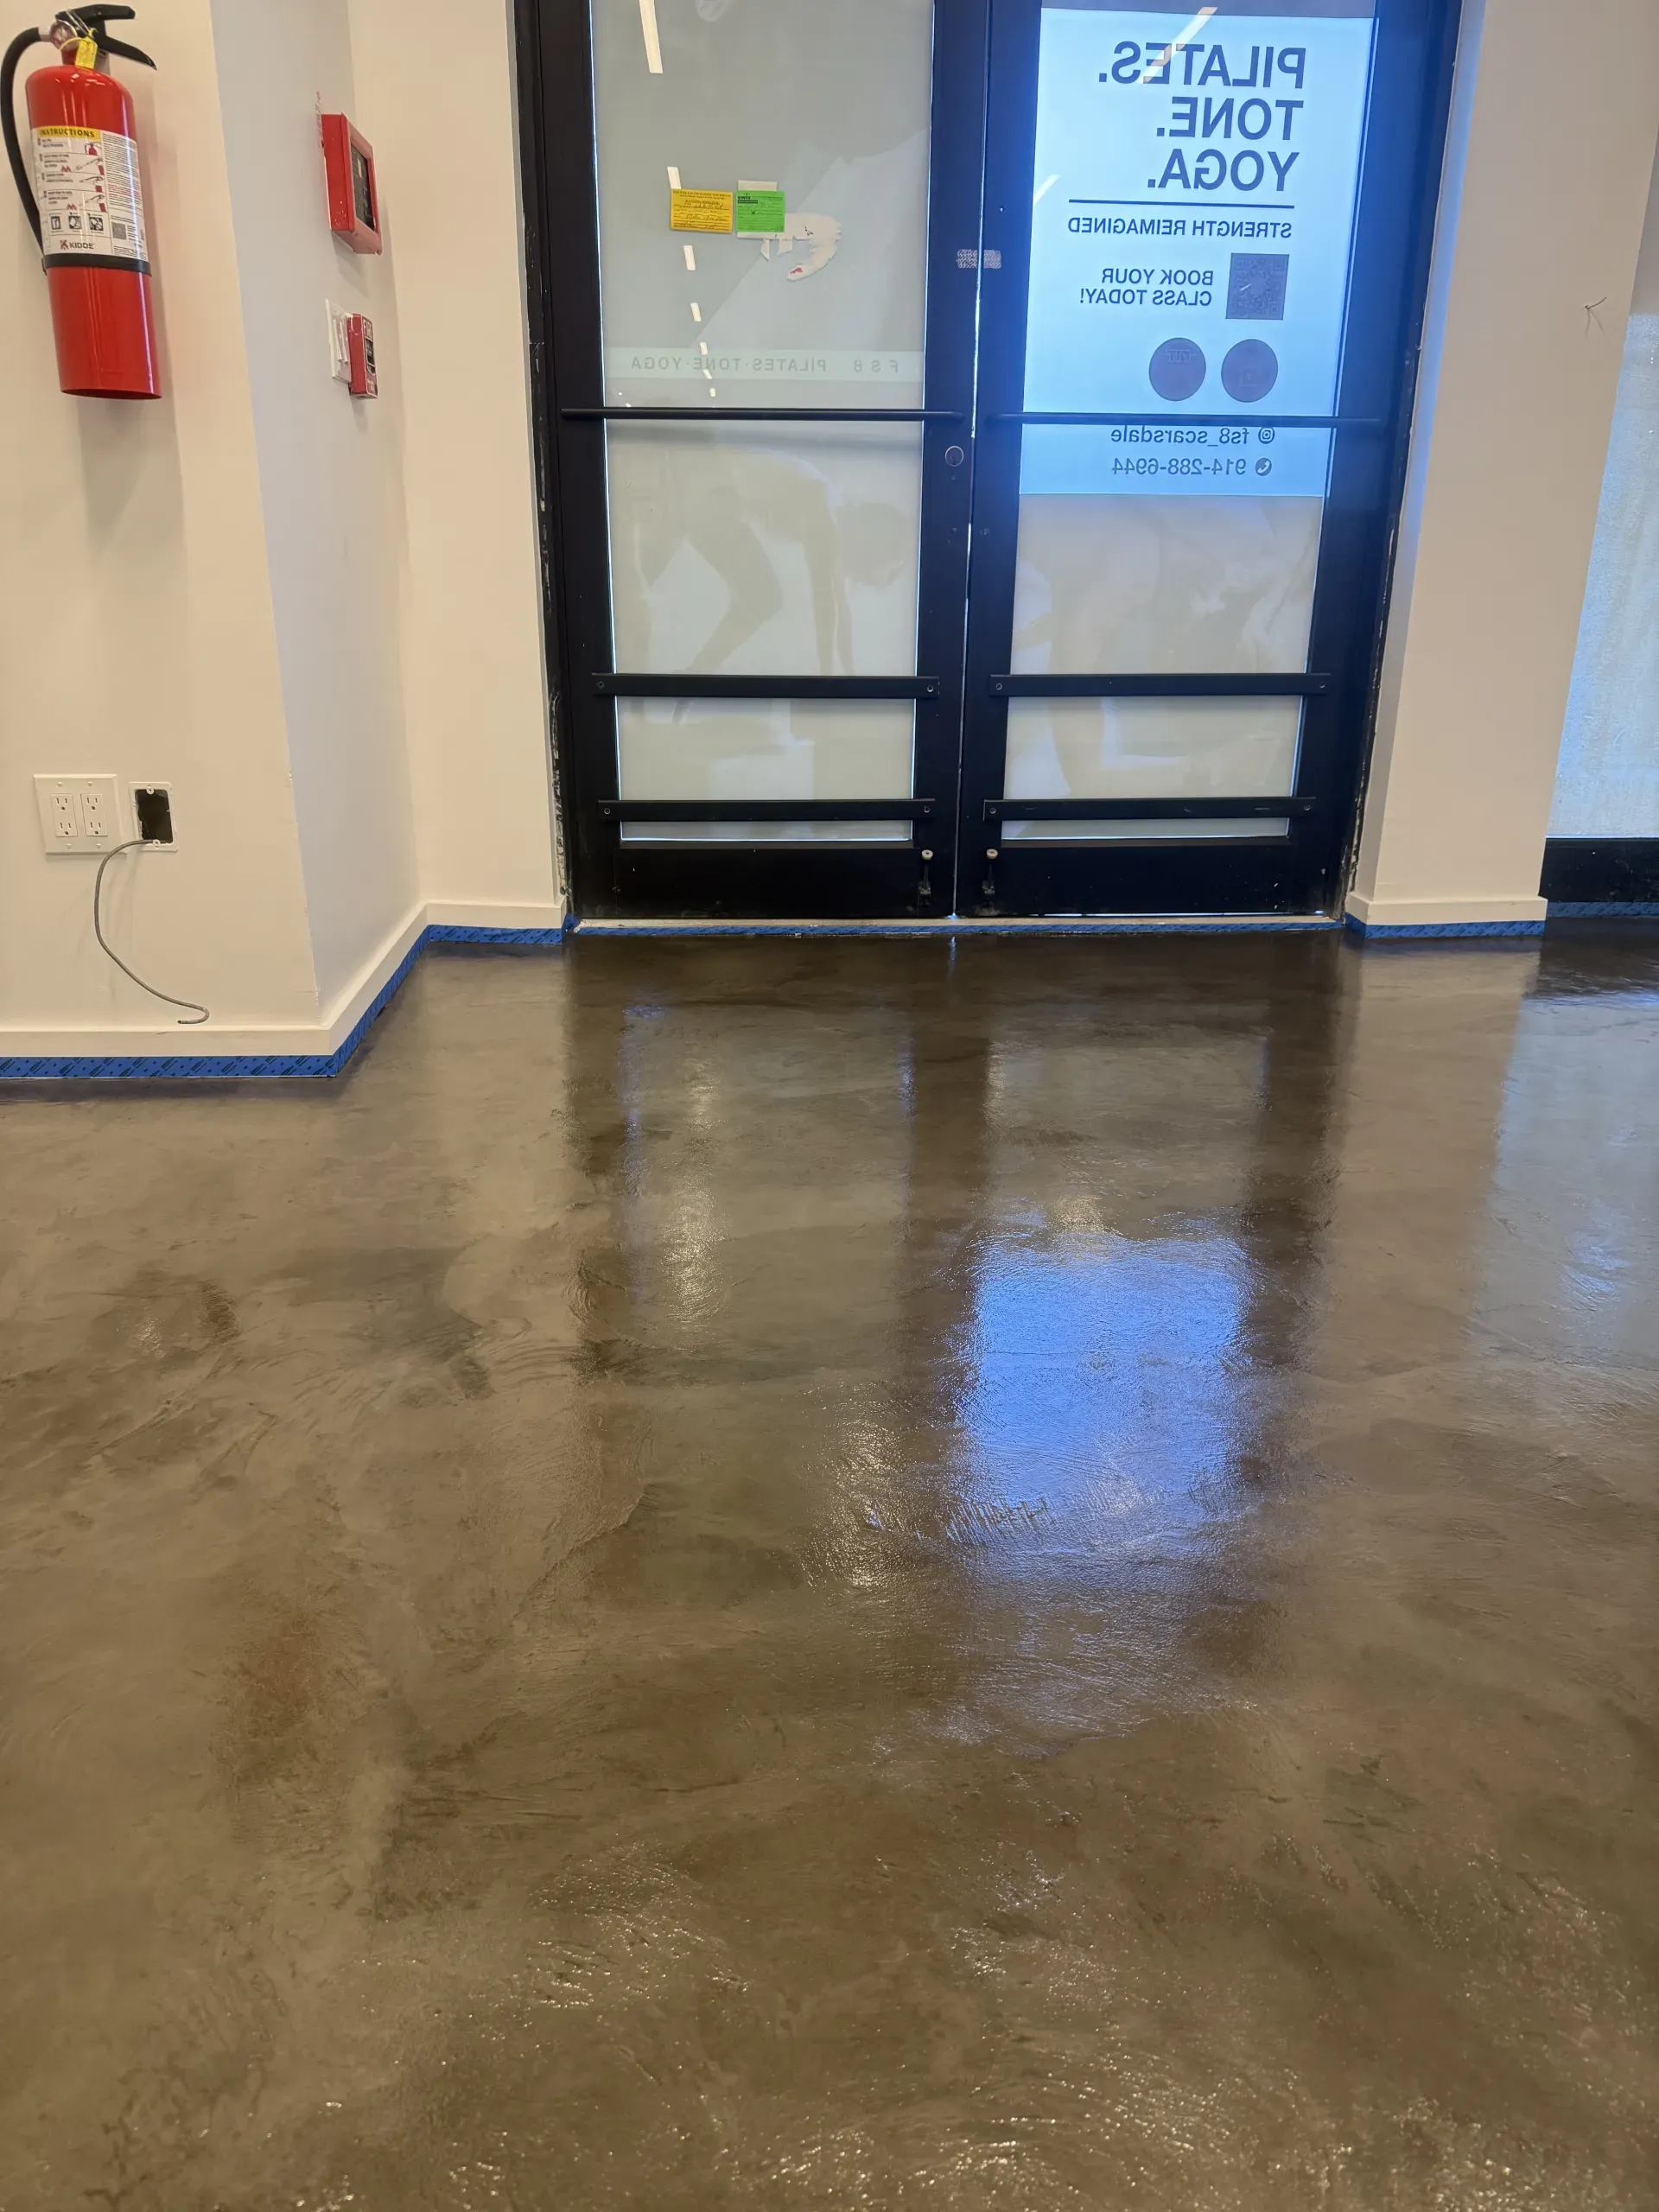
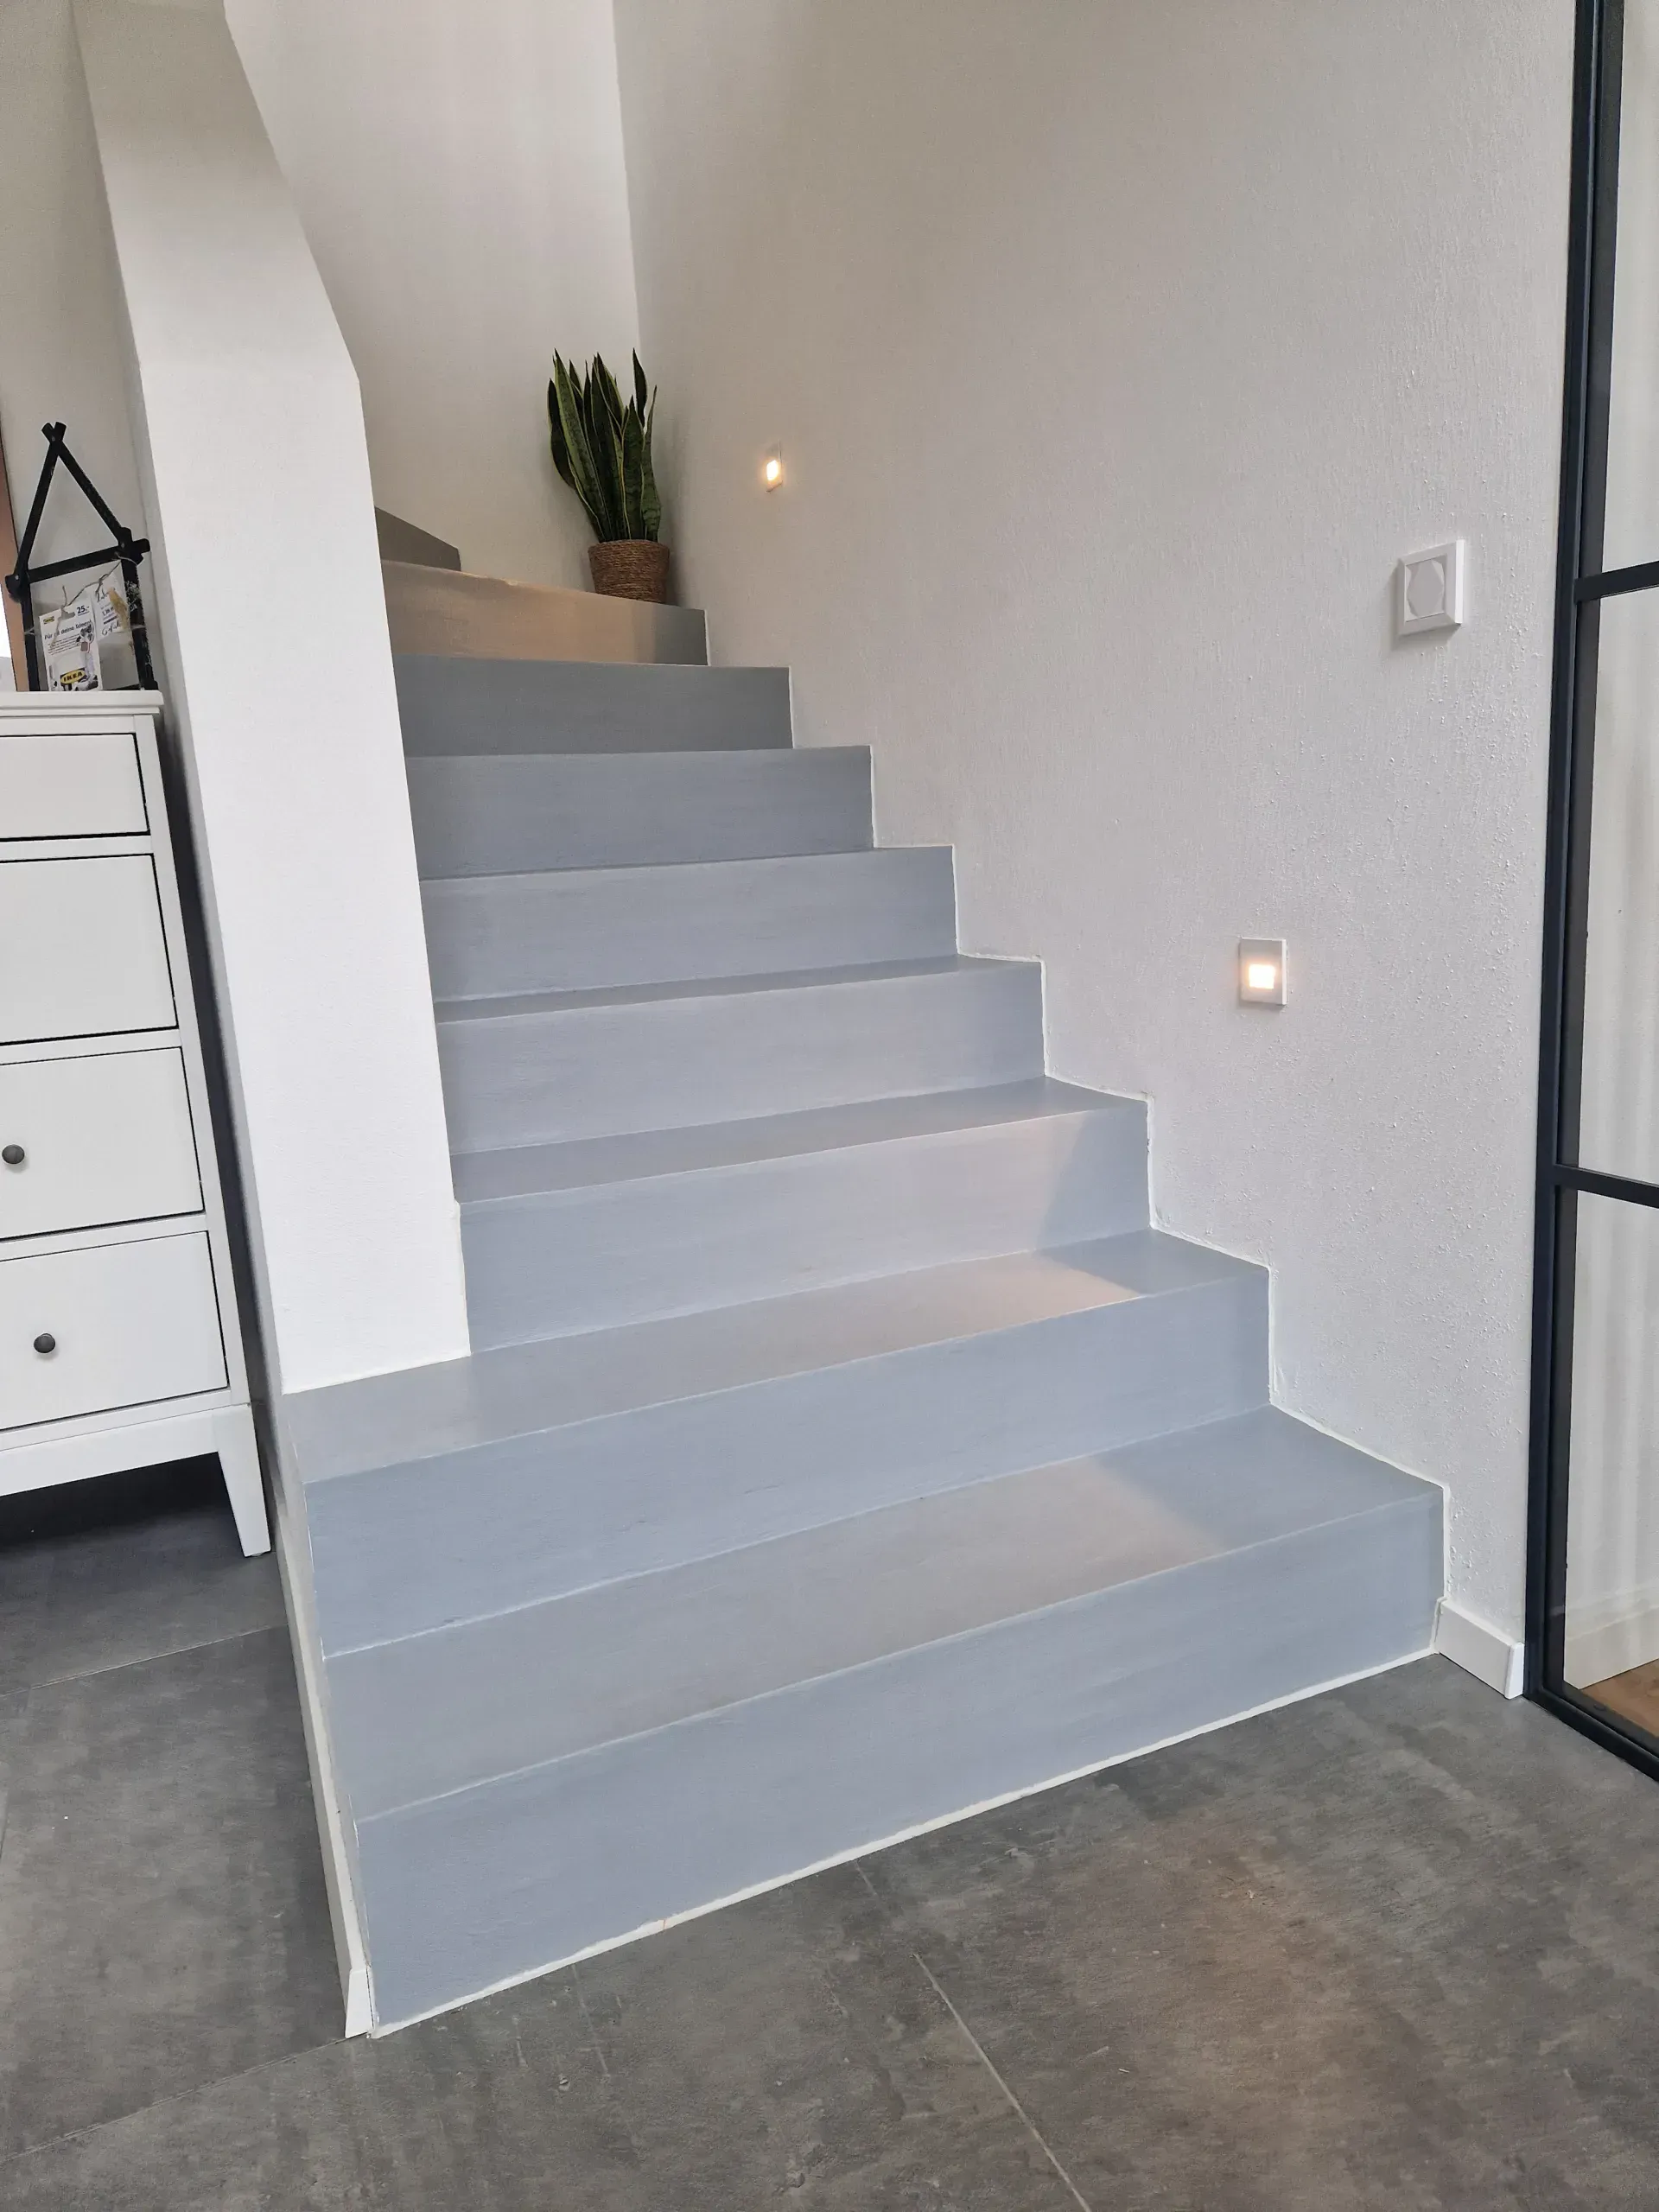
- Design filler can be used on all surfaces such as concrete, plaster, metal, glass, plastic, wood, paint, etc.
- Material: Premium cement mixed with additives and fillers
- Properties: Mineral, highly durable, weatherproof, UV-stable, odourless
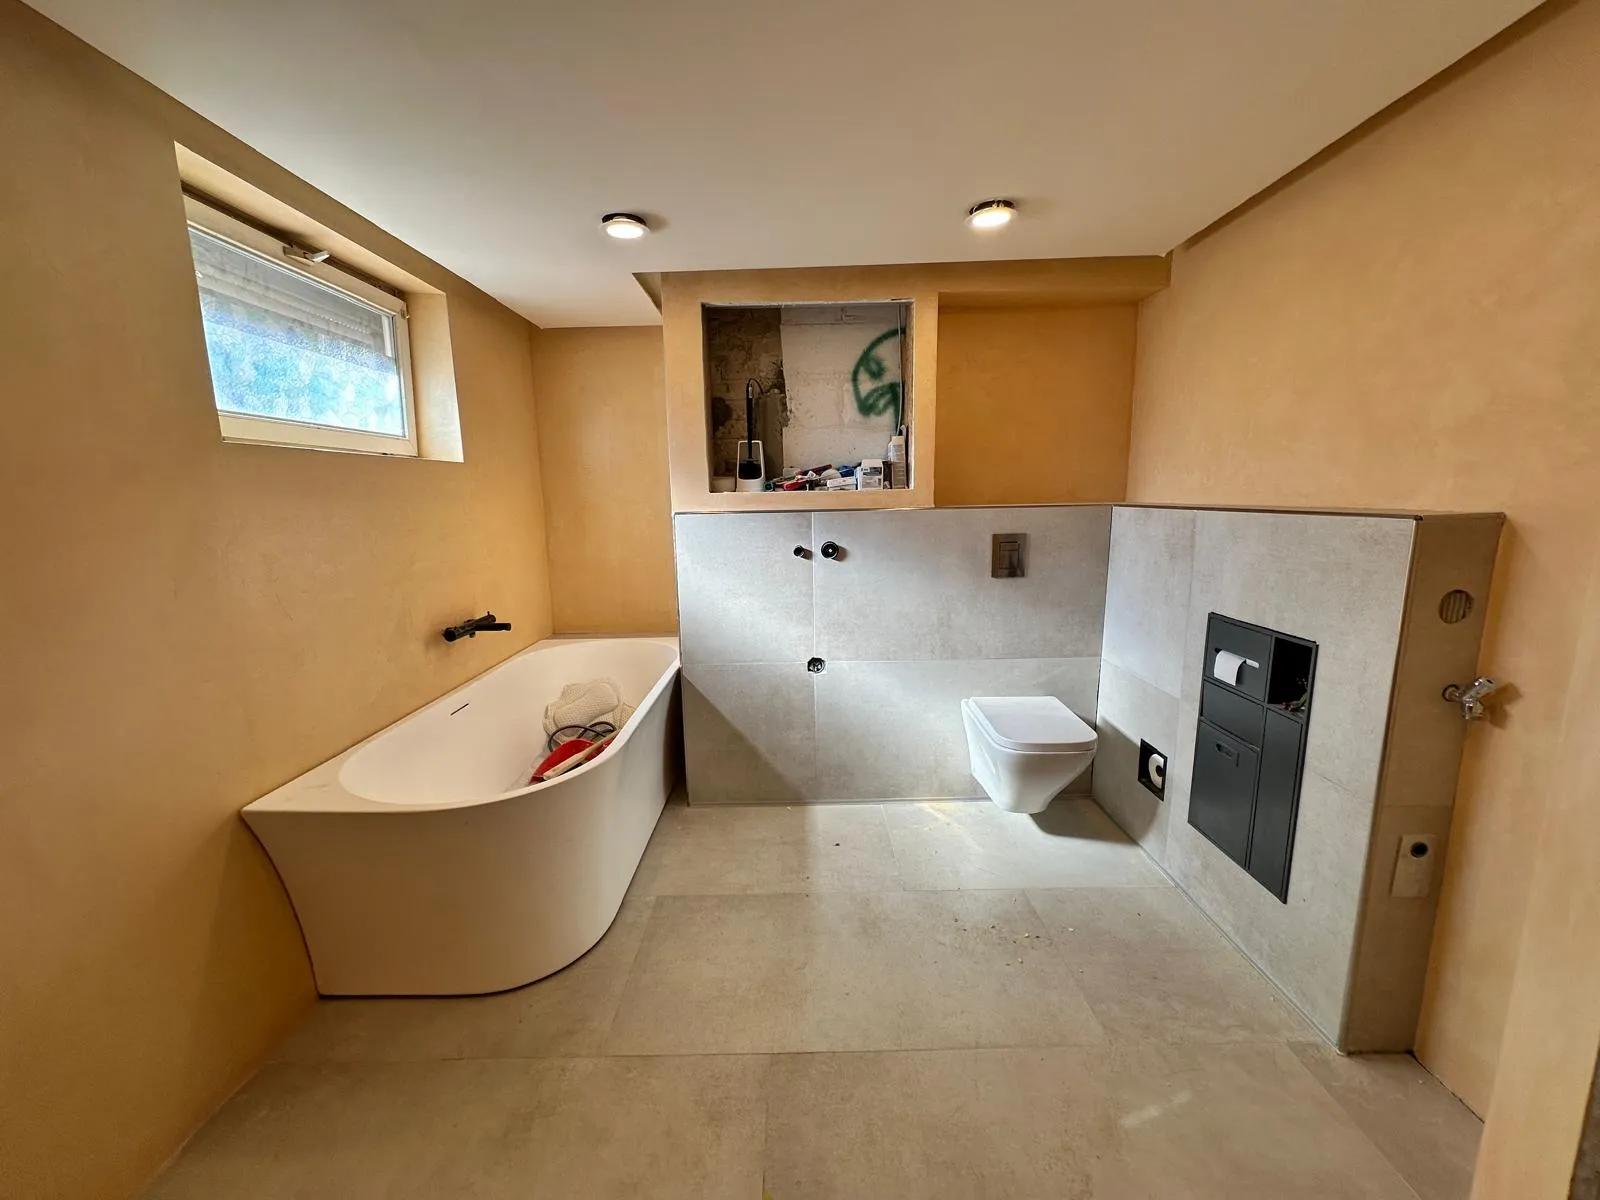
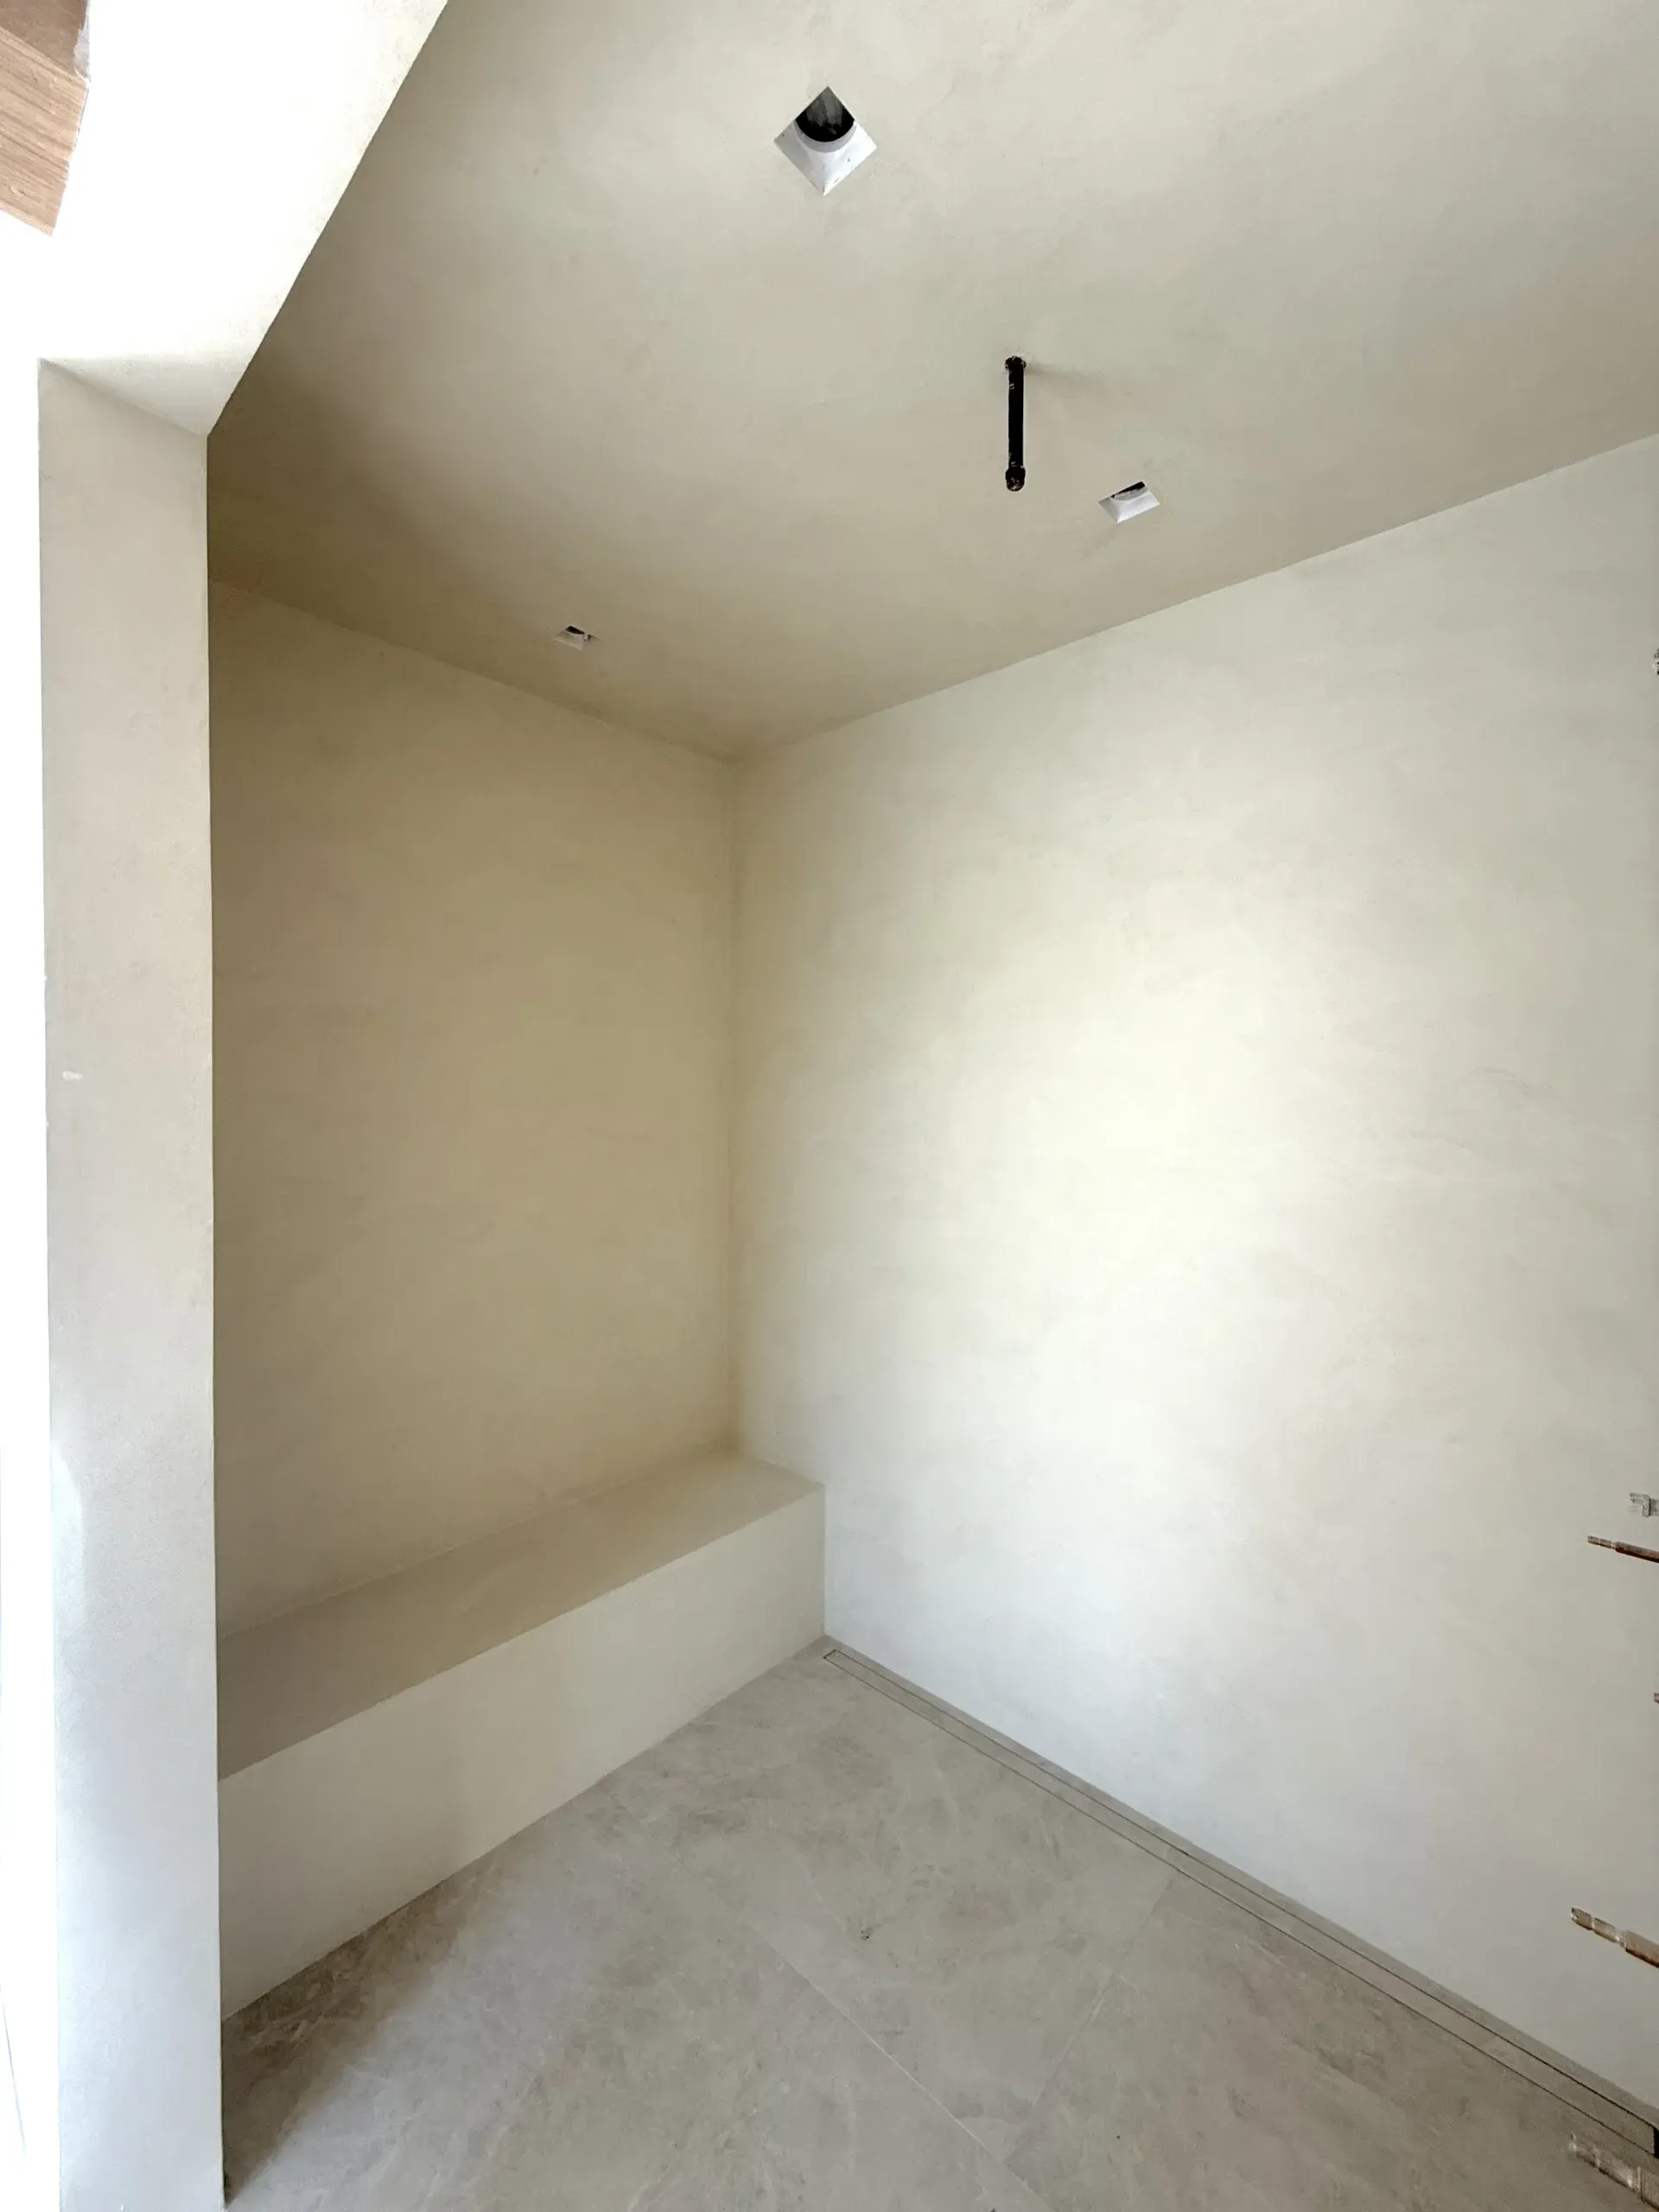
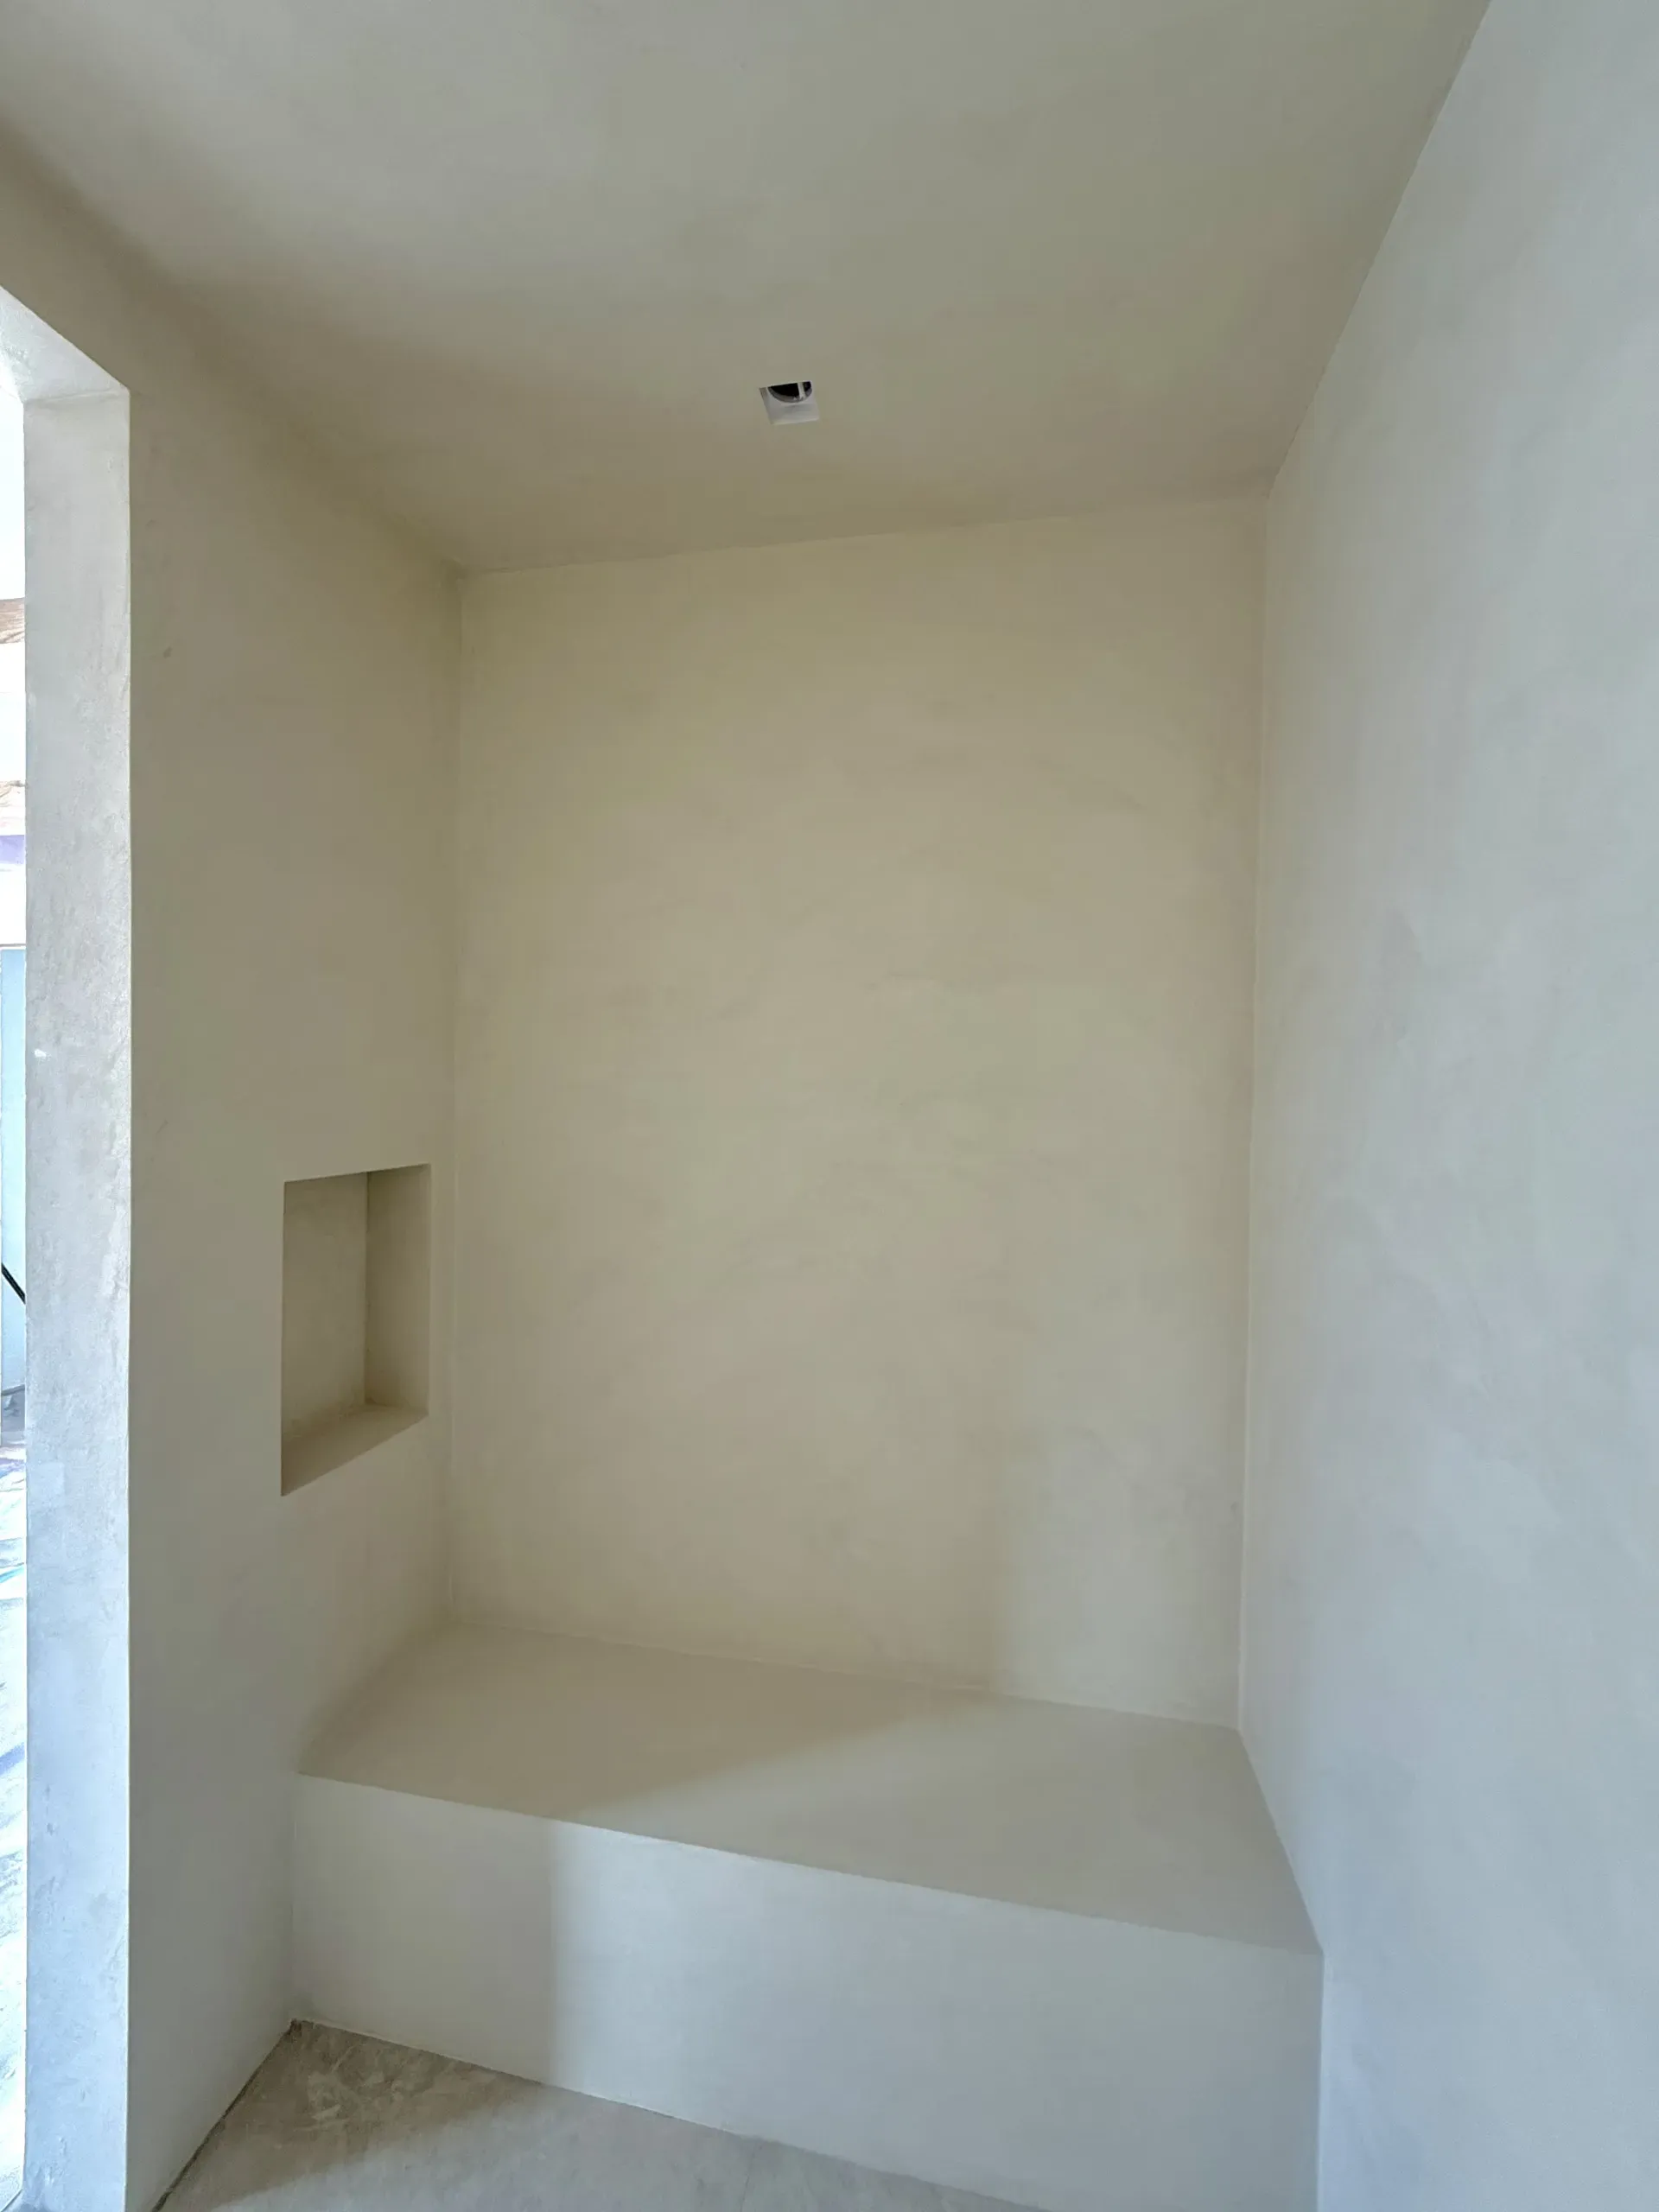
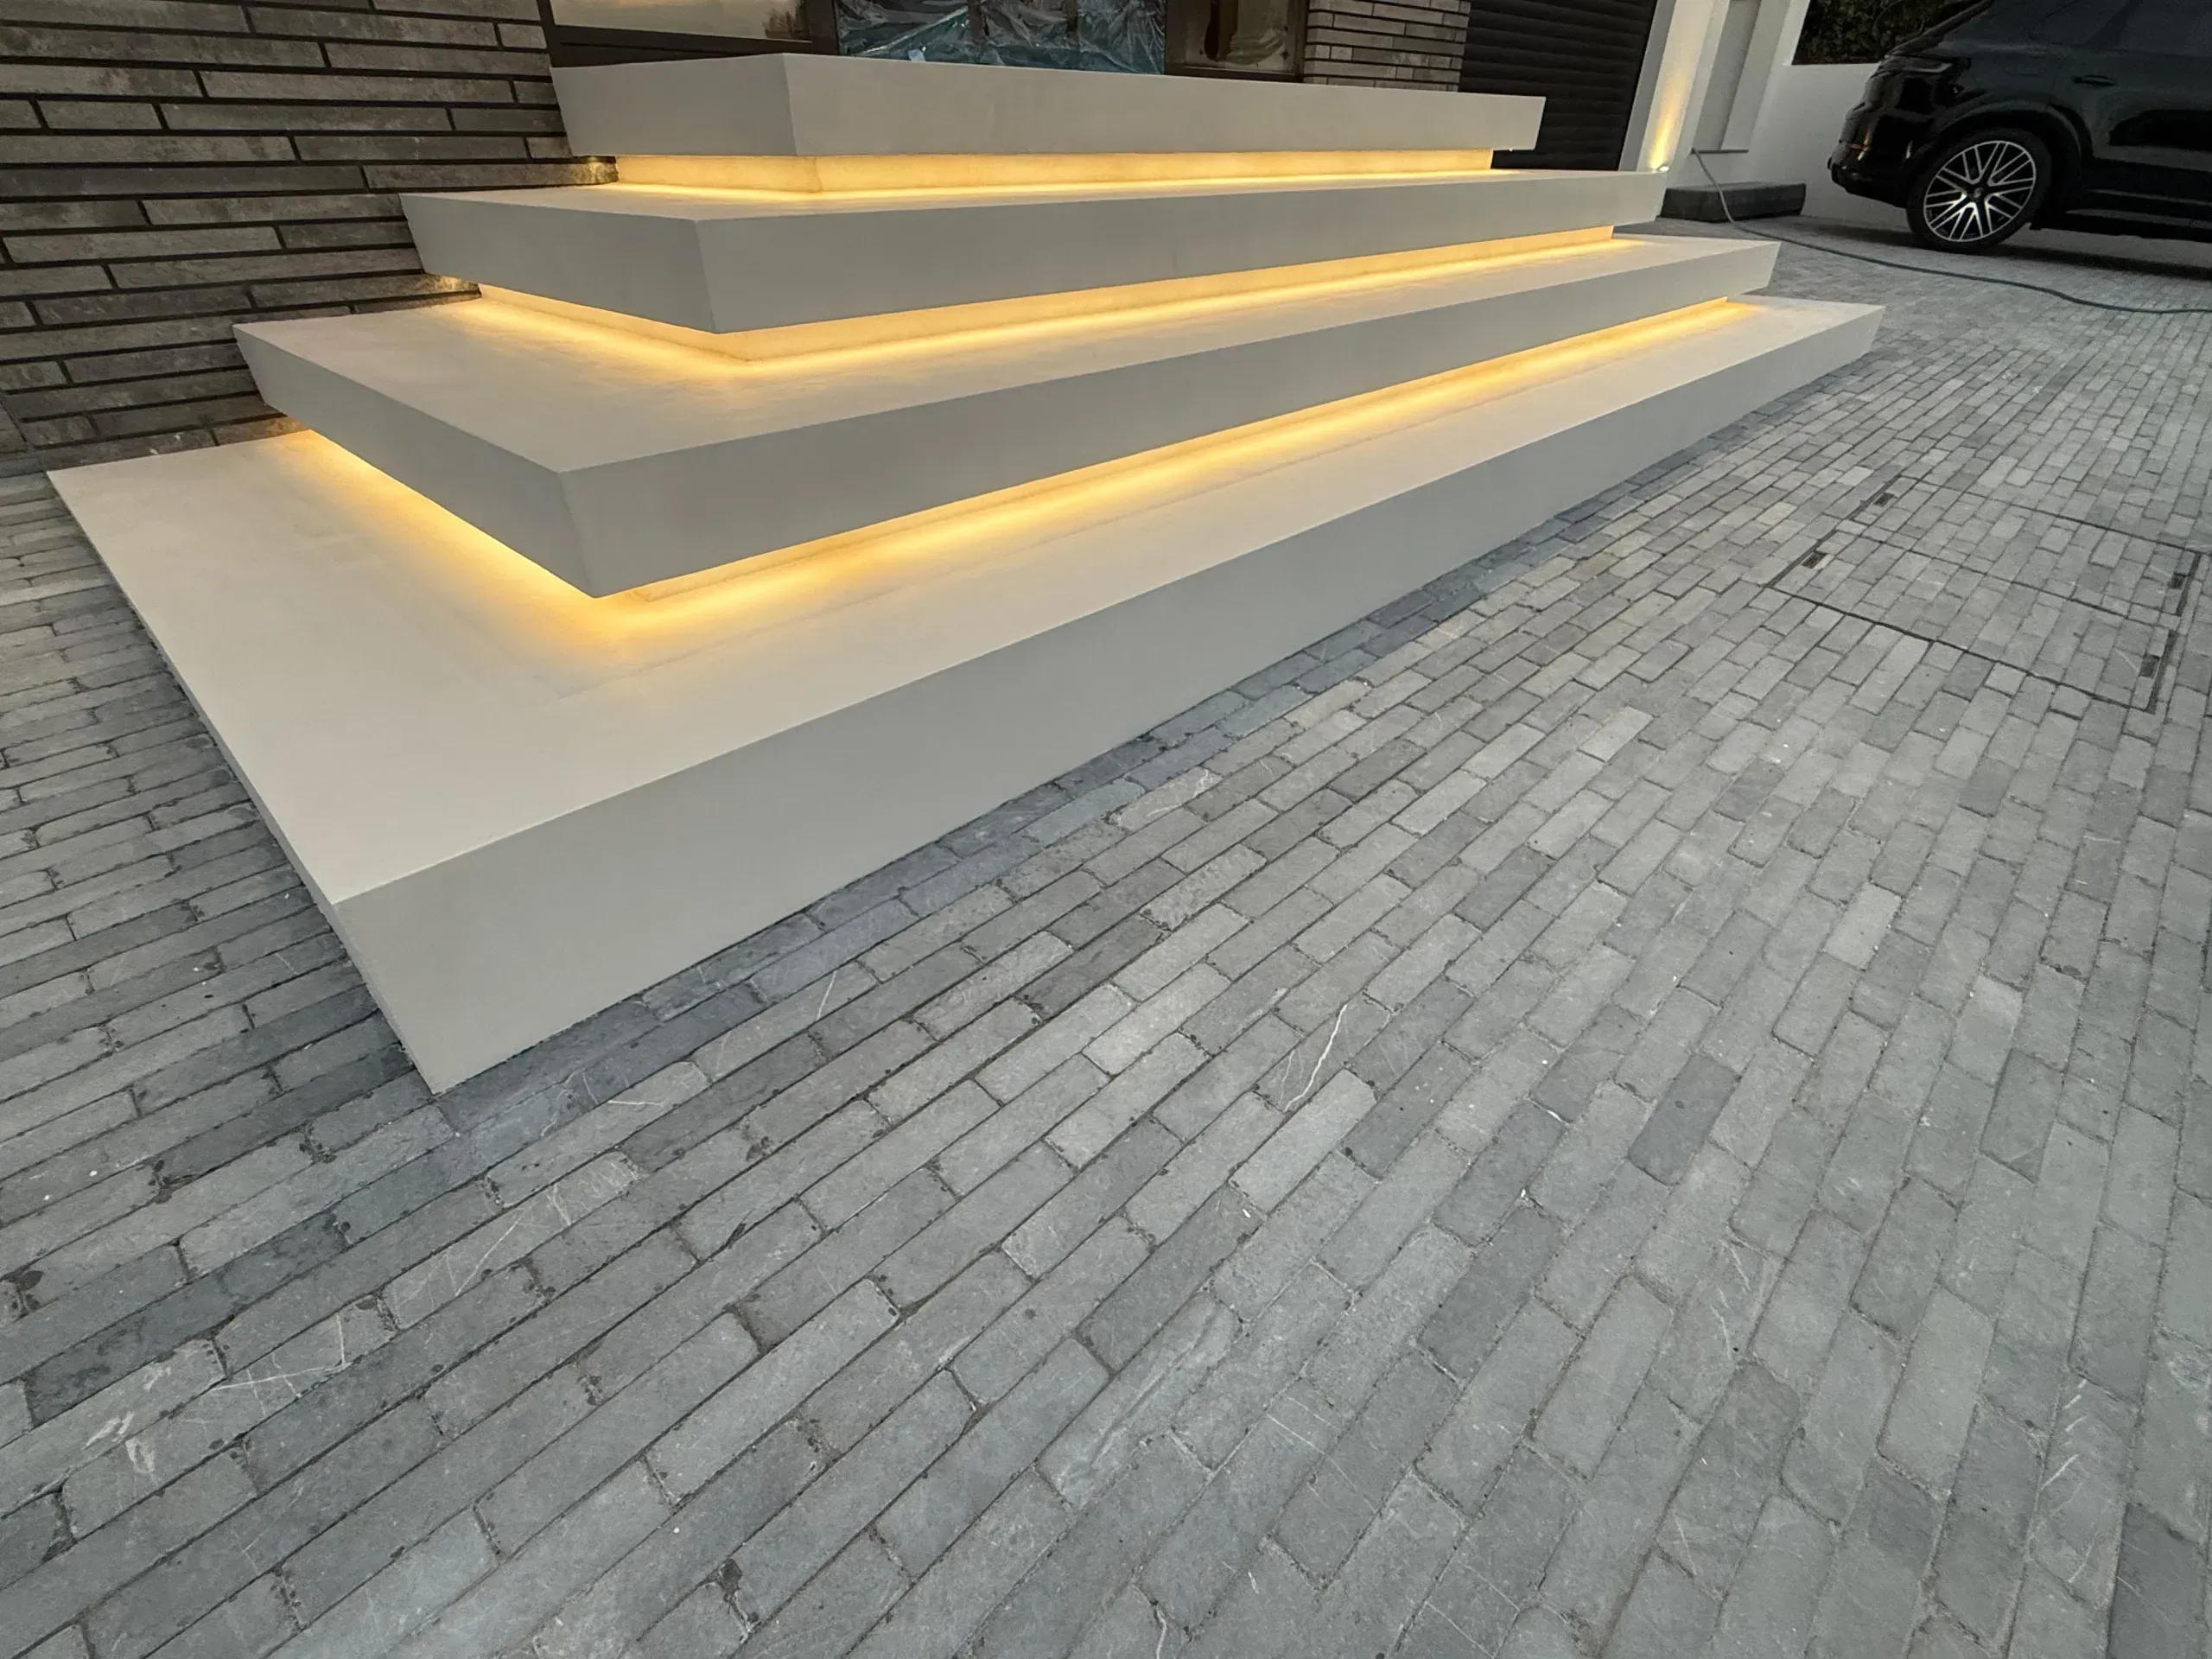
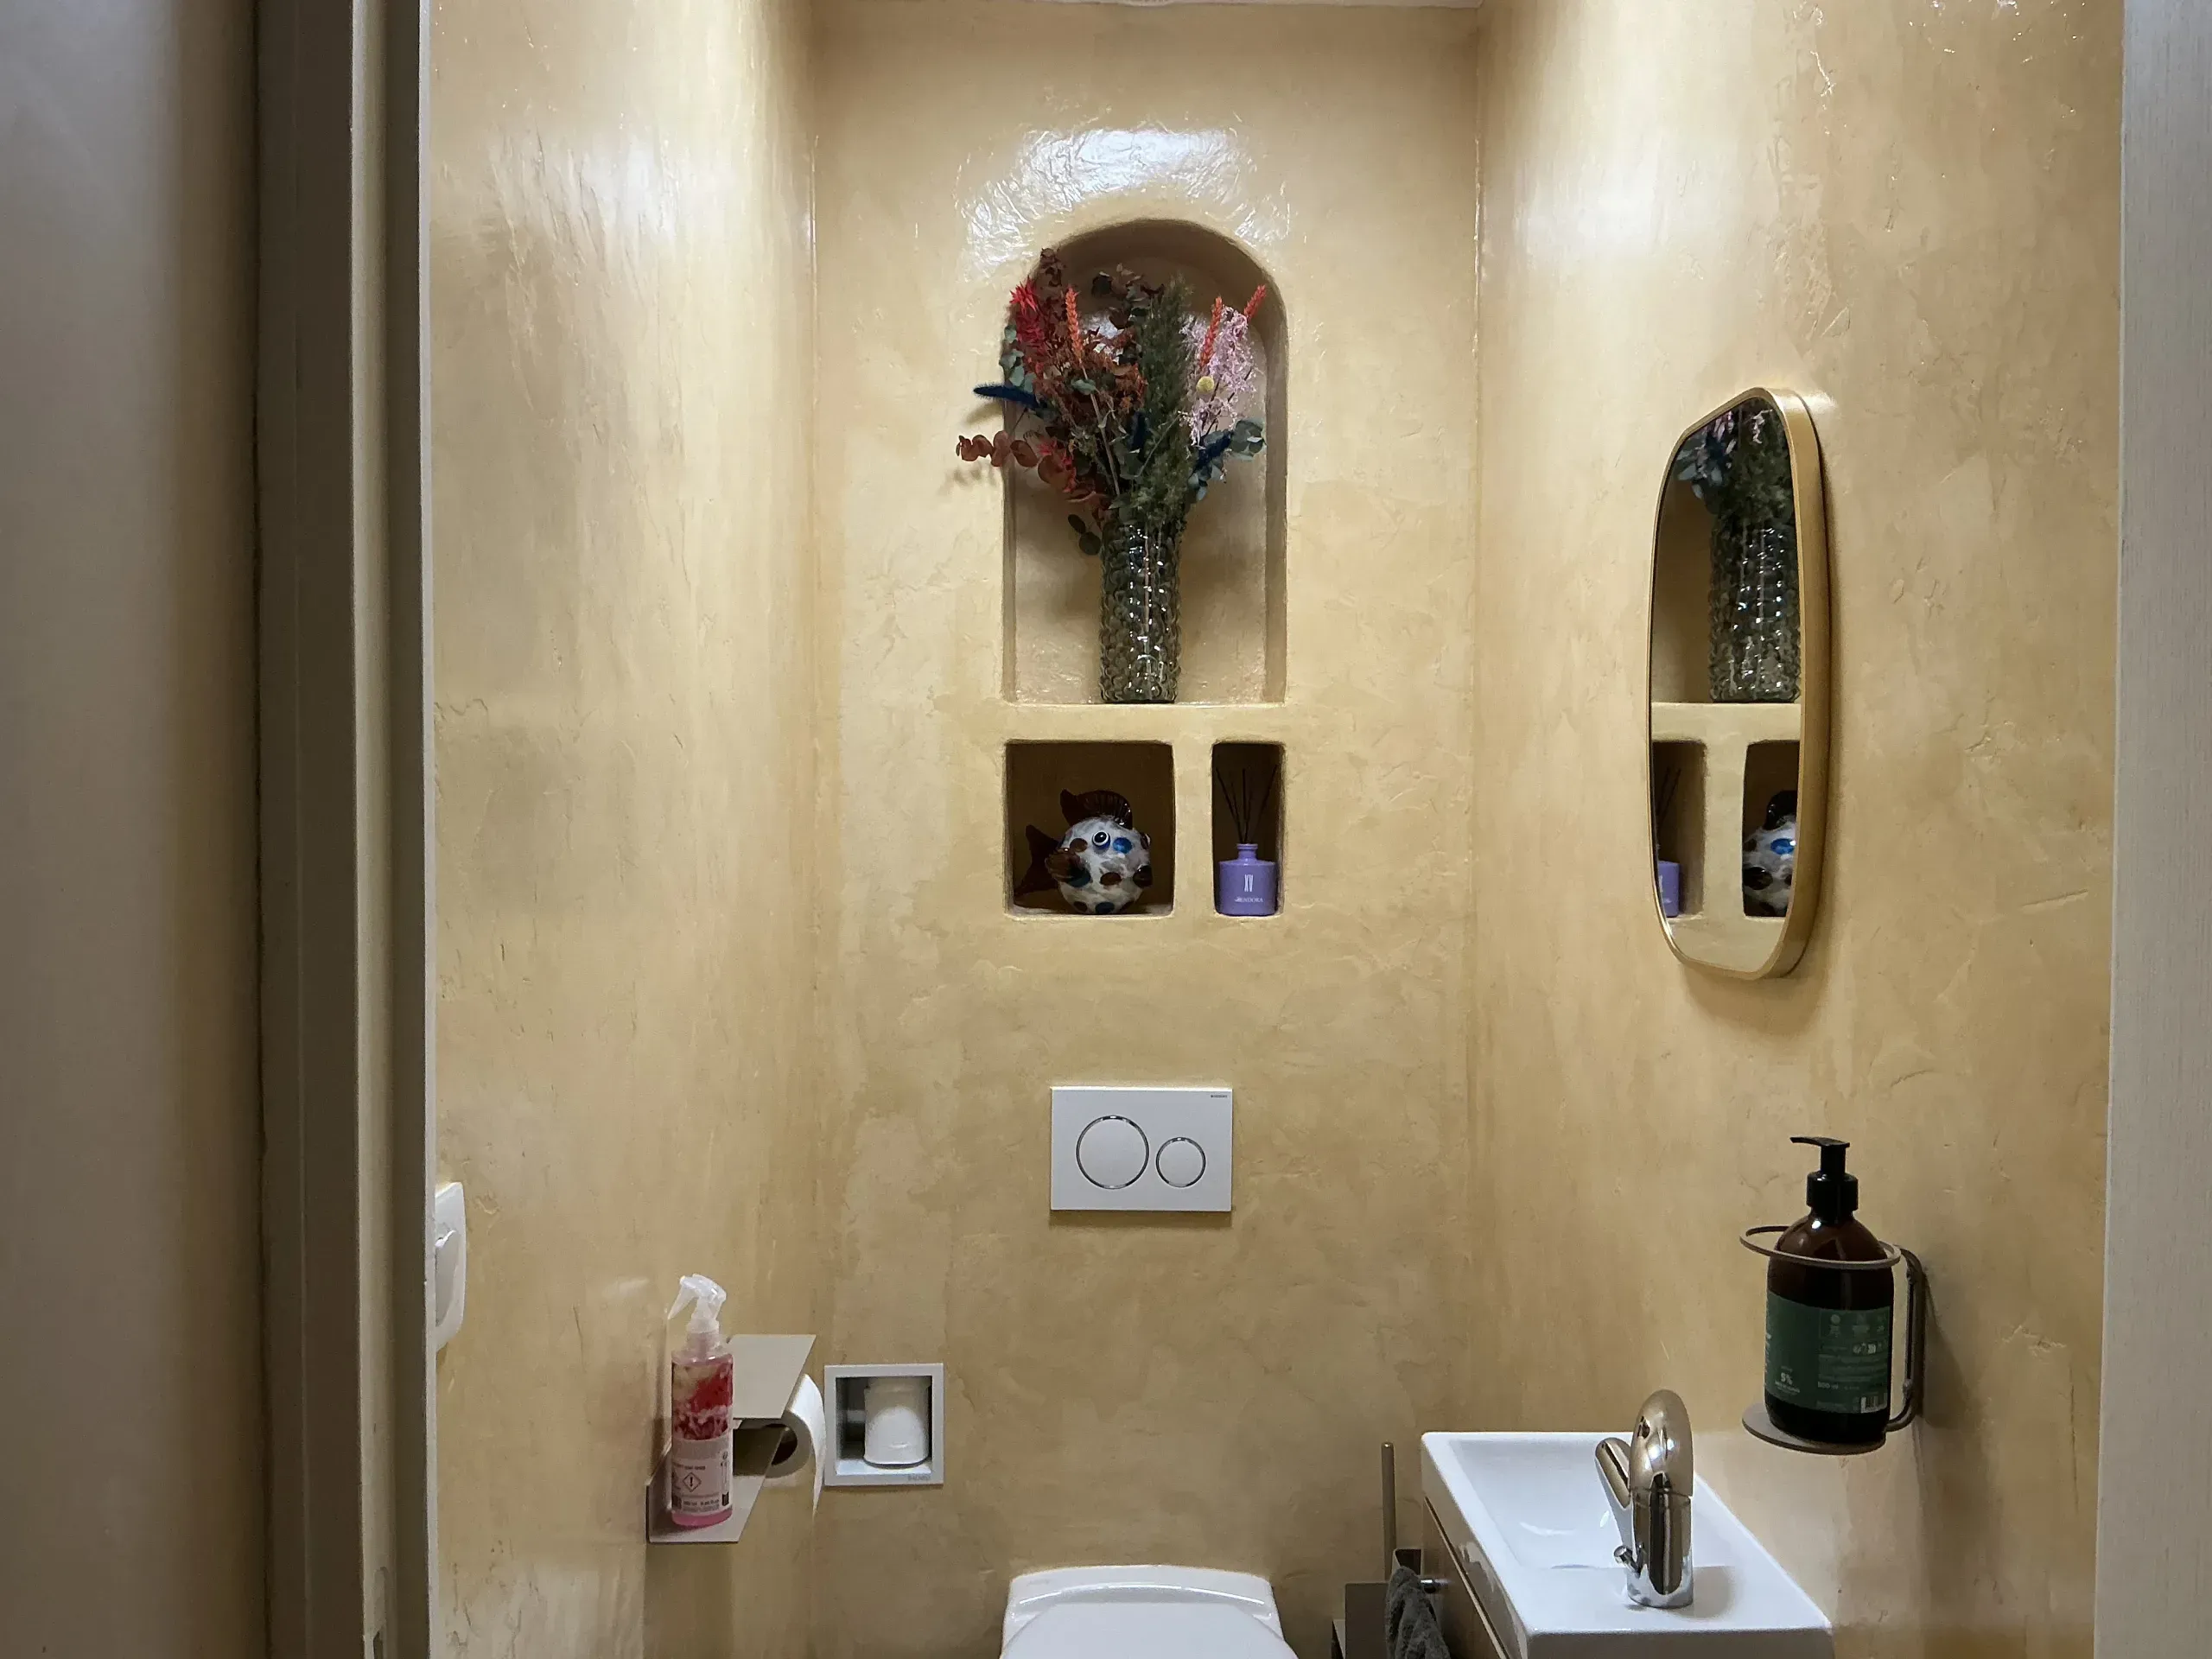
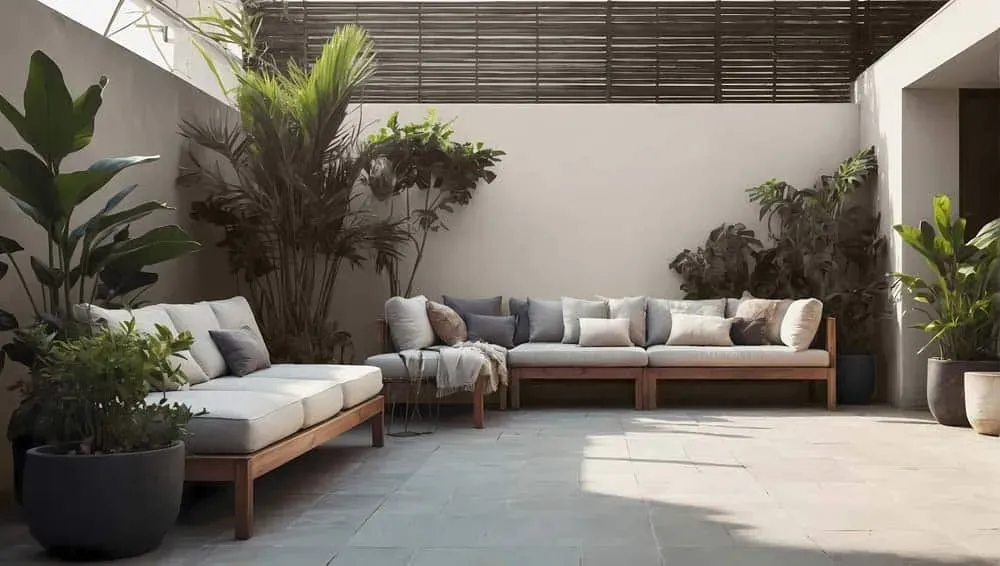
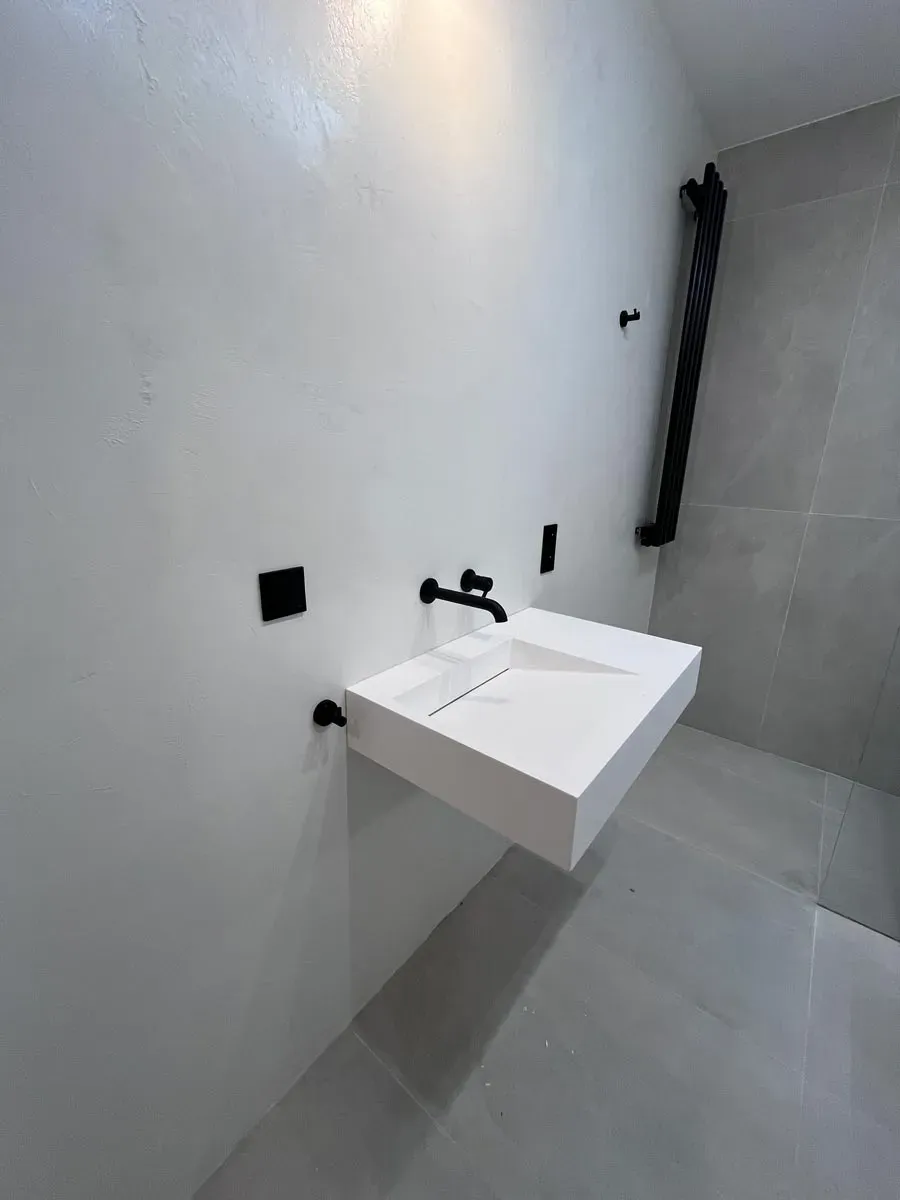
- Areas of application: Indoors & outdoors and damp rooms with PU sealant
- Premium quality direct from the manufacturer
- Curing time: approx. 8 hours - Final hardness: after approx. 7 days
- Label elements
Instructions for Use

Primer
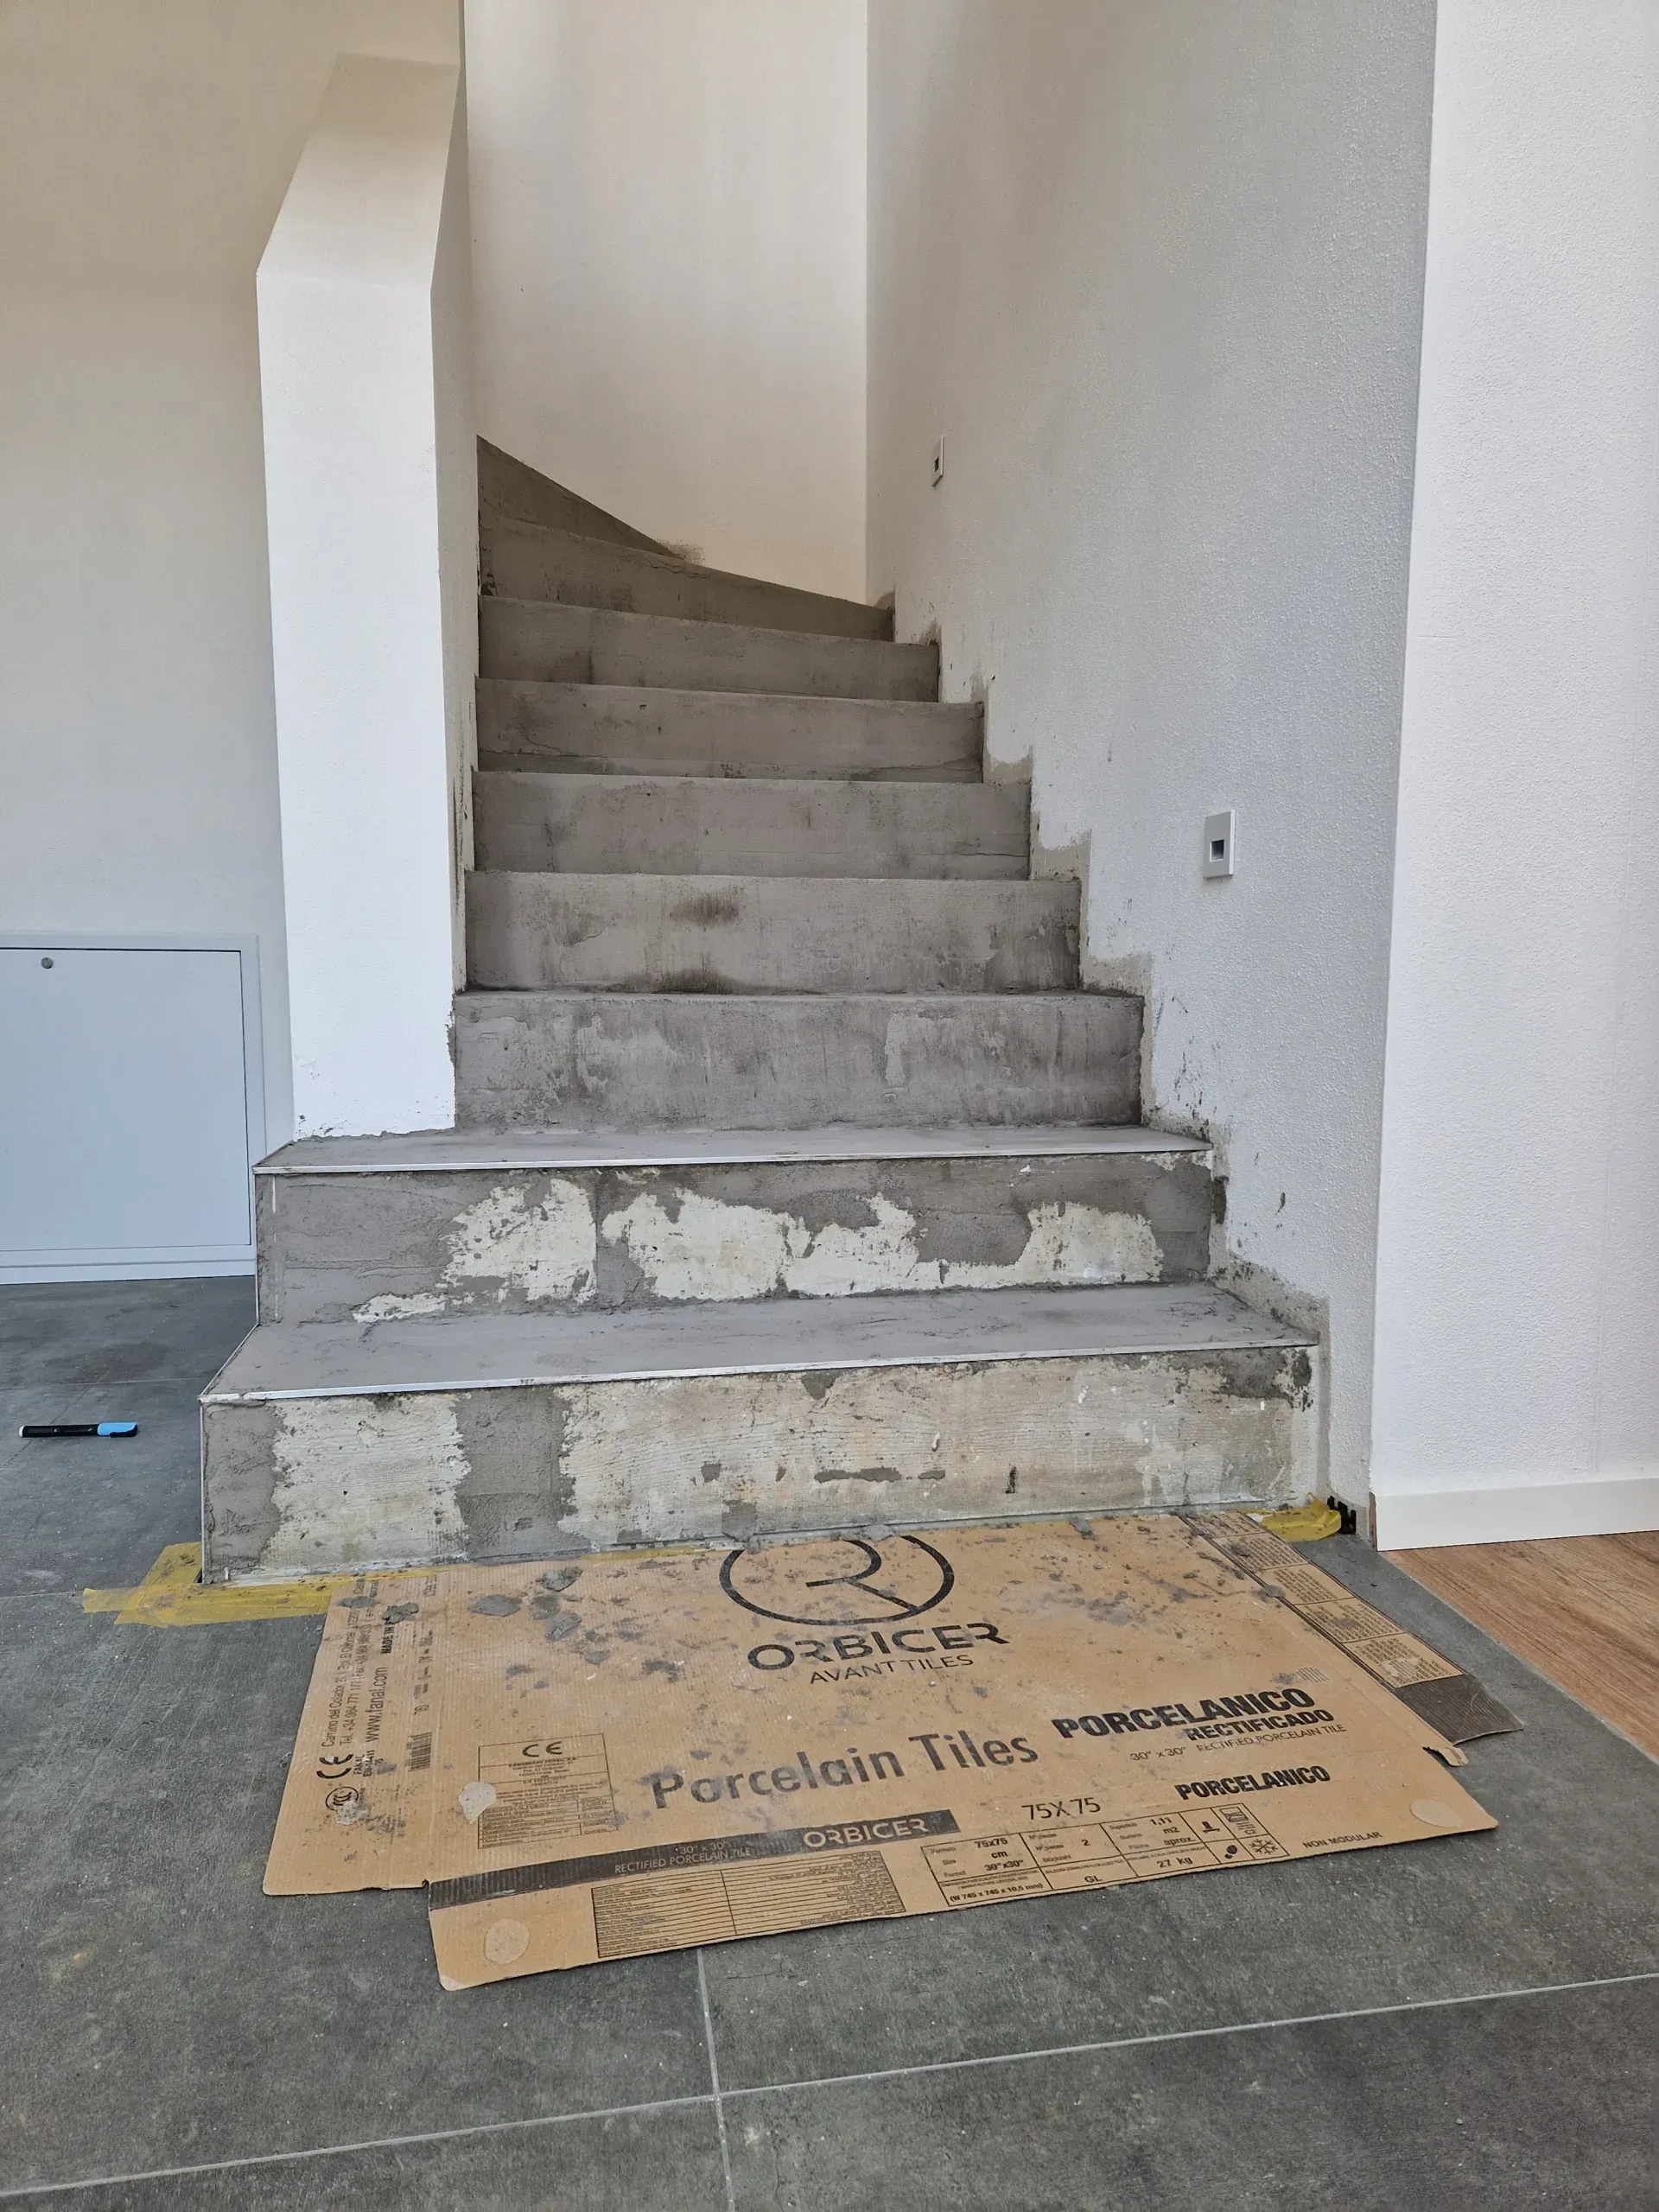
- The substrate must be stable, dry, and free of dirt, separating agents, and coarse unevenness.
- Sand off any unevenness.
- If required, use our Putty Primer on your walls and 2K EP Levelling Compound on your floor to level and prime, for example on tiles.
- If your area to be coated is already levelled and smooth, use either our 2K Bonding Primer (for non-absorbent surfaces) or Deep primer (for absorbent surfaces) to prime your substrate.
Main Coating
- Mix microcement A components with the Liquid B component in the mixing ratio specified on the label.
- Add 2% WB pigment to colour the material (i.e. 2x100 g WB Pigment to 1 bag microcement powder and its liquid B-component).
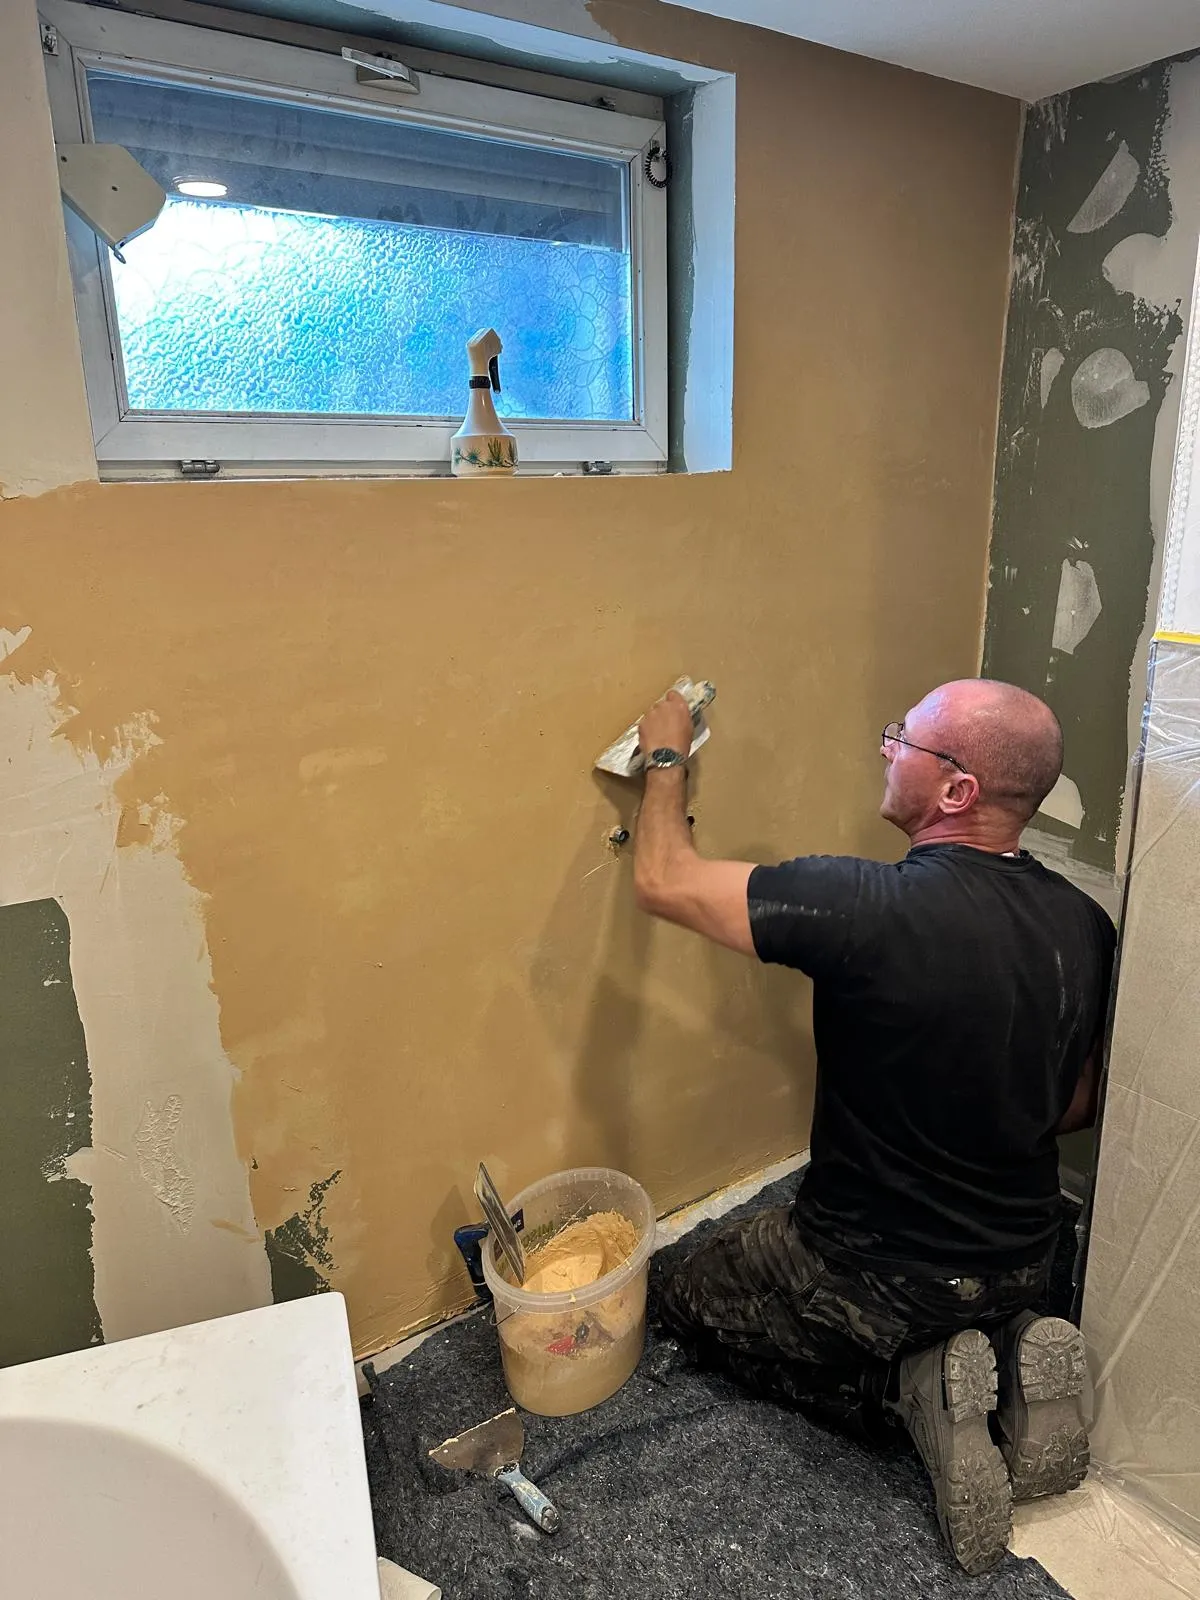
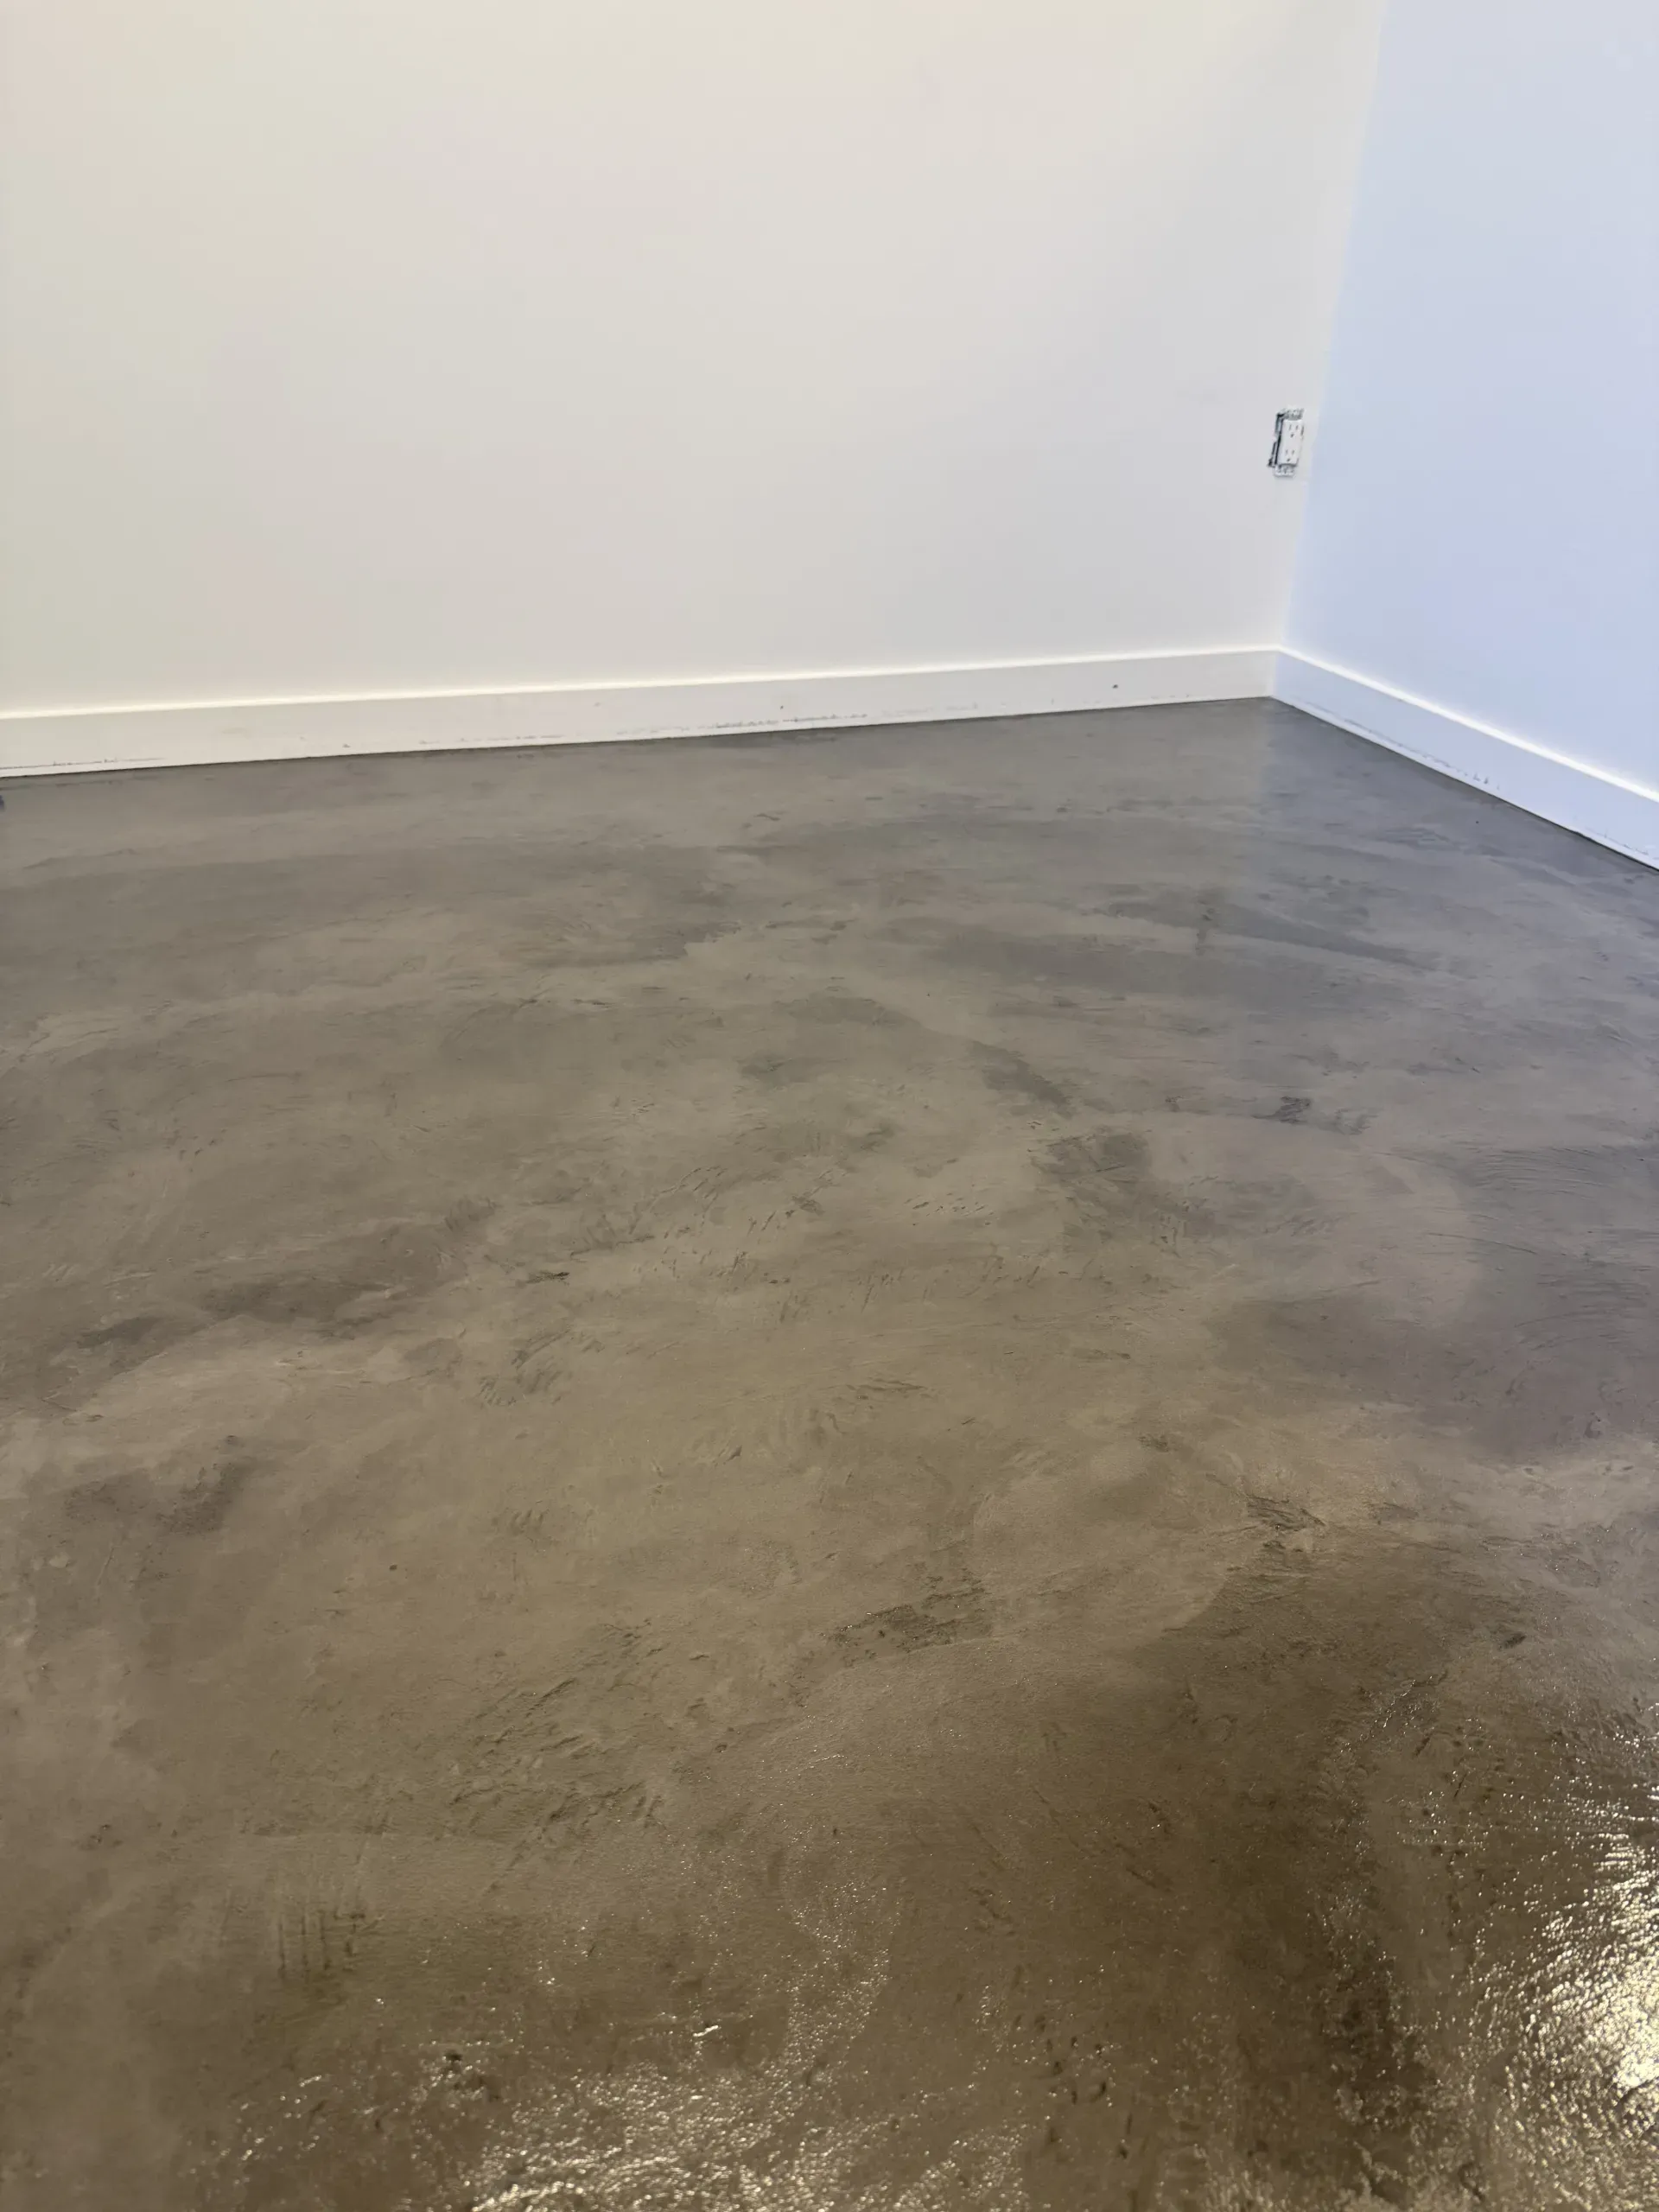
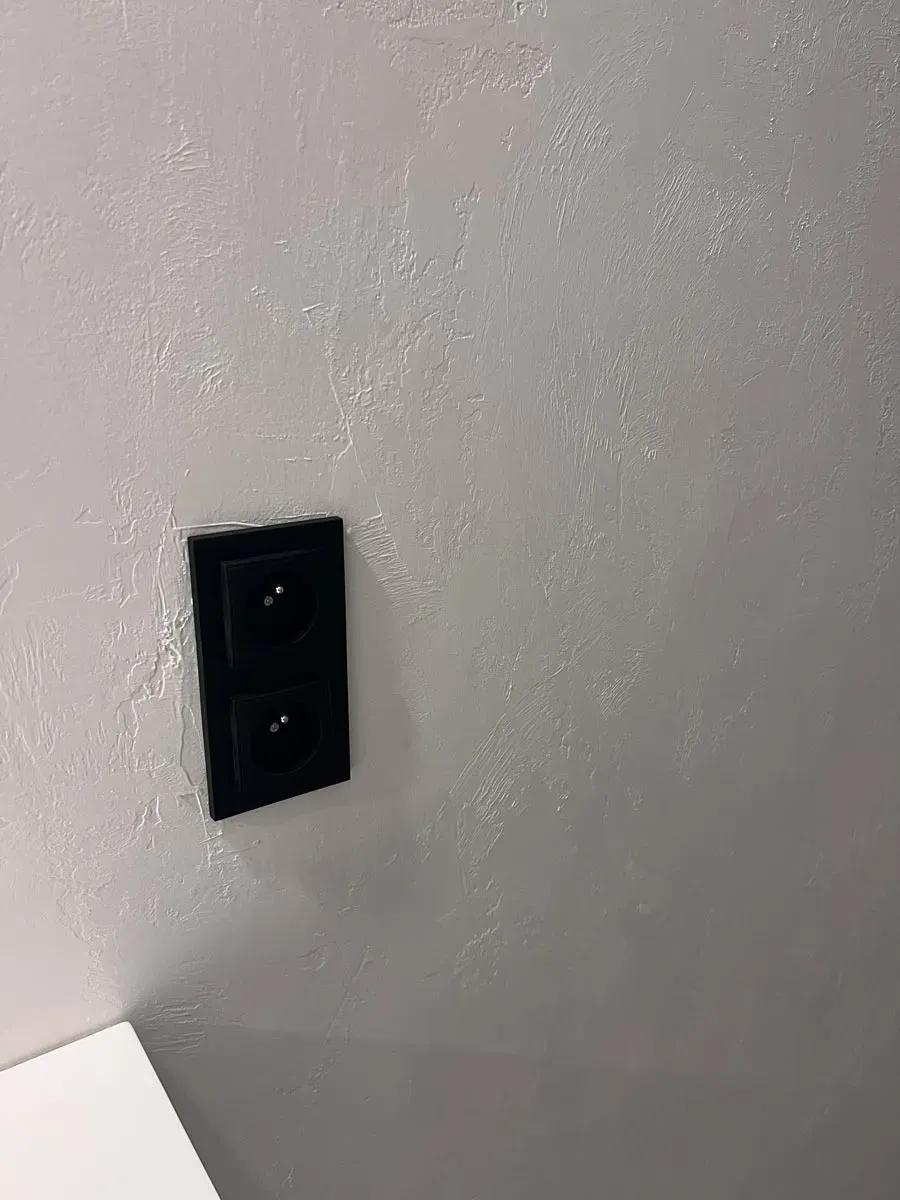
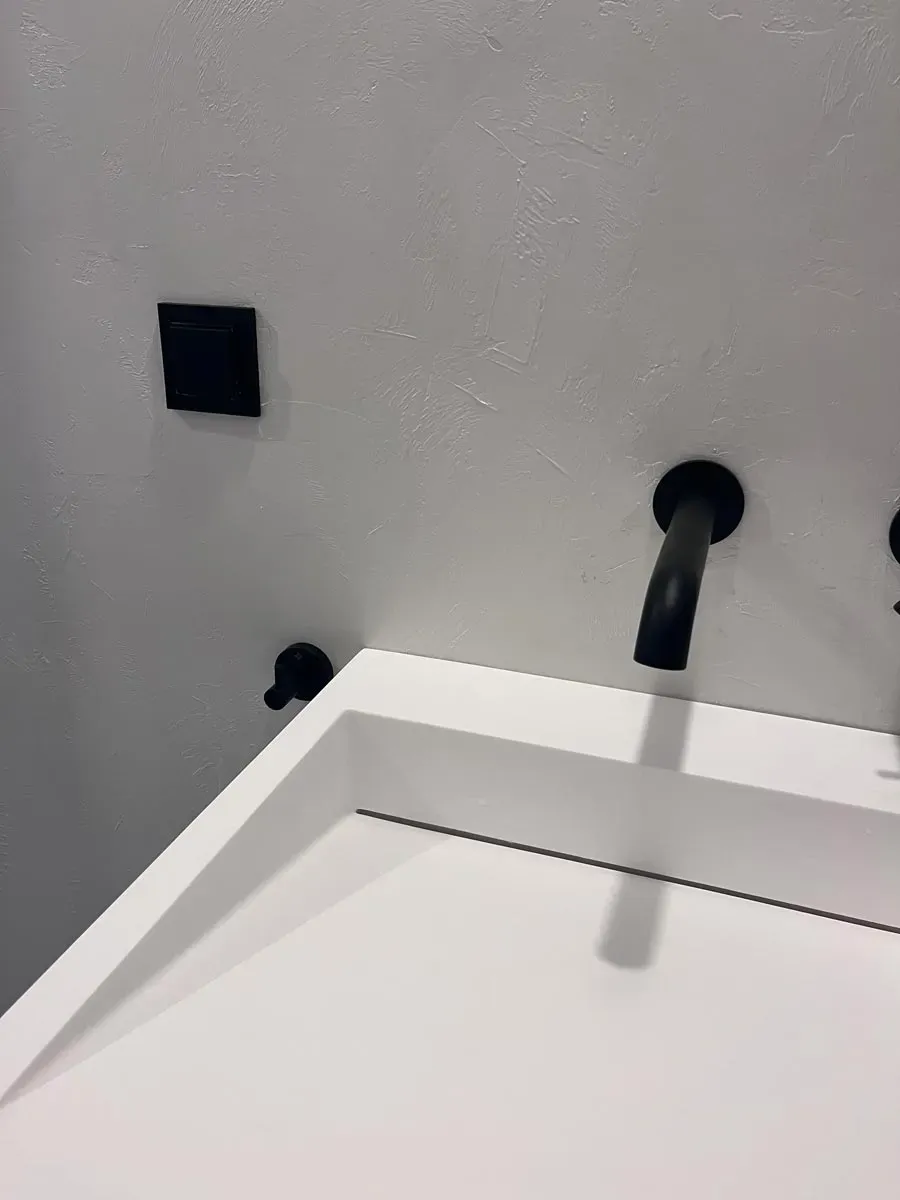
- Spread the material thinly with a trowel and allow to dry.
- Sand off any unevenness in the surface greater than 3mm and vacuum up any sanding dust.
- Apply a second coat in the same way within 24 hours.
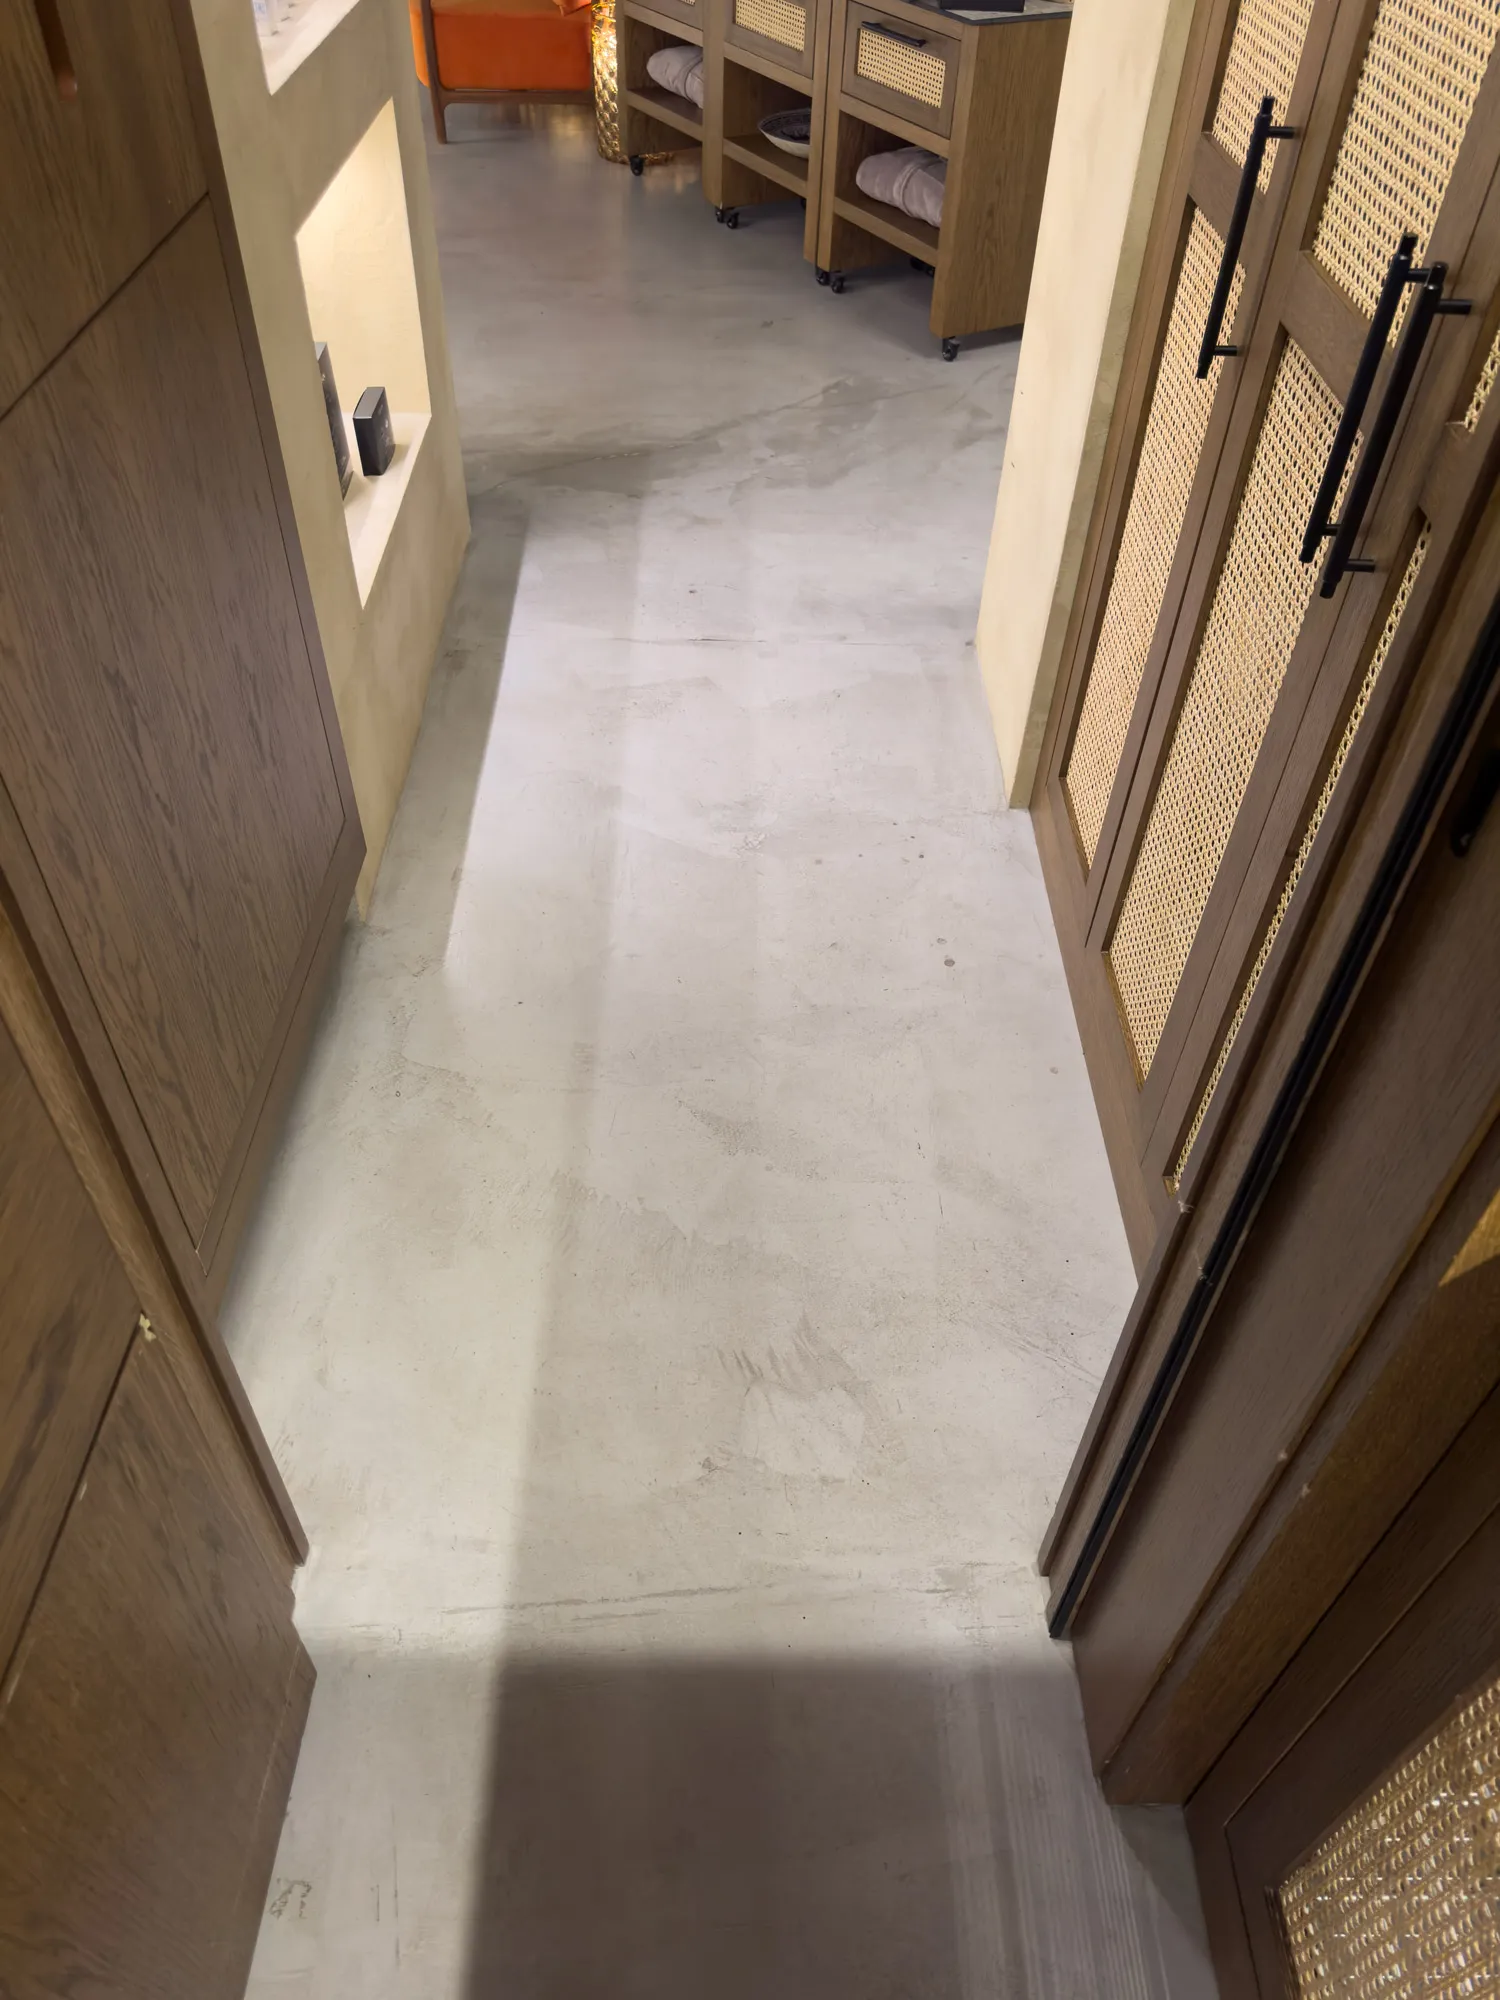
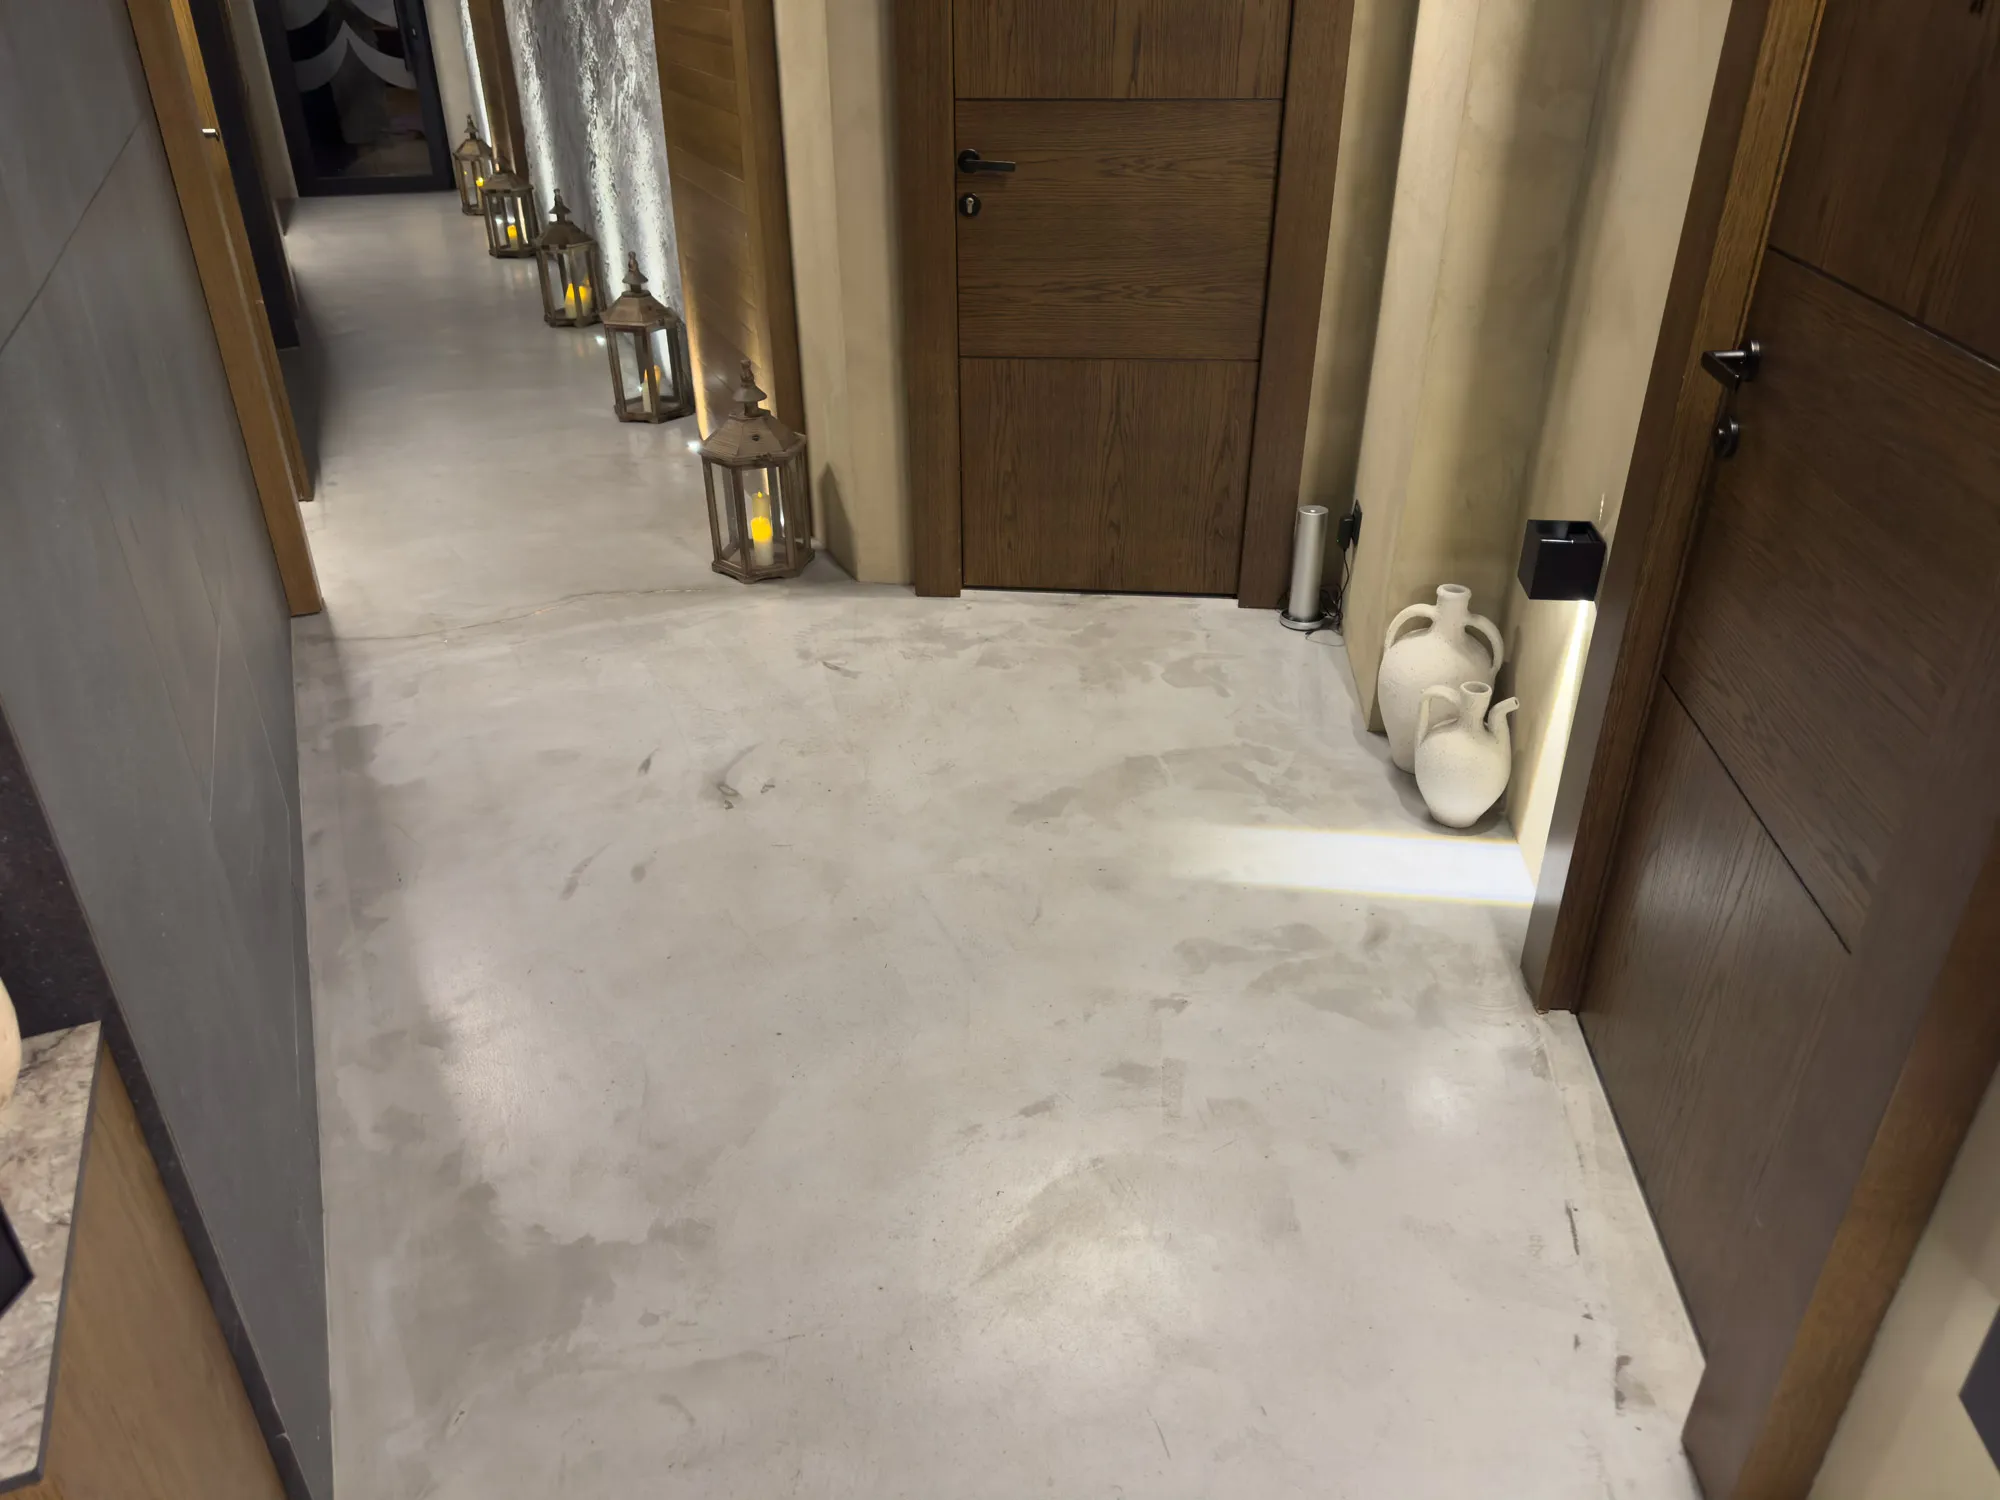
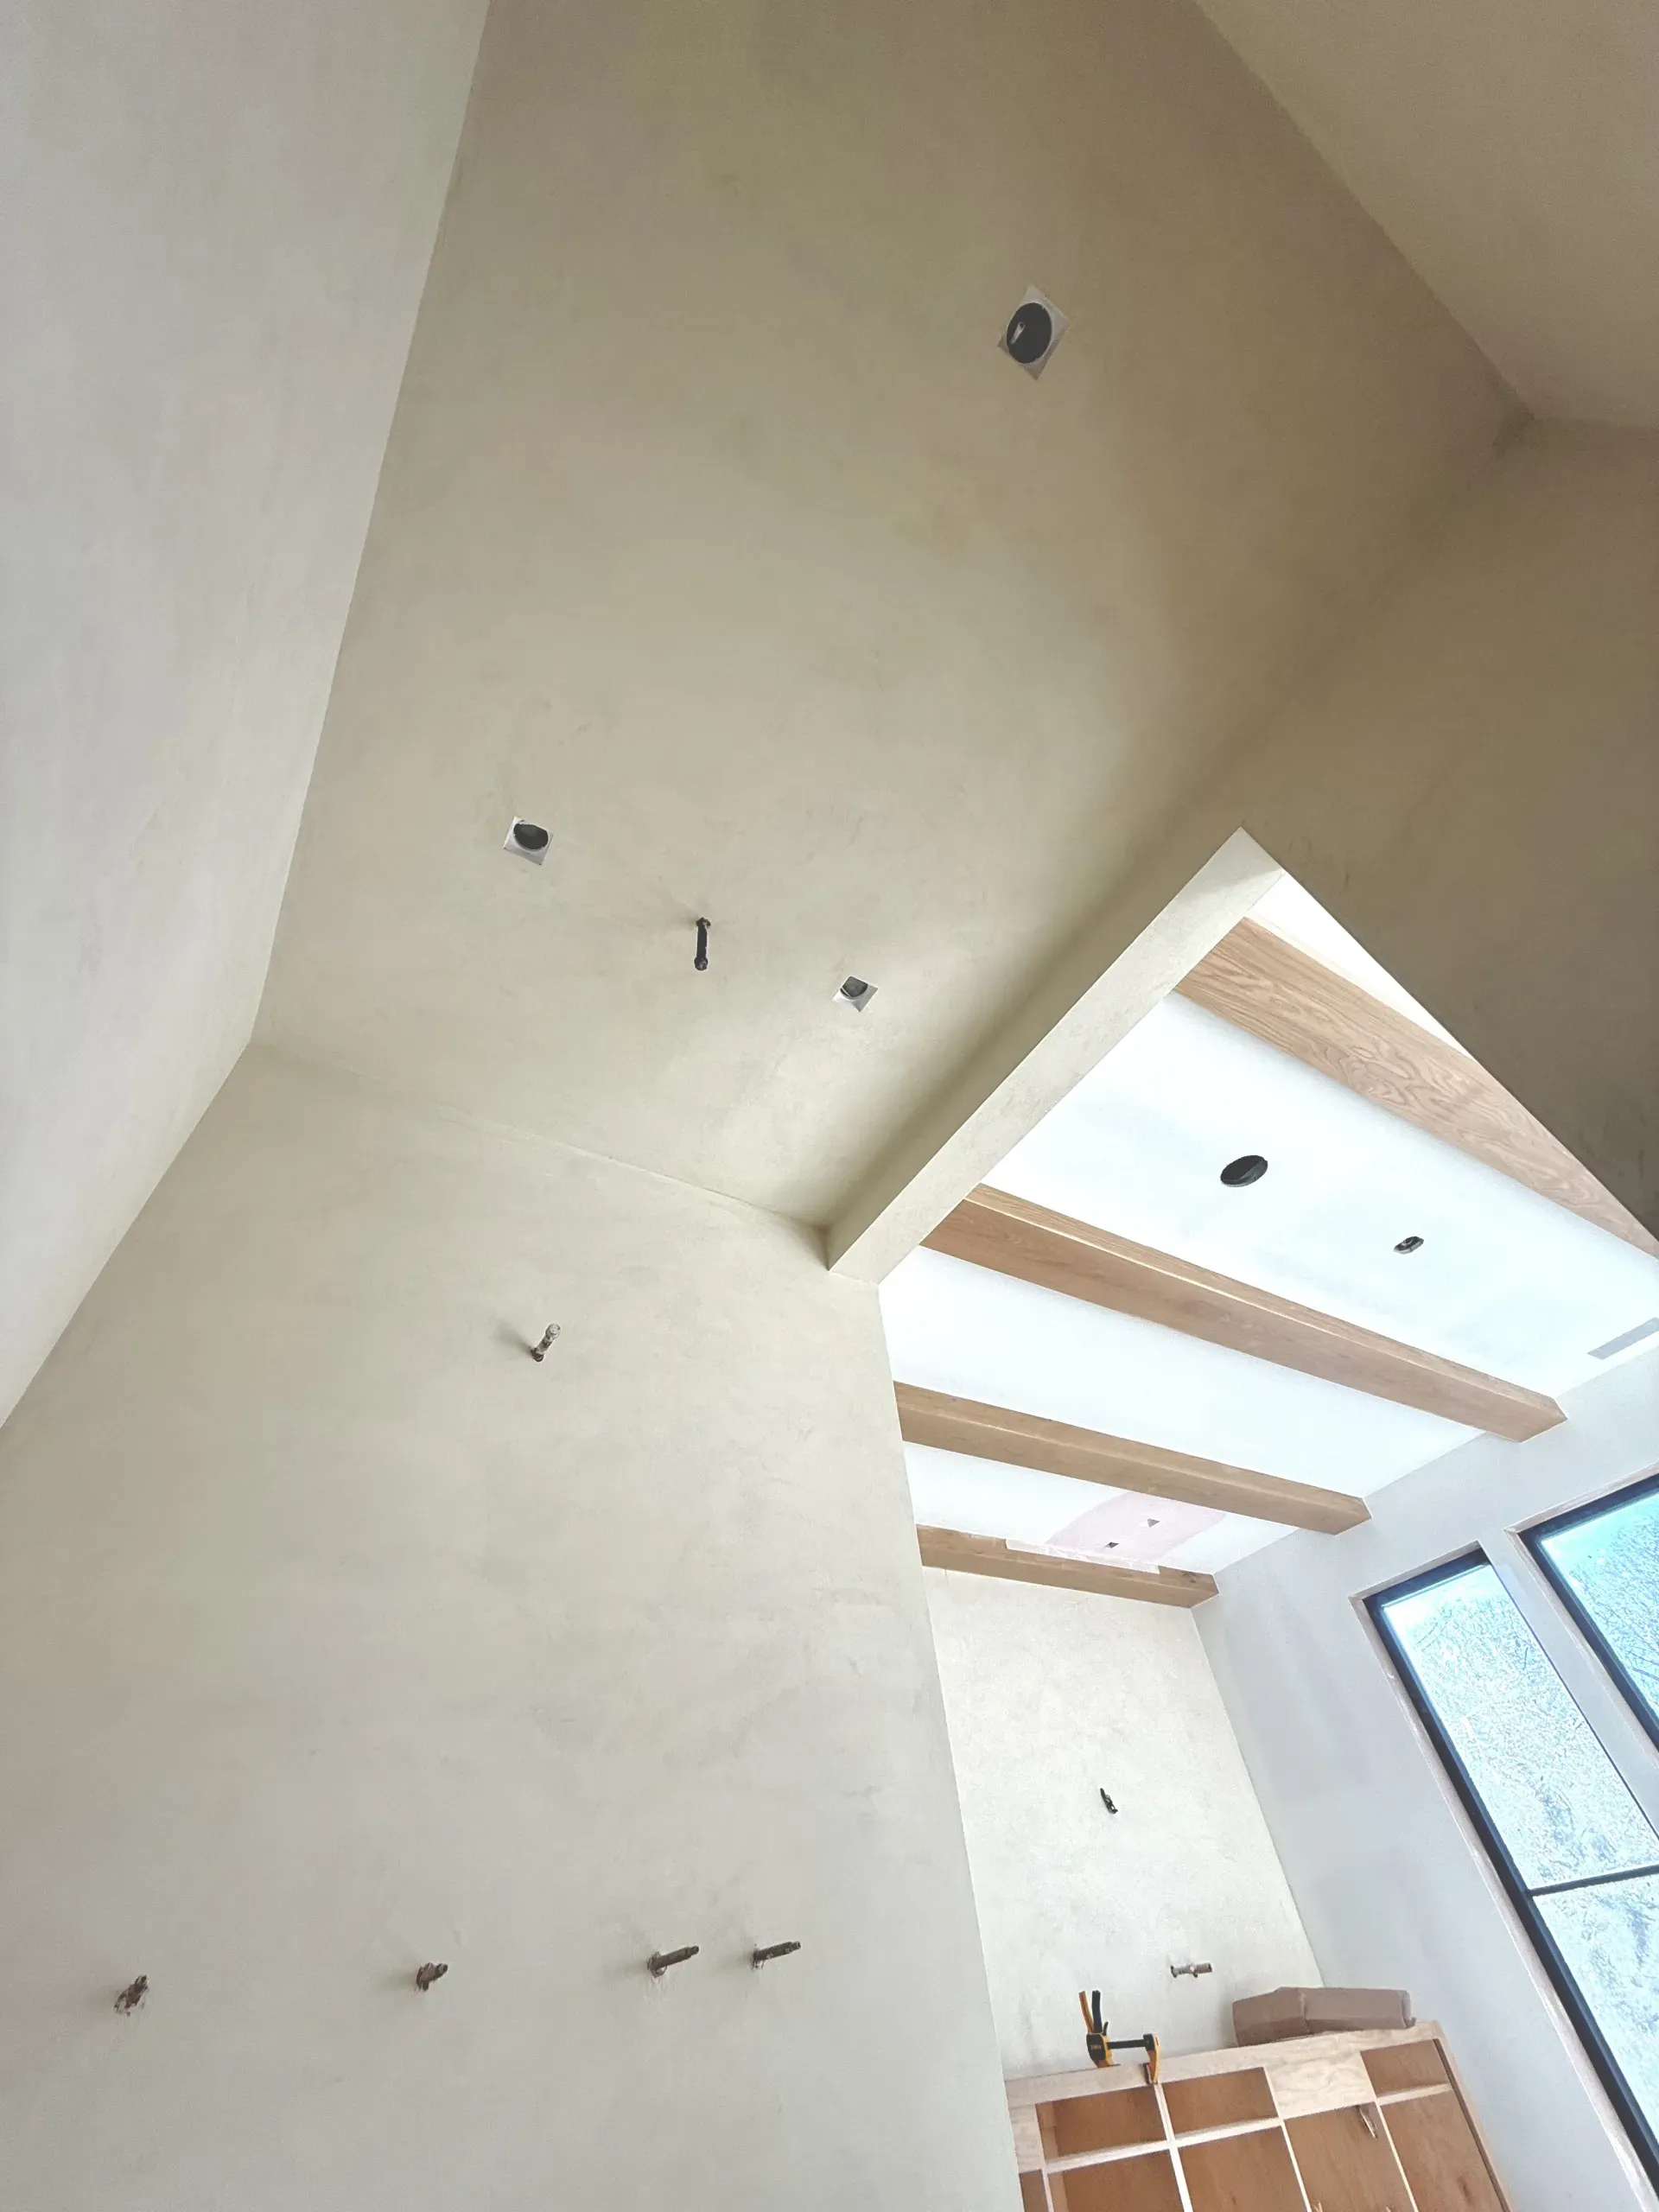
Application of microcement on walls: Layer 1 (medium grain size): 1.2 kg/m², Layer 2 (medium grain size): 1.2 kg/m² Application of microcement on a floor: Layer 1 (large grain size): 1.6 kg/m², layer 2 (medium grain size): 1.2 kg/m²
Pro Tip: If you exceed 24 hours between the microcement layers, sand the first layer and remove the dust. This roughens the surface for better bonding and ensures the next layer won't break off. For stubborn fine particles, use a light brush of liquid B. Brush or roll on a small amount to avoid flooding the surface.
Sealant
Note: For wet rooms, surfaces with direct water contact, as well as heavily used surfaces (high mechanical load, cleaning with aggressive cleaning agents, etc.), we recommend sealing the surface with EPODEX Polyurethane Resin (PU Finish) in matte.
- To mix, pour the entire contents of PU Finish Component B into the container of PU Finish Component A and mix thoroughly.
- Apply the material thinly and in a crosshatch pattern using a paint roller and brush. First paint laterally to the light source, then wet-on-wet in the direction of the light to avoid visible brush marks.
Important: Especially inside the shower and in areas with permanent water contact, we recommend applying our PU Finish exclusively with a brush (e.g. 10 cm / 4" width) in a crosshatch pattern to fully close all pores. For heavily textured surfaces outside the wet area, a brush should also be used (and not a paint roller). We recommend two coats. - Allow the material to cure for at least 16 hours, then apply the second coat.
- Allow the material to cure for 48 hours after the second coat. Inside the shower and in areas with permanent water contact, allow 7 days to cure before the coating comes into contact with water.
Pro Tip: To ensure that your PU is applied everywhere, apply the quantity received in 2 coats. By applying 2 coats in a criss-cross motion, the chance of an unsealed gap is greatly reduced.
Customer Service: If you have further questions, please contact us by phone, e-mail or use our Livechat support.
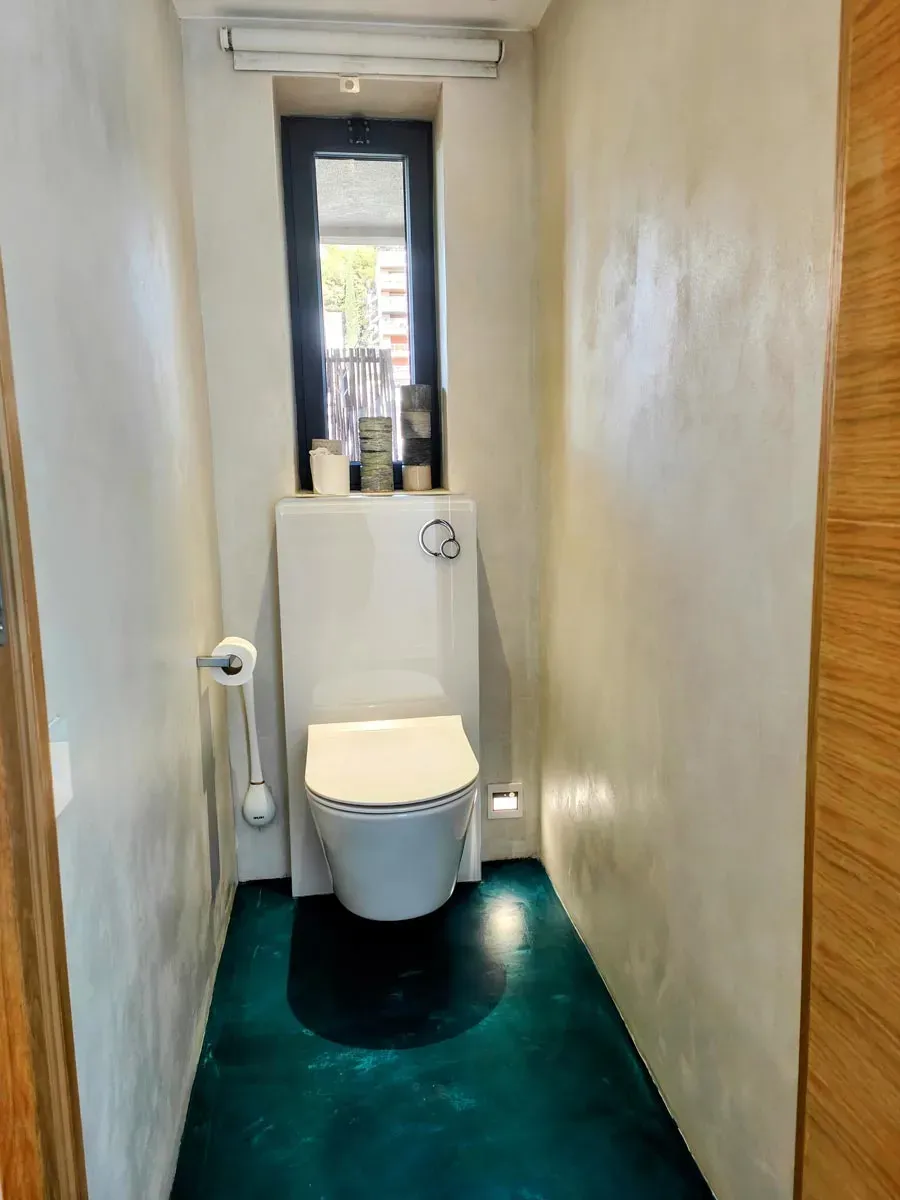
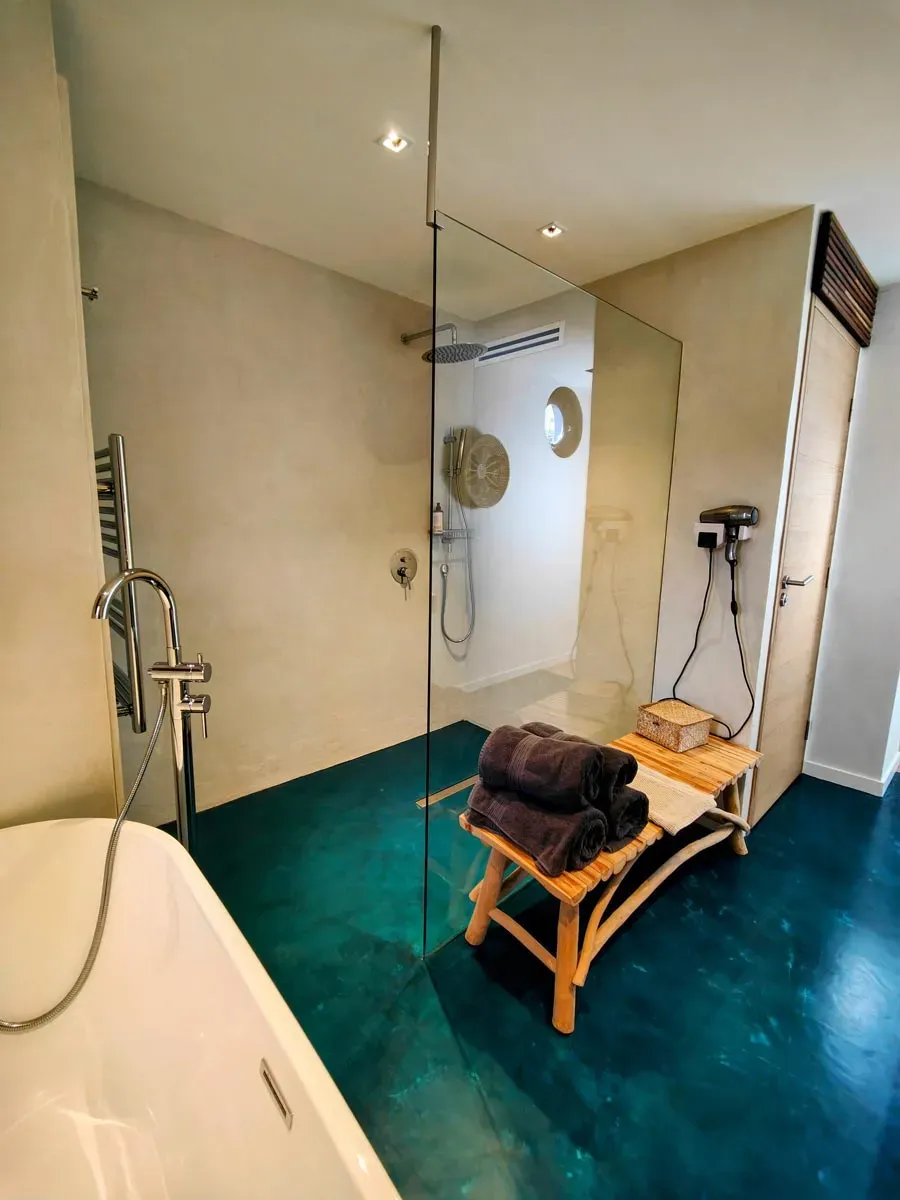
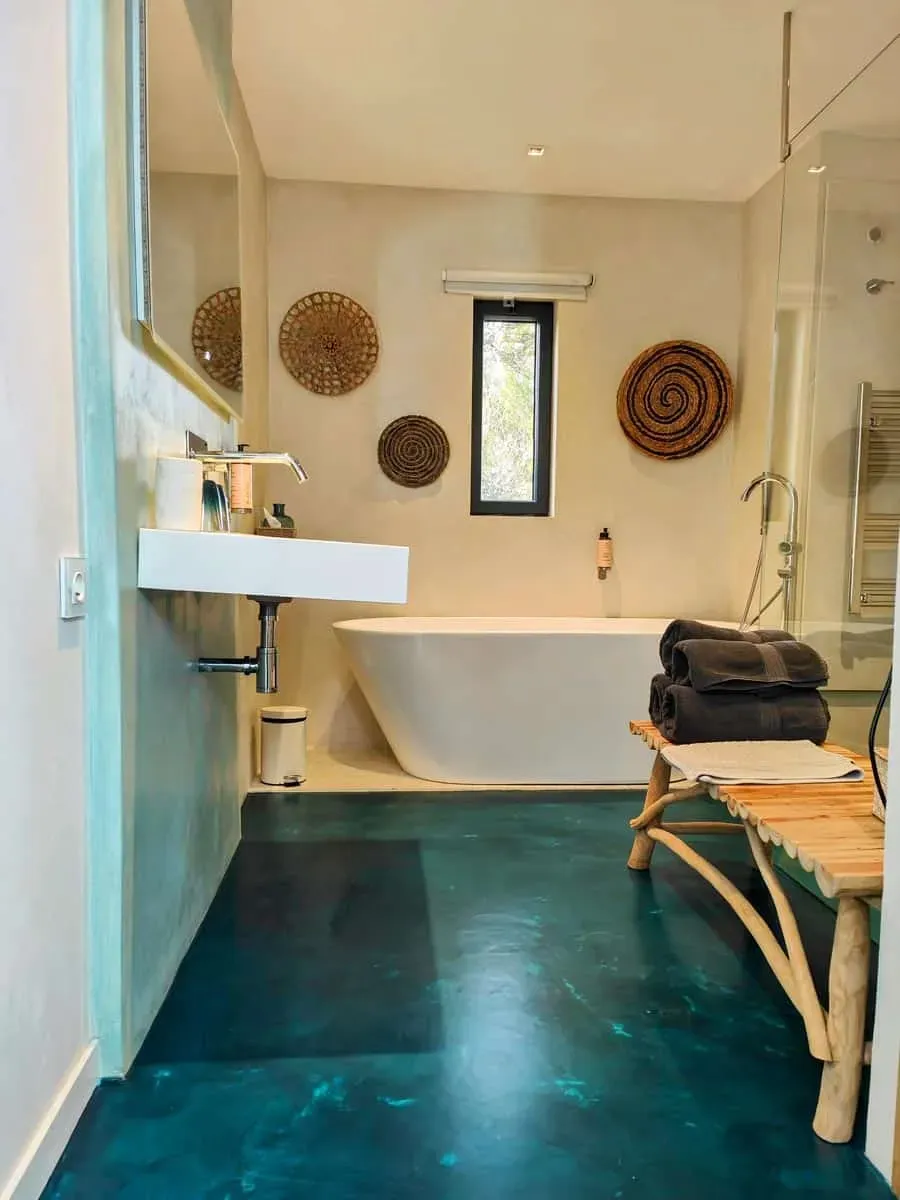
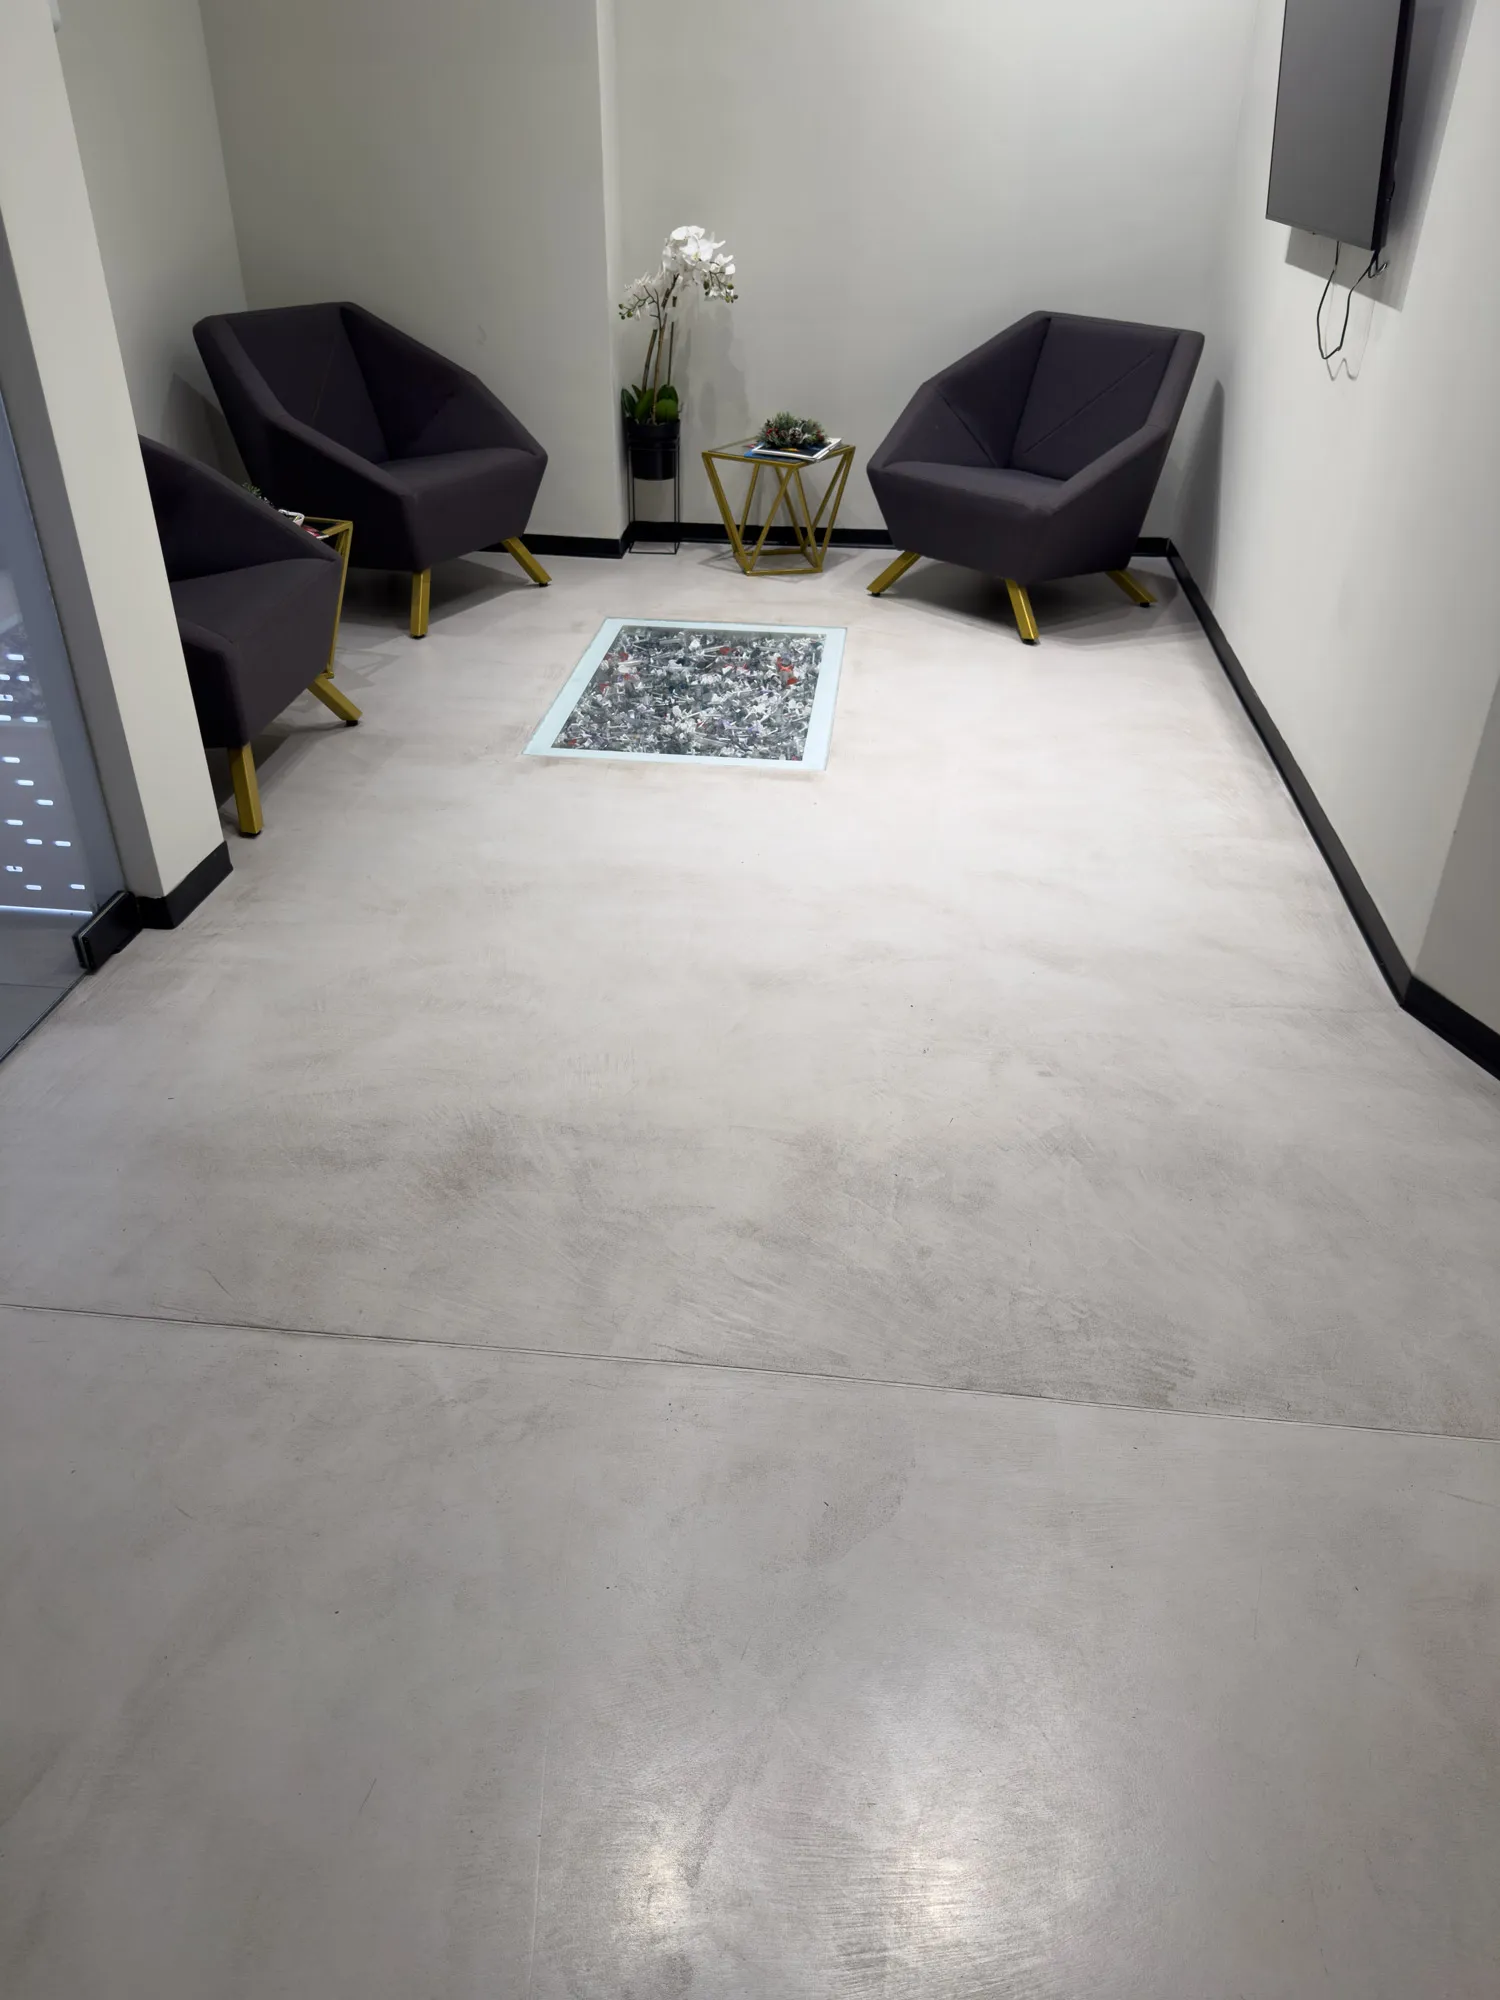
Note: Please note that due to different lighting conditions and monitors, the colours may not be uniformly displayed.
reviews
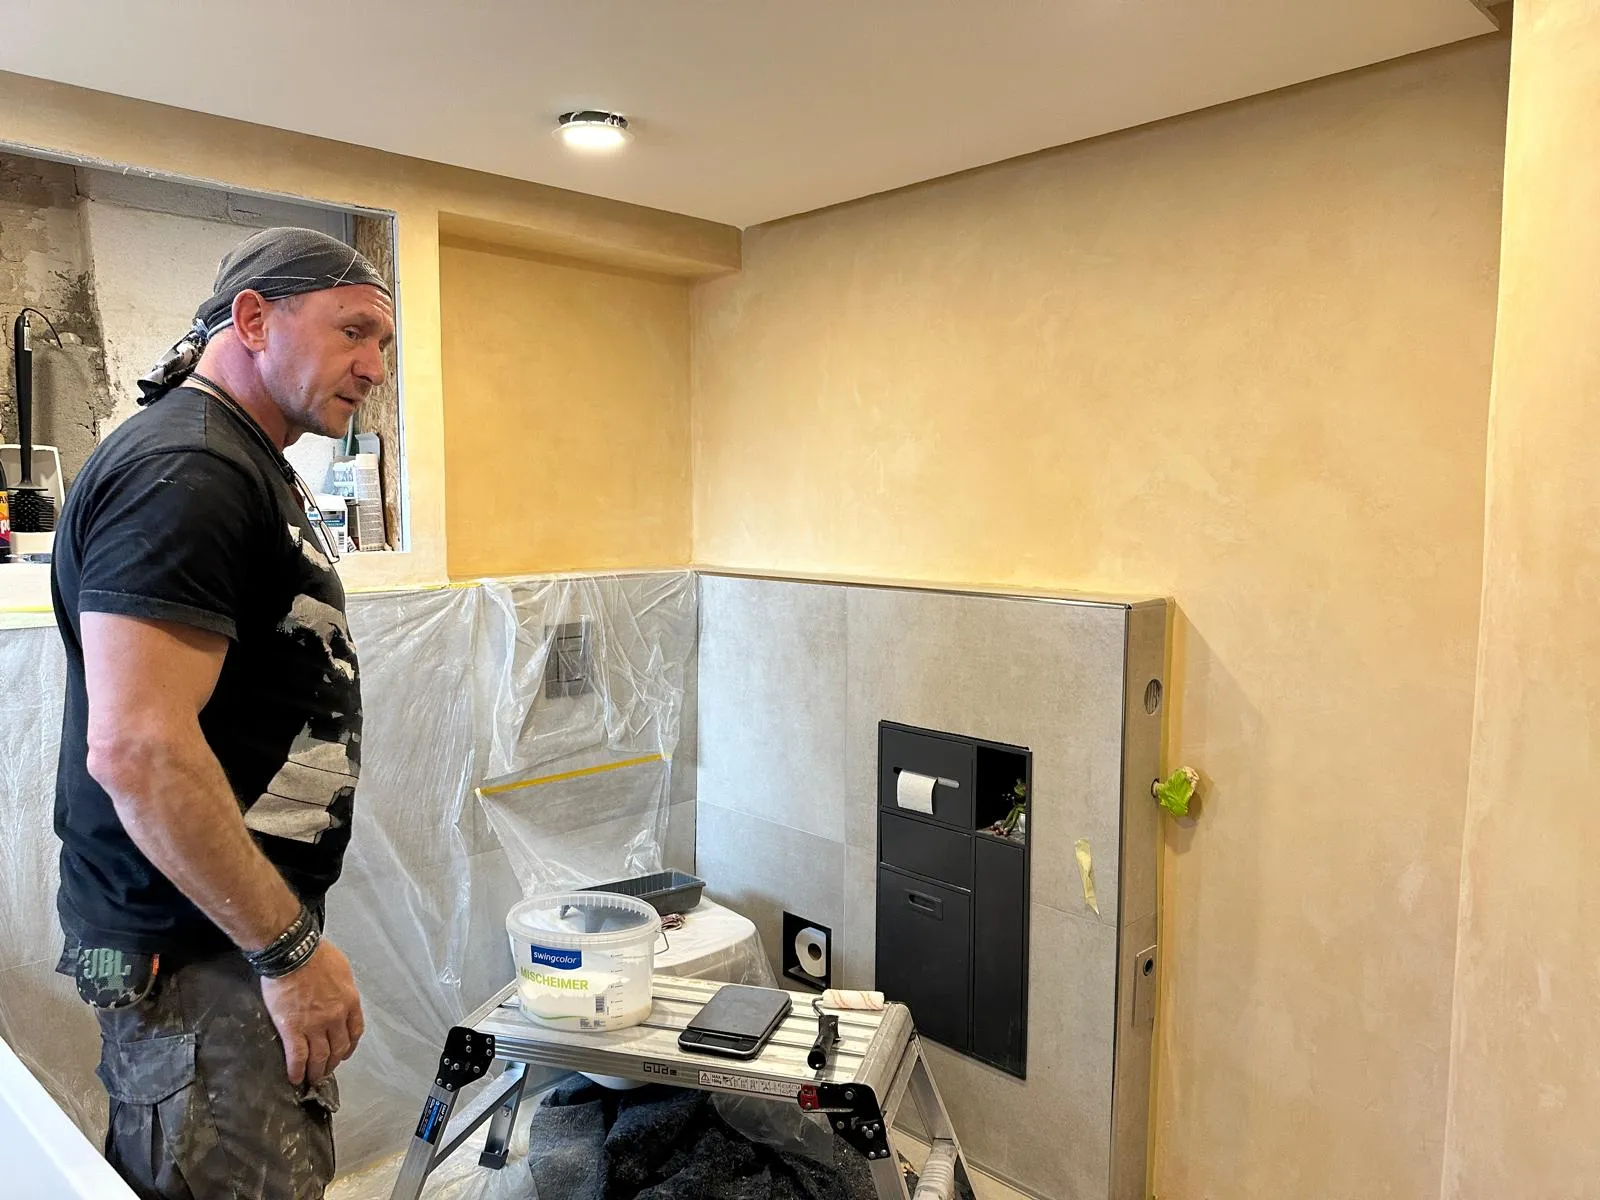
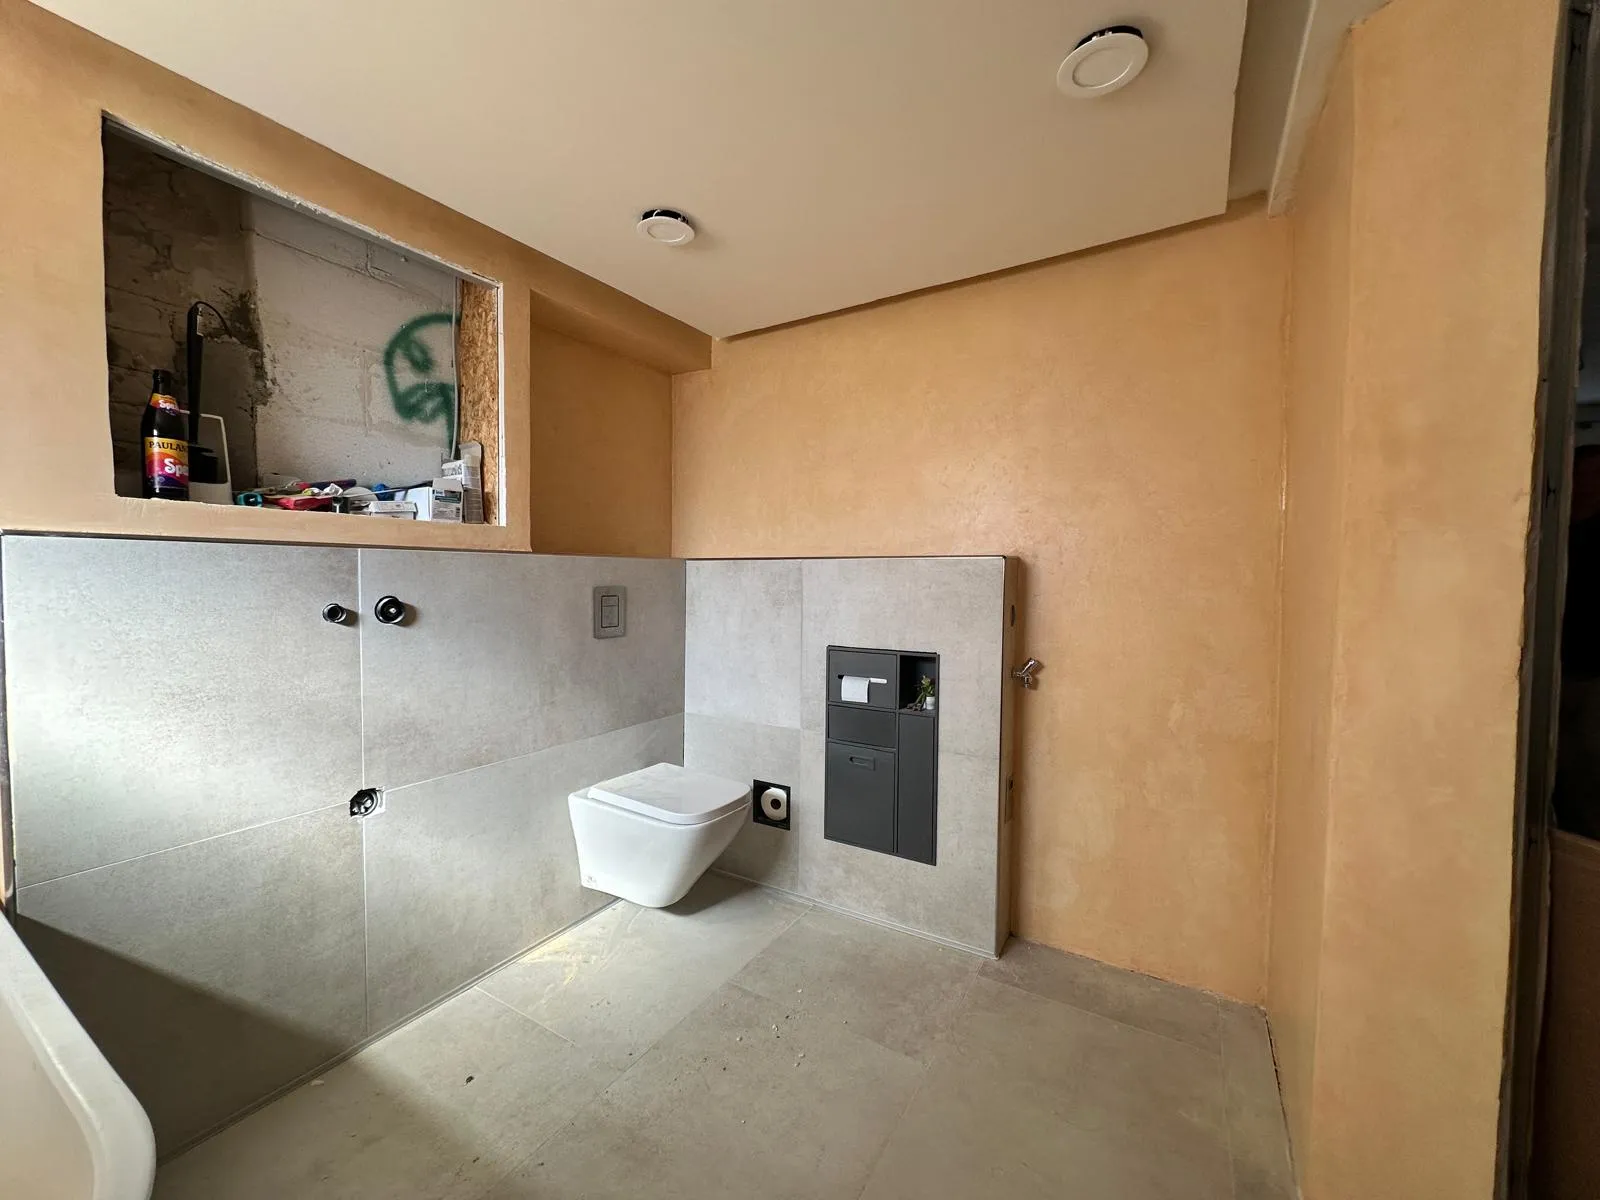
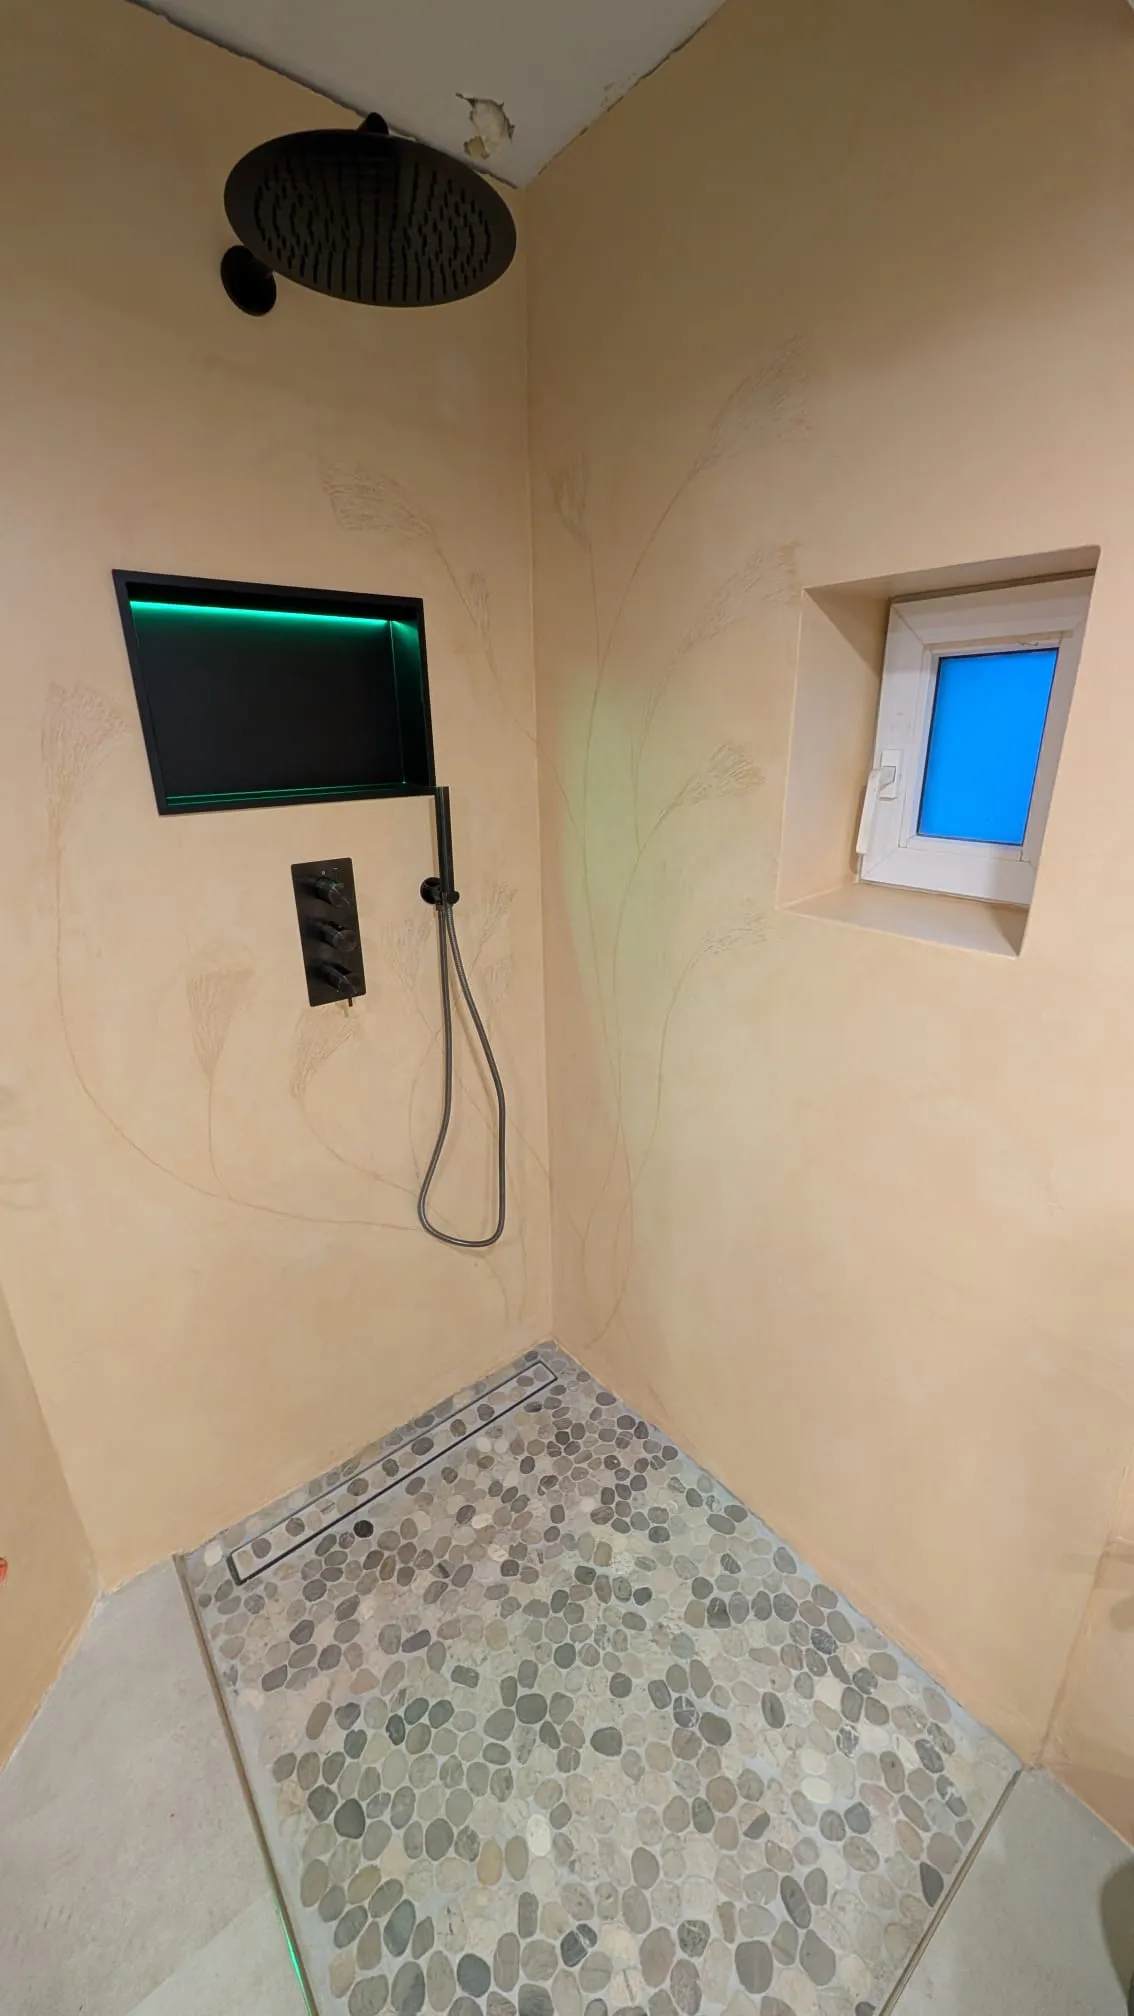
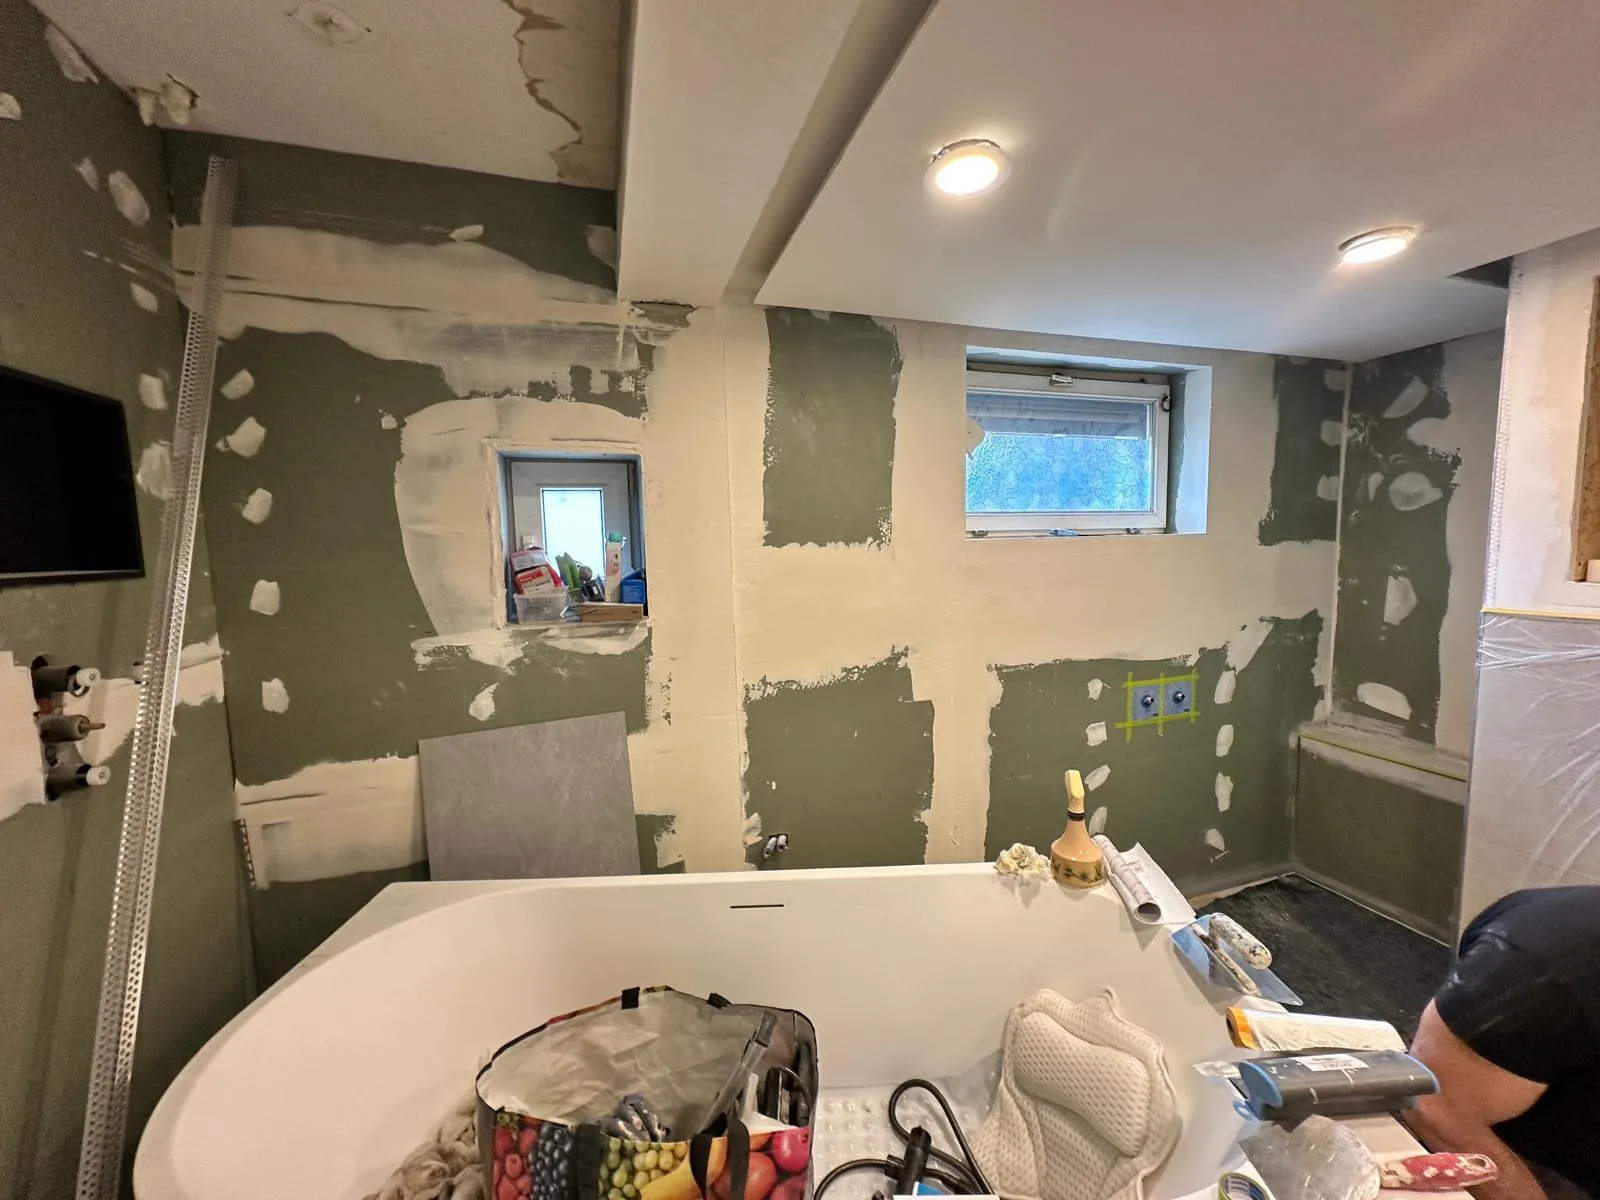
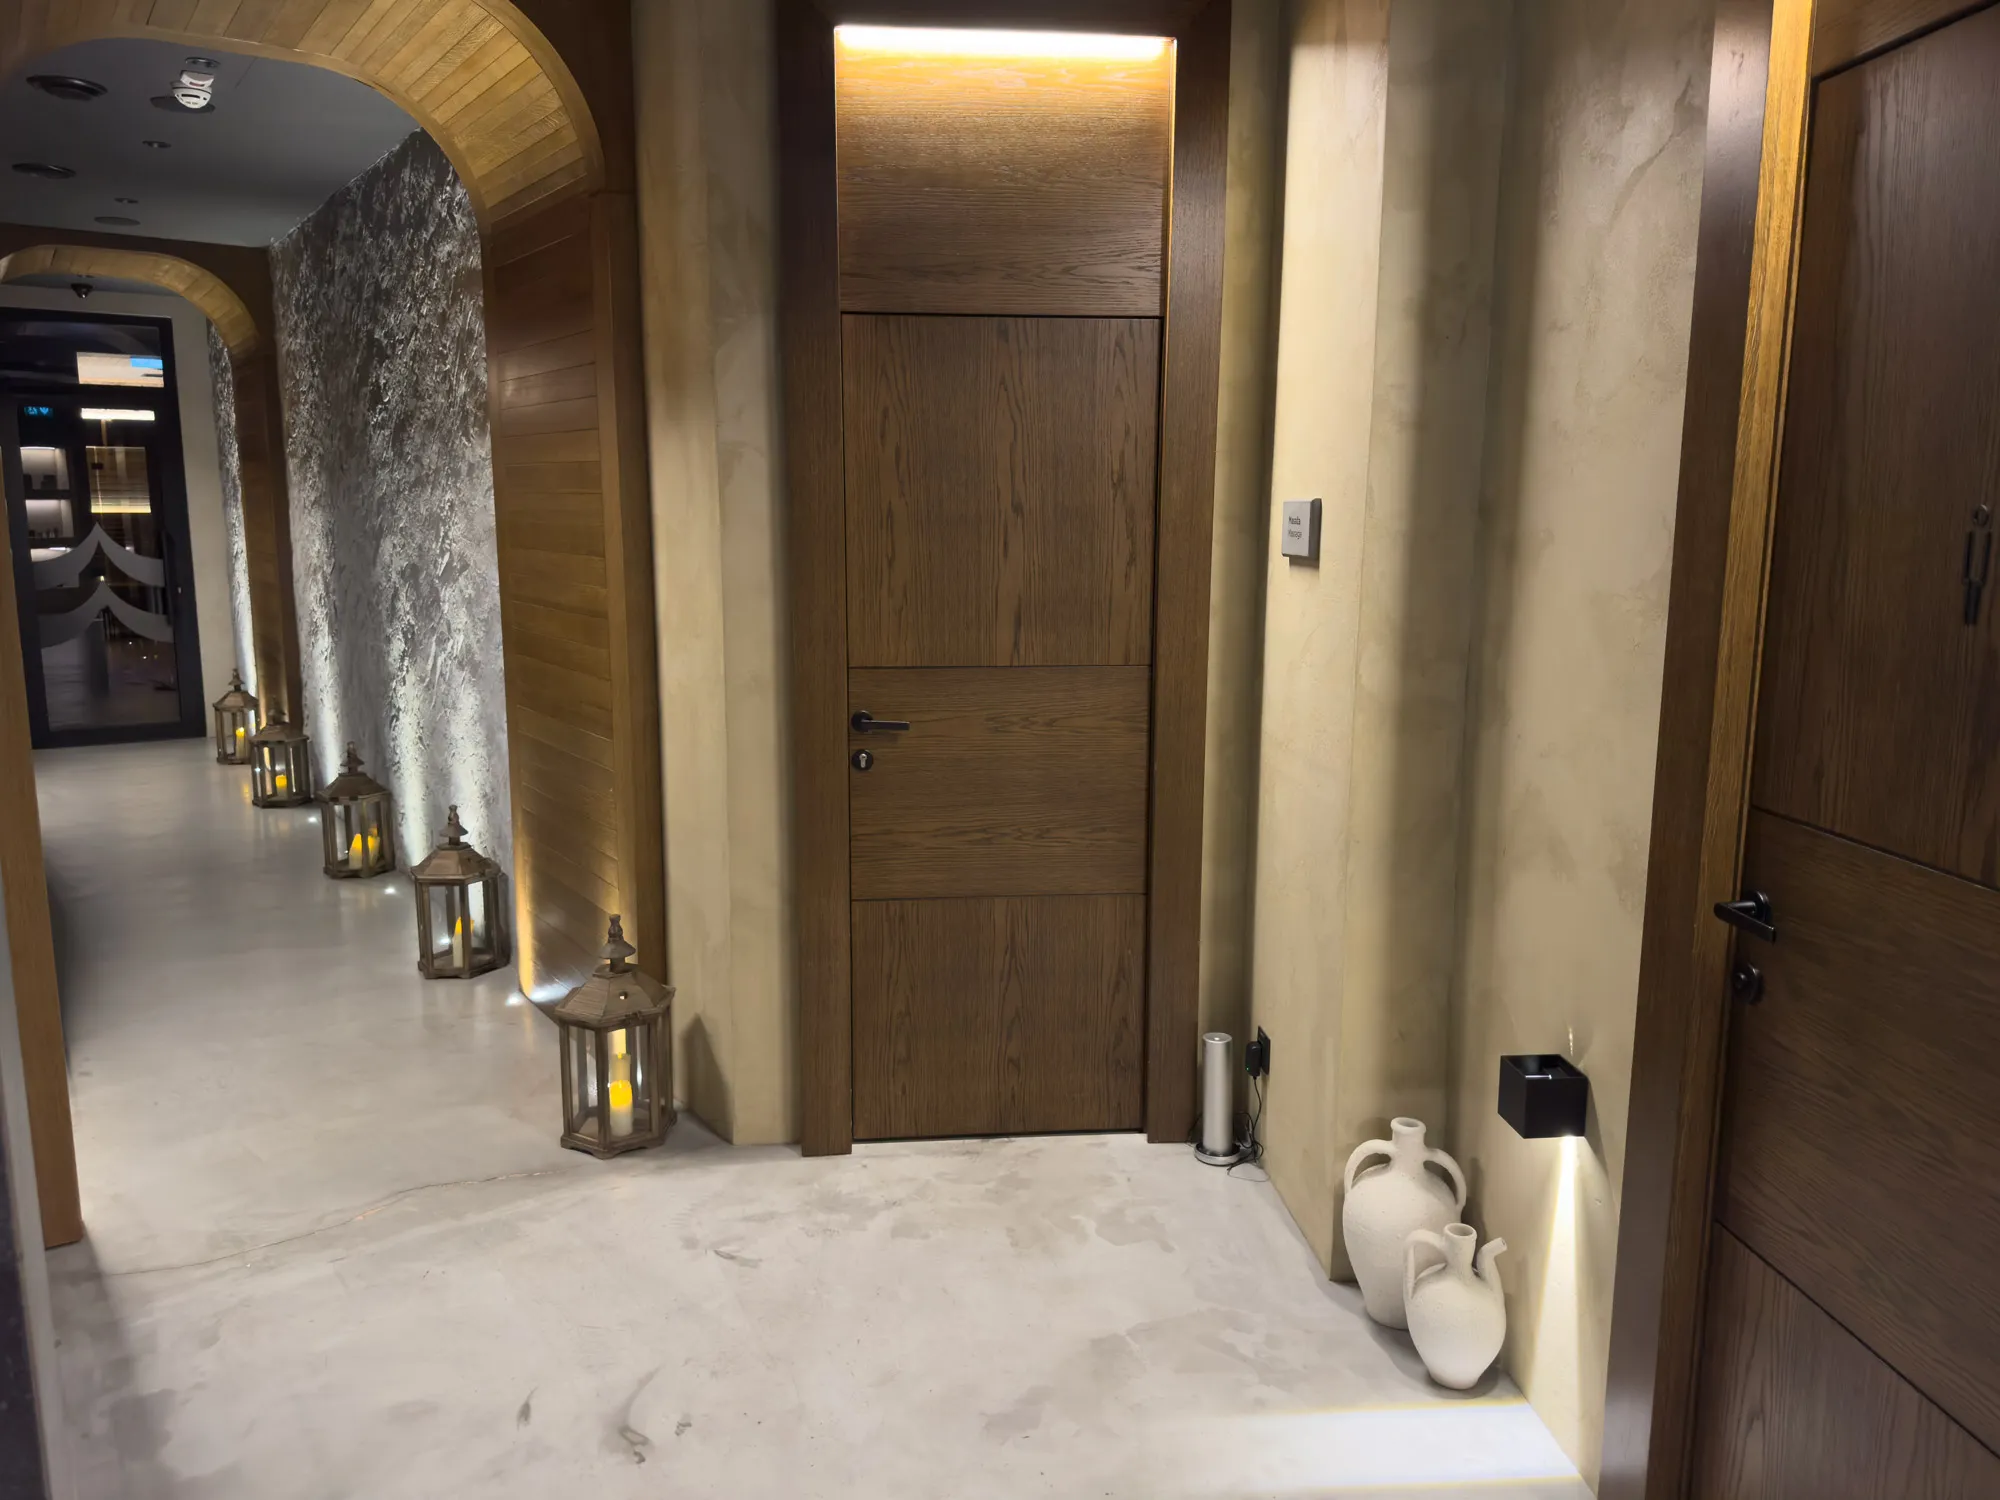
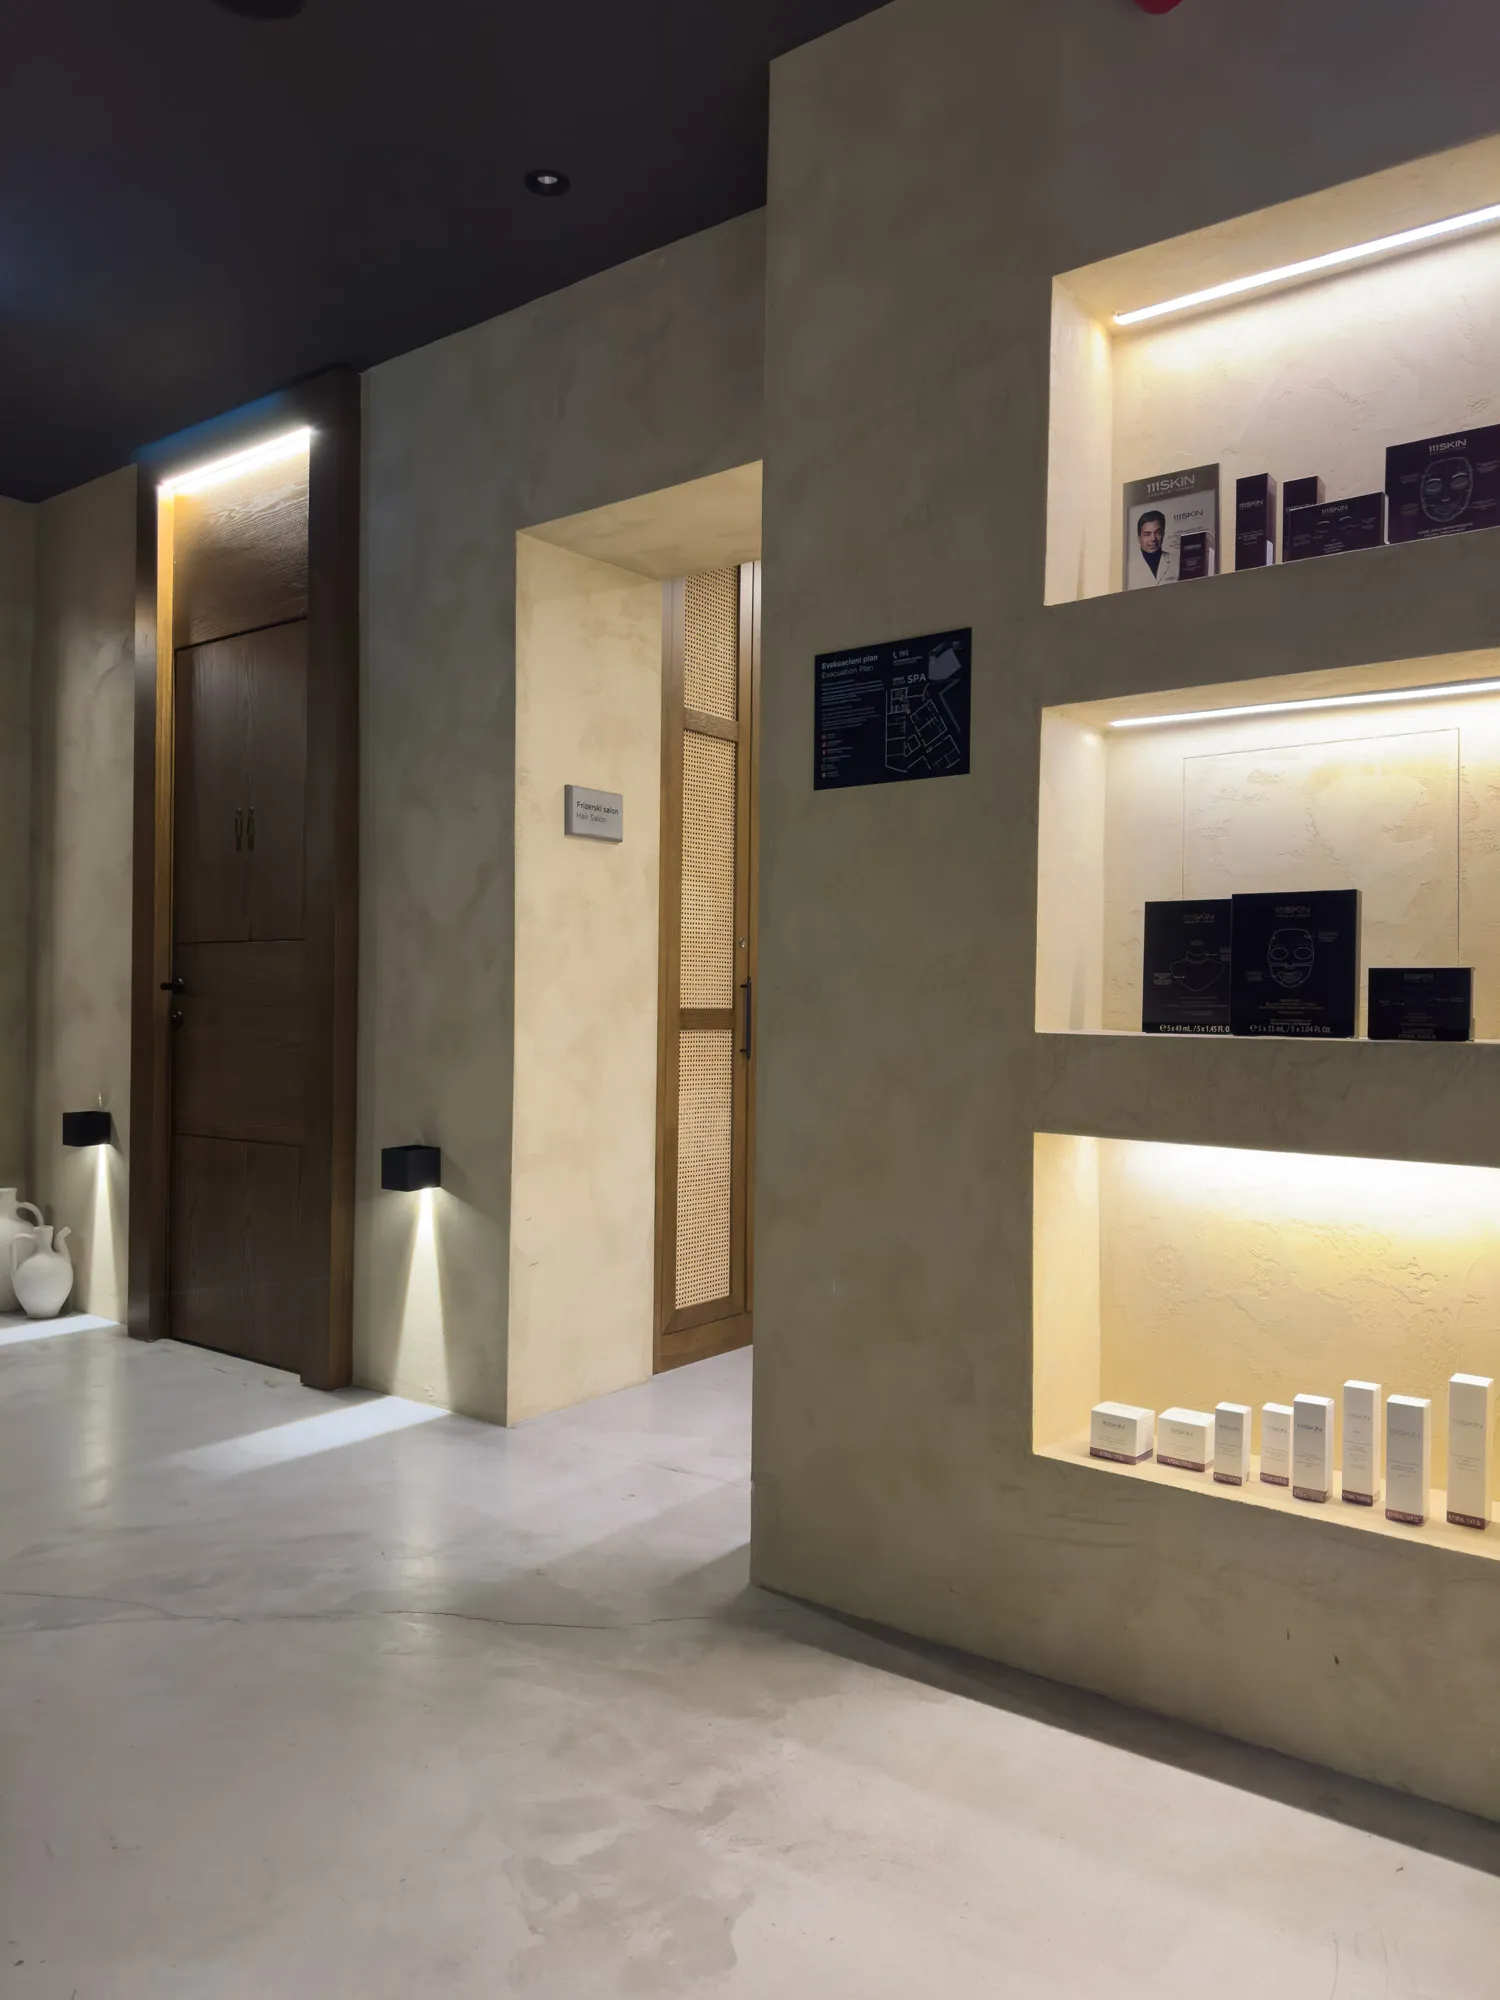
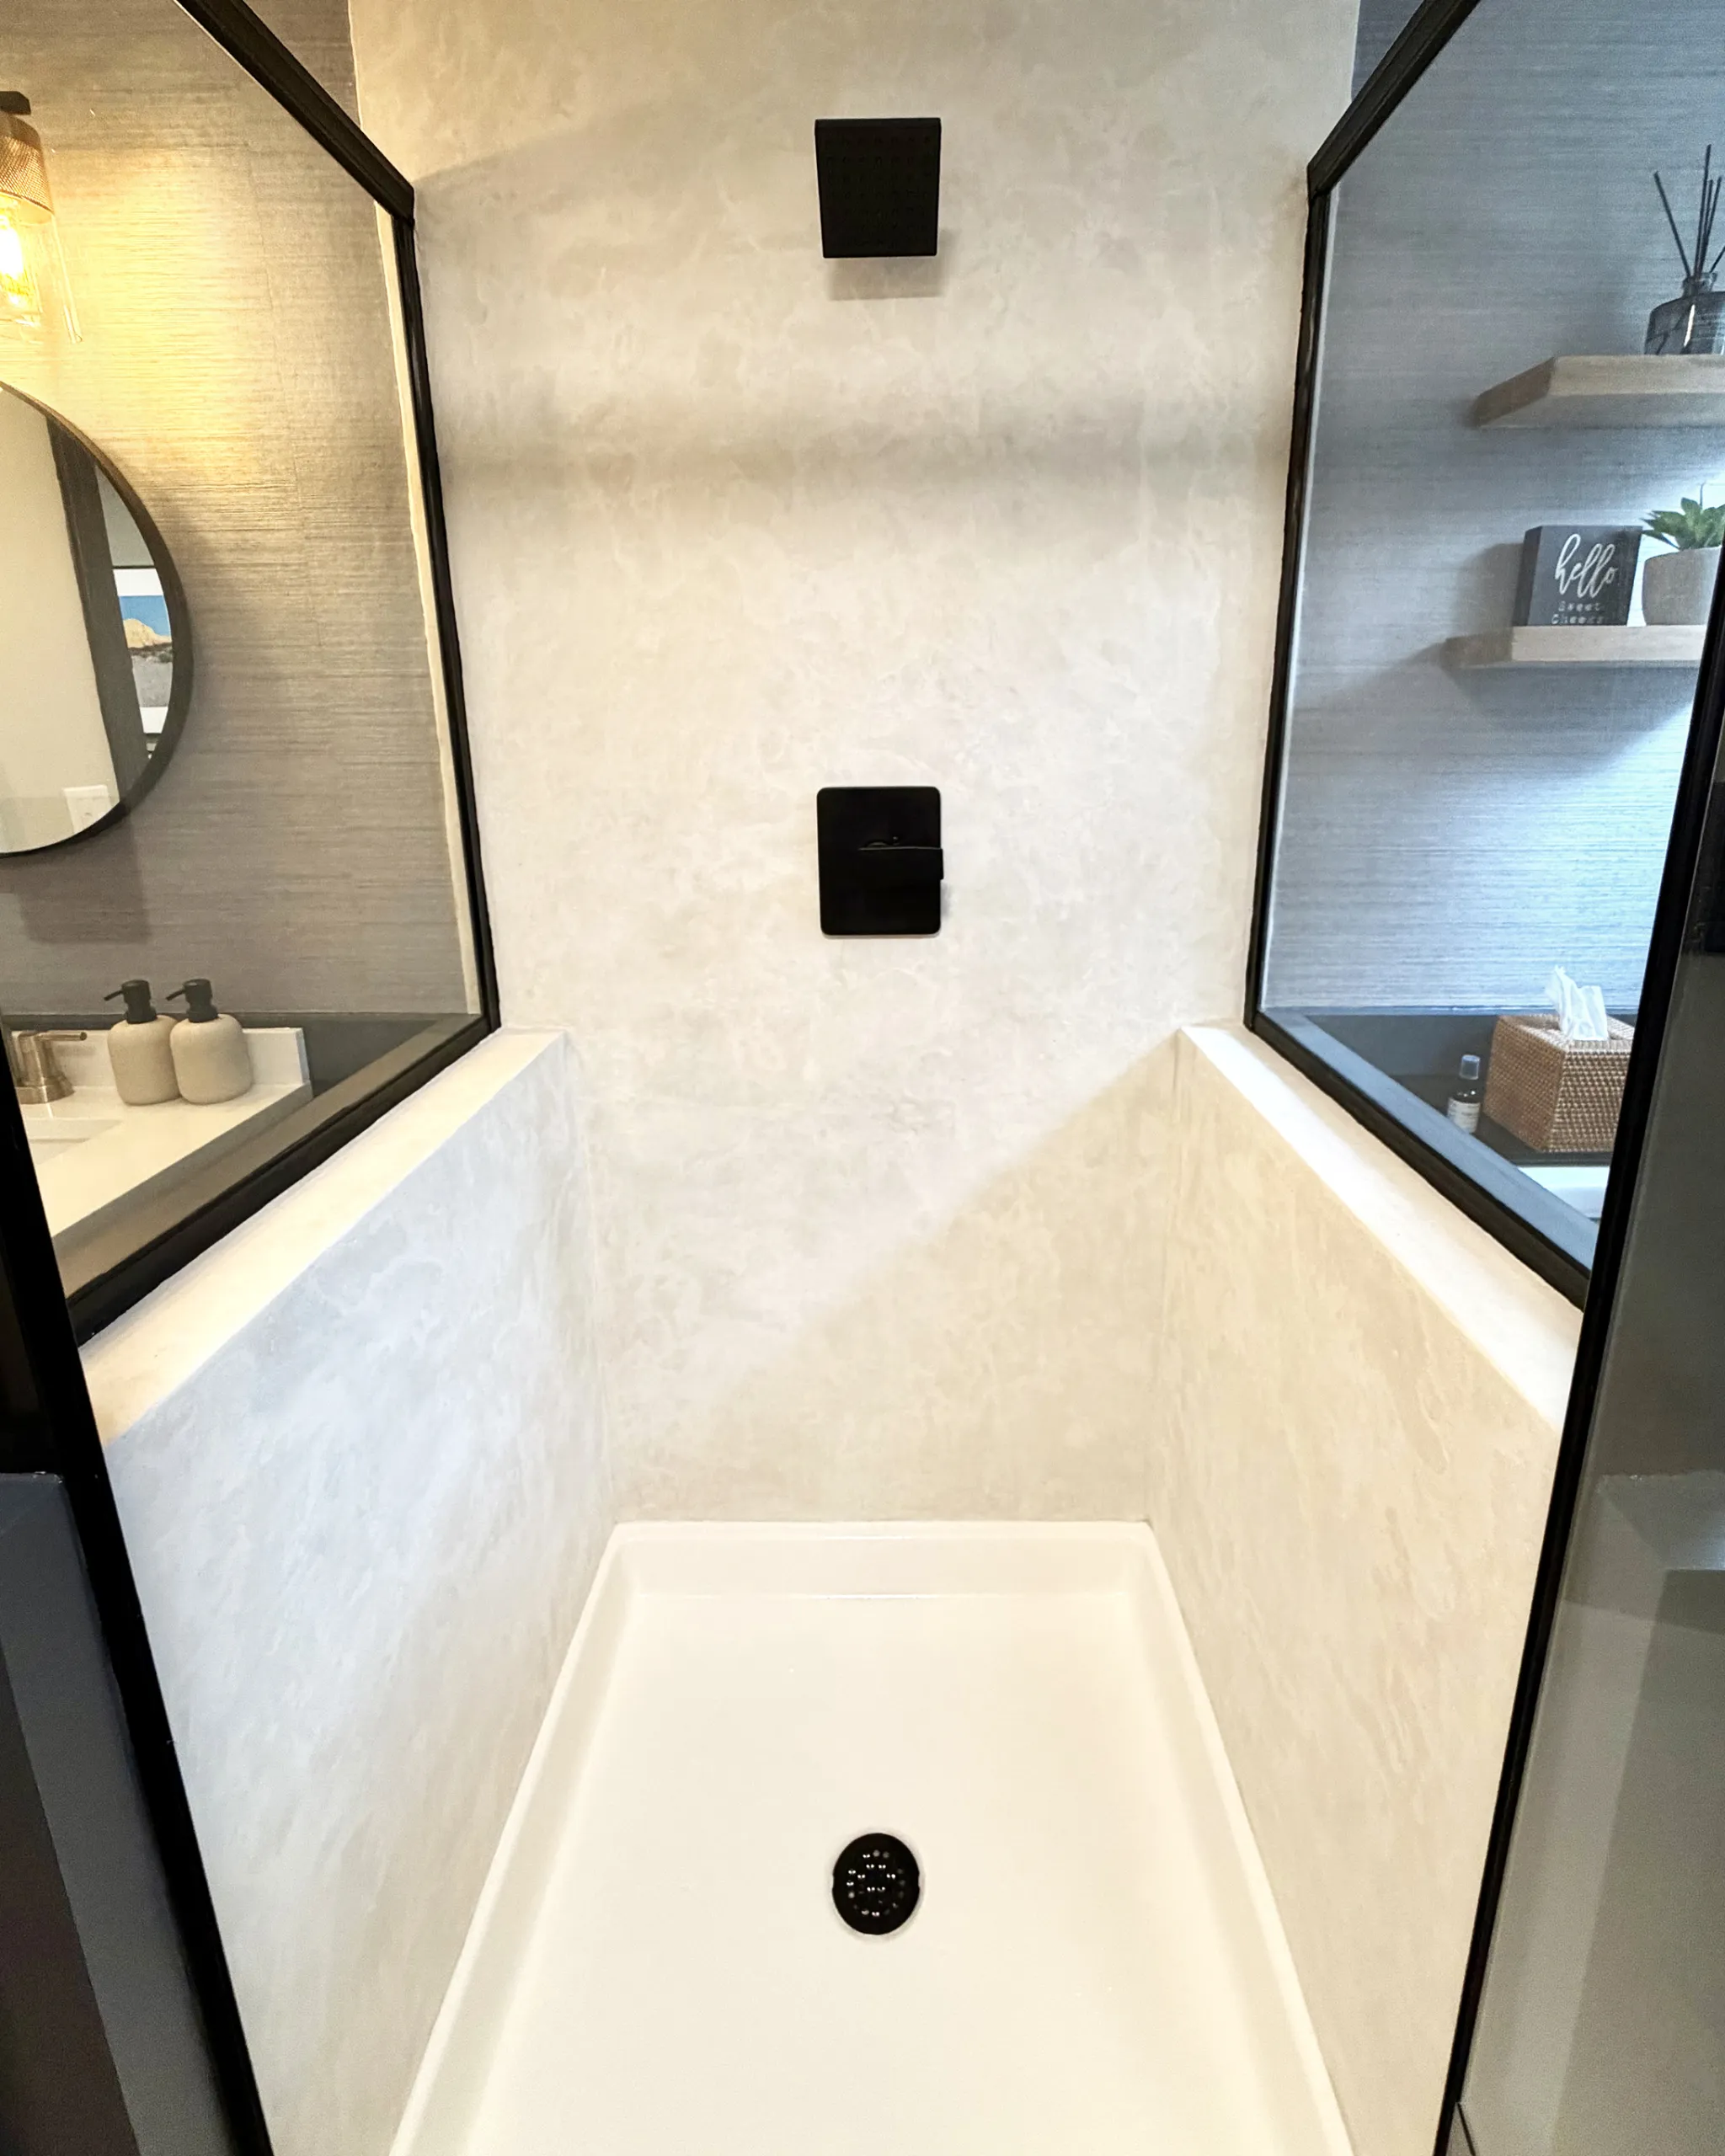
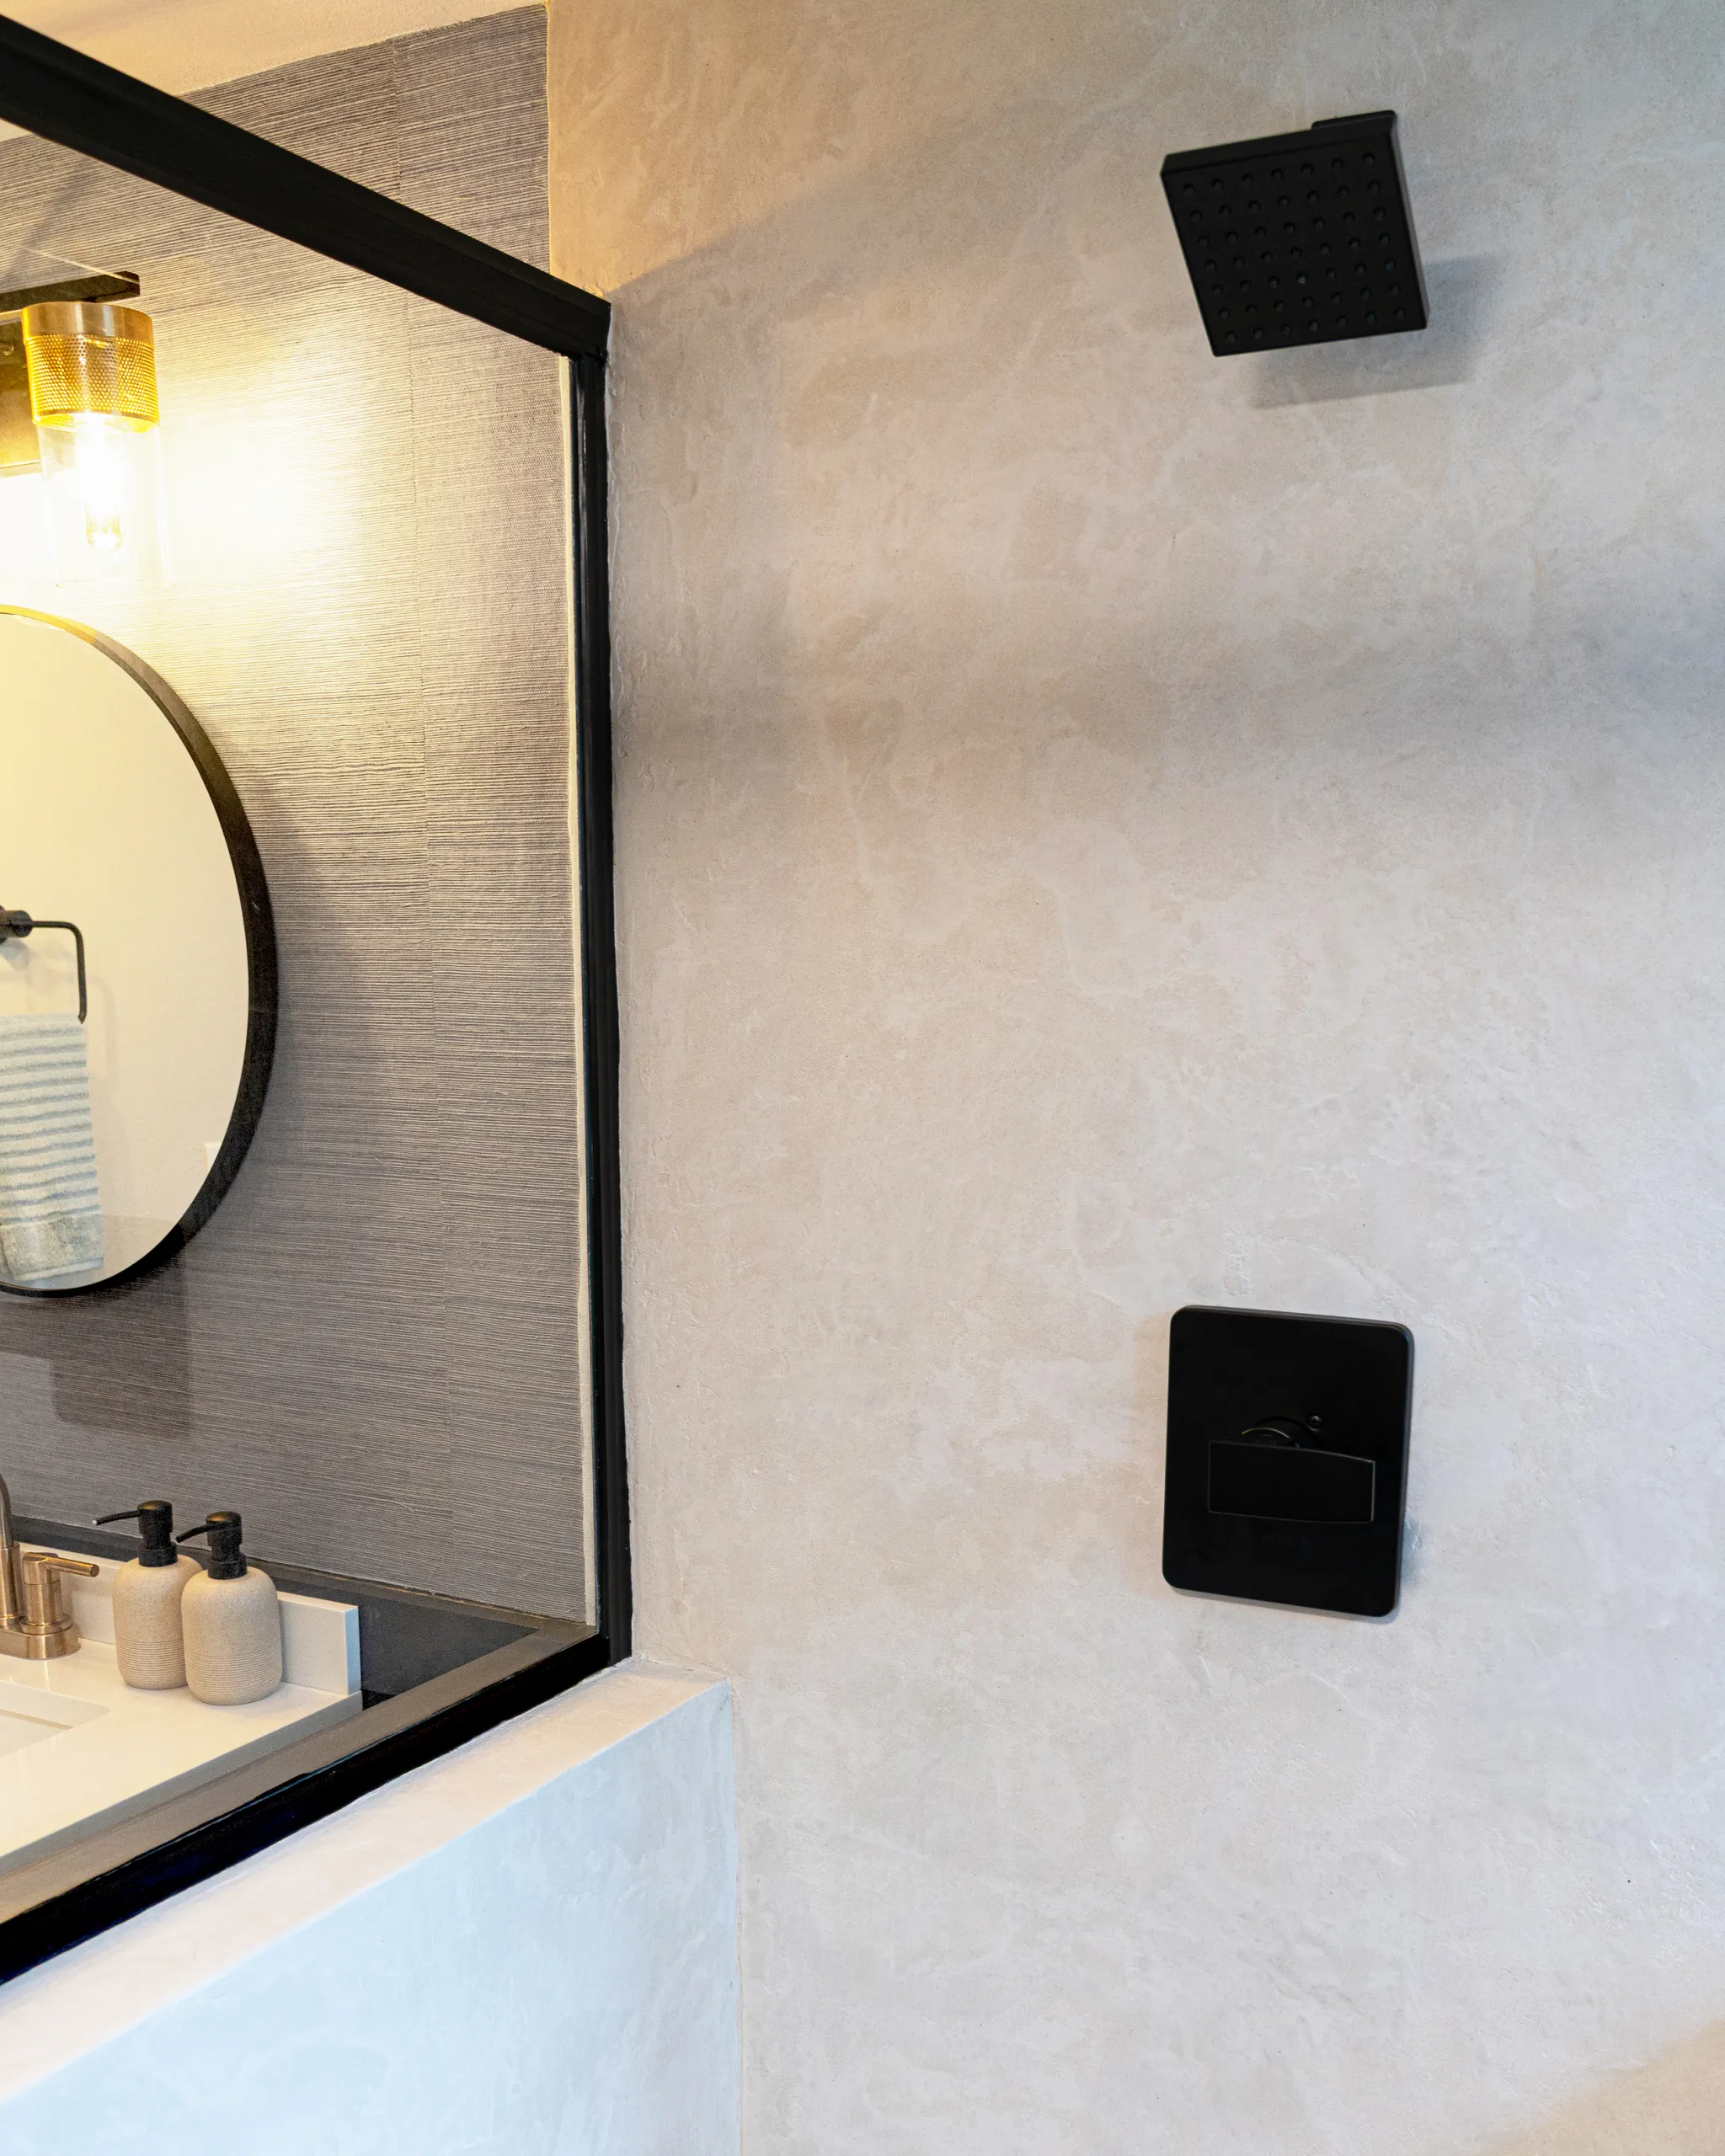
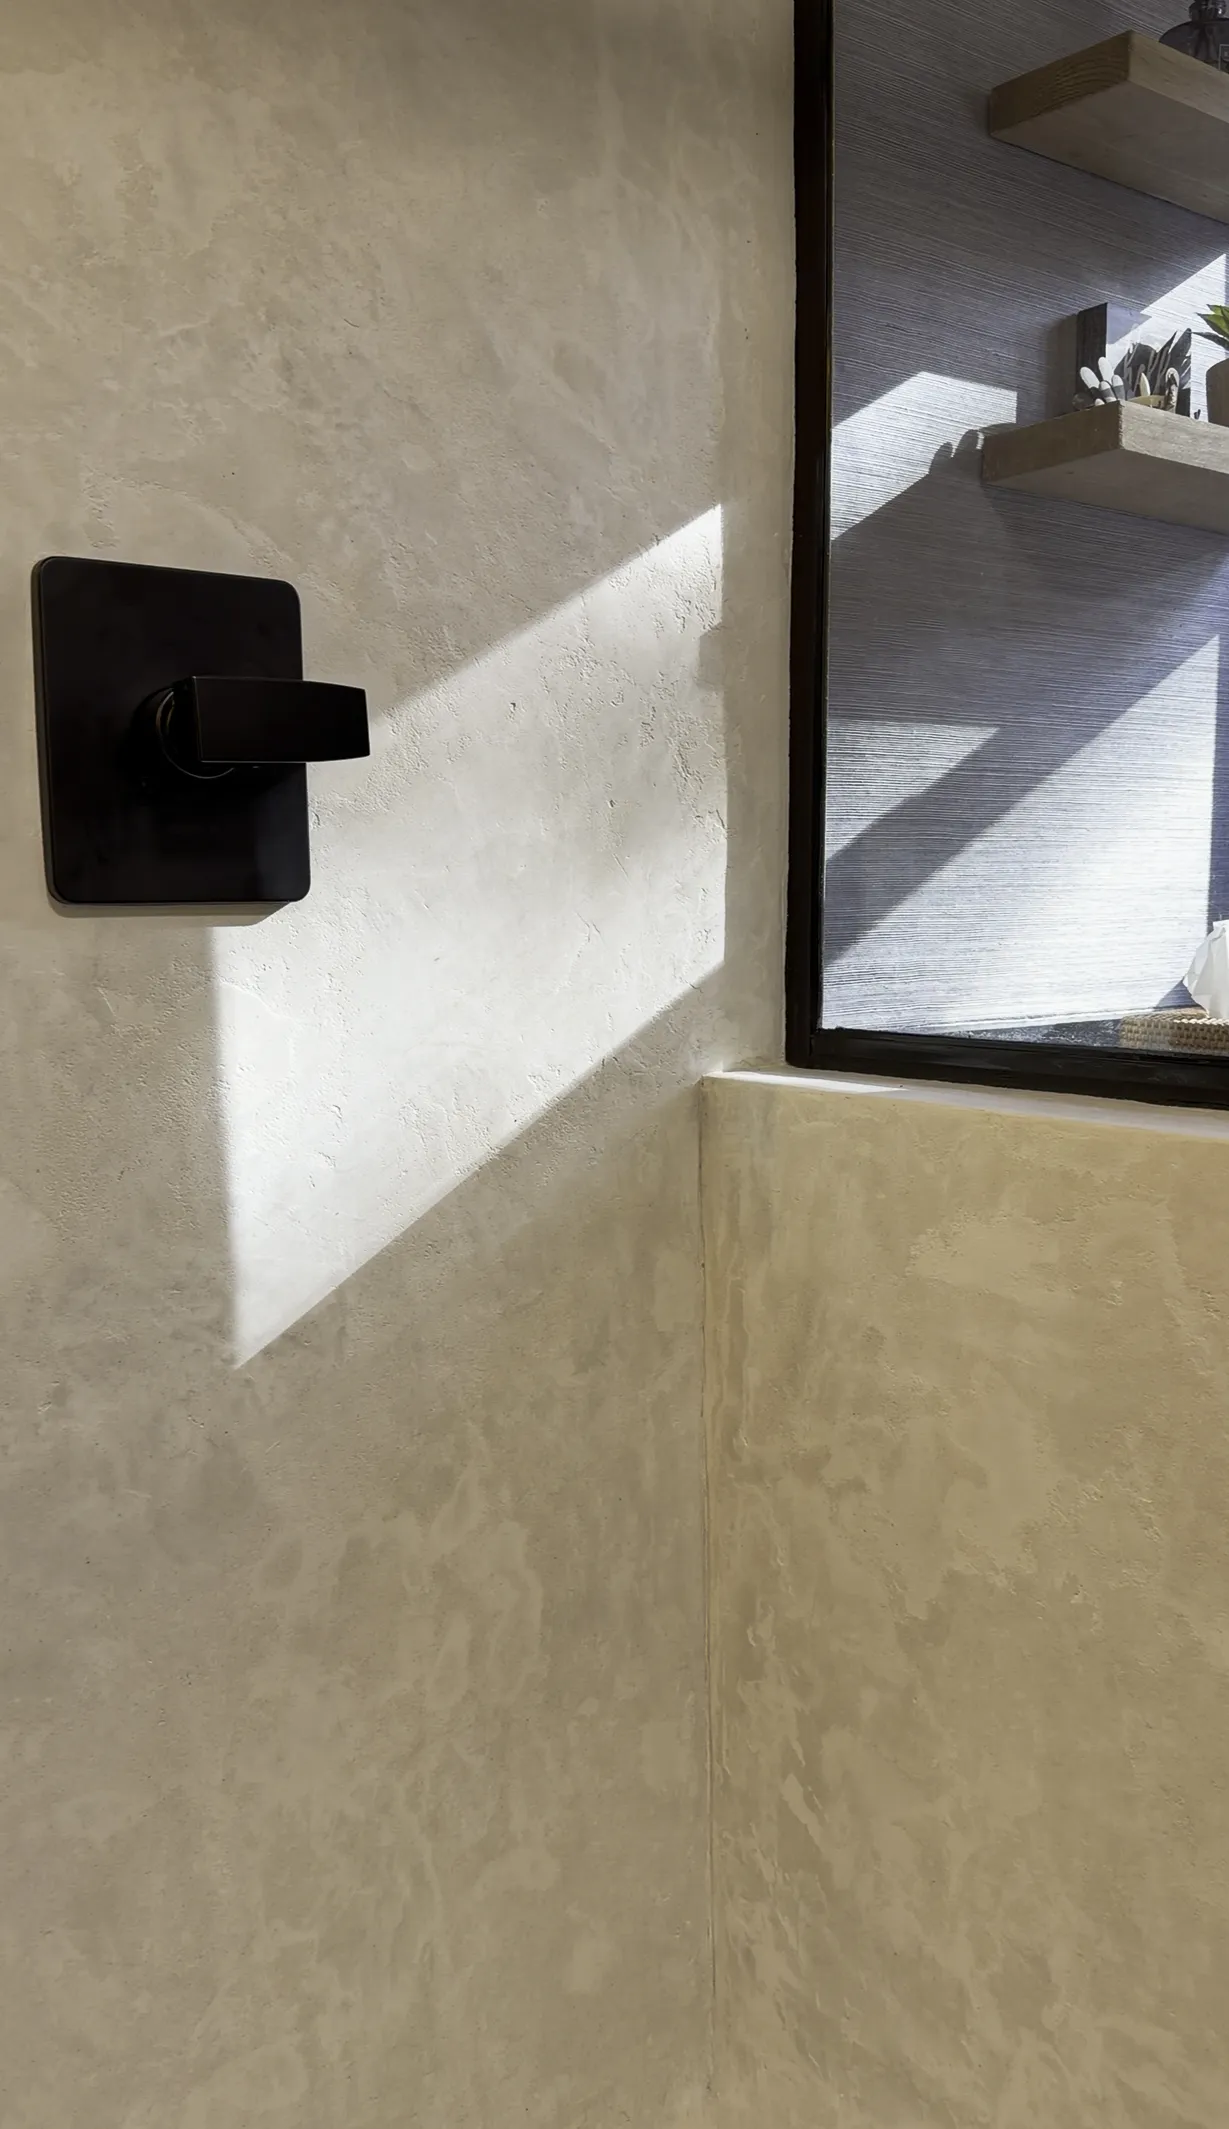
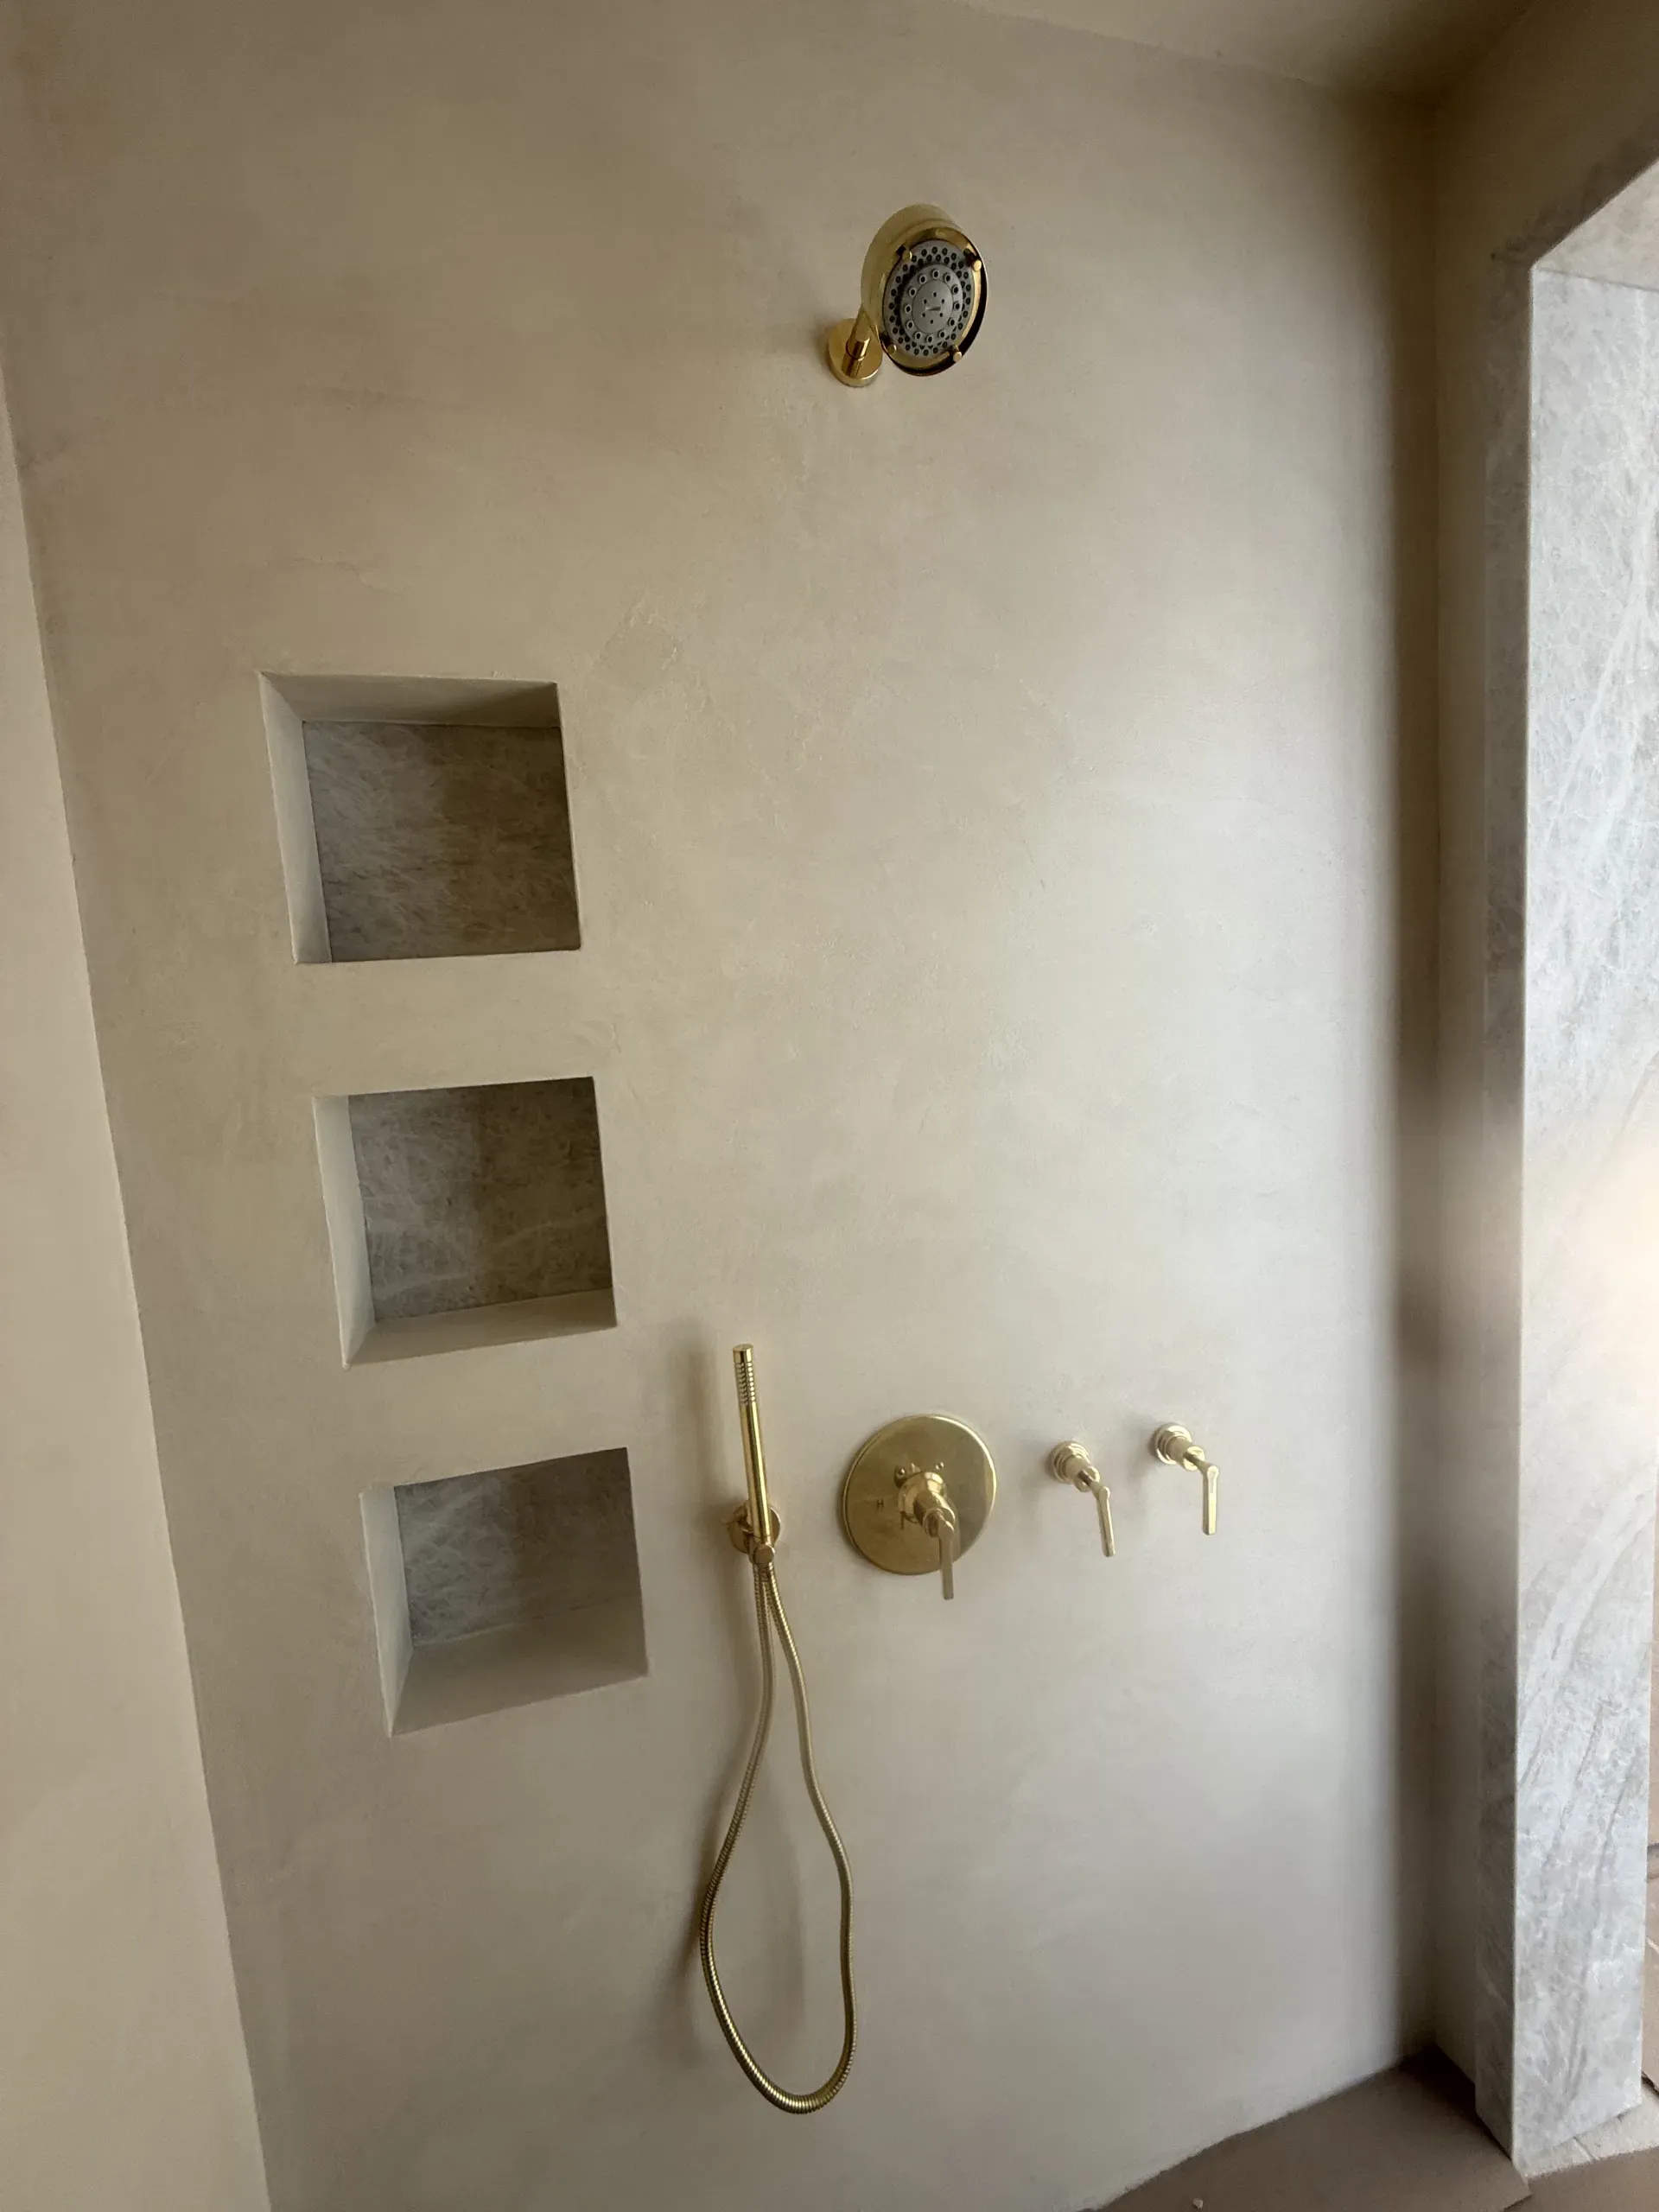
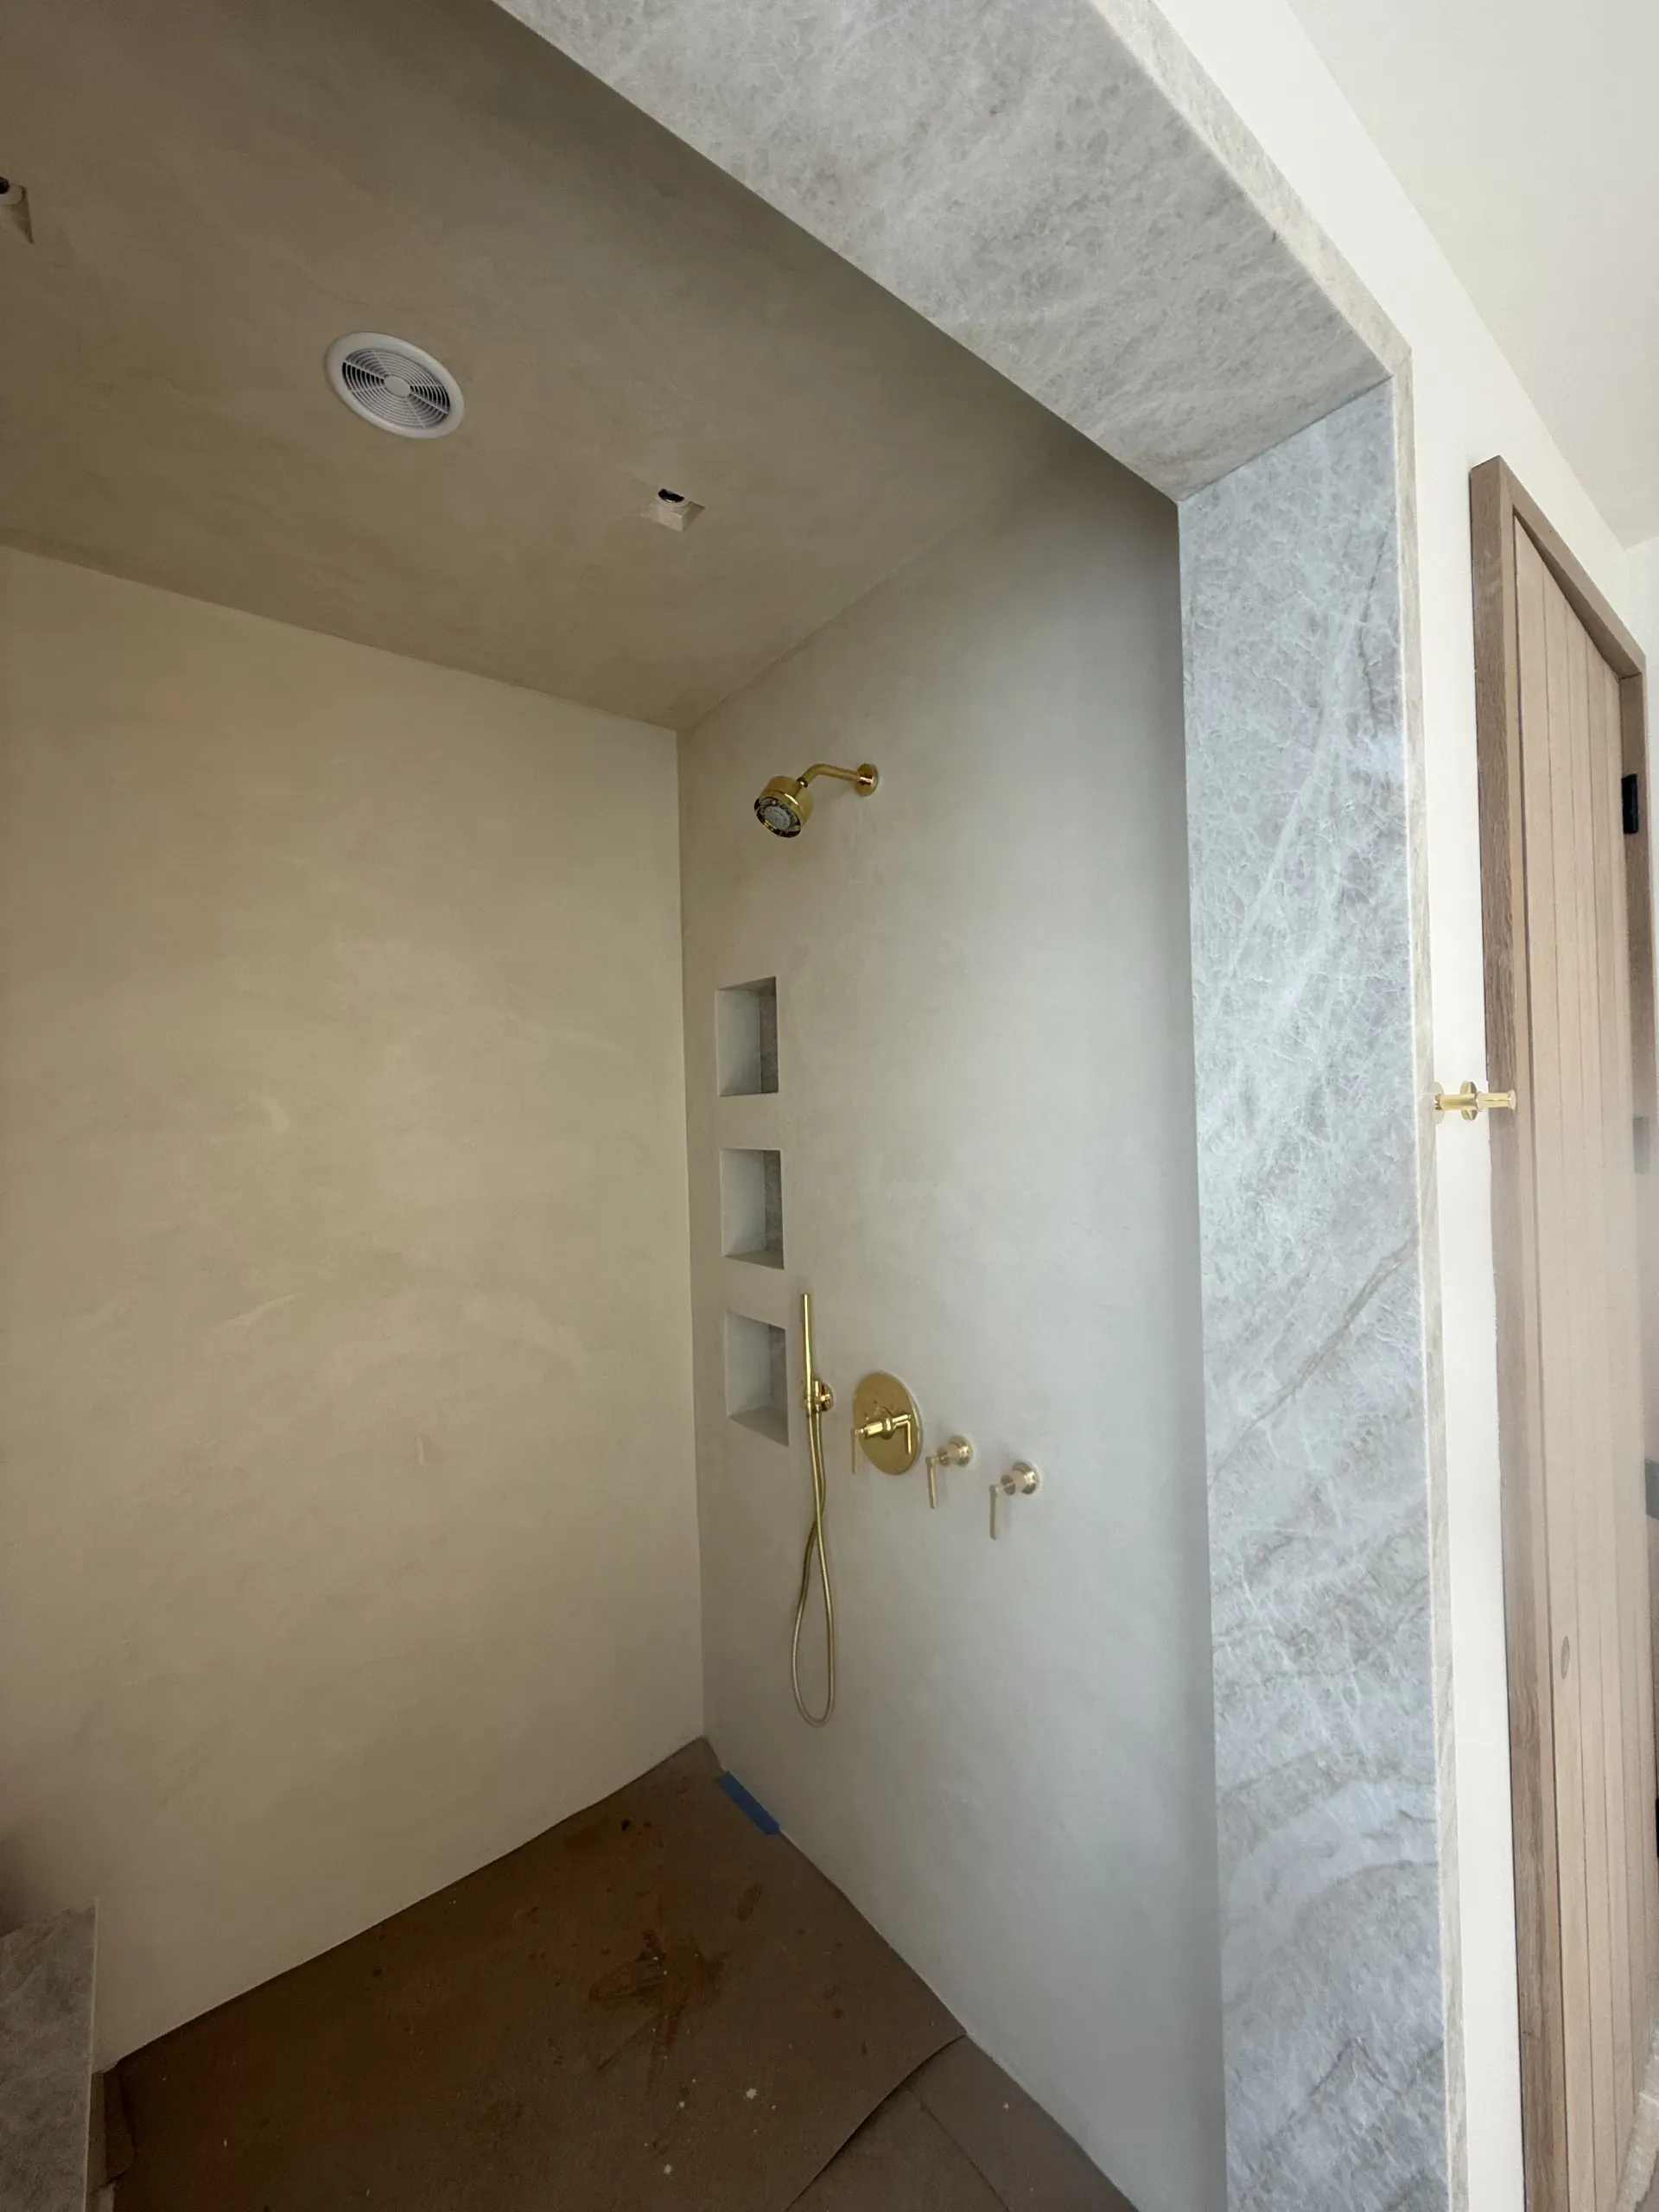
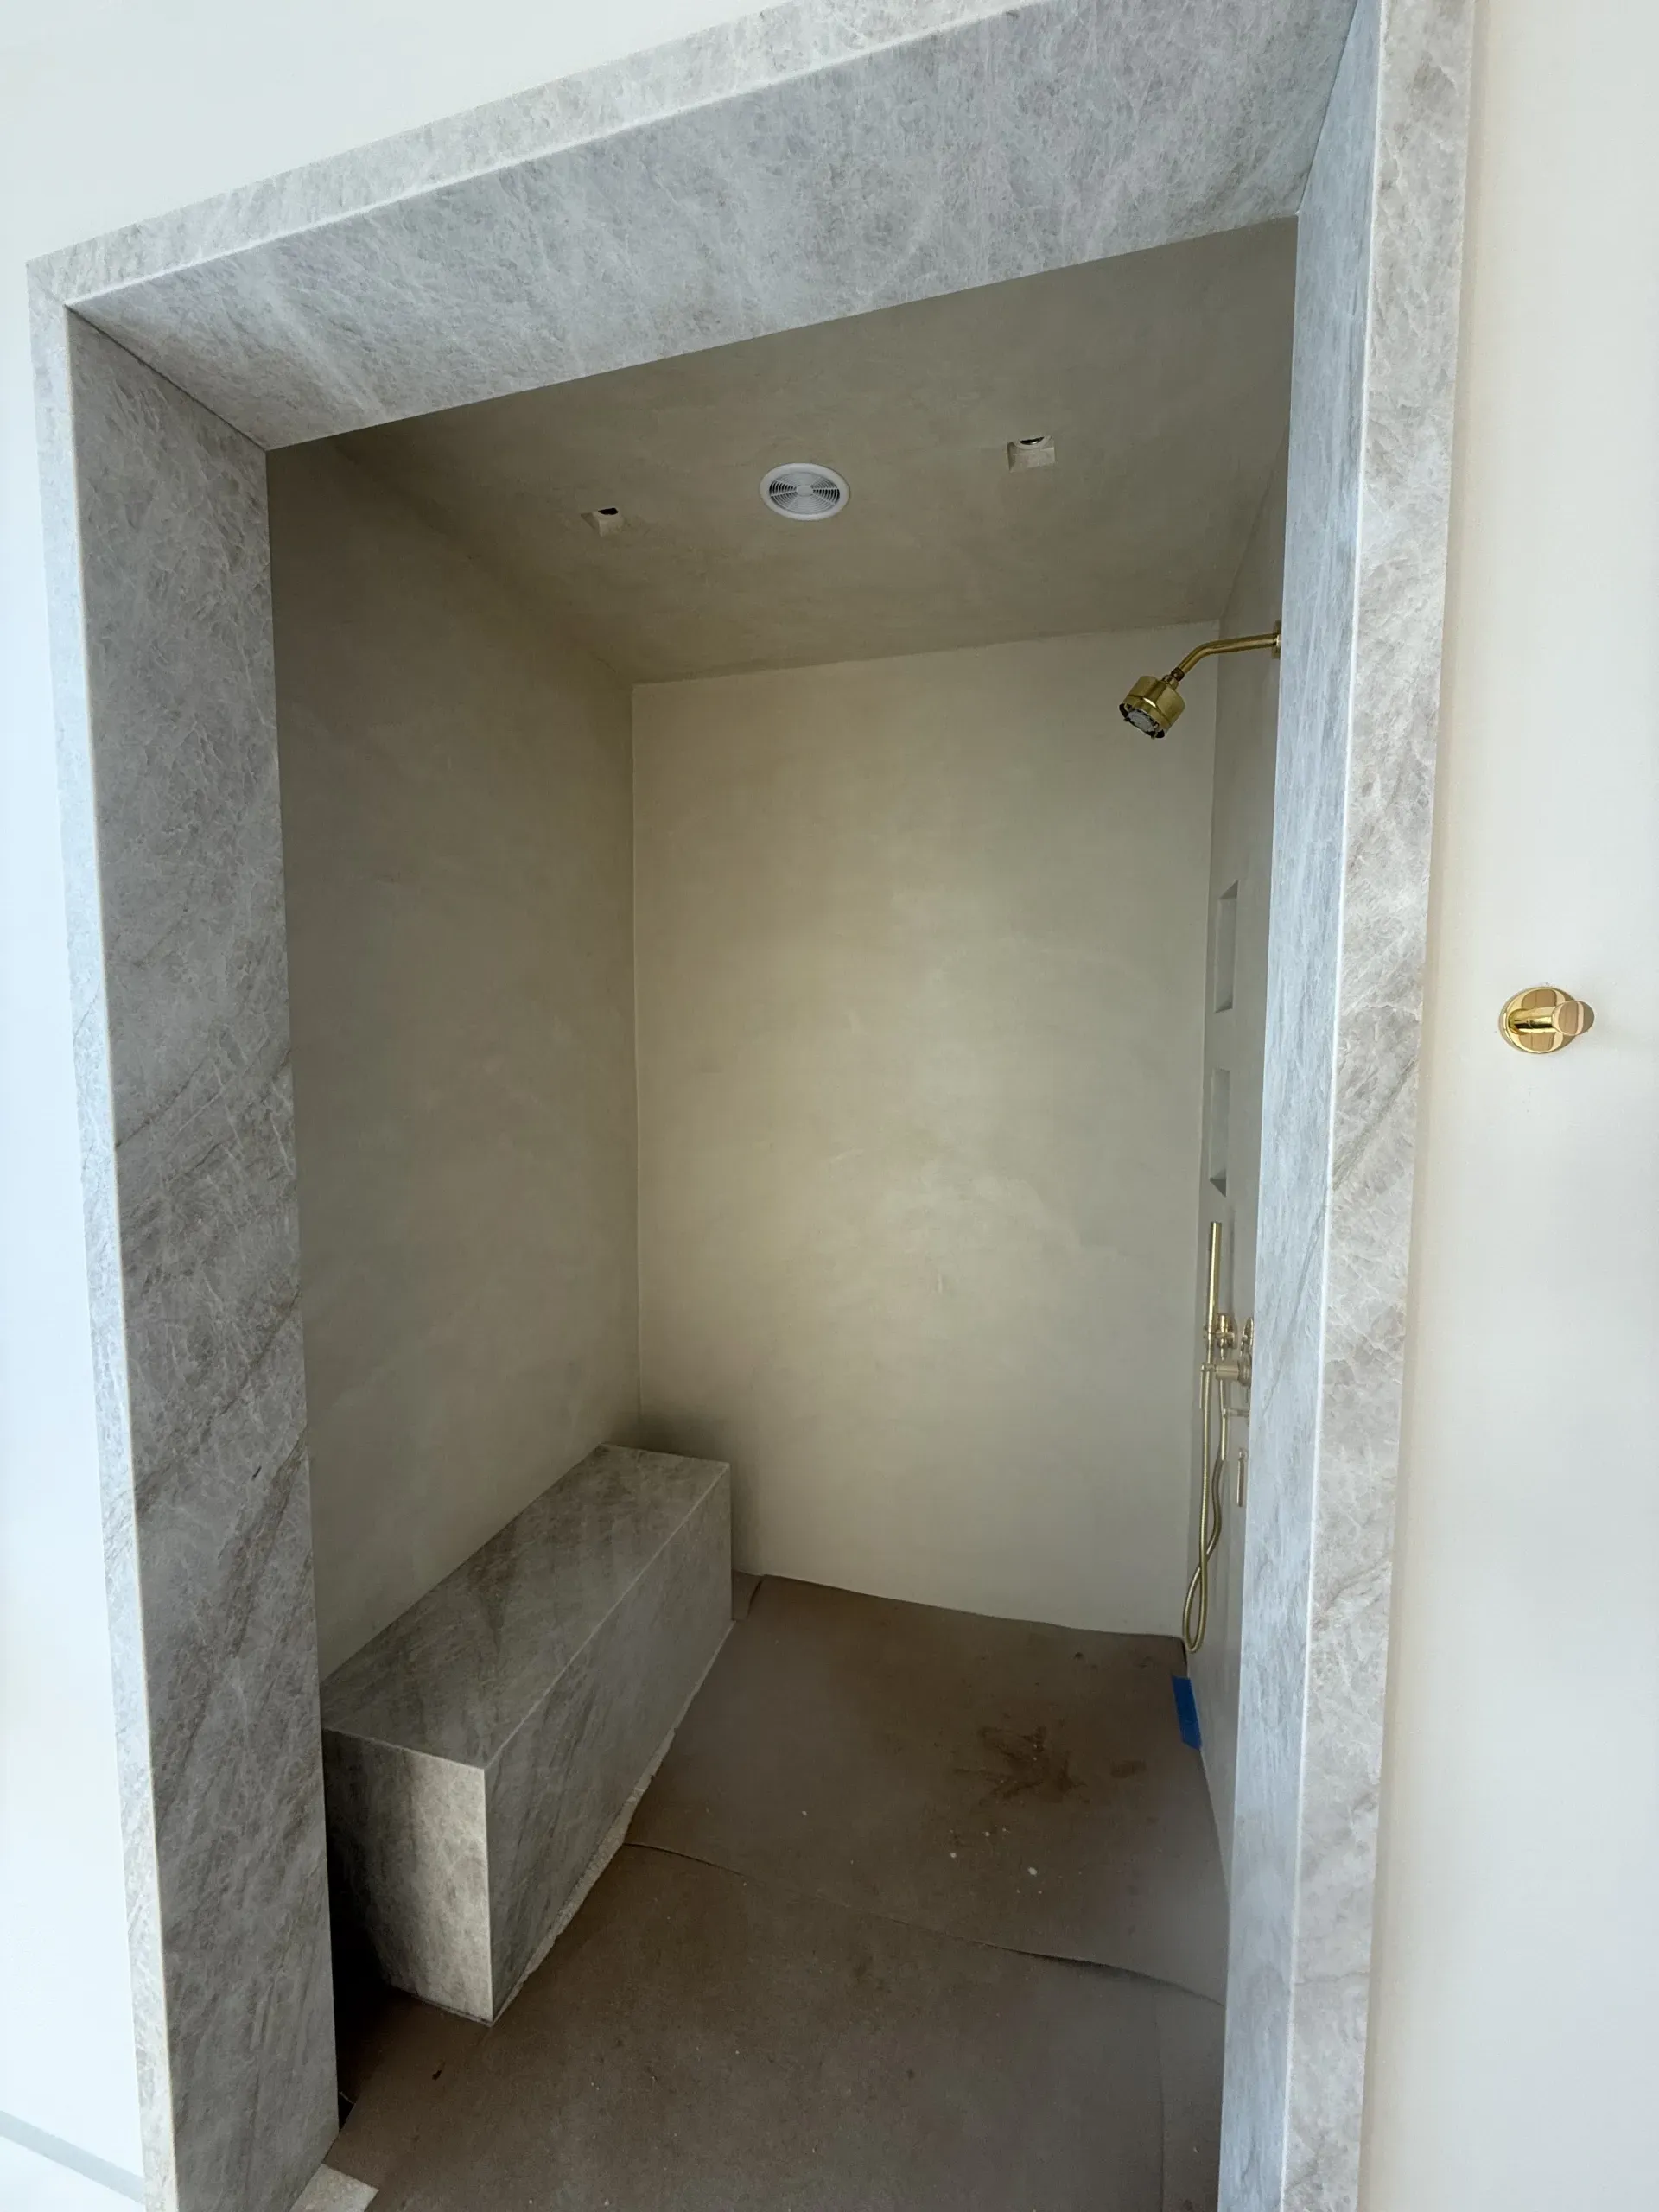
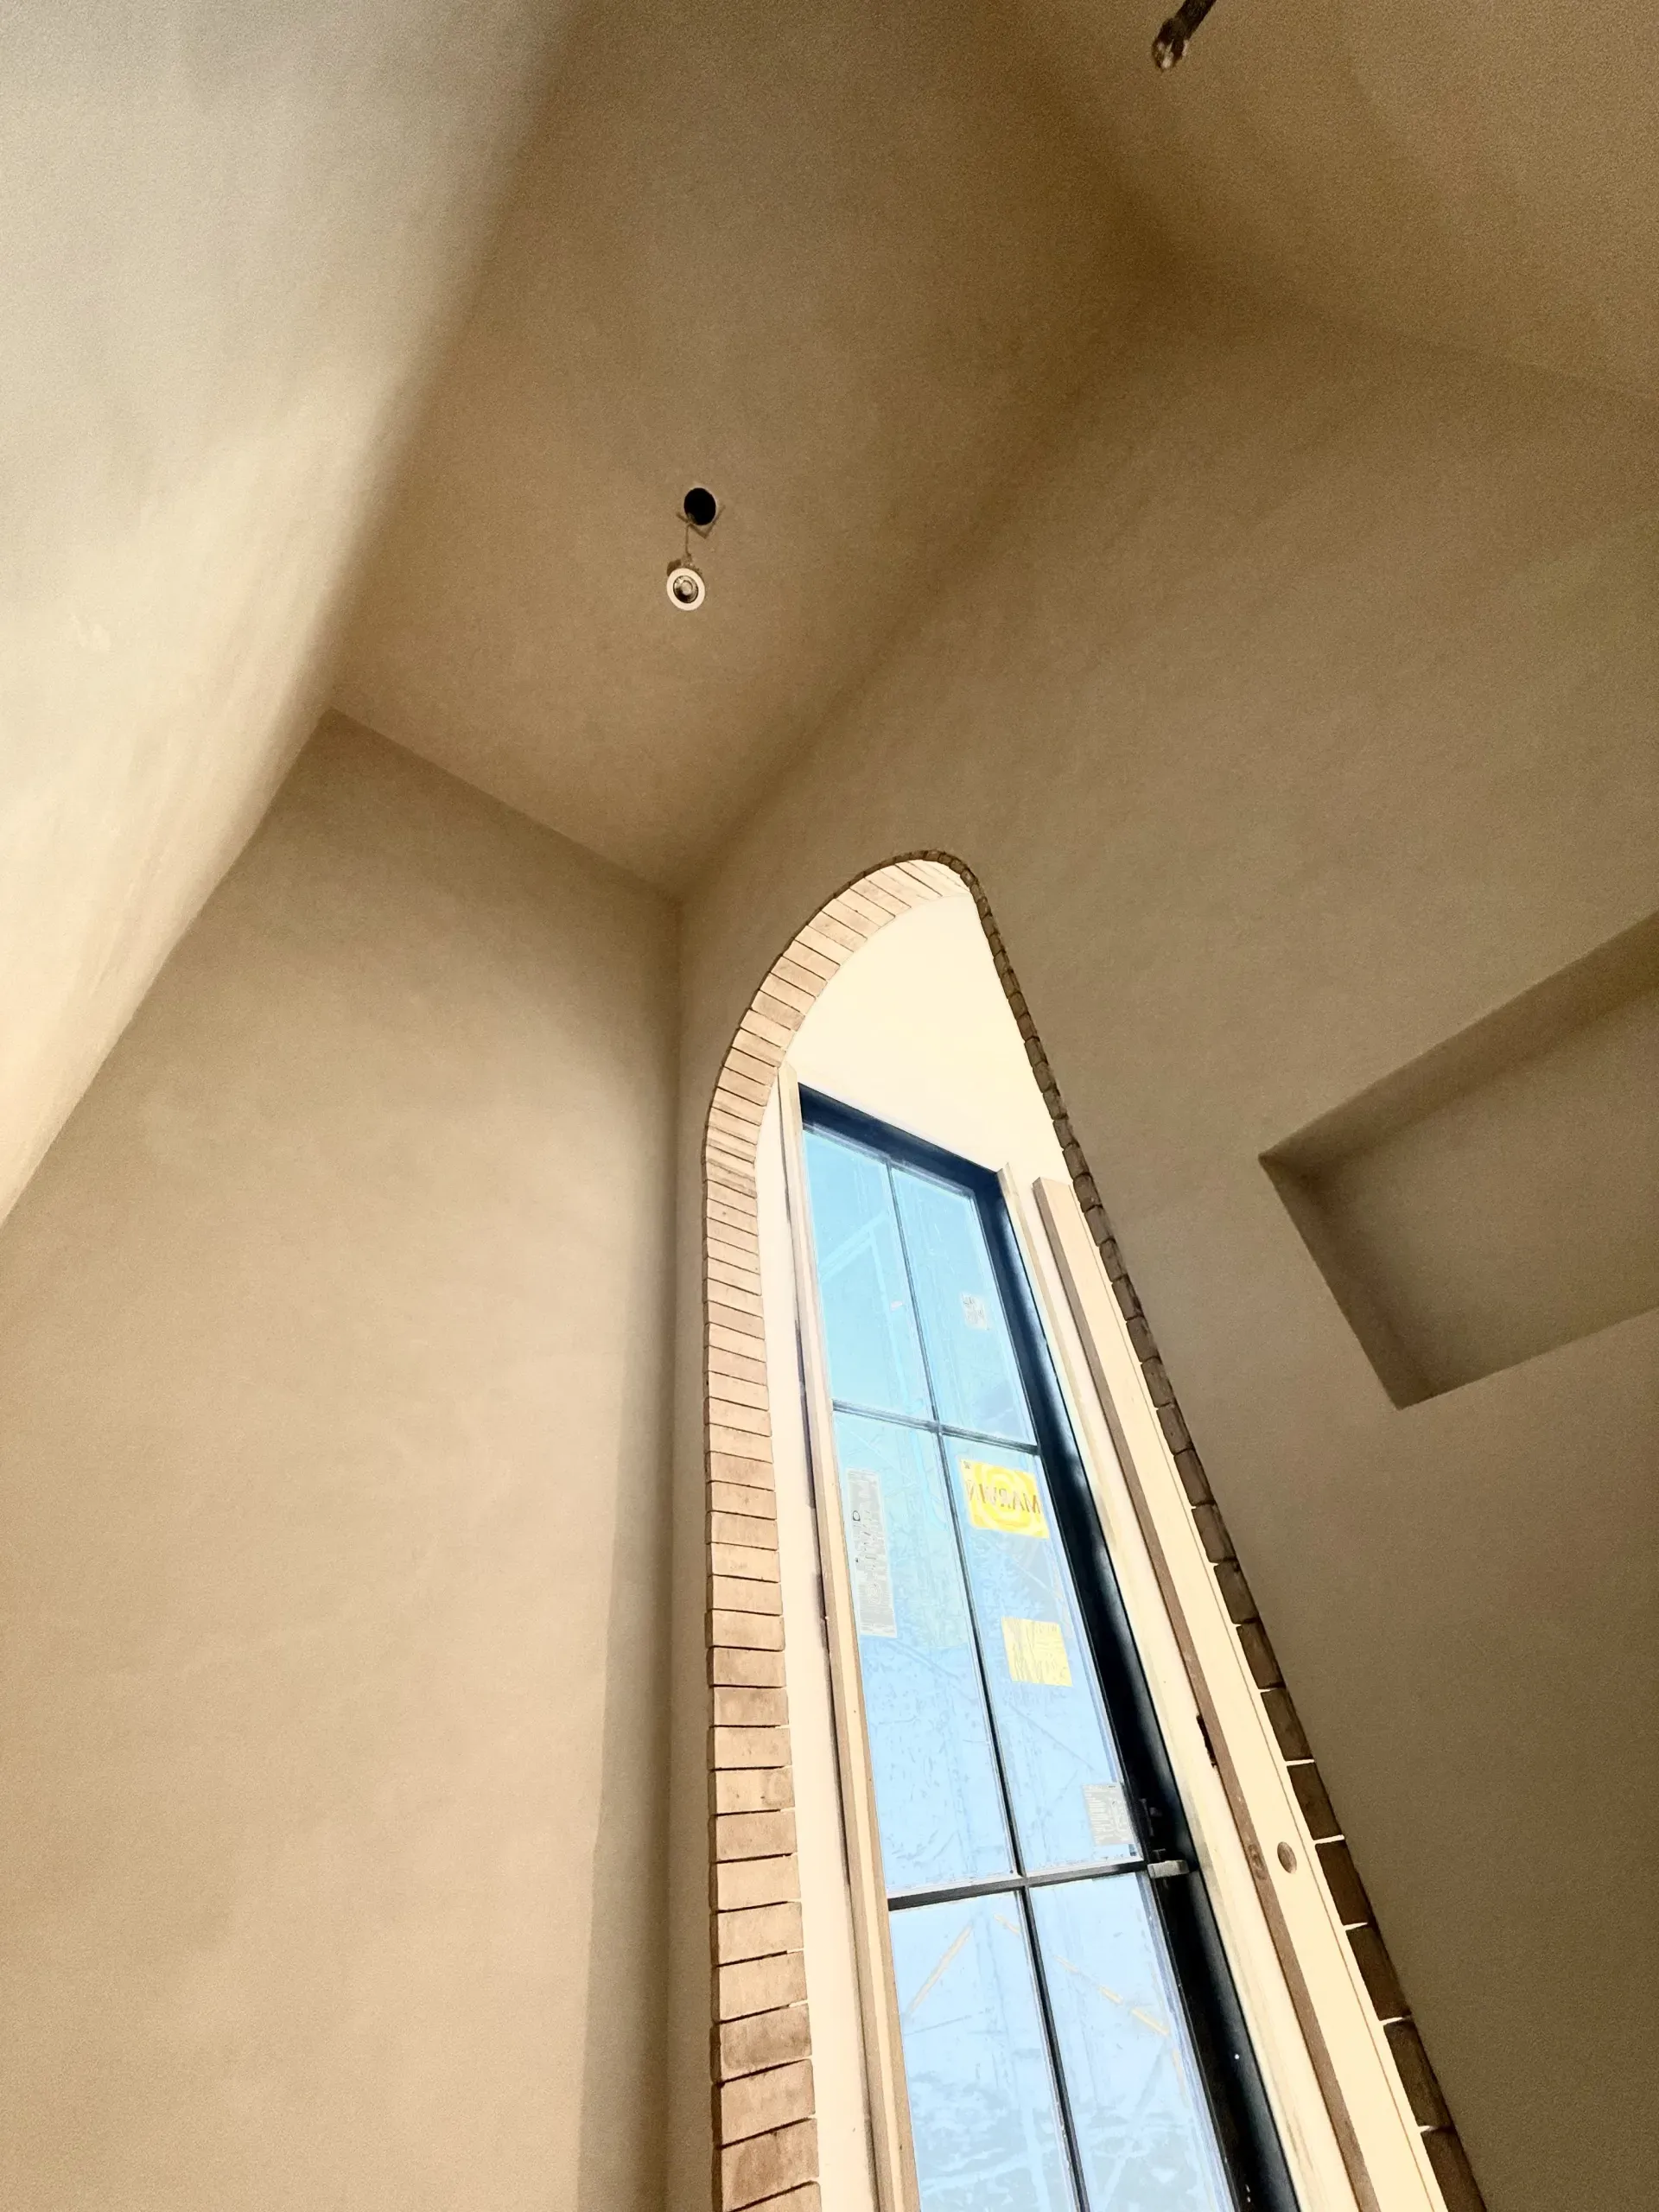
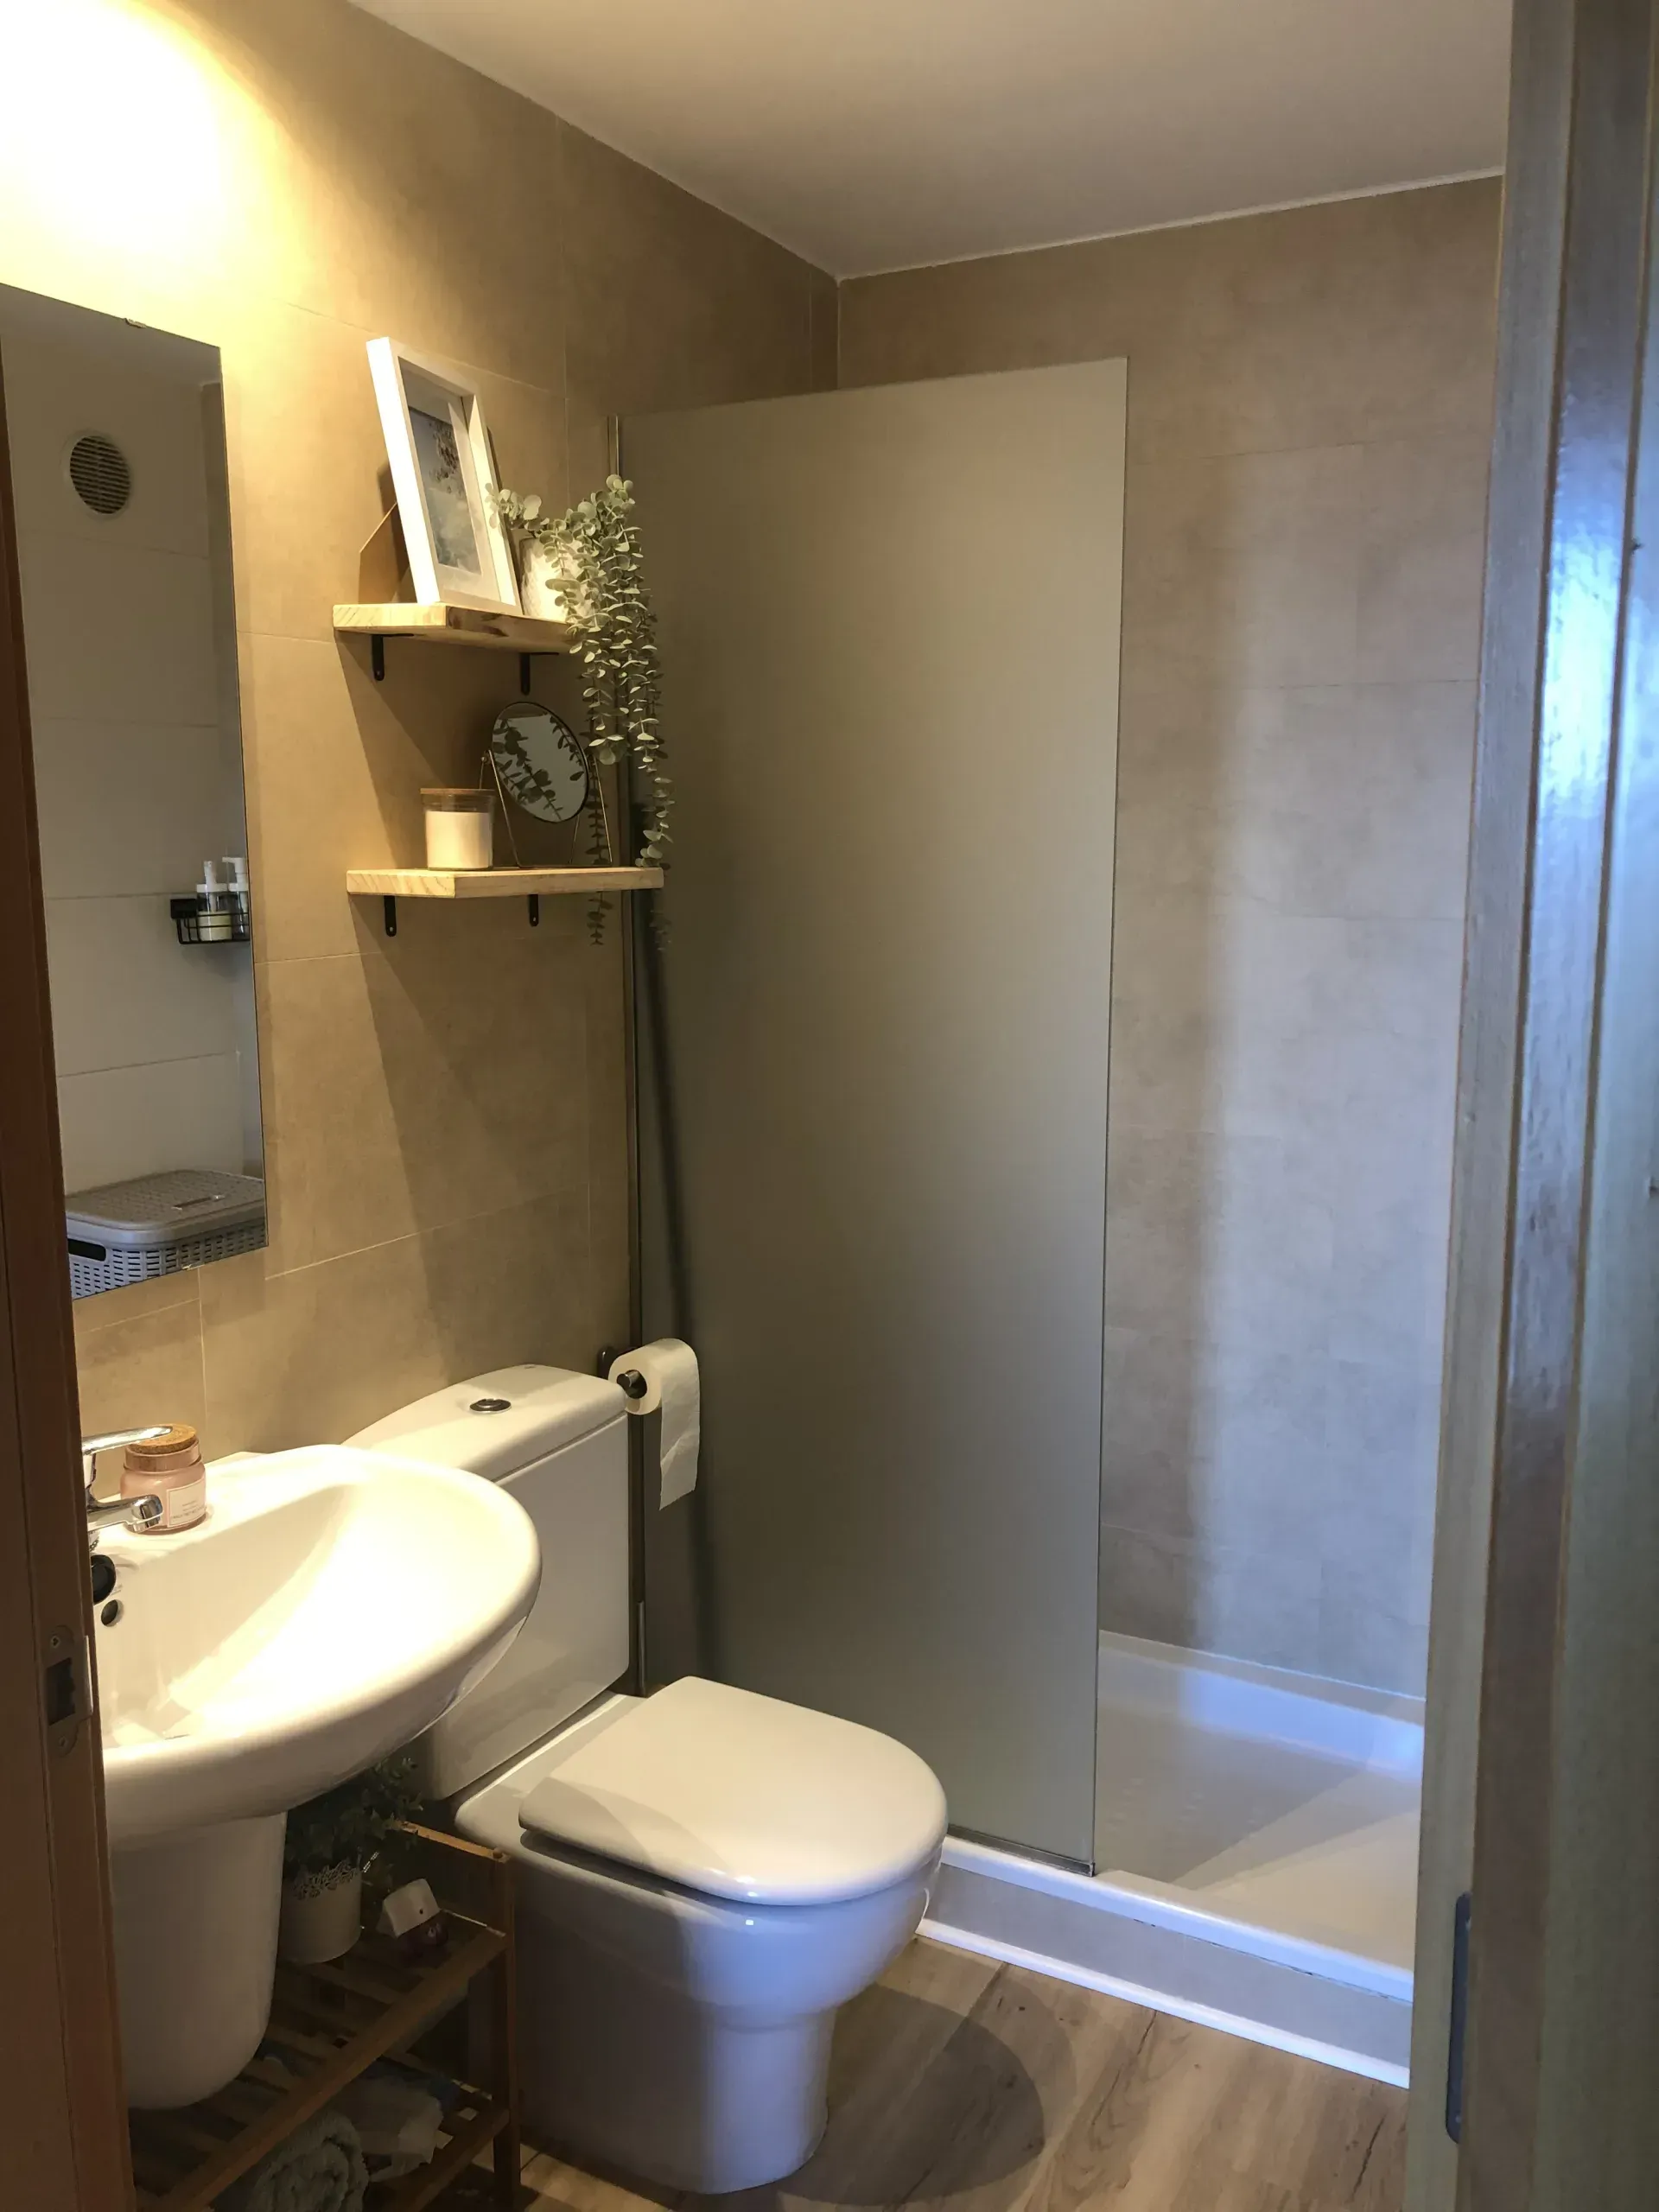
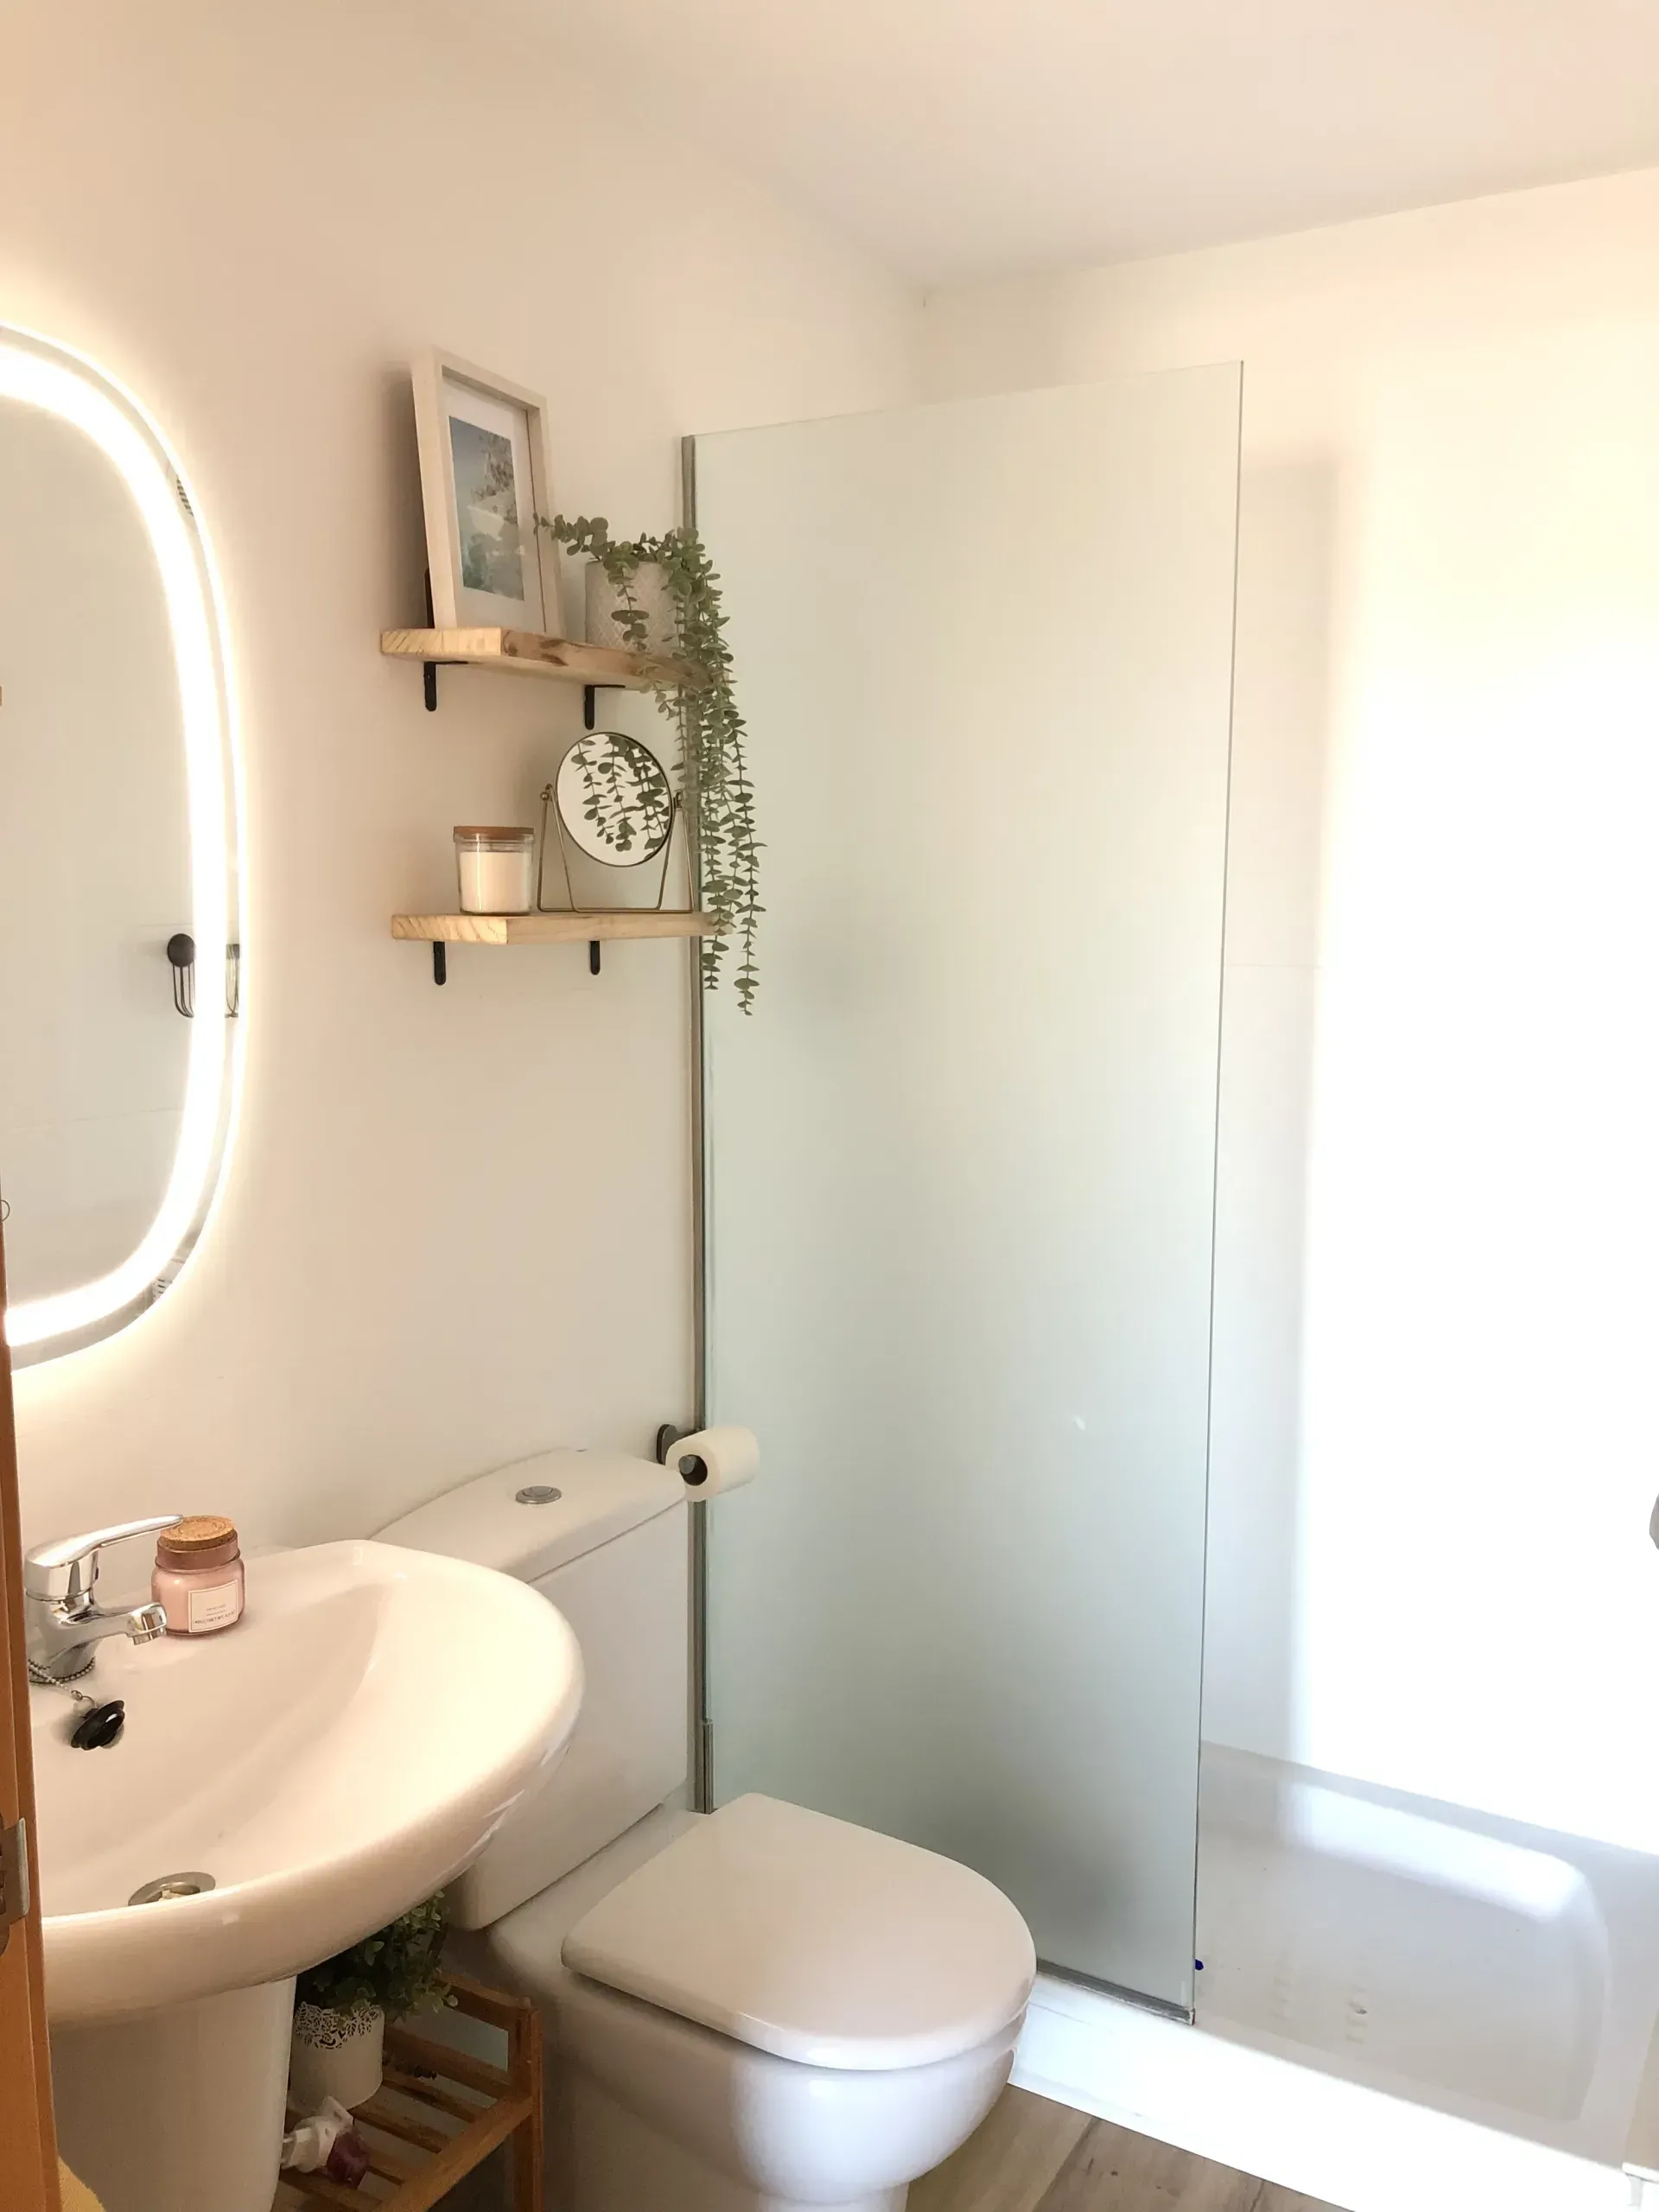
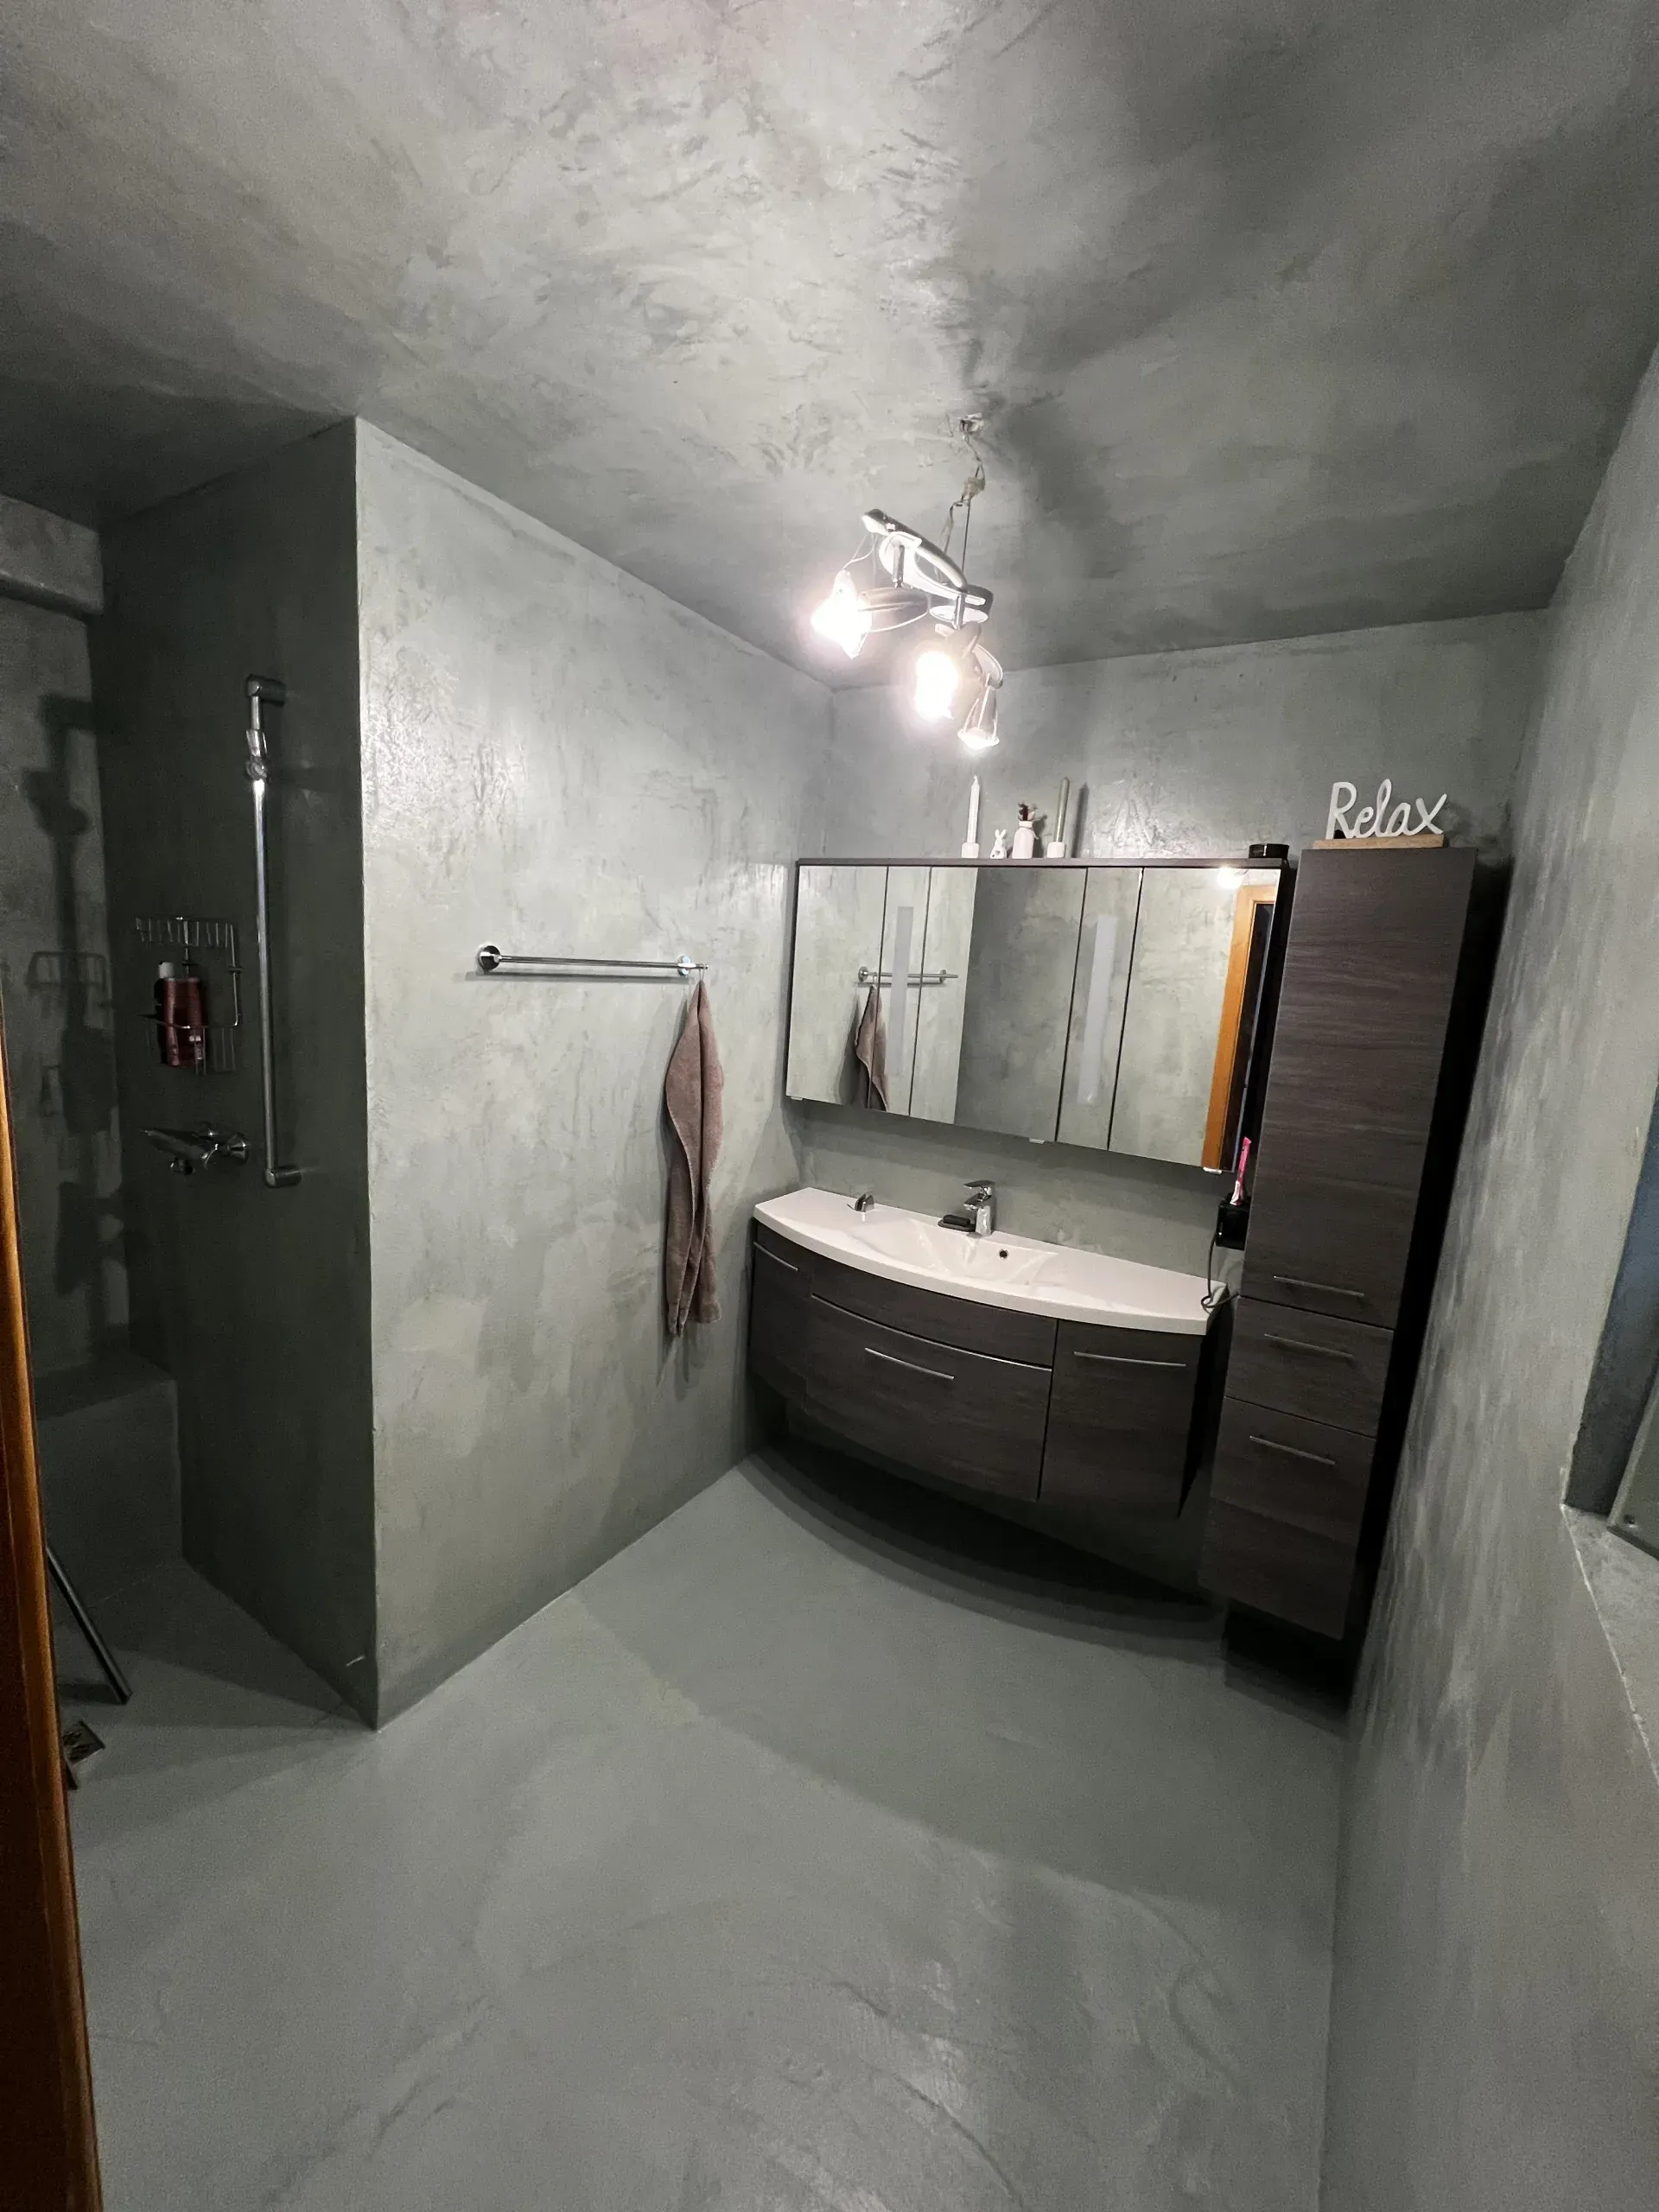
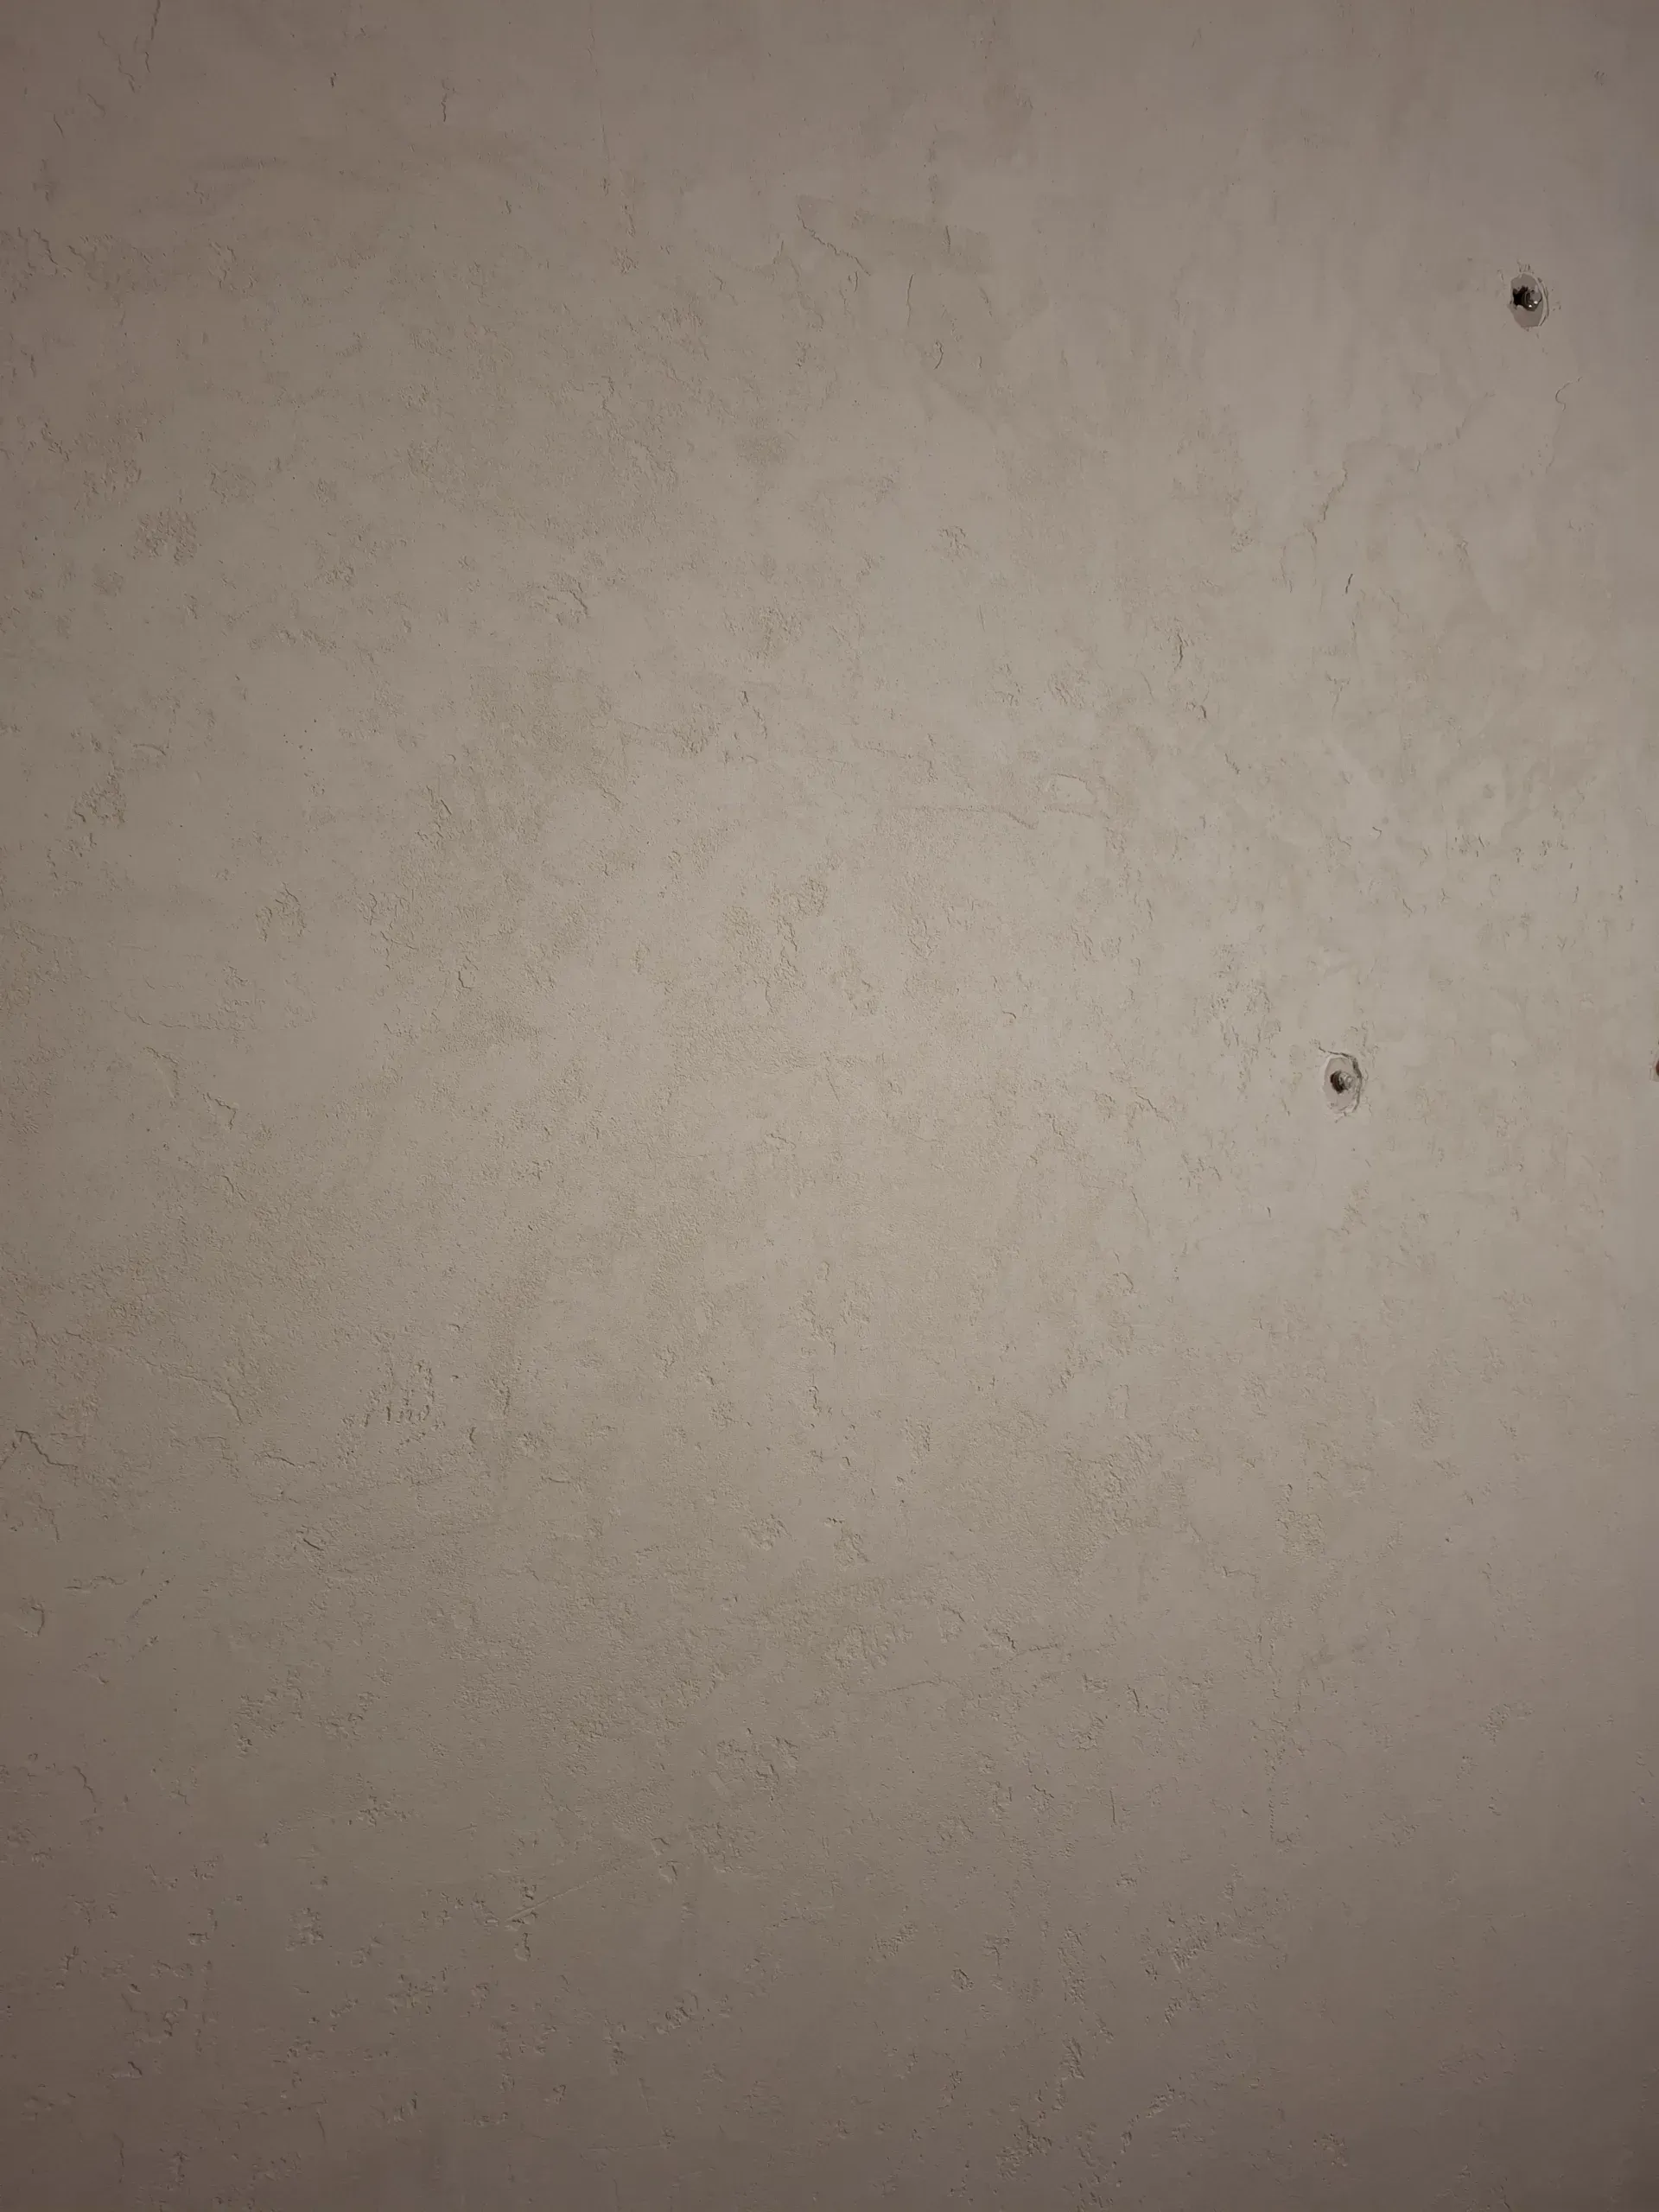
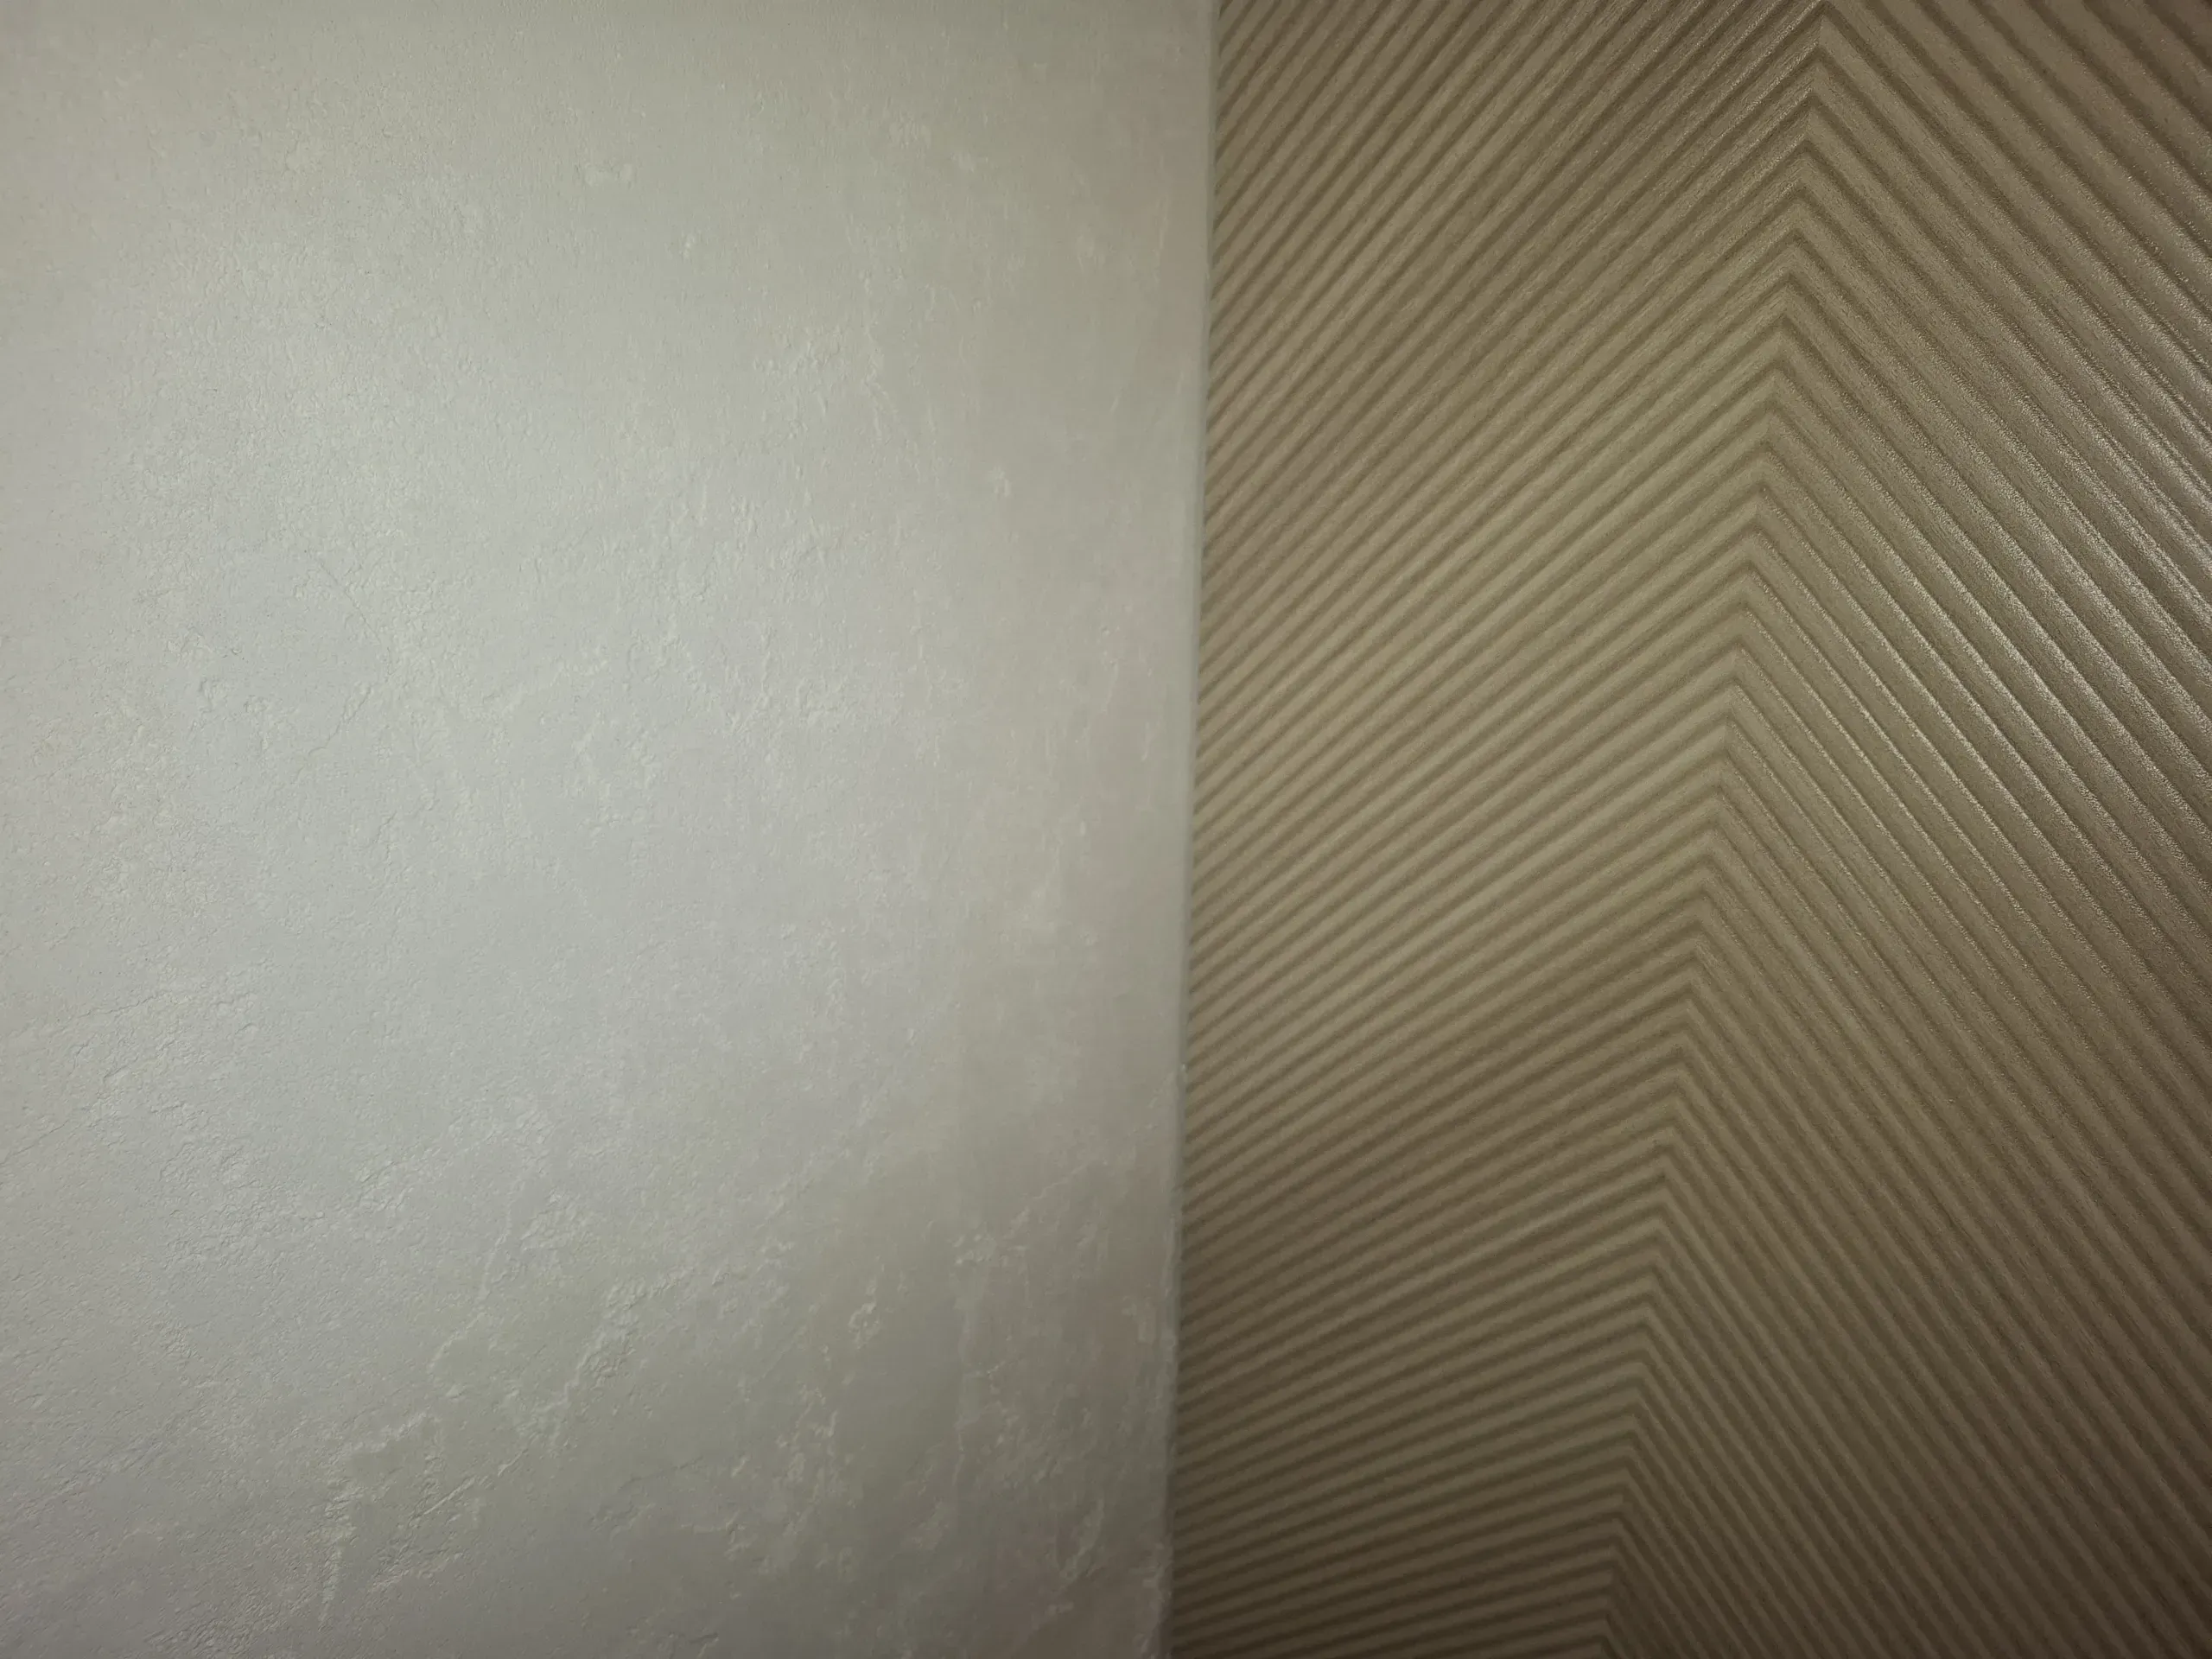
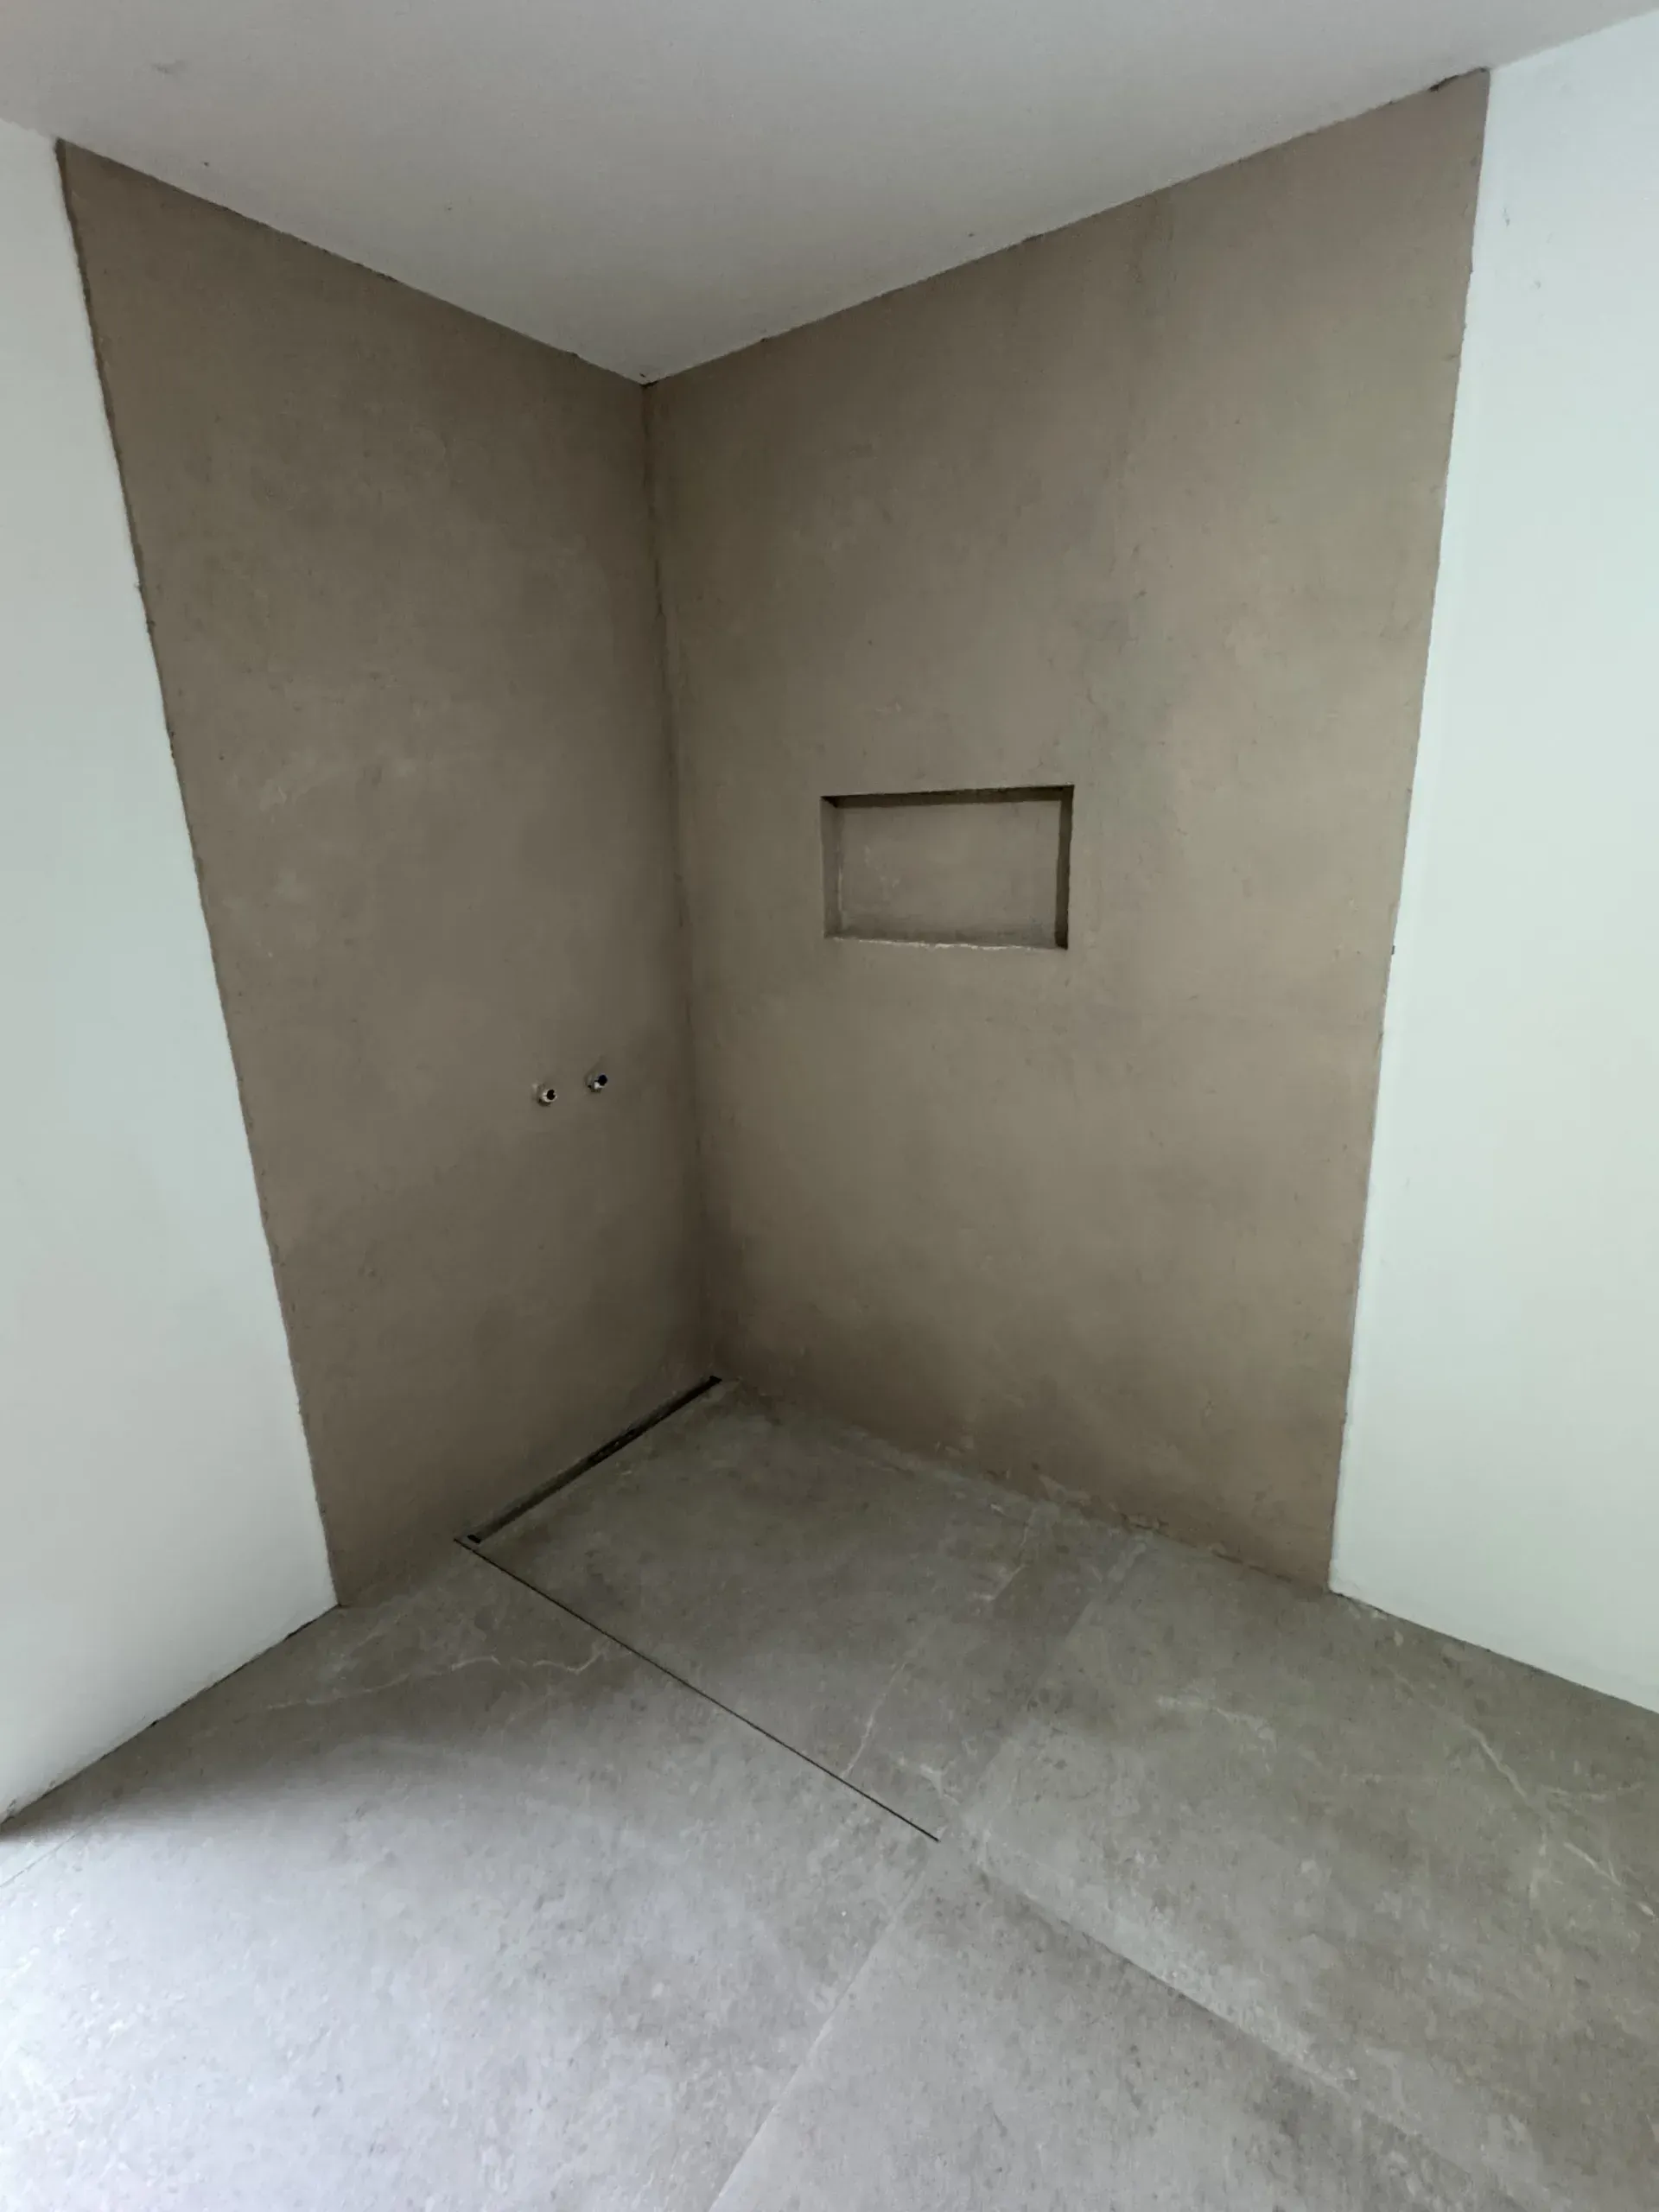
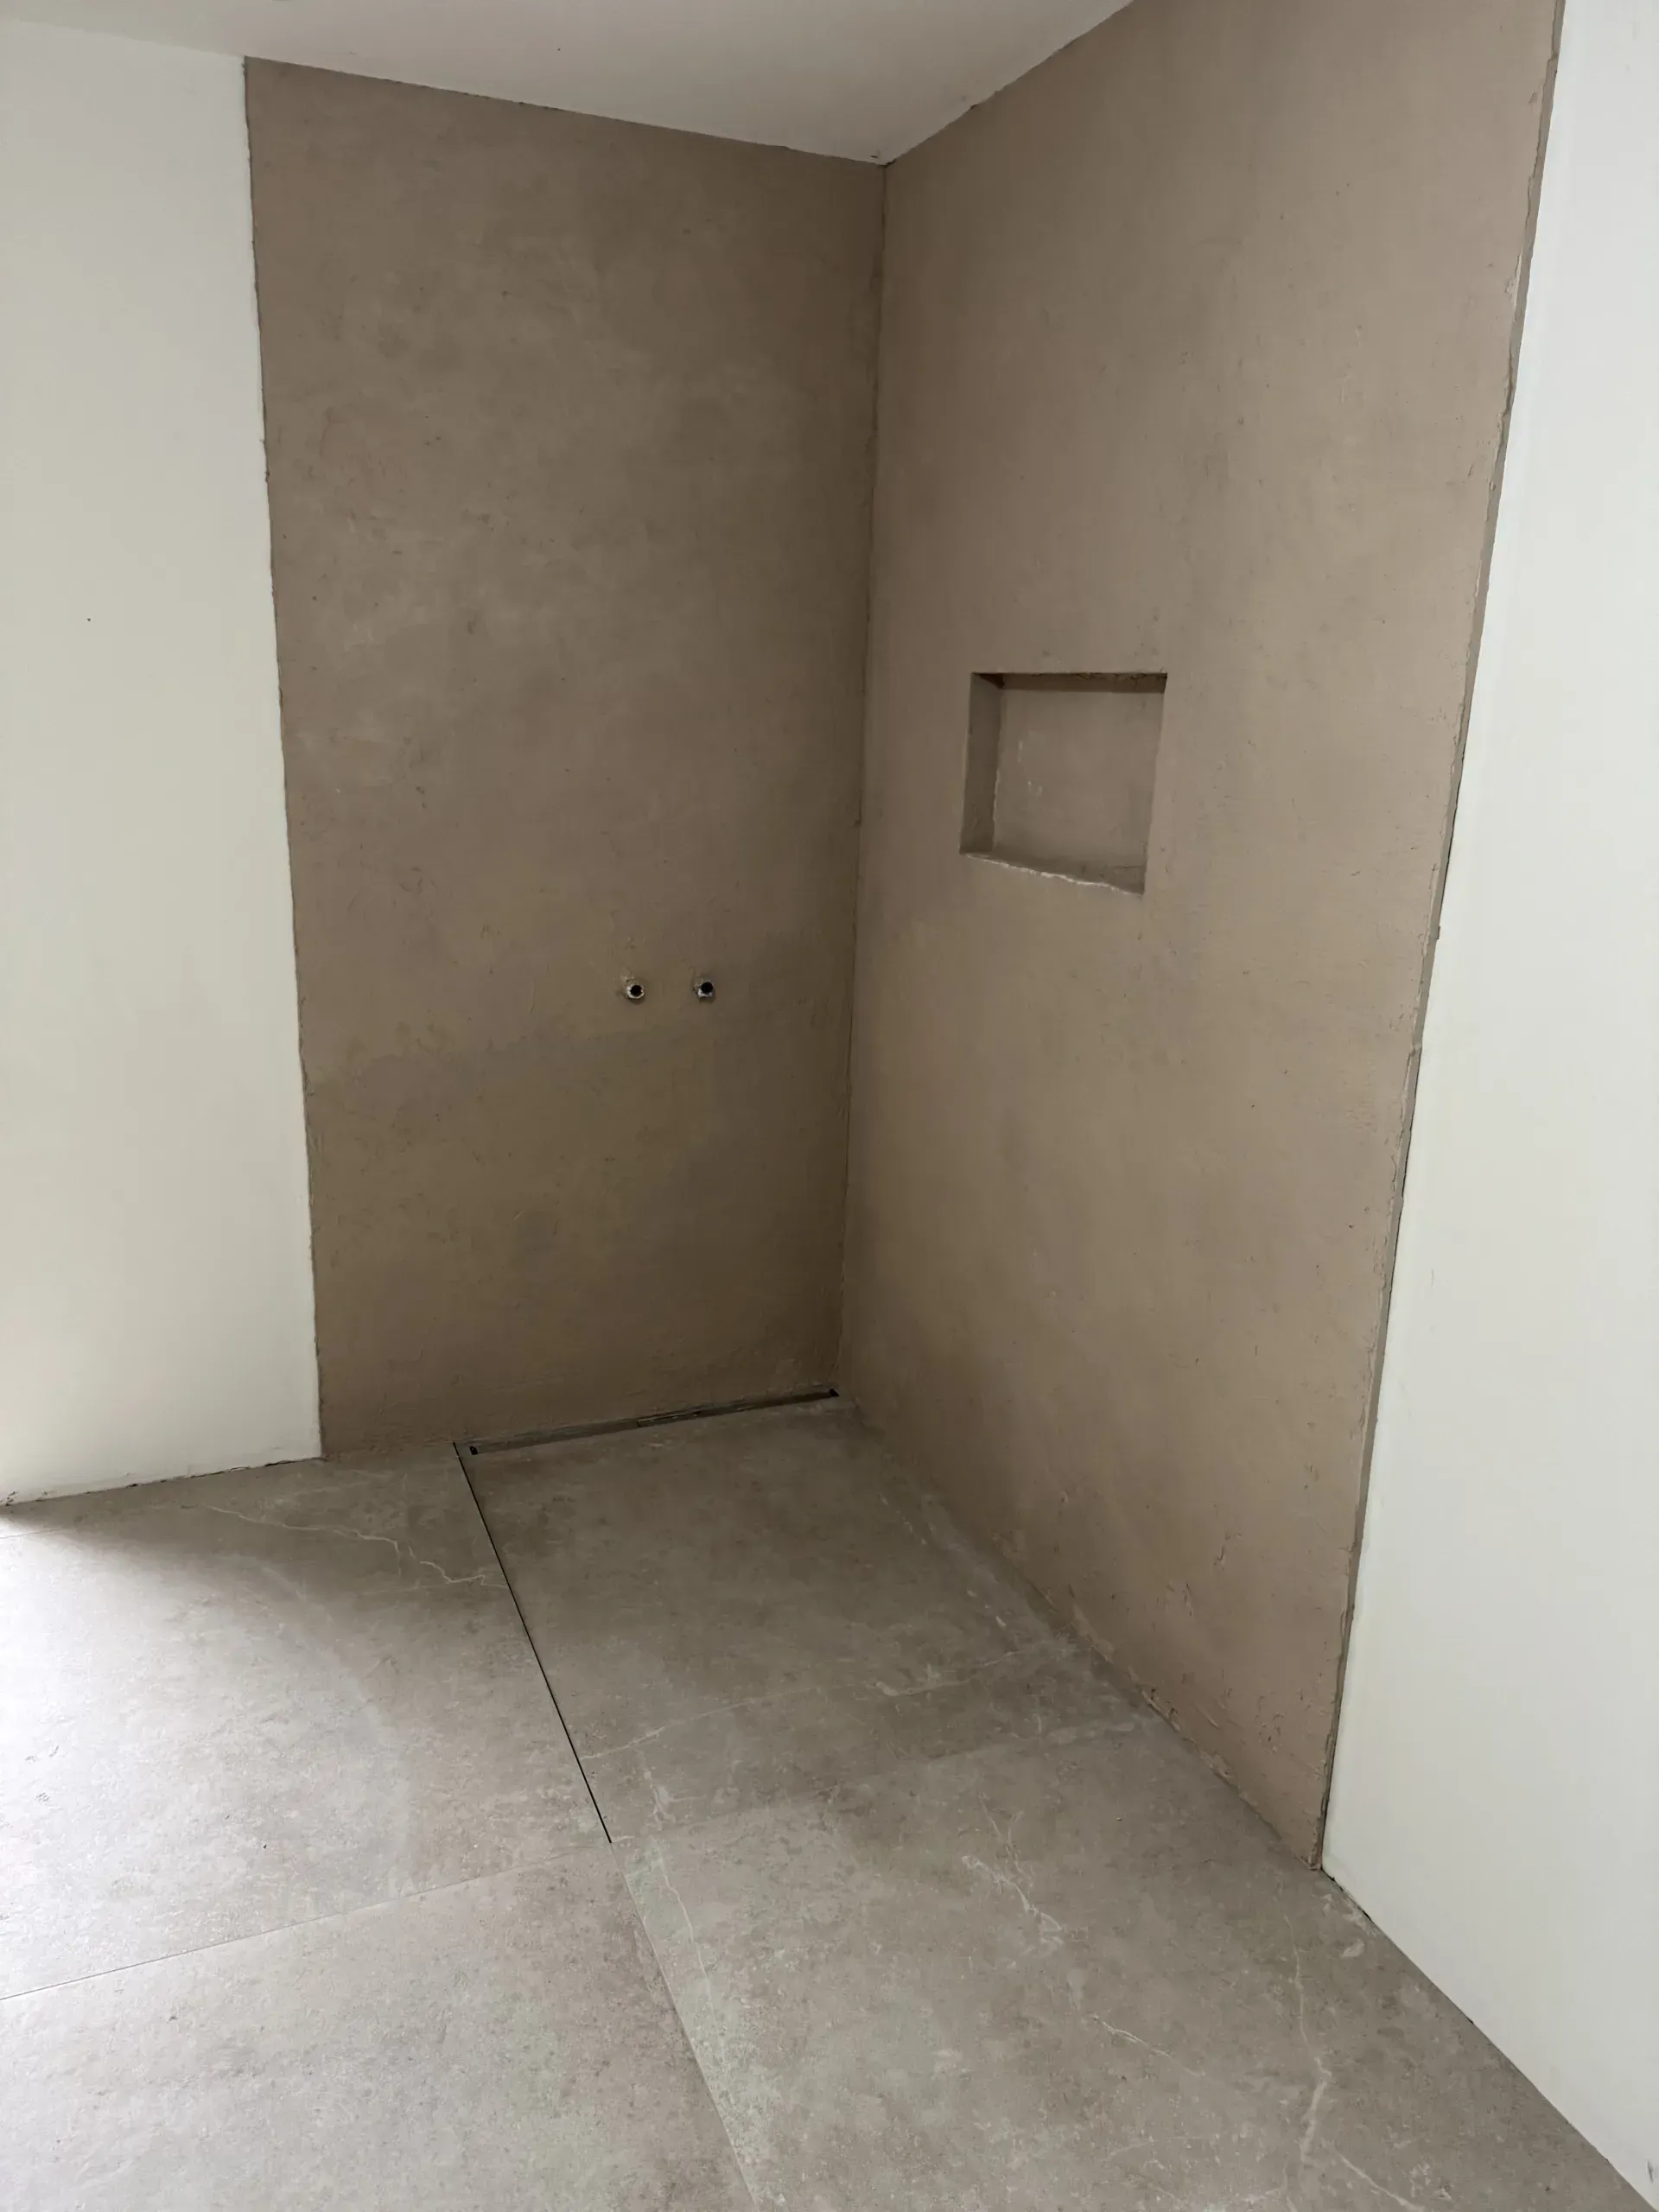




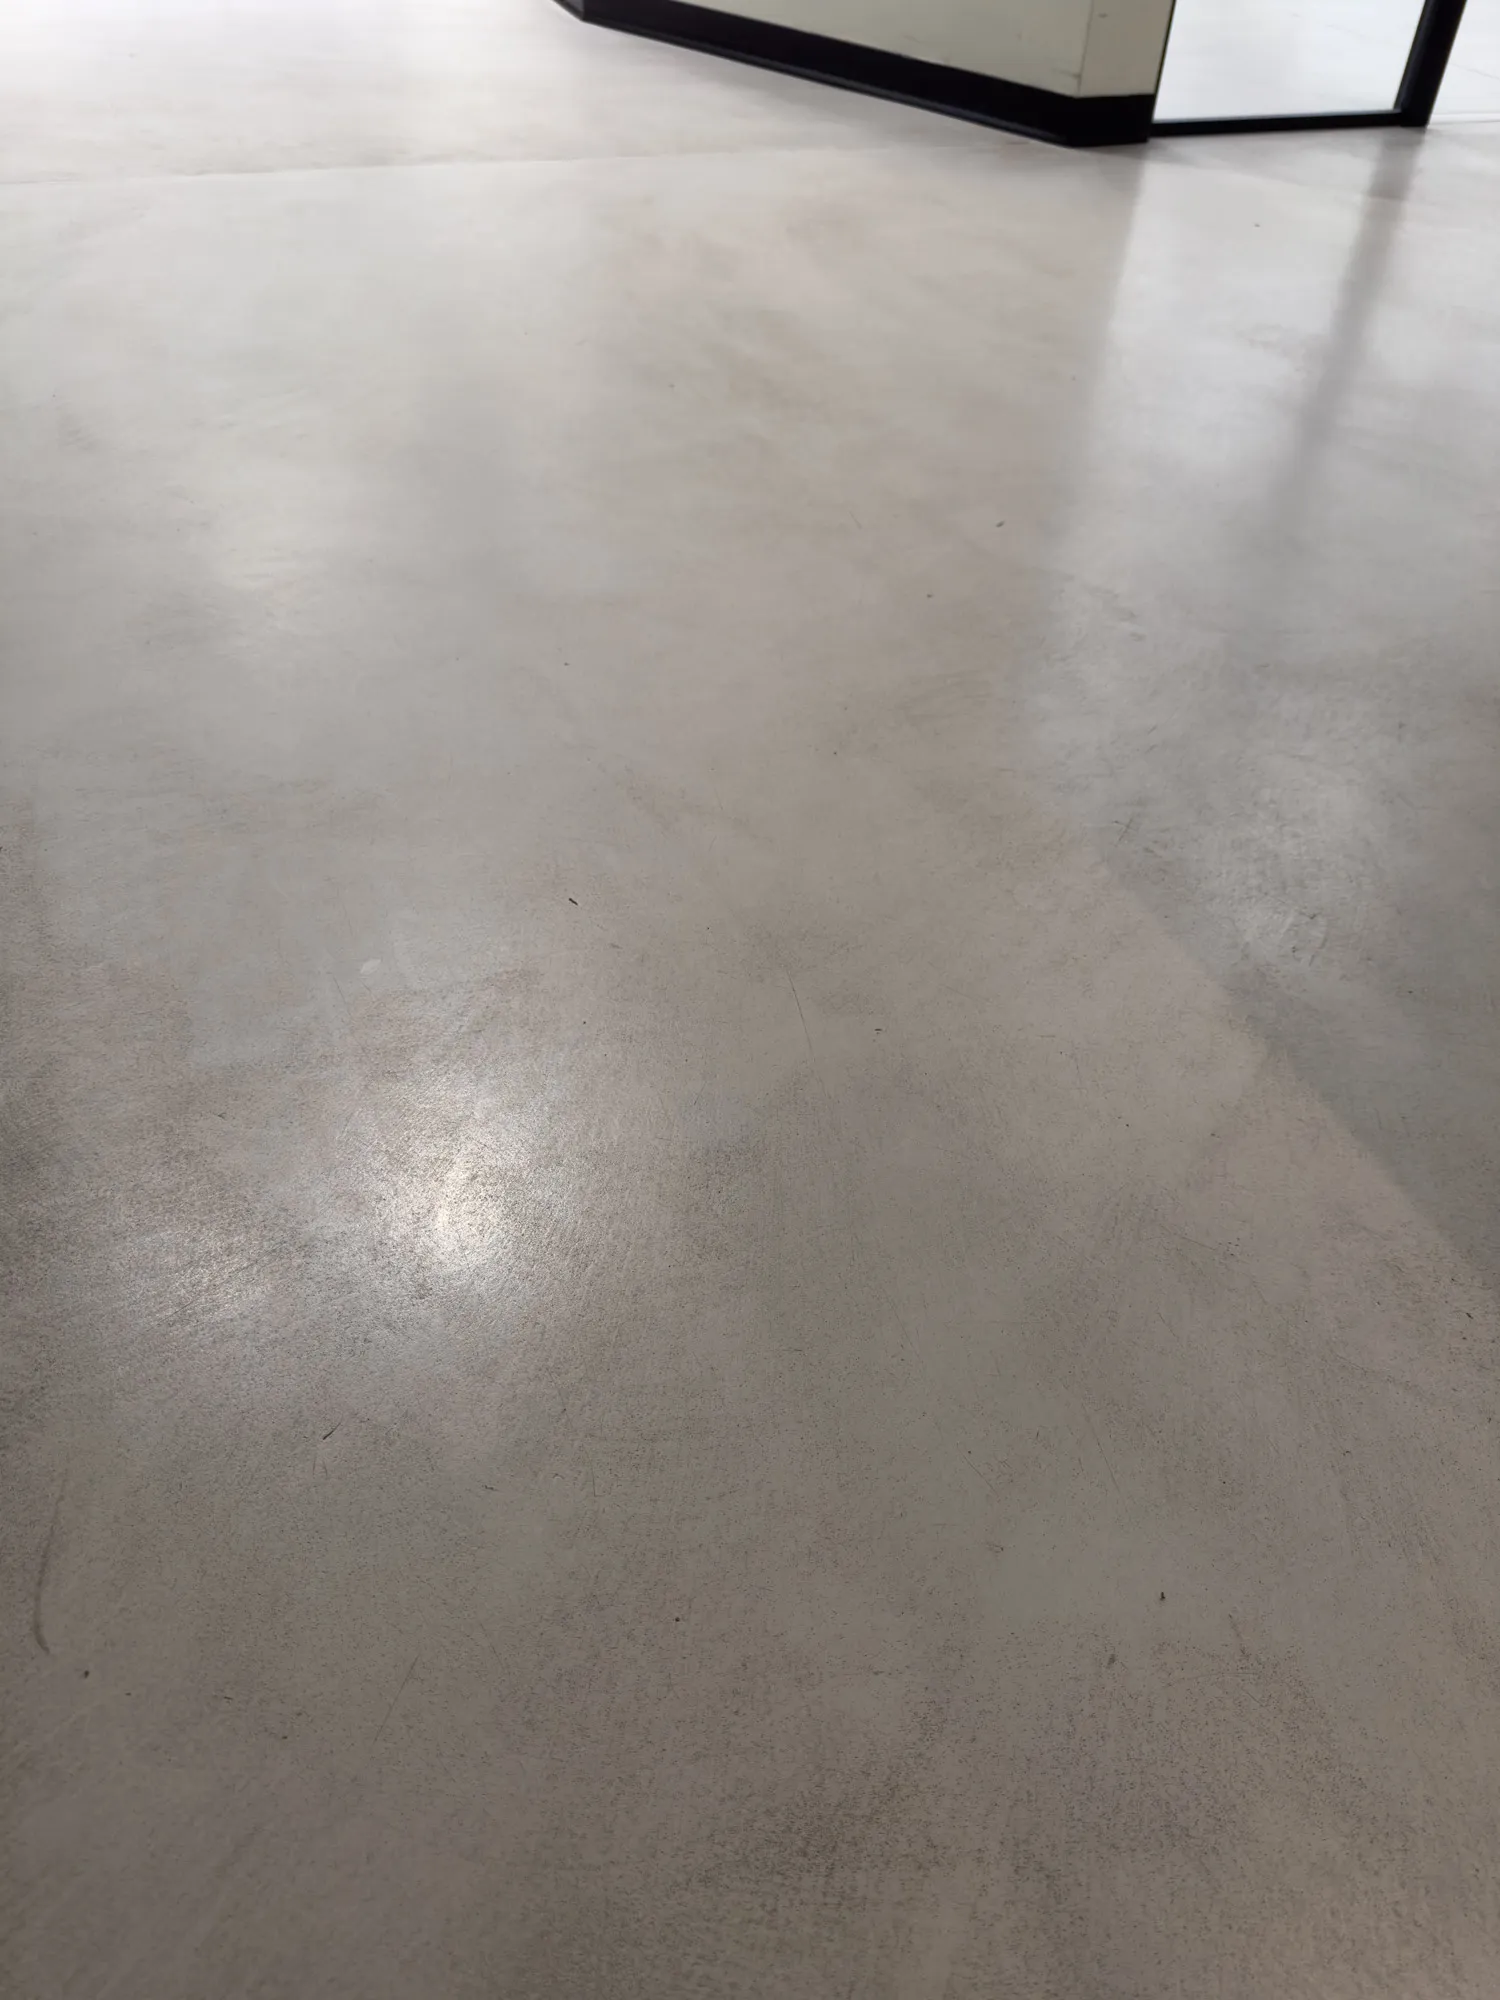

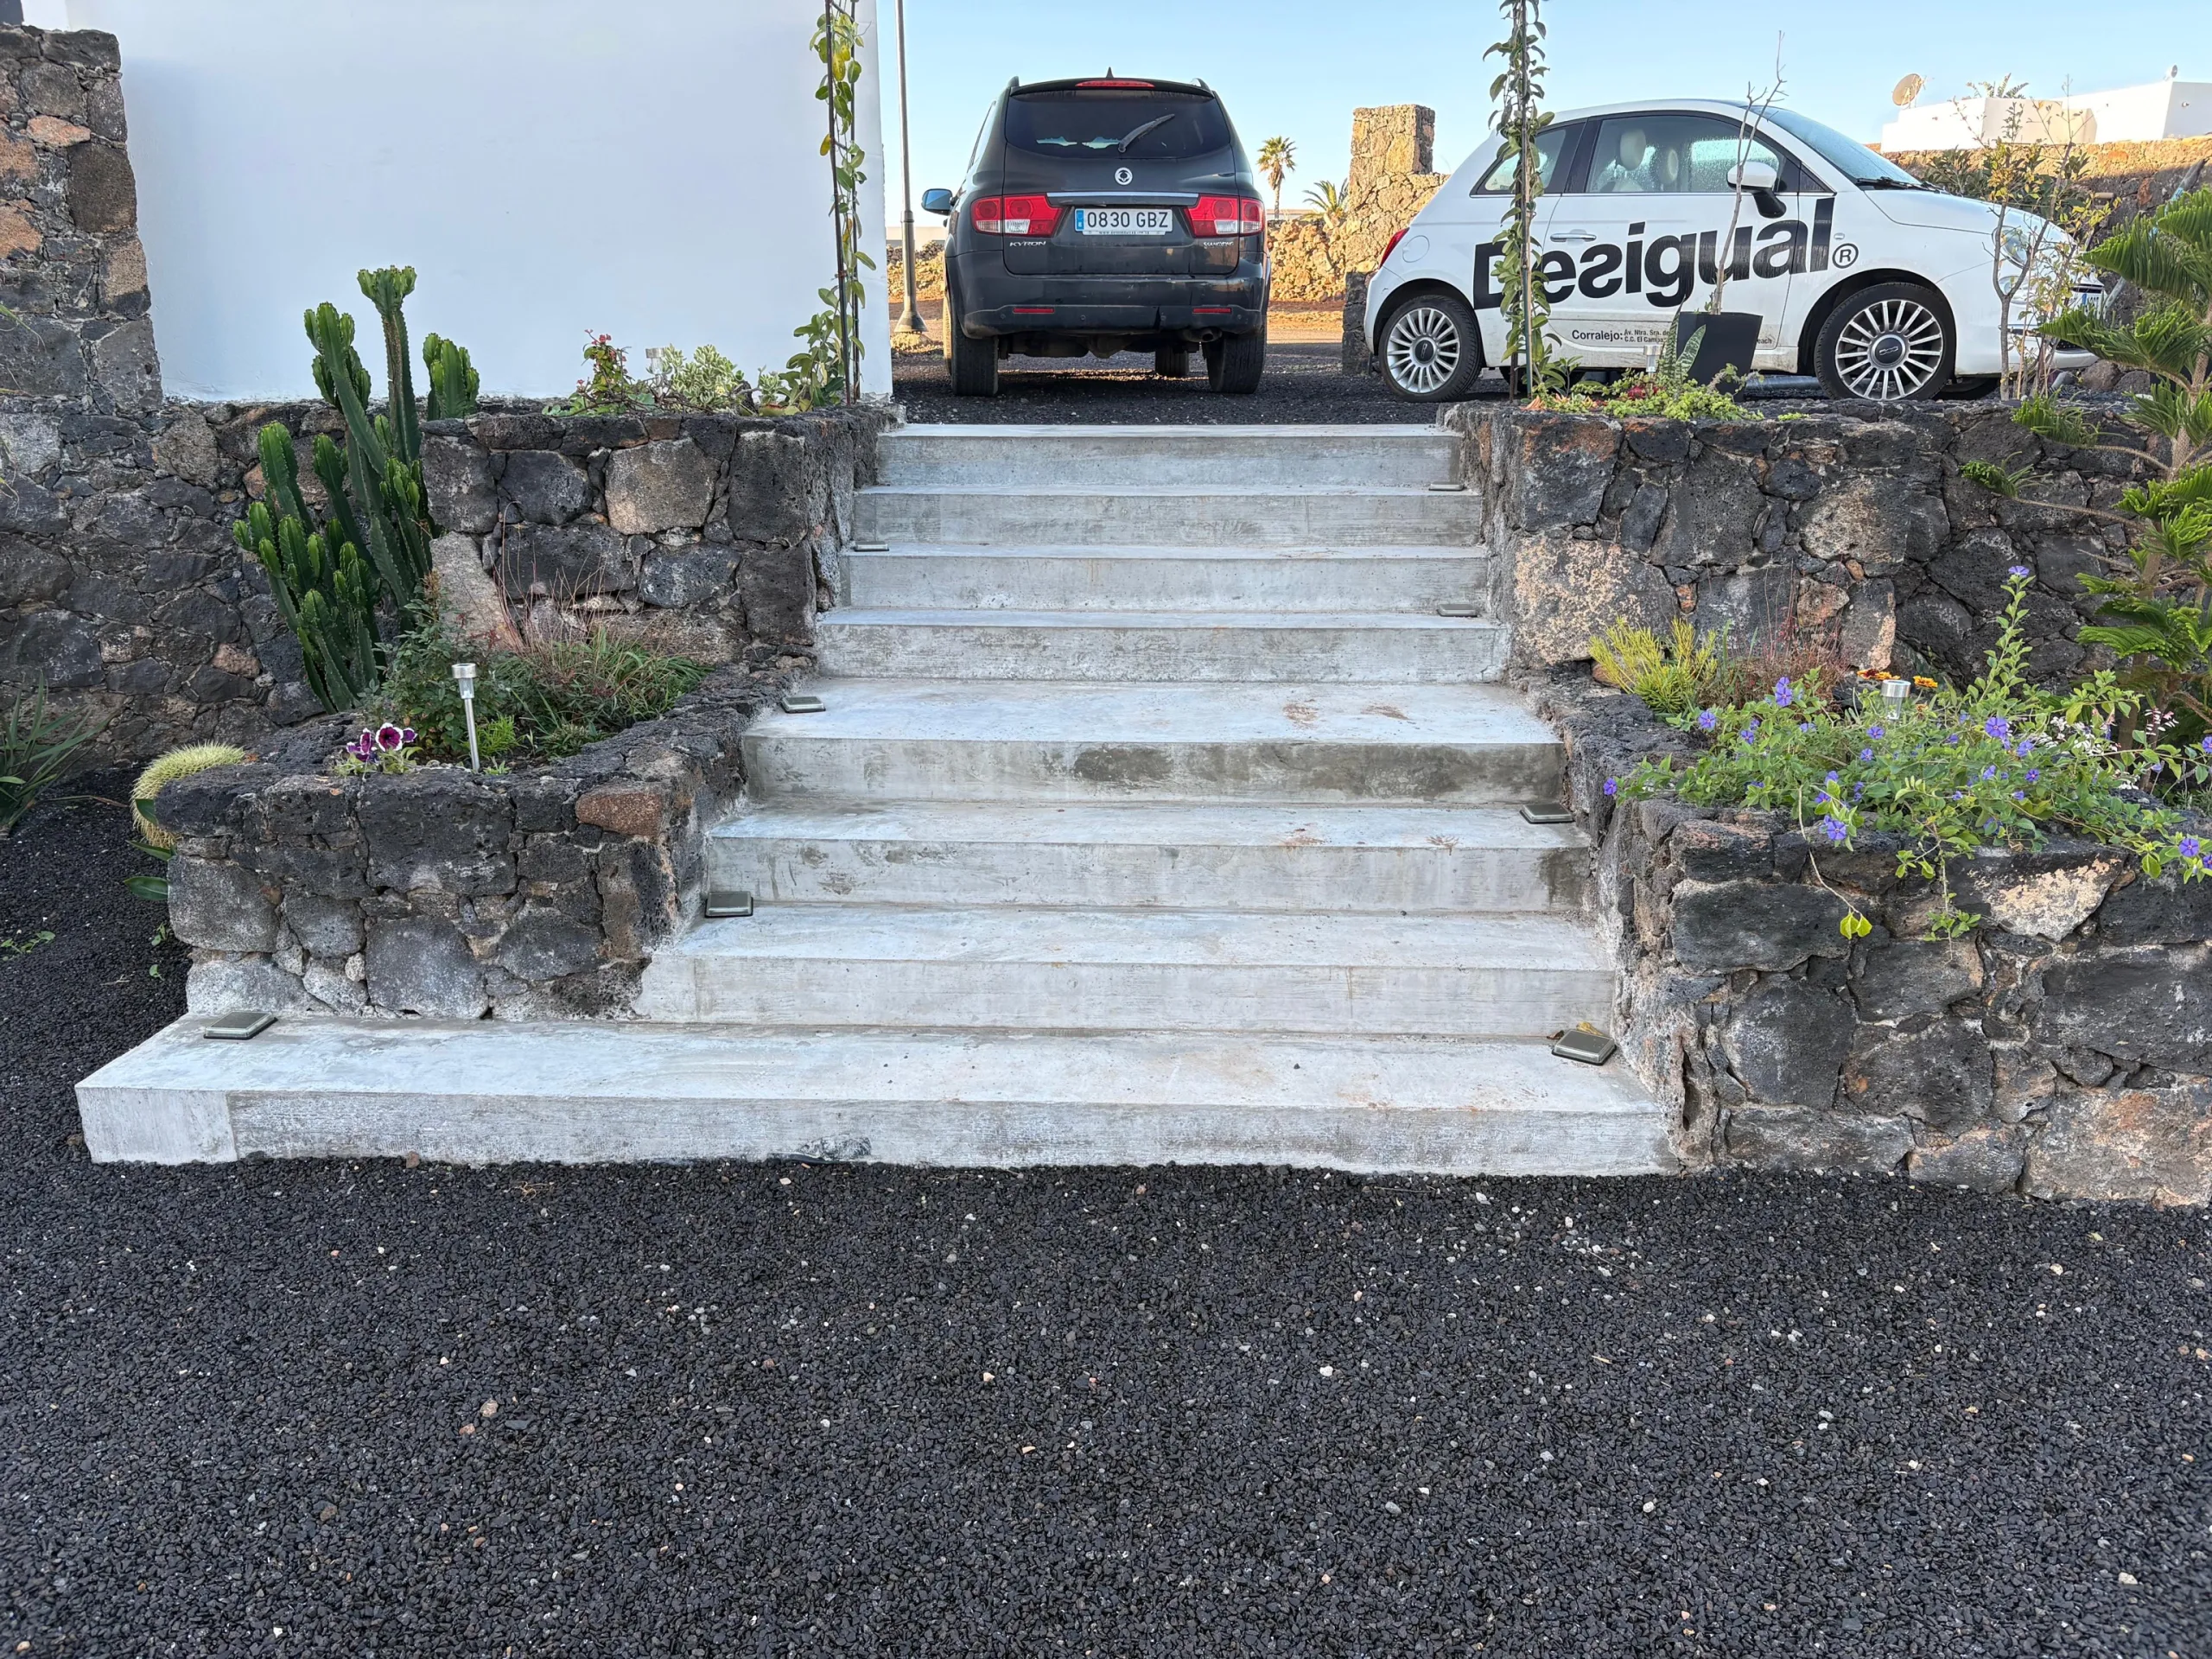
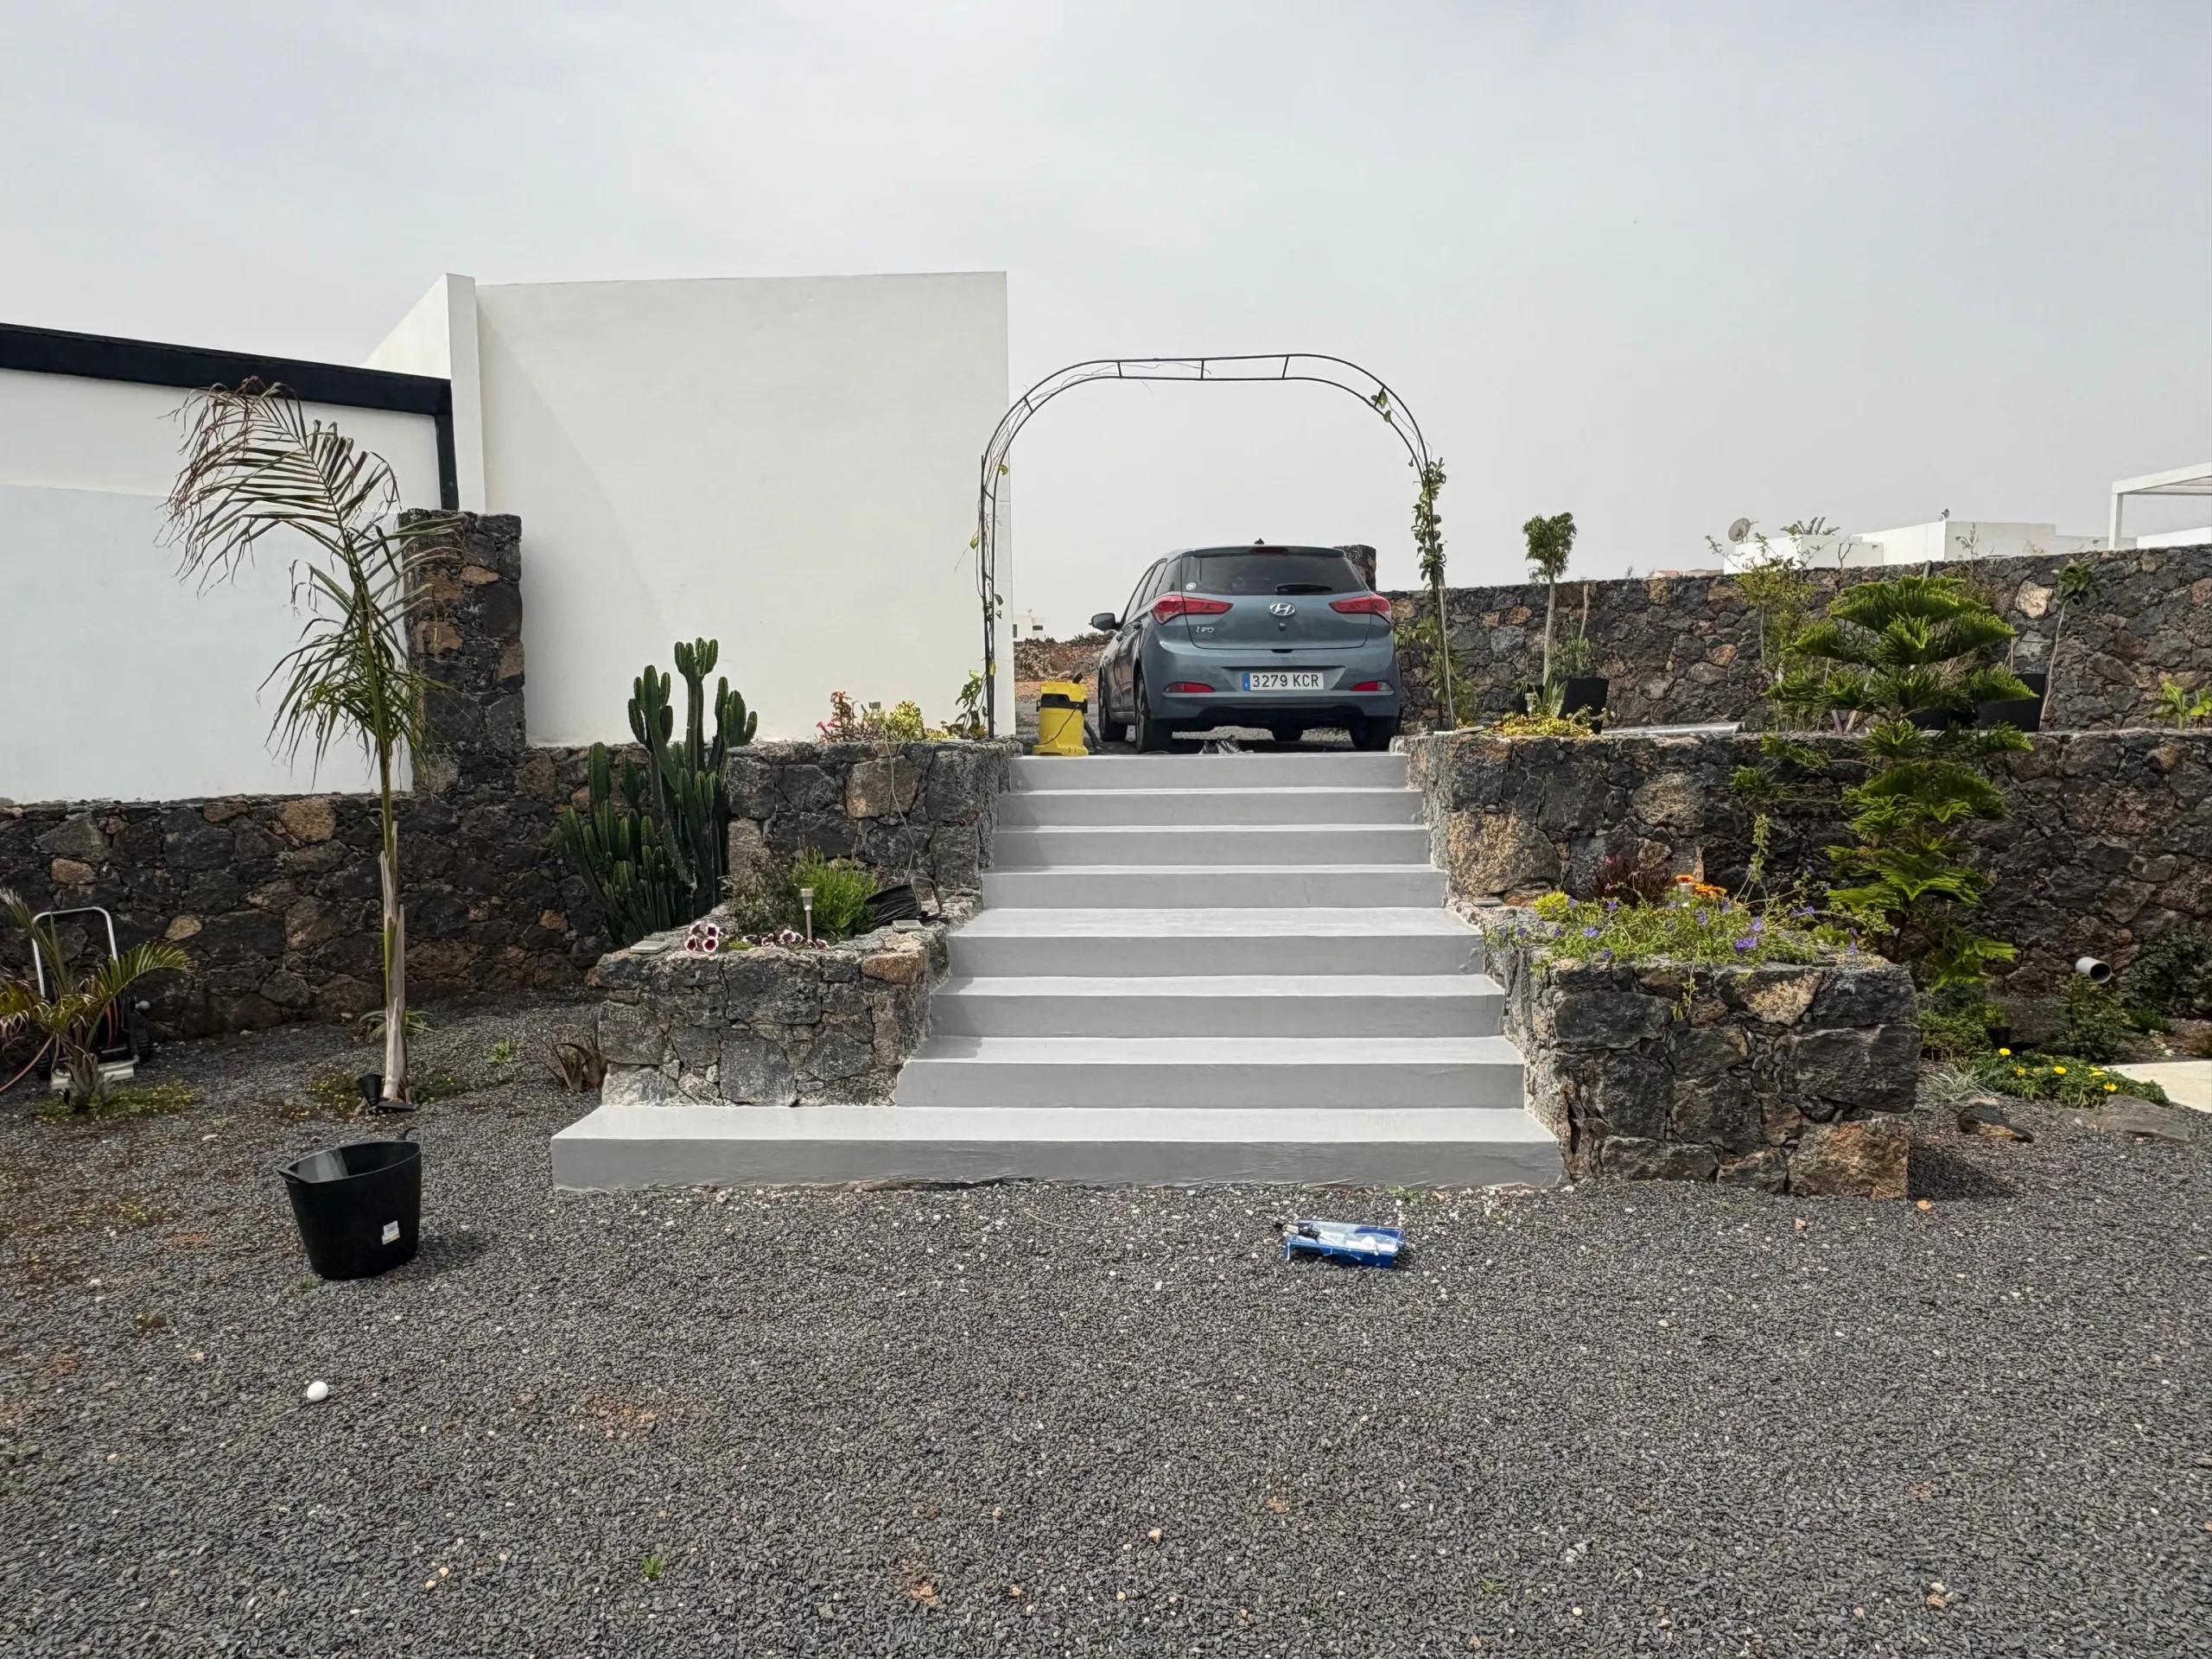



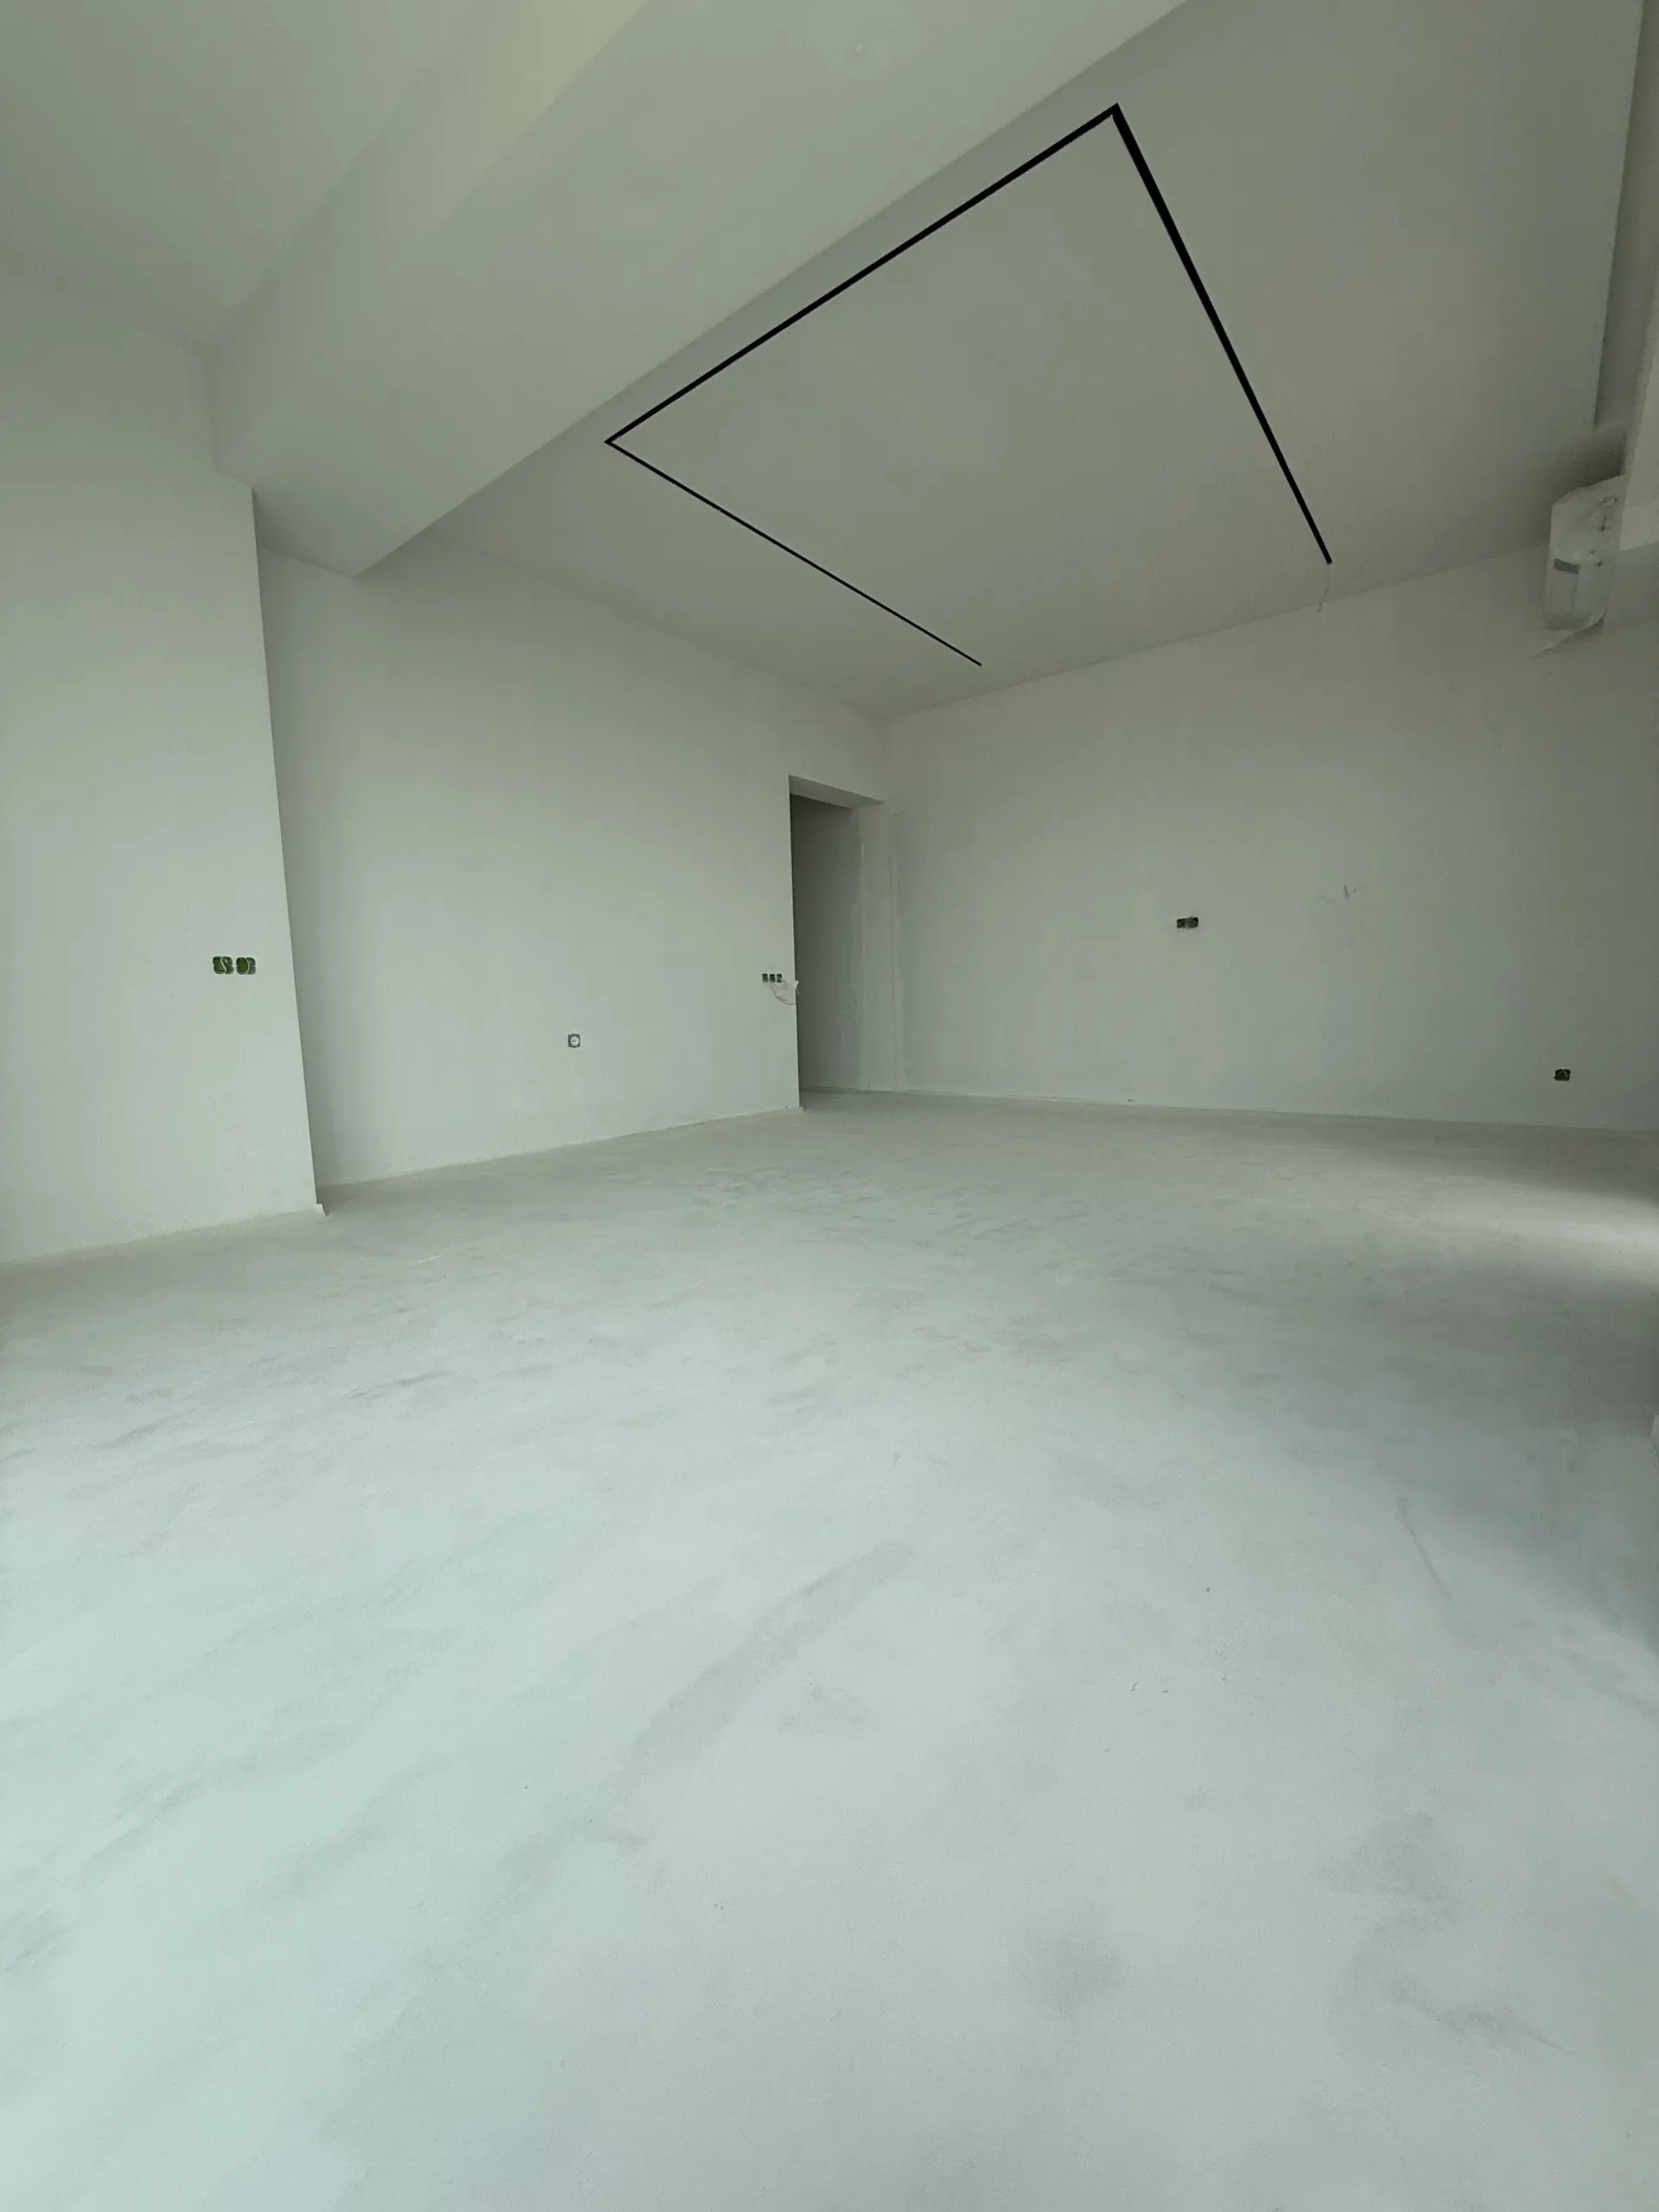
Label elements
A MICROCEMENT FINE, MEDIUM & LARGE: Danger. Causes serious eye damage. Causes skin irritation. May cause respiratory irritation. May cause an allergic skin reaction. Keep out of reach of children. Avoid breathing dust. Wear protective gloves/protective clothing/eye protection/face protection. IF ON SKIN: Wash with plenty of water and soap. IF INHALED: Remove person to fresh air and keep comfortable for breathing. IF IN EYES: Rinse cautiously with water for several minutes. Remove contact lenses, if present and easy to do. Continue rinsing. Immediately call a POISON CENTER or doctor. If skin irritation or rash occurs: Get medical advice/attention. Take off contaminated clothing and wash it before reuse. Dispose of contents/container to in accordance with local/regional/international regulations. Use only outdoors or in a well-ventilated area. The information on the product label must always be followed.

Related Products

 5.0