





Microcement set for tiles - Floors
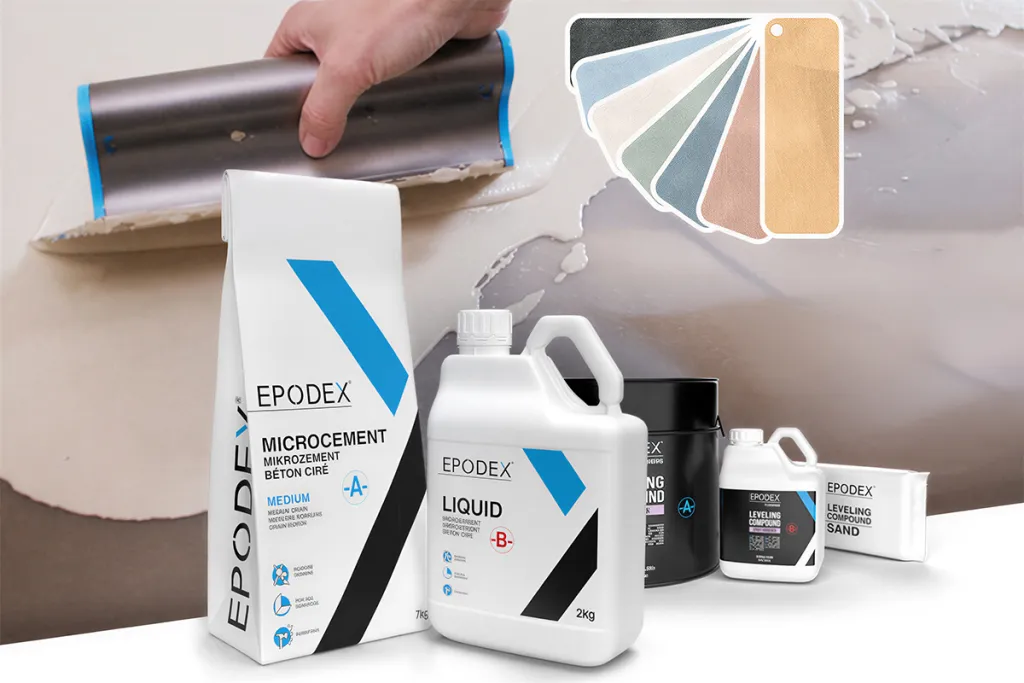
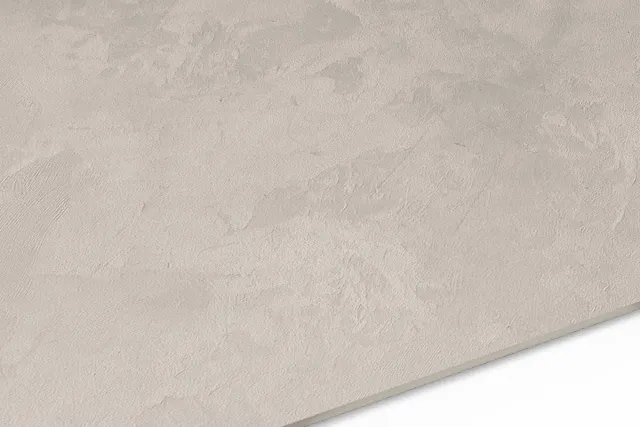
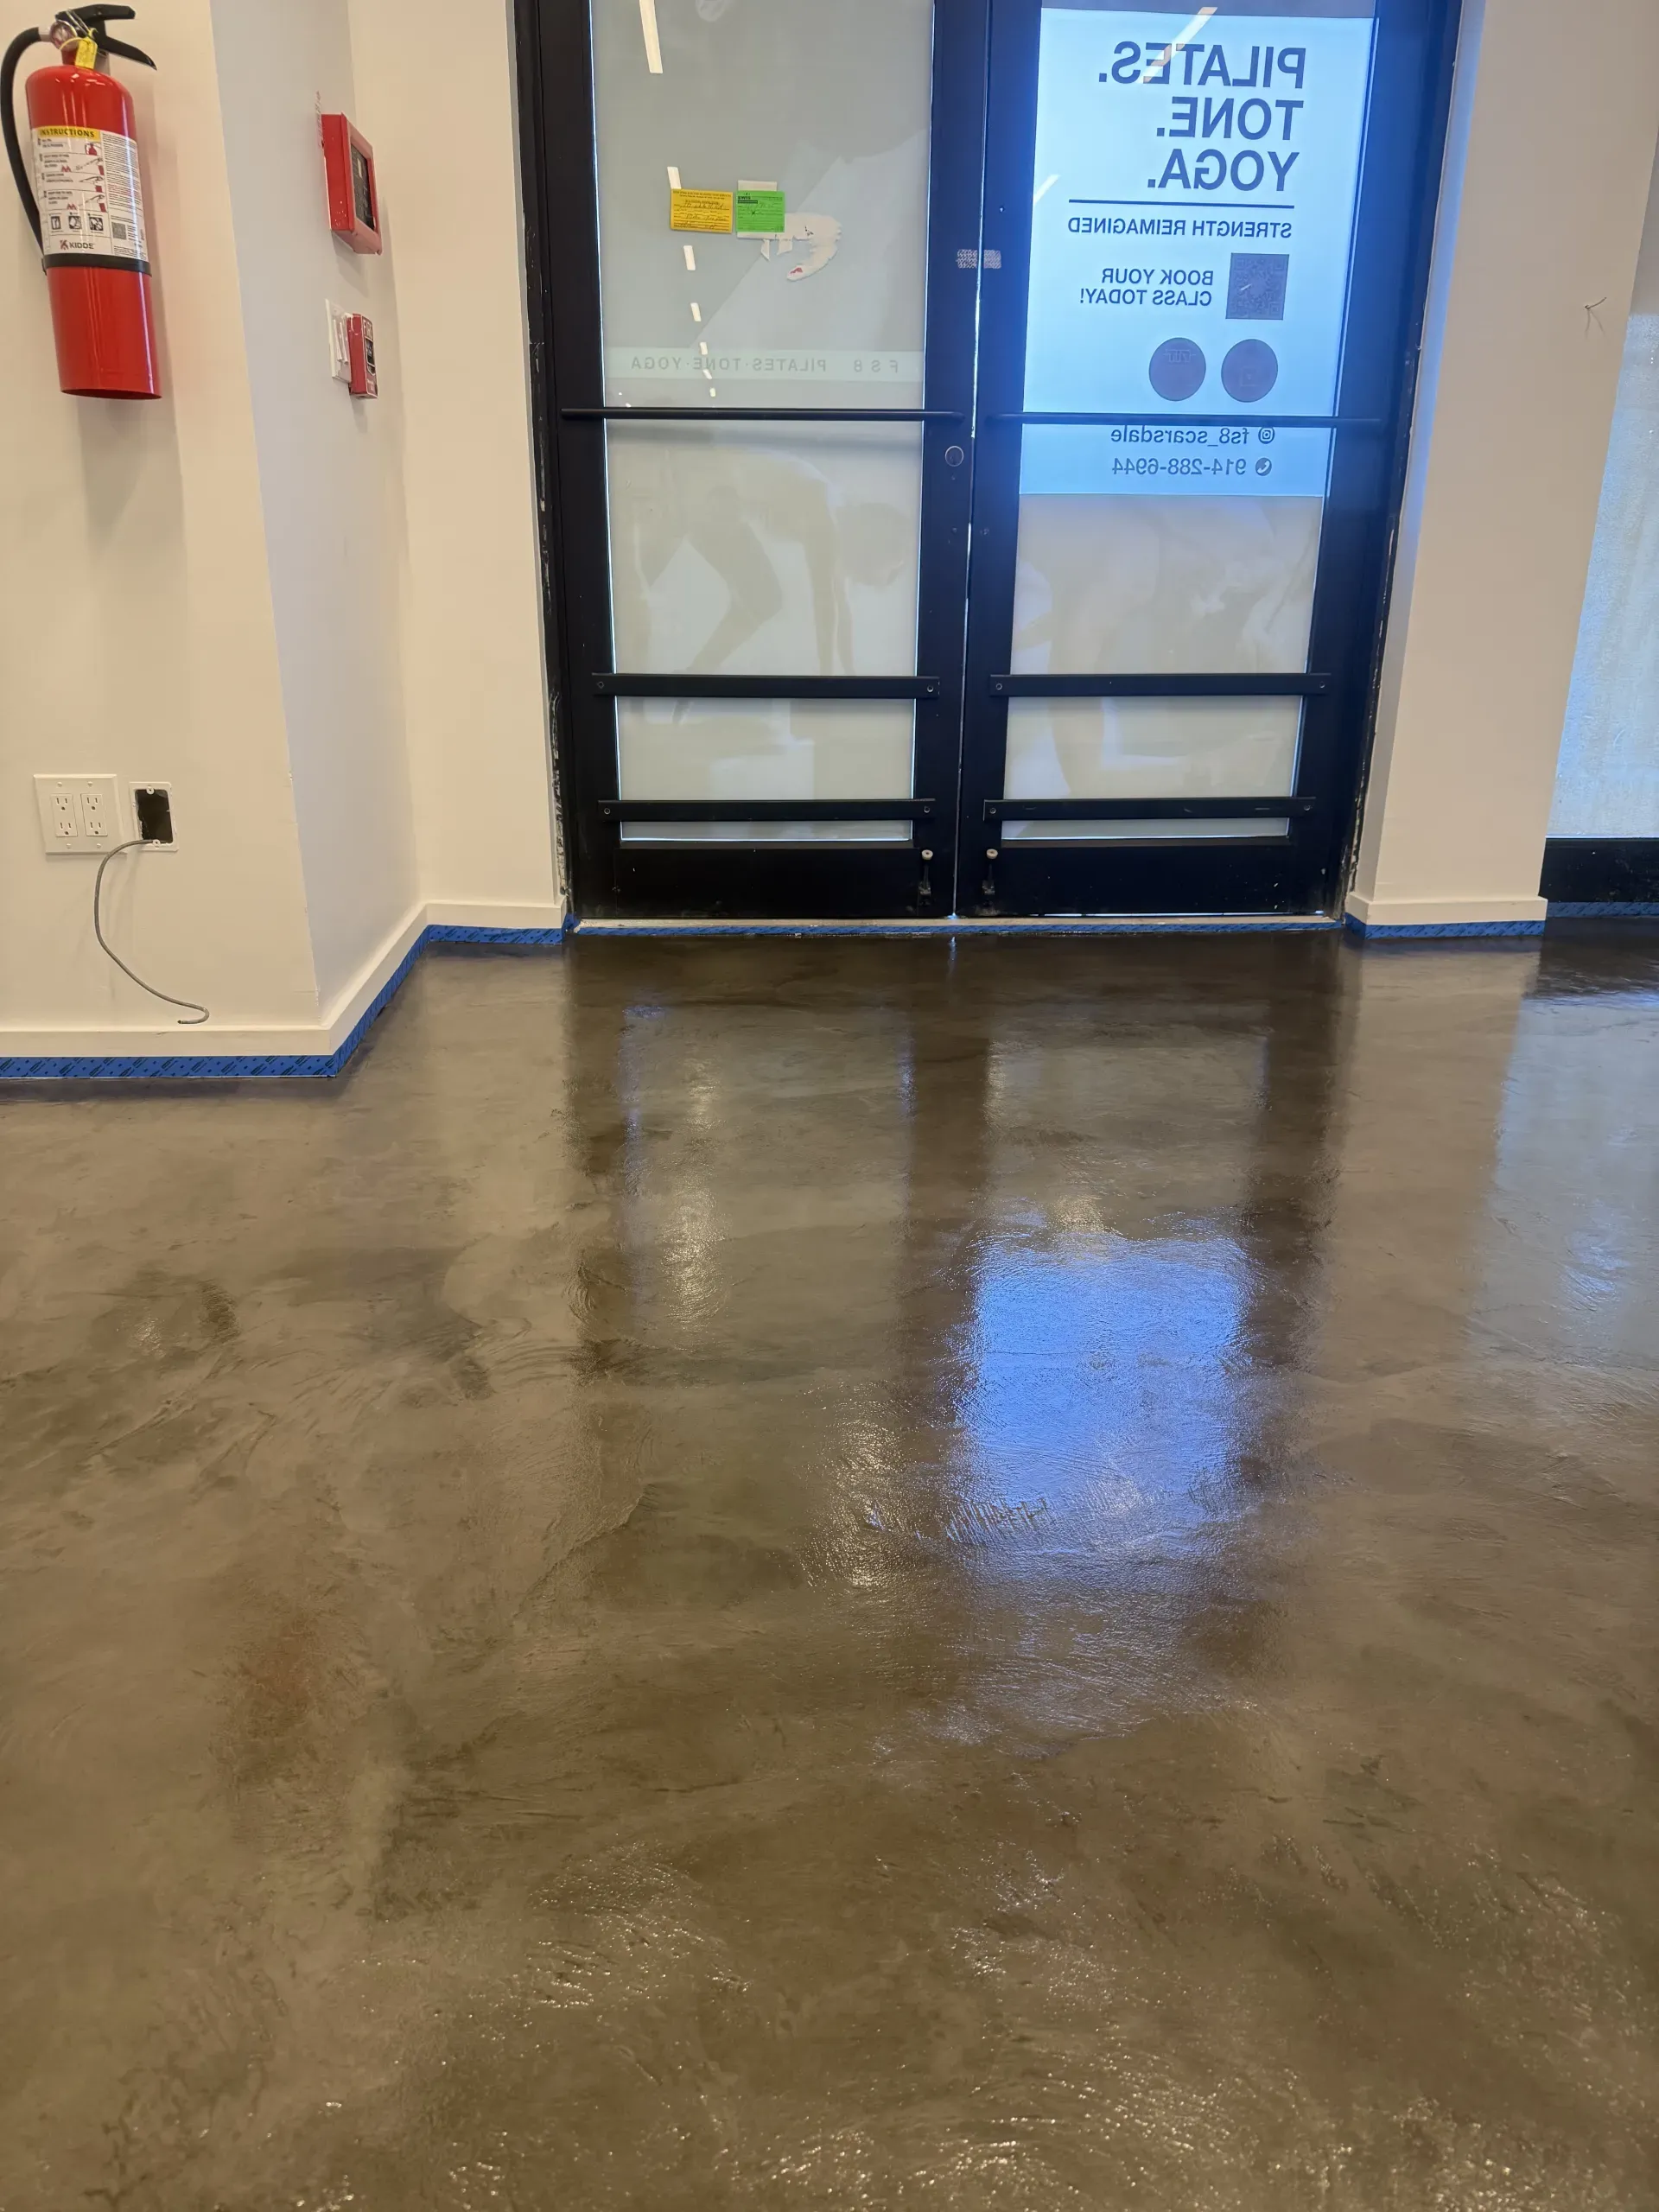
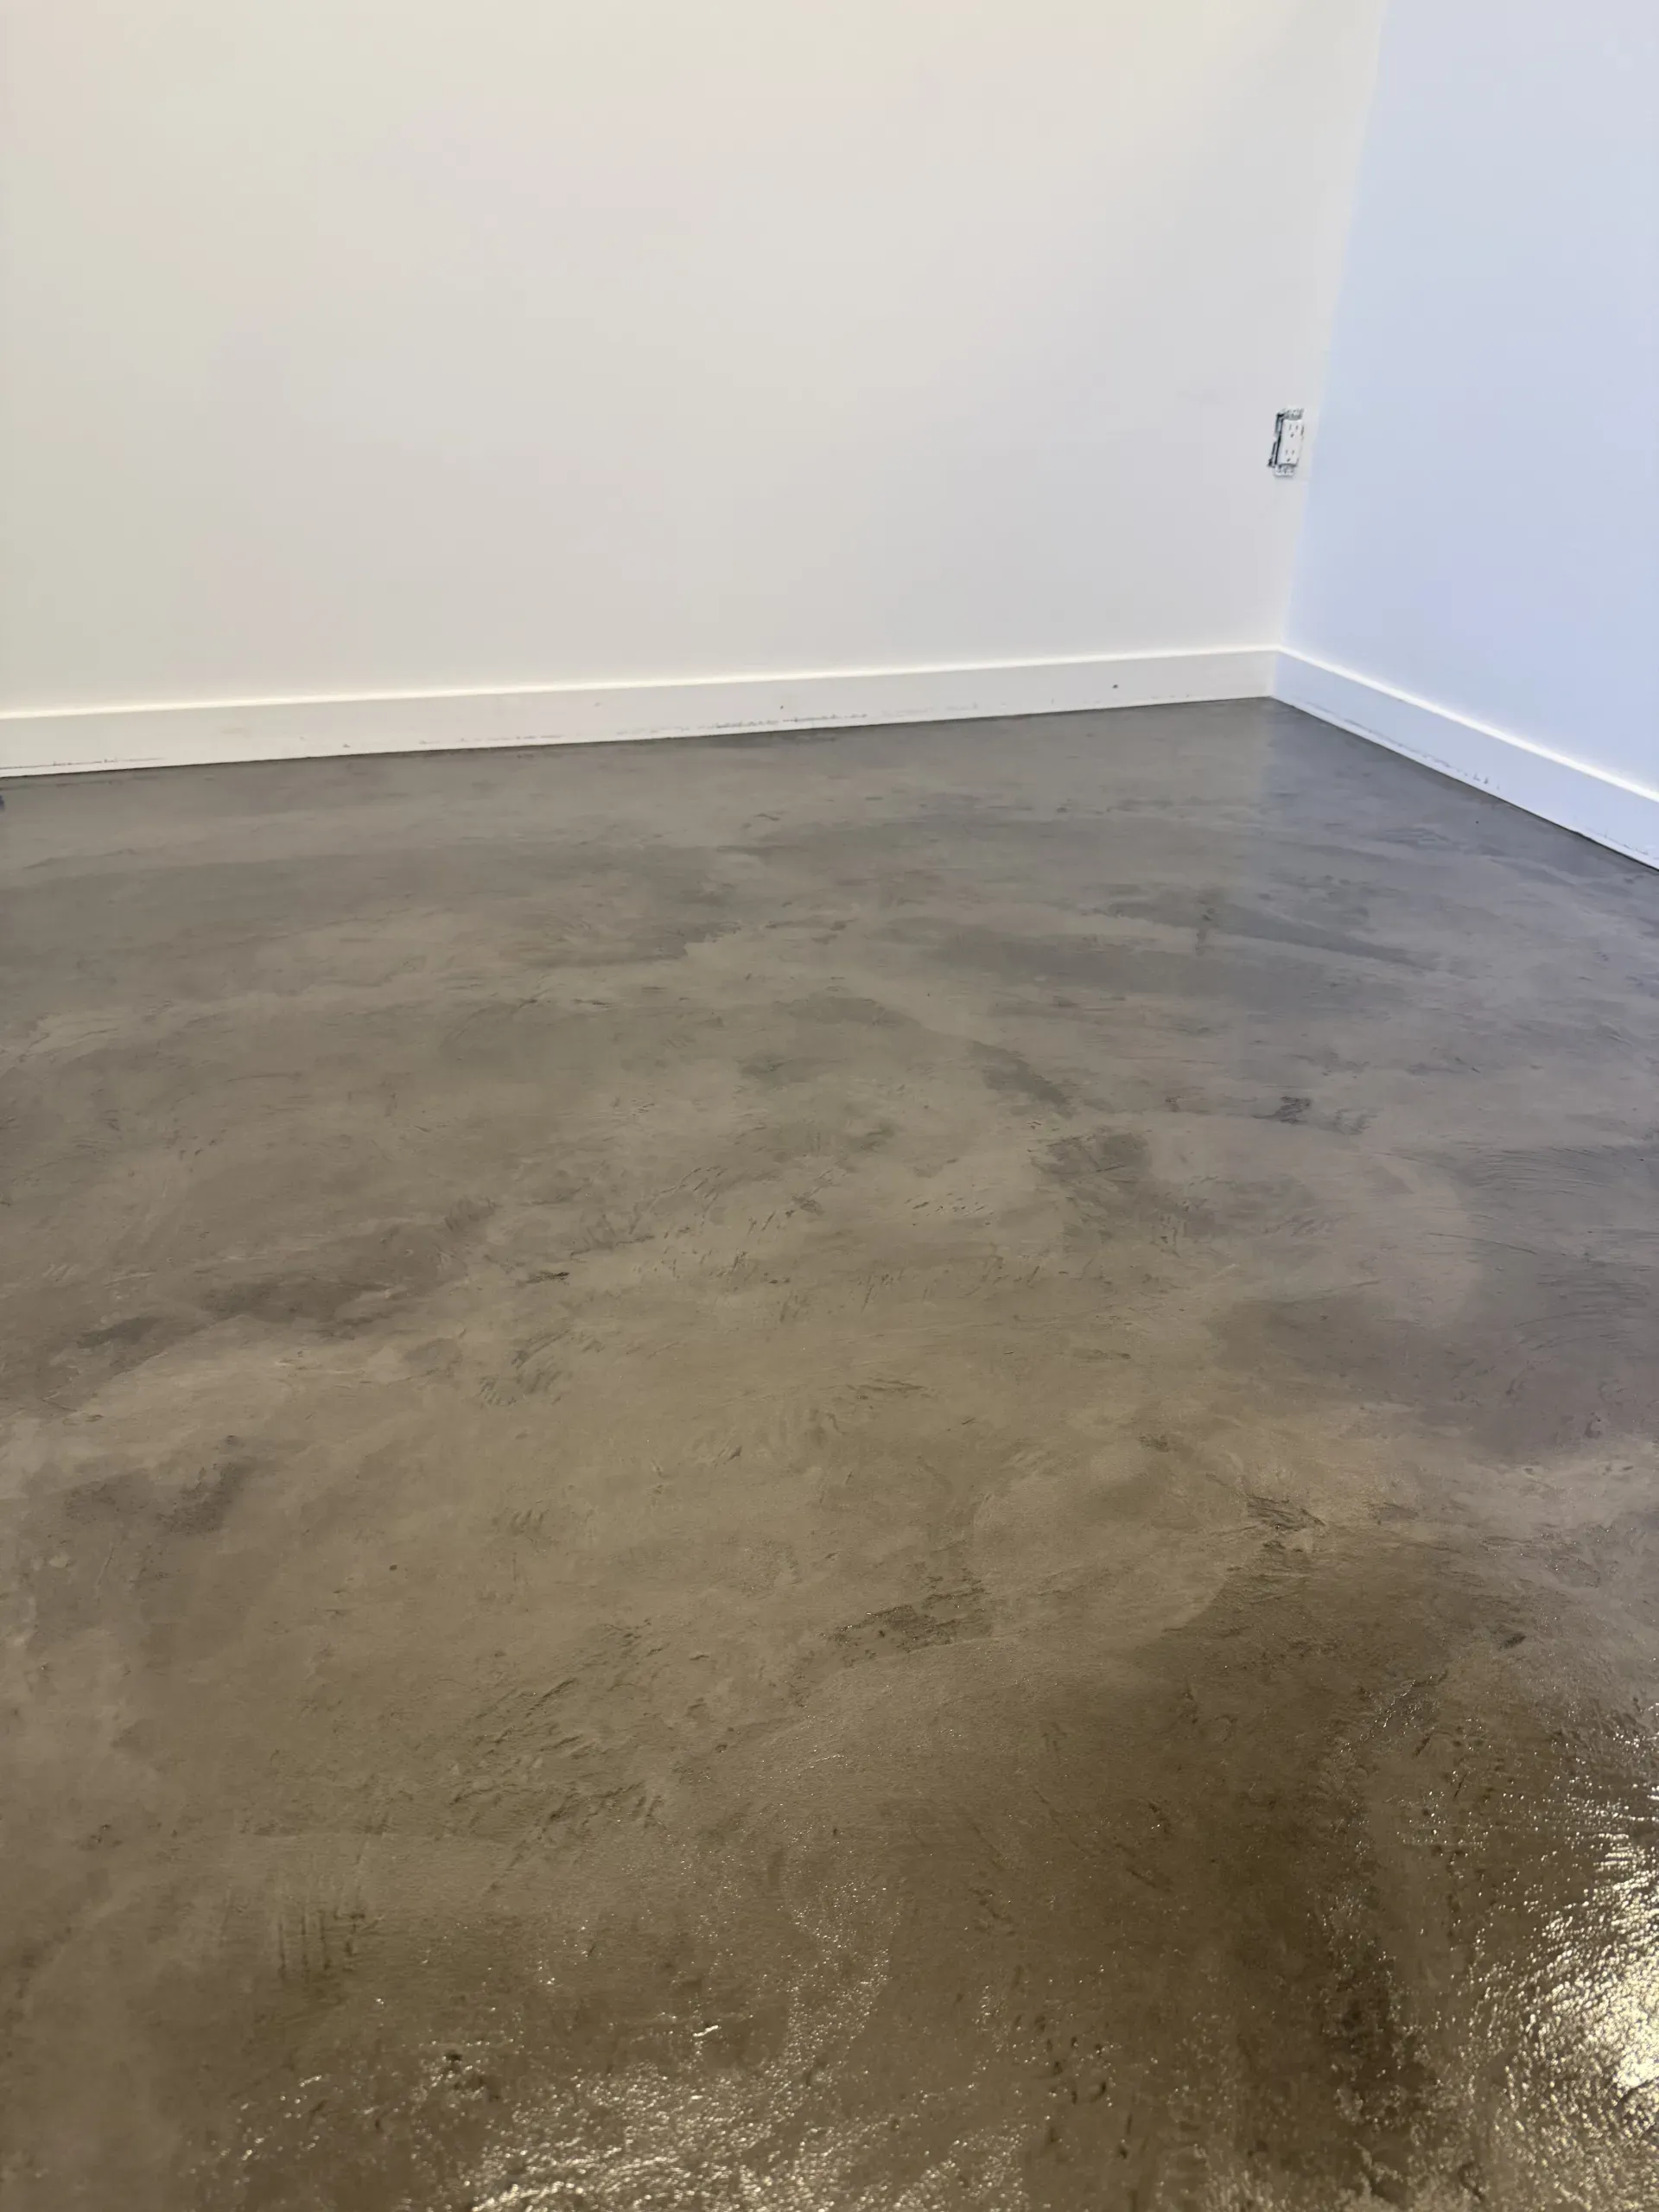
Complete Set including everything you need to apply microcement directly on tiles.
- Bicomponent reinforced microcement with suitable primer for tiles
- Material: Microcement powder (A-component) and liquid acrylic resin (B-component), as well as Putty Primer or 2K EP Levelling Compound
- Properties: High load-bearing capacity, weatherproof, UV-stable, odourless
- Areas of application: Interior & exterior as well as damp rooms with PU sealant
- Curing time per layer at 20°C: approx. 8h
- Scope of delivery for walls: Medium-grained powder+ Liquid B acrylic resin + WB Pigment + Putty Primer
- Scope of delivery for floor: Large microcement + Medium-grained powder + Liquid B acrylic resin + WB Pigment + 2K EP Levelling Compound

Select application area

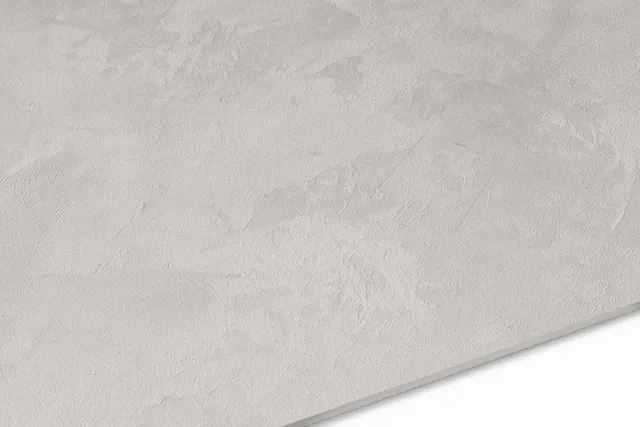
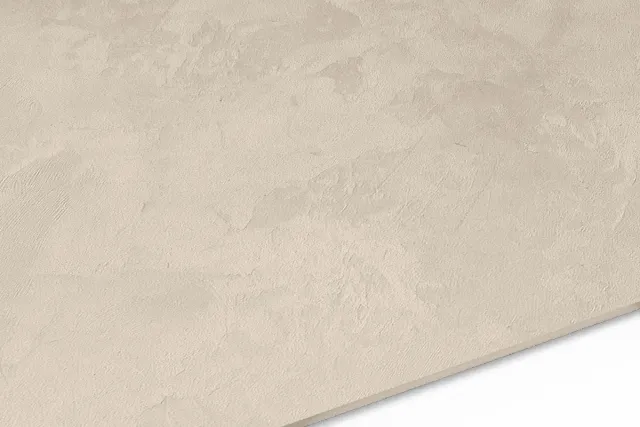
1. Select colour

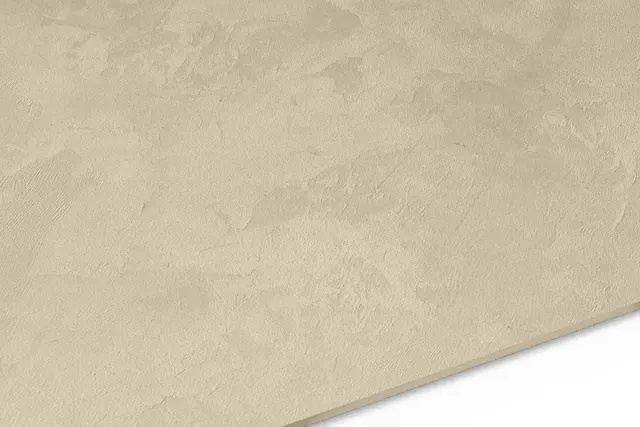
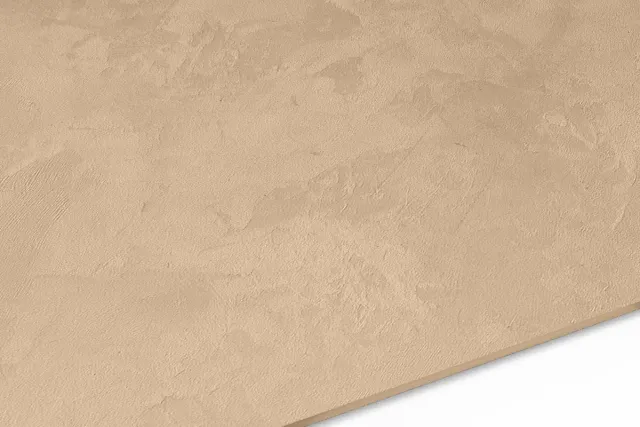
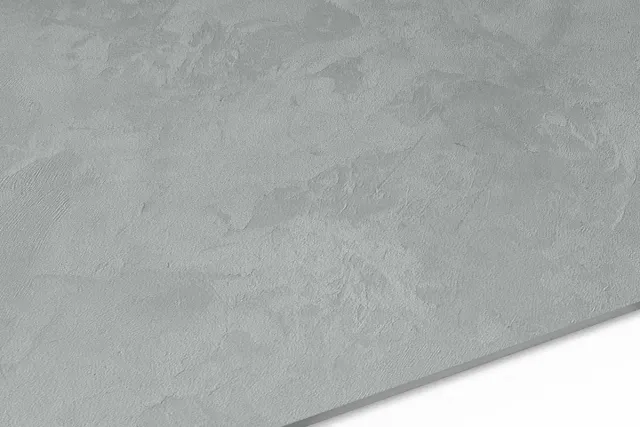
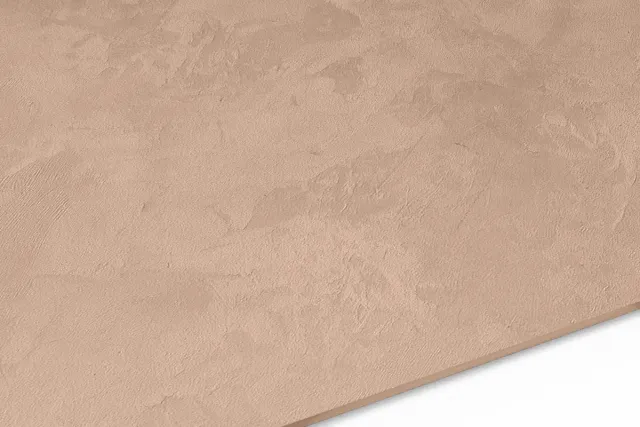
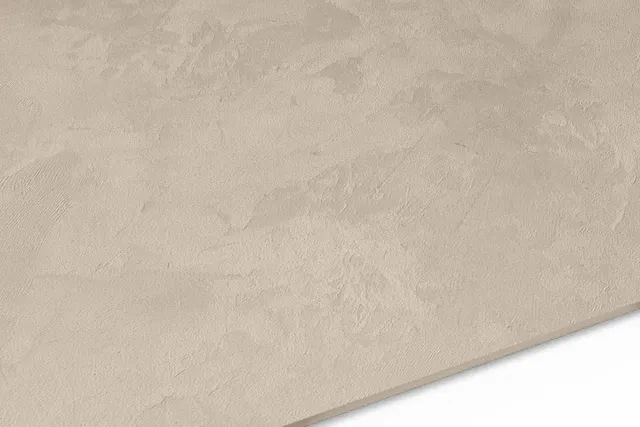
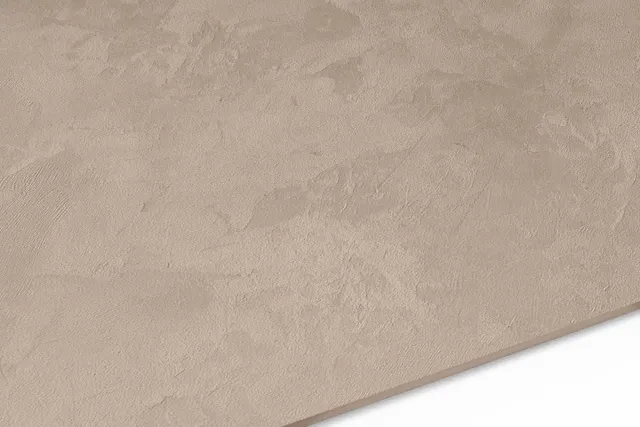
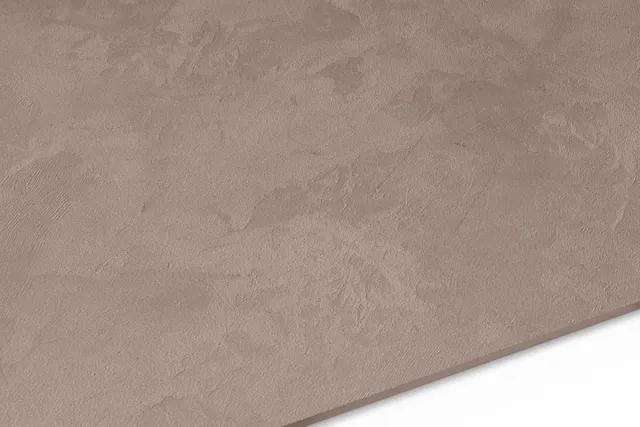
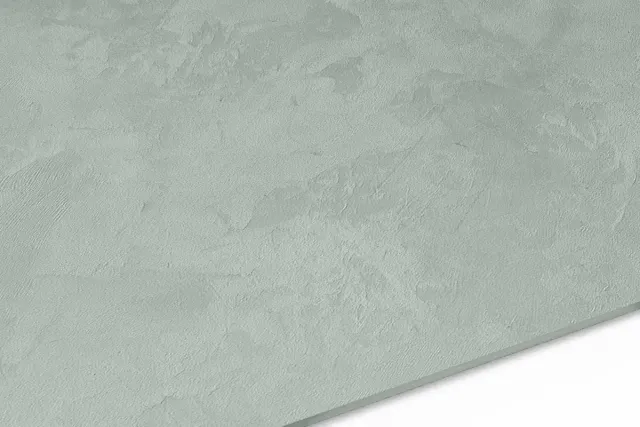

2. Select quantity
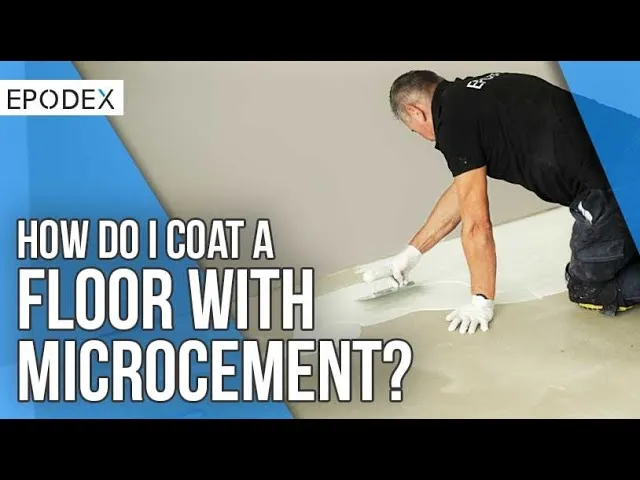
Instructions for Use
Get the service you deserve!
✓ Guaranteed hassle-free shopping experience. Simply select the colour and the area you want to cover. We automatically calculate the required amount of microcement and dye for you.
✓ No surprises. You always get the colour you see online. We present all our colours in 4K videos and high-resolution pictures so you can see exactly what you are getting.
✓ Professional, easy-to-follow step-by-step tutorials.
✓ Same Day Shipping
✓ Delivery across Canada
✓ Friendly 24h-Support
Primer
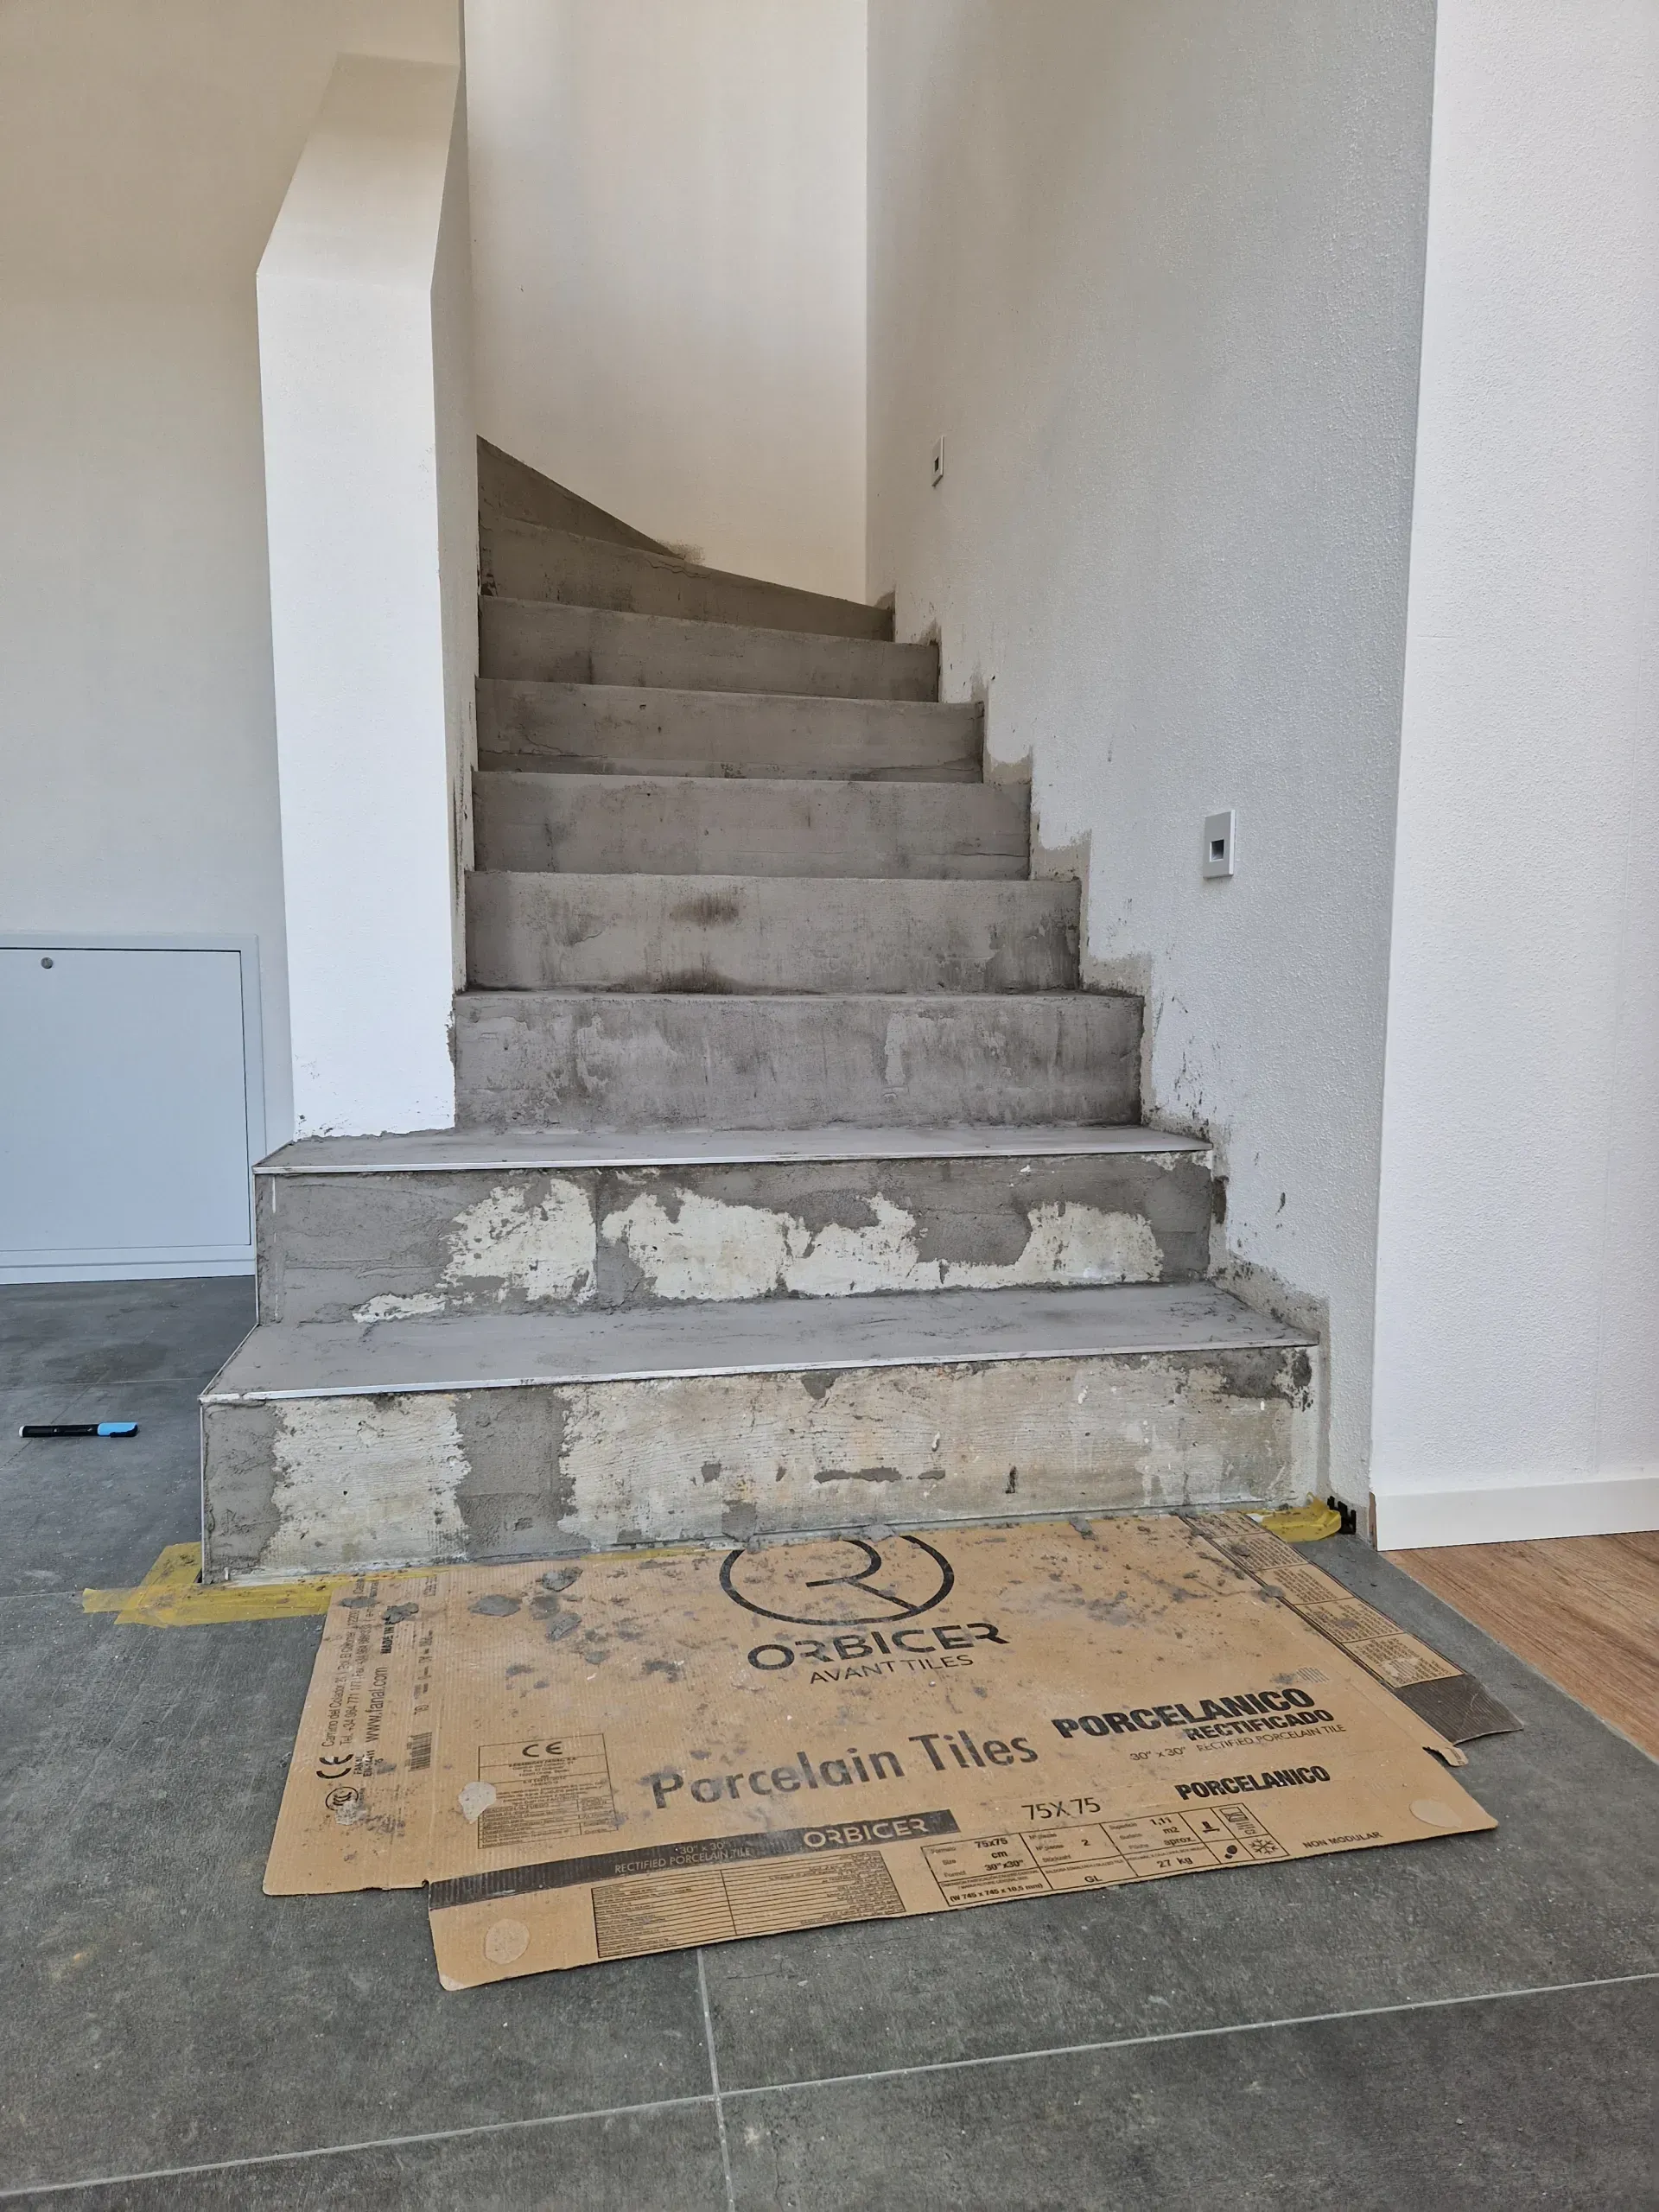
- The substrate must be stable, dry, and free of dirt, separating agents, and coarse unevenness.
- Sand off any unevenness.
- If required use our Putty Primer on your walls and 2K EP Levelling Compound on your floor to level and prime, for example on tiles.
- If your area to be coated is already levelled and smooth, use either our 2K Bonding Primer (for non-absorbent surfaces) or DEEP PRIMER (for absorbent surfaces) to prime your furniture.
Main Coating
- Mix microcement A components with the Liquid B component in the mixing ratio specified on the label.
- Add 2% WB pigment to colour the material (i.e. 2x100 g WB Pigment to 1 bag microcement powder and its liquid B-component).
- Spread the material thinly with a trowel and allow to dry.
- Sand off any unevenness in the surface greater than 3mm and vacuum up any sanding dust.
- Apply a second coat in the same way within 24 hours.
Application of microcement on walls: Layer 1 (medium grain size): 1.2 kg/m², Layer 2 (medium grain size): 1.2 kg/m² Application of microcement on a floor: Layer 1 (large grain size): 1.6 kg/m², layer 2 (medium grain size): 1.2 kg/m²
Pro Tip: Up to 10% WB Pigment can be added for more intense colours. If you exceed 24 hours between the microcement layers, sand the first layer and remove the dust. This roughens the surface for better bonding and ensures the next layer won't break off. For stubborn fine particles, use a light brush of liquid B. Brush or roll on a small amount to avoid flooding the surface.
Sealant
Note: For wet rooms, surfaces with direct water contact, as well as heavily used surfaces (high mechanical load, cleaning with aggressive cleaning agents, etc.), we recommend sealing the surface with EPODEX Polyurethane Resin (PU Finish) in matte.
- To mix, pour the entire contents of PU Finish Component B into the container of PU Finish Component A and mix thoroughly.
- Apply the material thinly and in a crosshatch pattern using a paint roller and brush. First paint laterally to the light source, then wet-on-wet in the direction of the light to avoid visible brush marks.
Important: Especially inside the shower and in areas with permanent water contact, we recommend applying our PU Finish exclusively with a brush (e.g. 10 cm width) in a crosshatch pattern to fully close all pores. For heavily textured surfaces outside the wet area, a brush should also be used (and not a paint roller). We recommend two coats. - Allow the material to cure for at least 16 hours, then apply the second coat.
- Allow the material to cure for 48 hours after the second coat. Inside the shower and in areas with permanent water contact, allow 7 days to cure before the coating comes into contact with water.
Note
Pro Tip: To ensure that your PU is applied everywhere, apply the quantity received in 2 coats. By applying 2 coats in a criss-cross motion, the chance of an unsealed gap is greatly reduced.
Customer Service: If you have further questions, please contact us by phone, e-mail or use our WhatsApp support.
Note: Please note that due to different lighting conditions and monitors, the colours may not be uniformly displayed.
Microcement Seamless Design
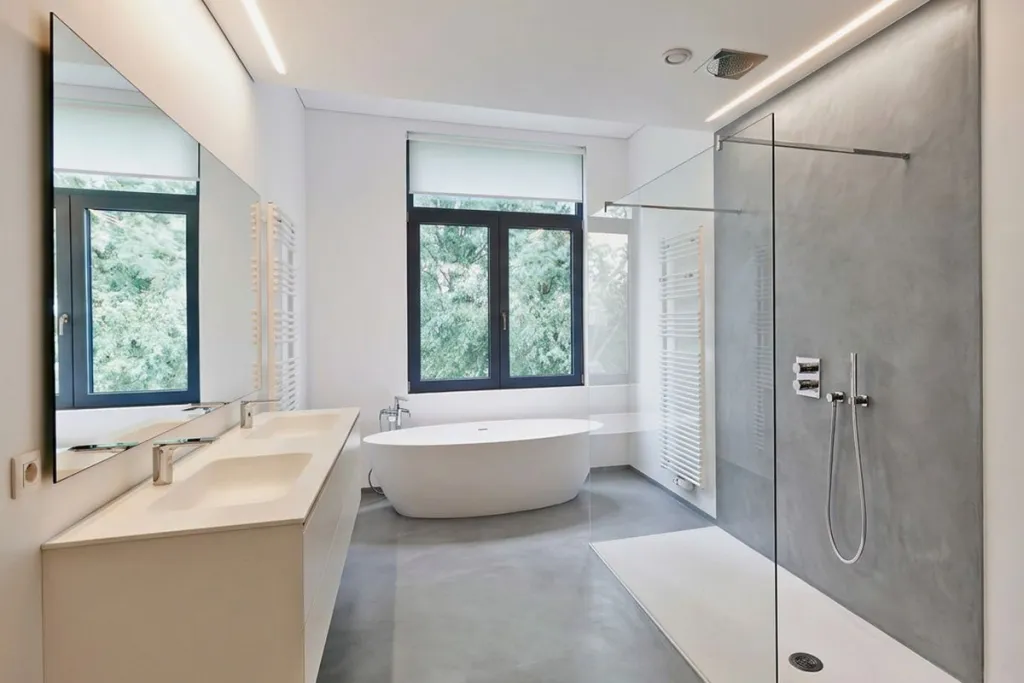
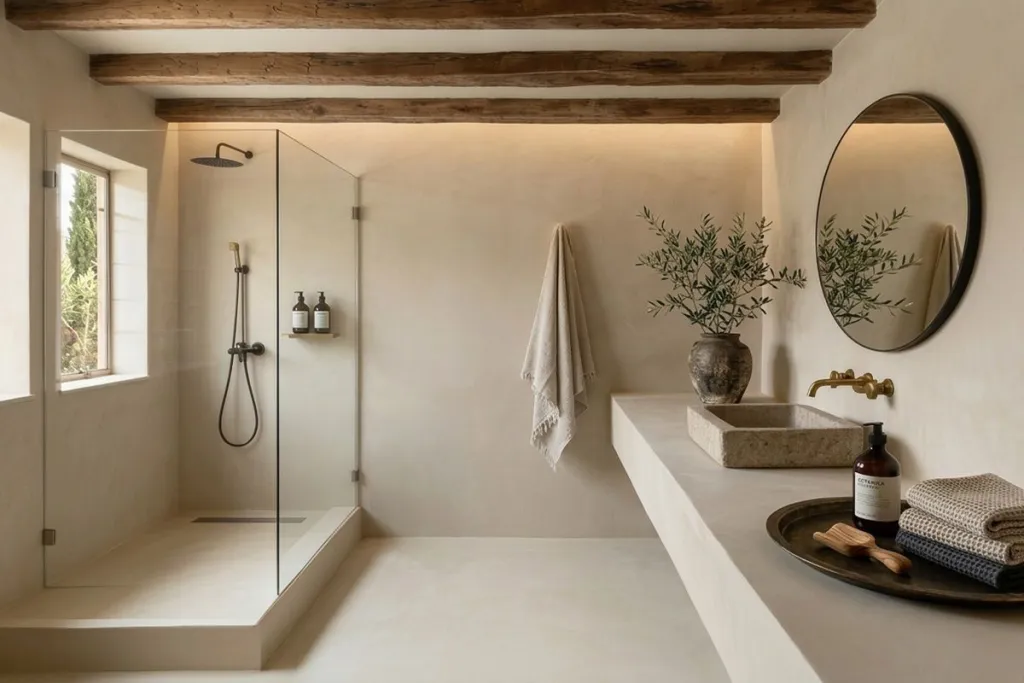
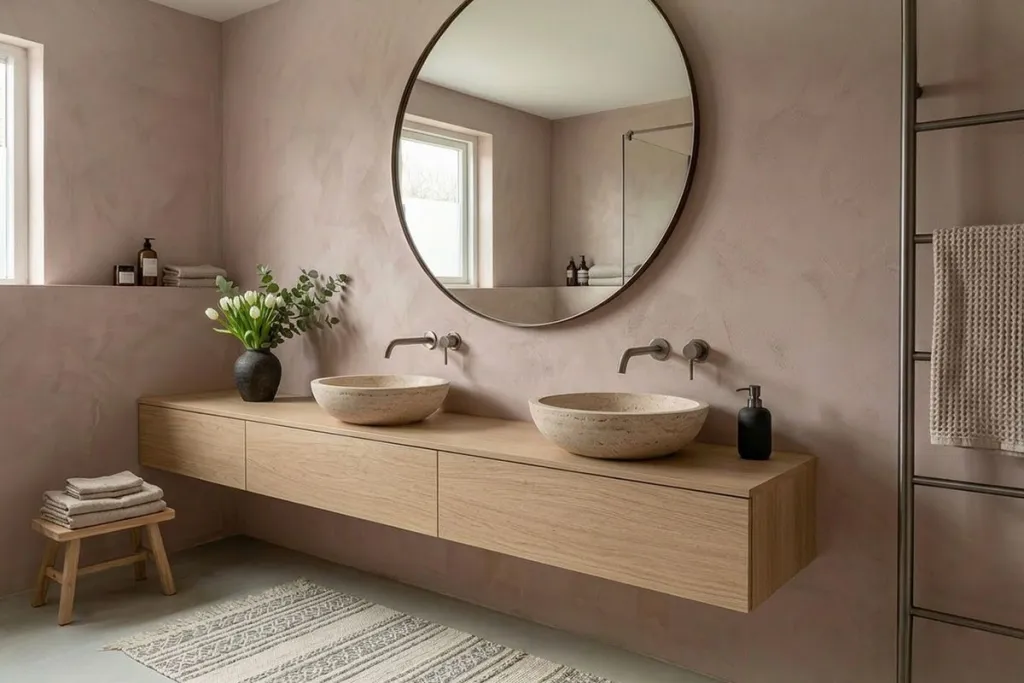
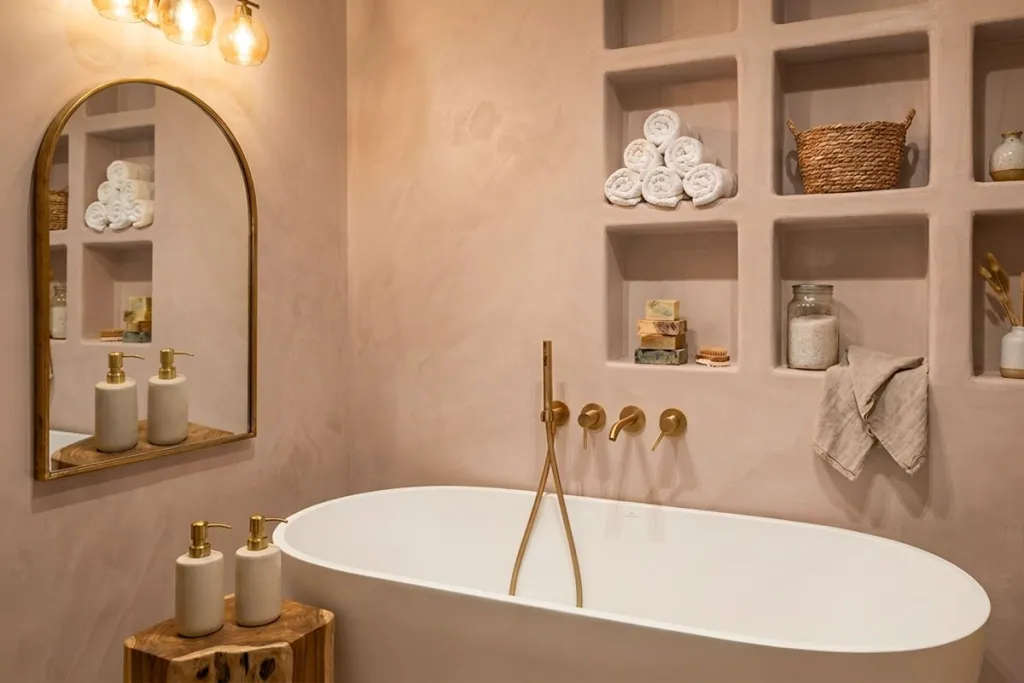
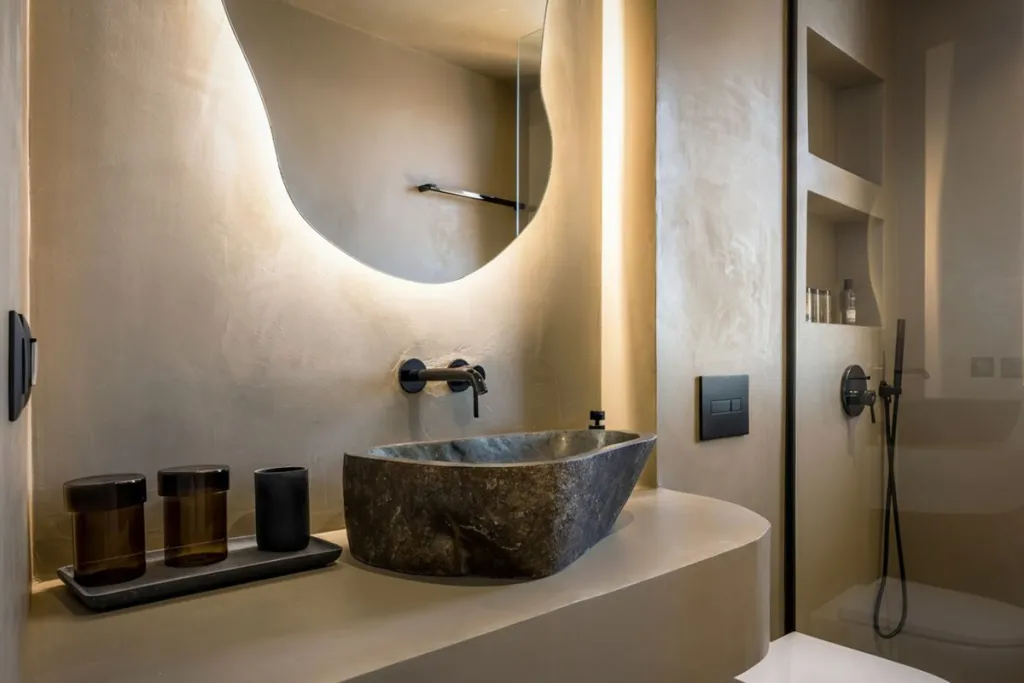
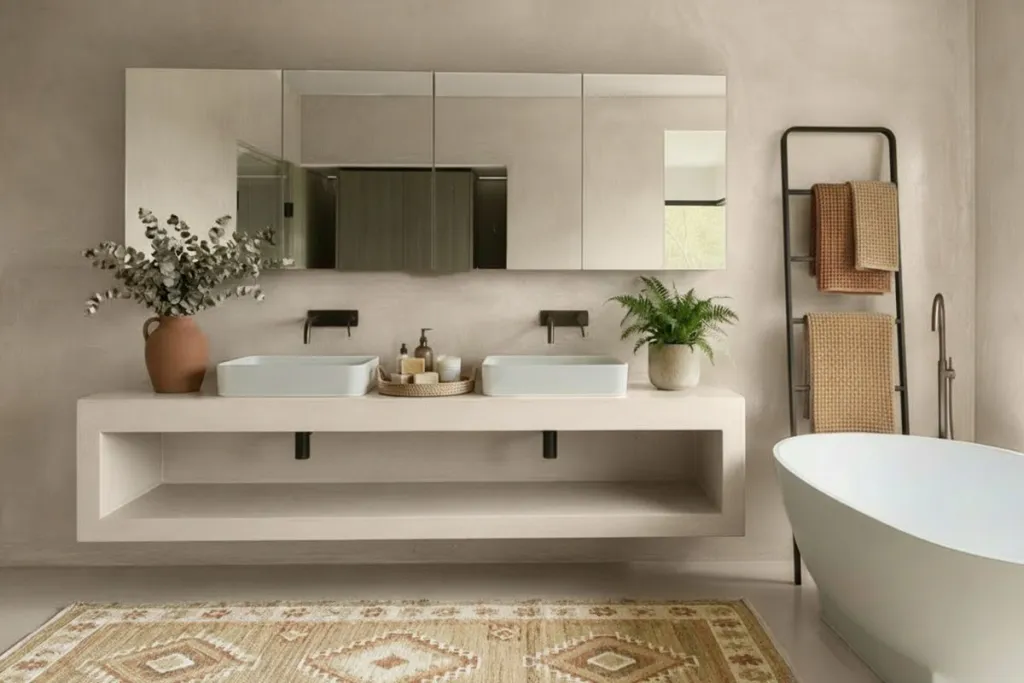
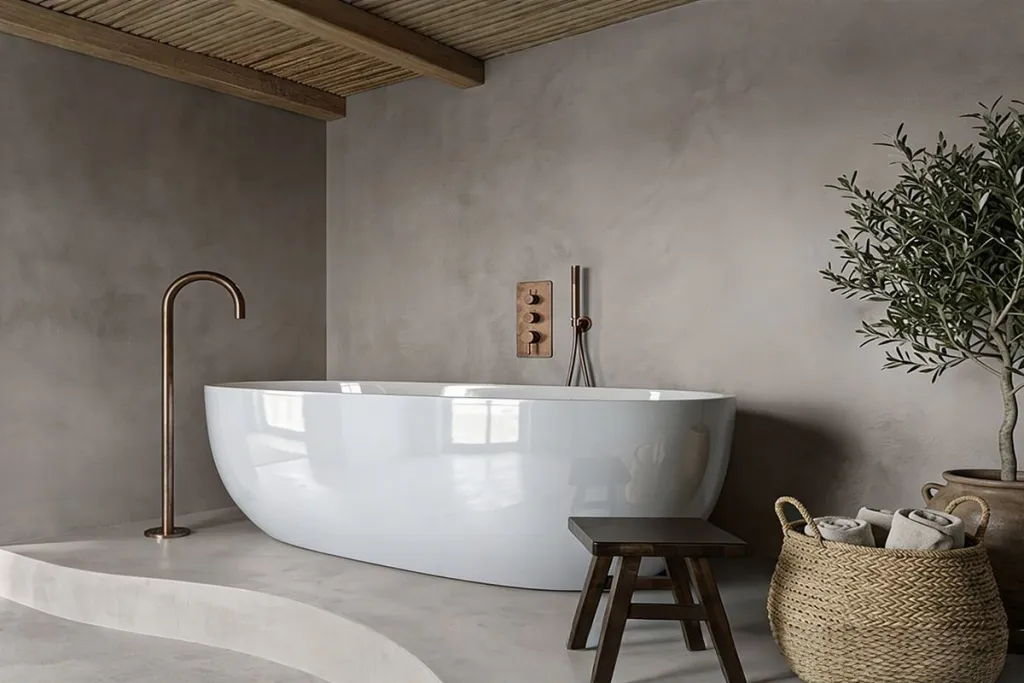
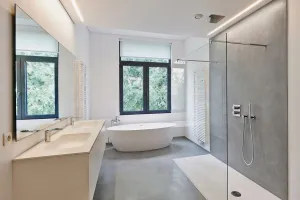
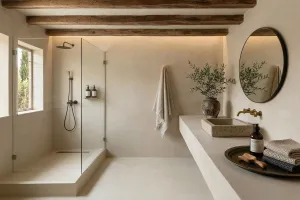
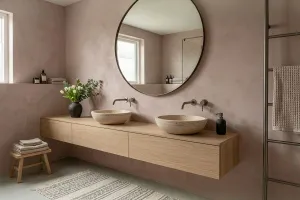
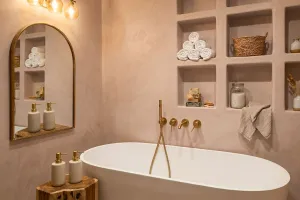
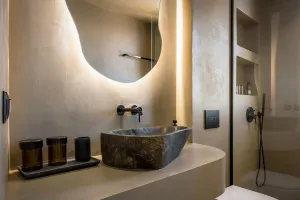
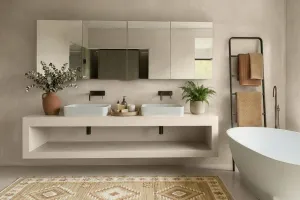
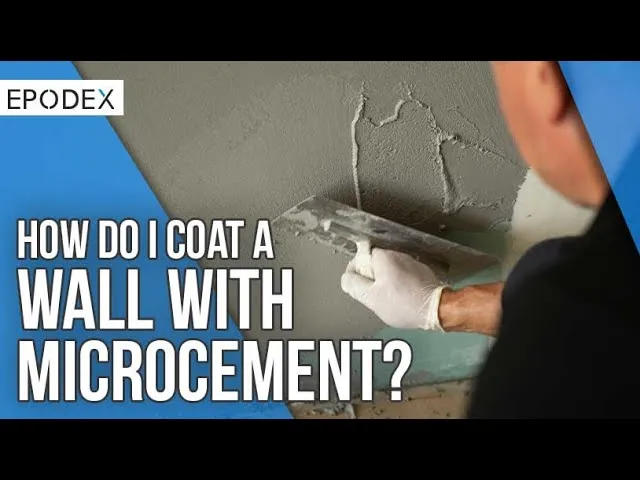
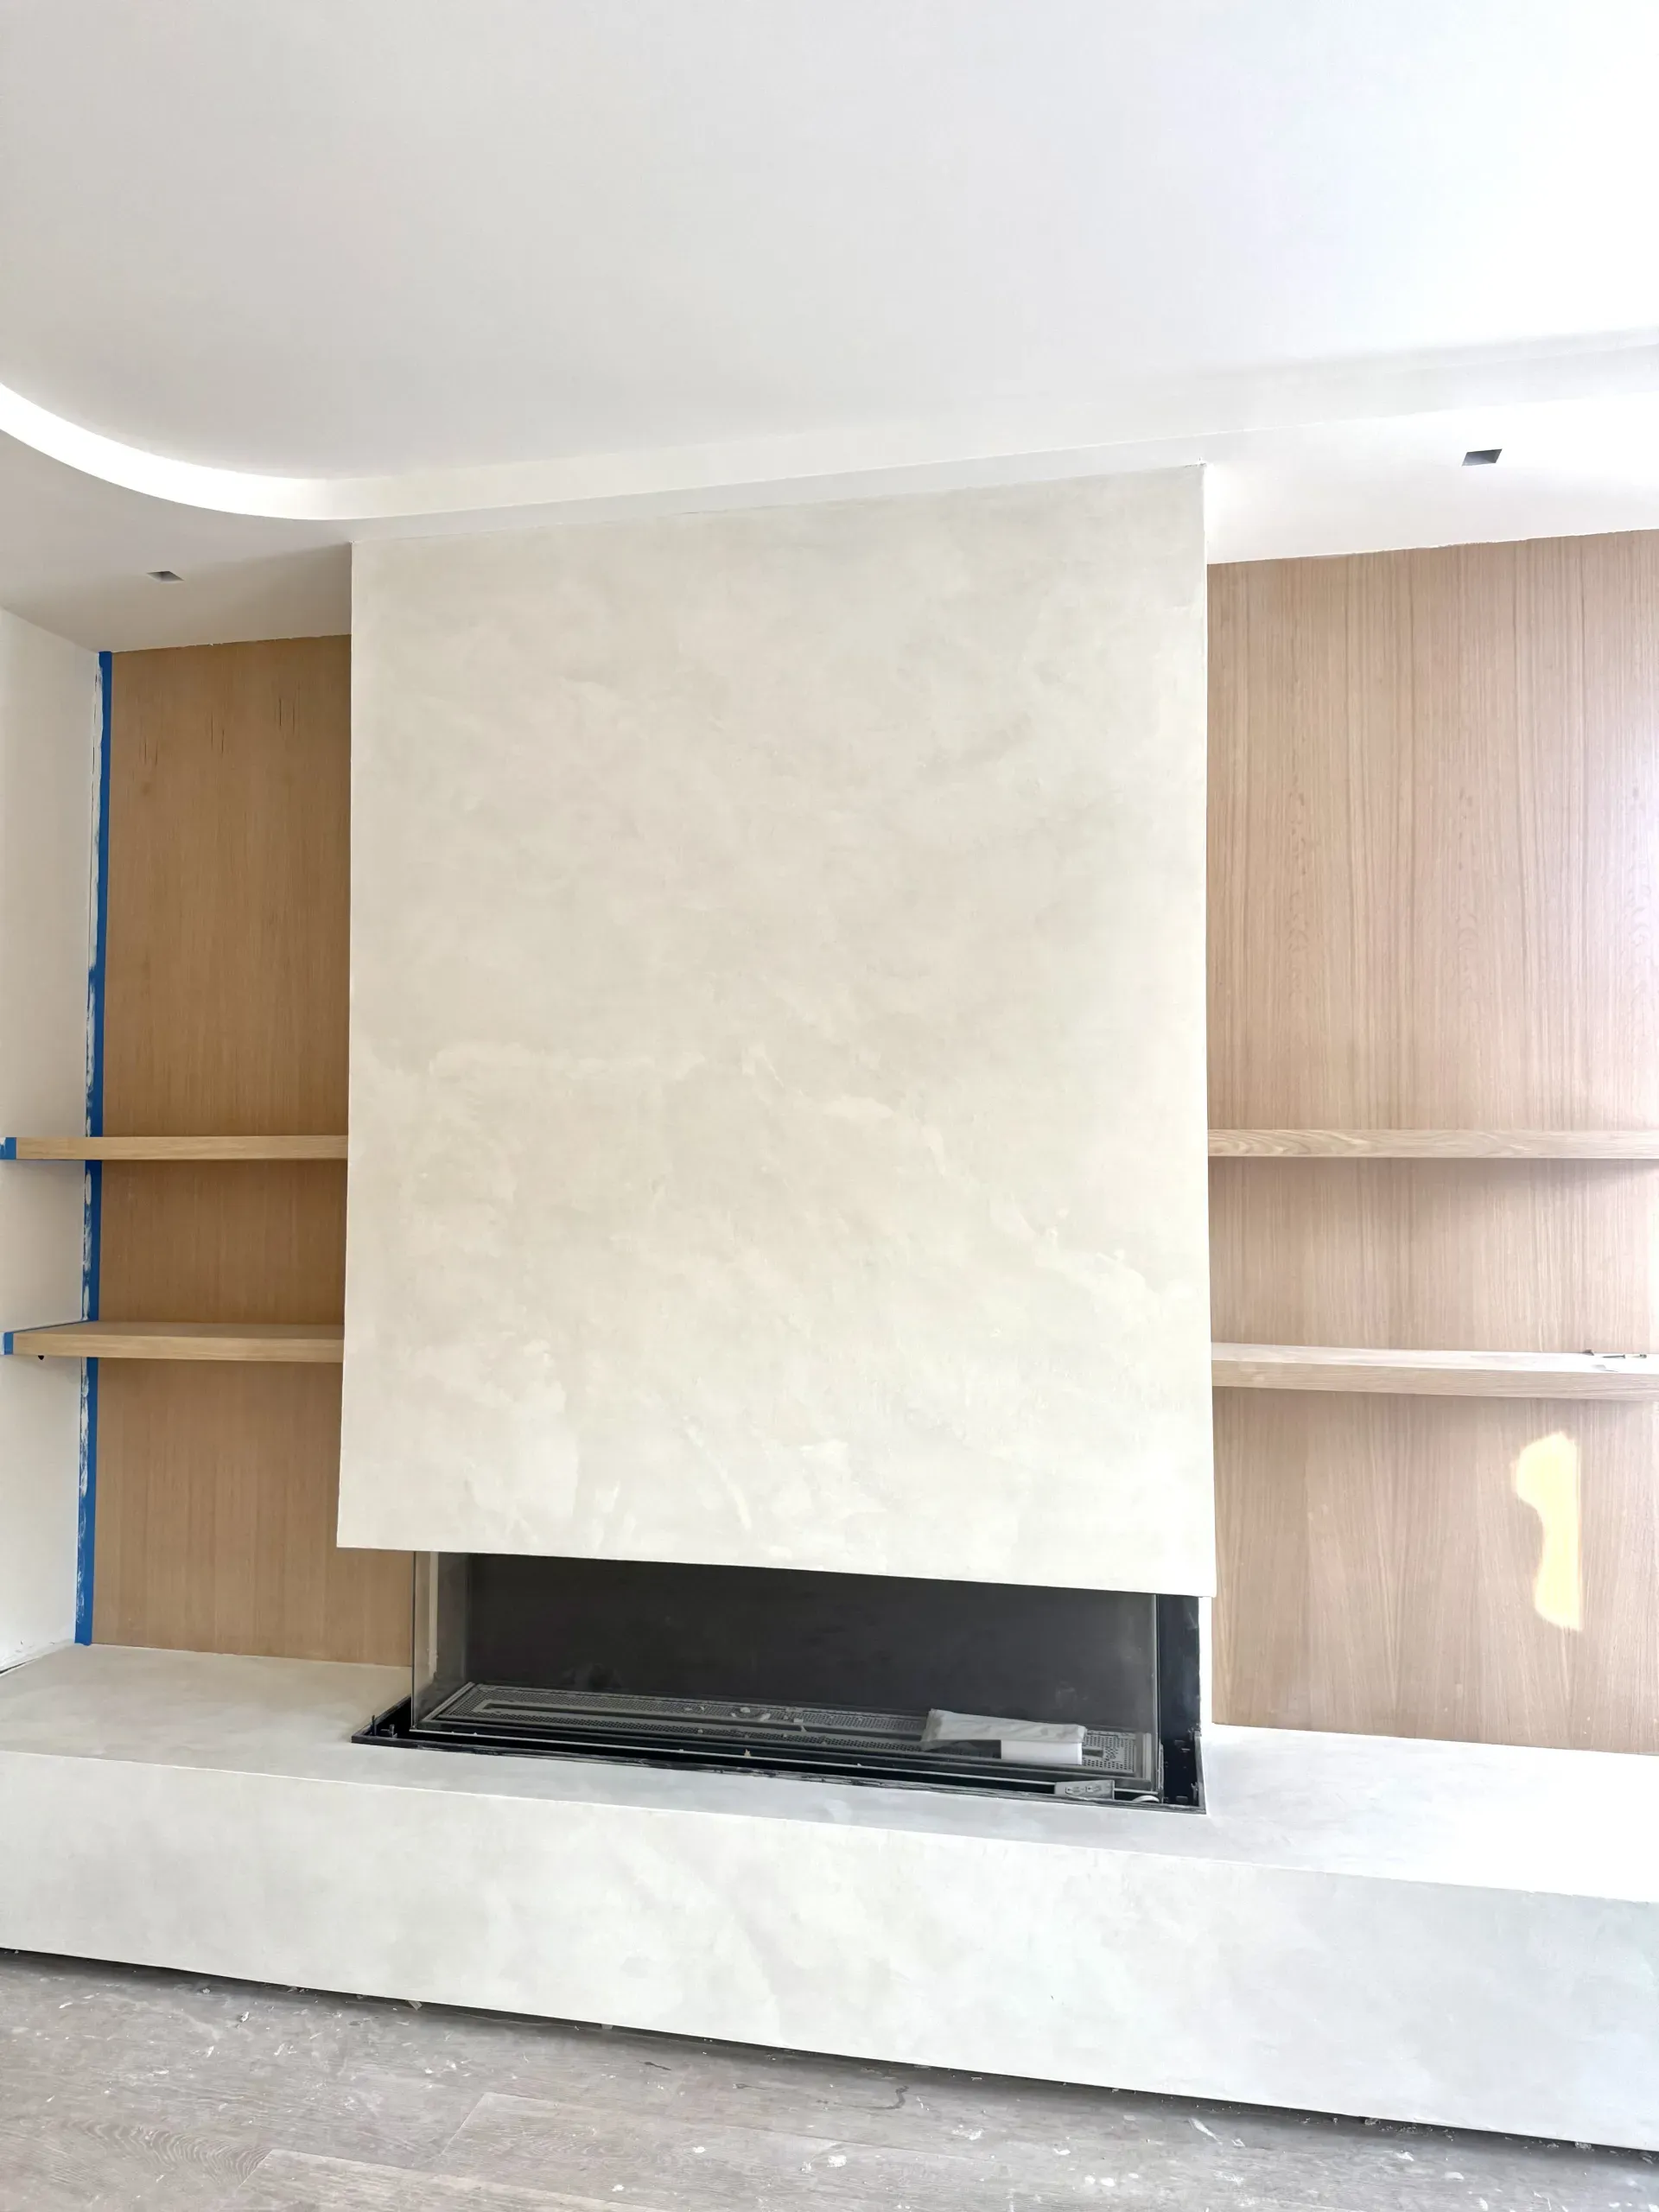
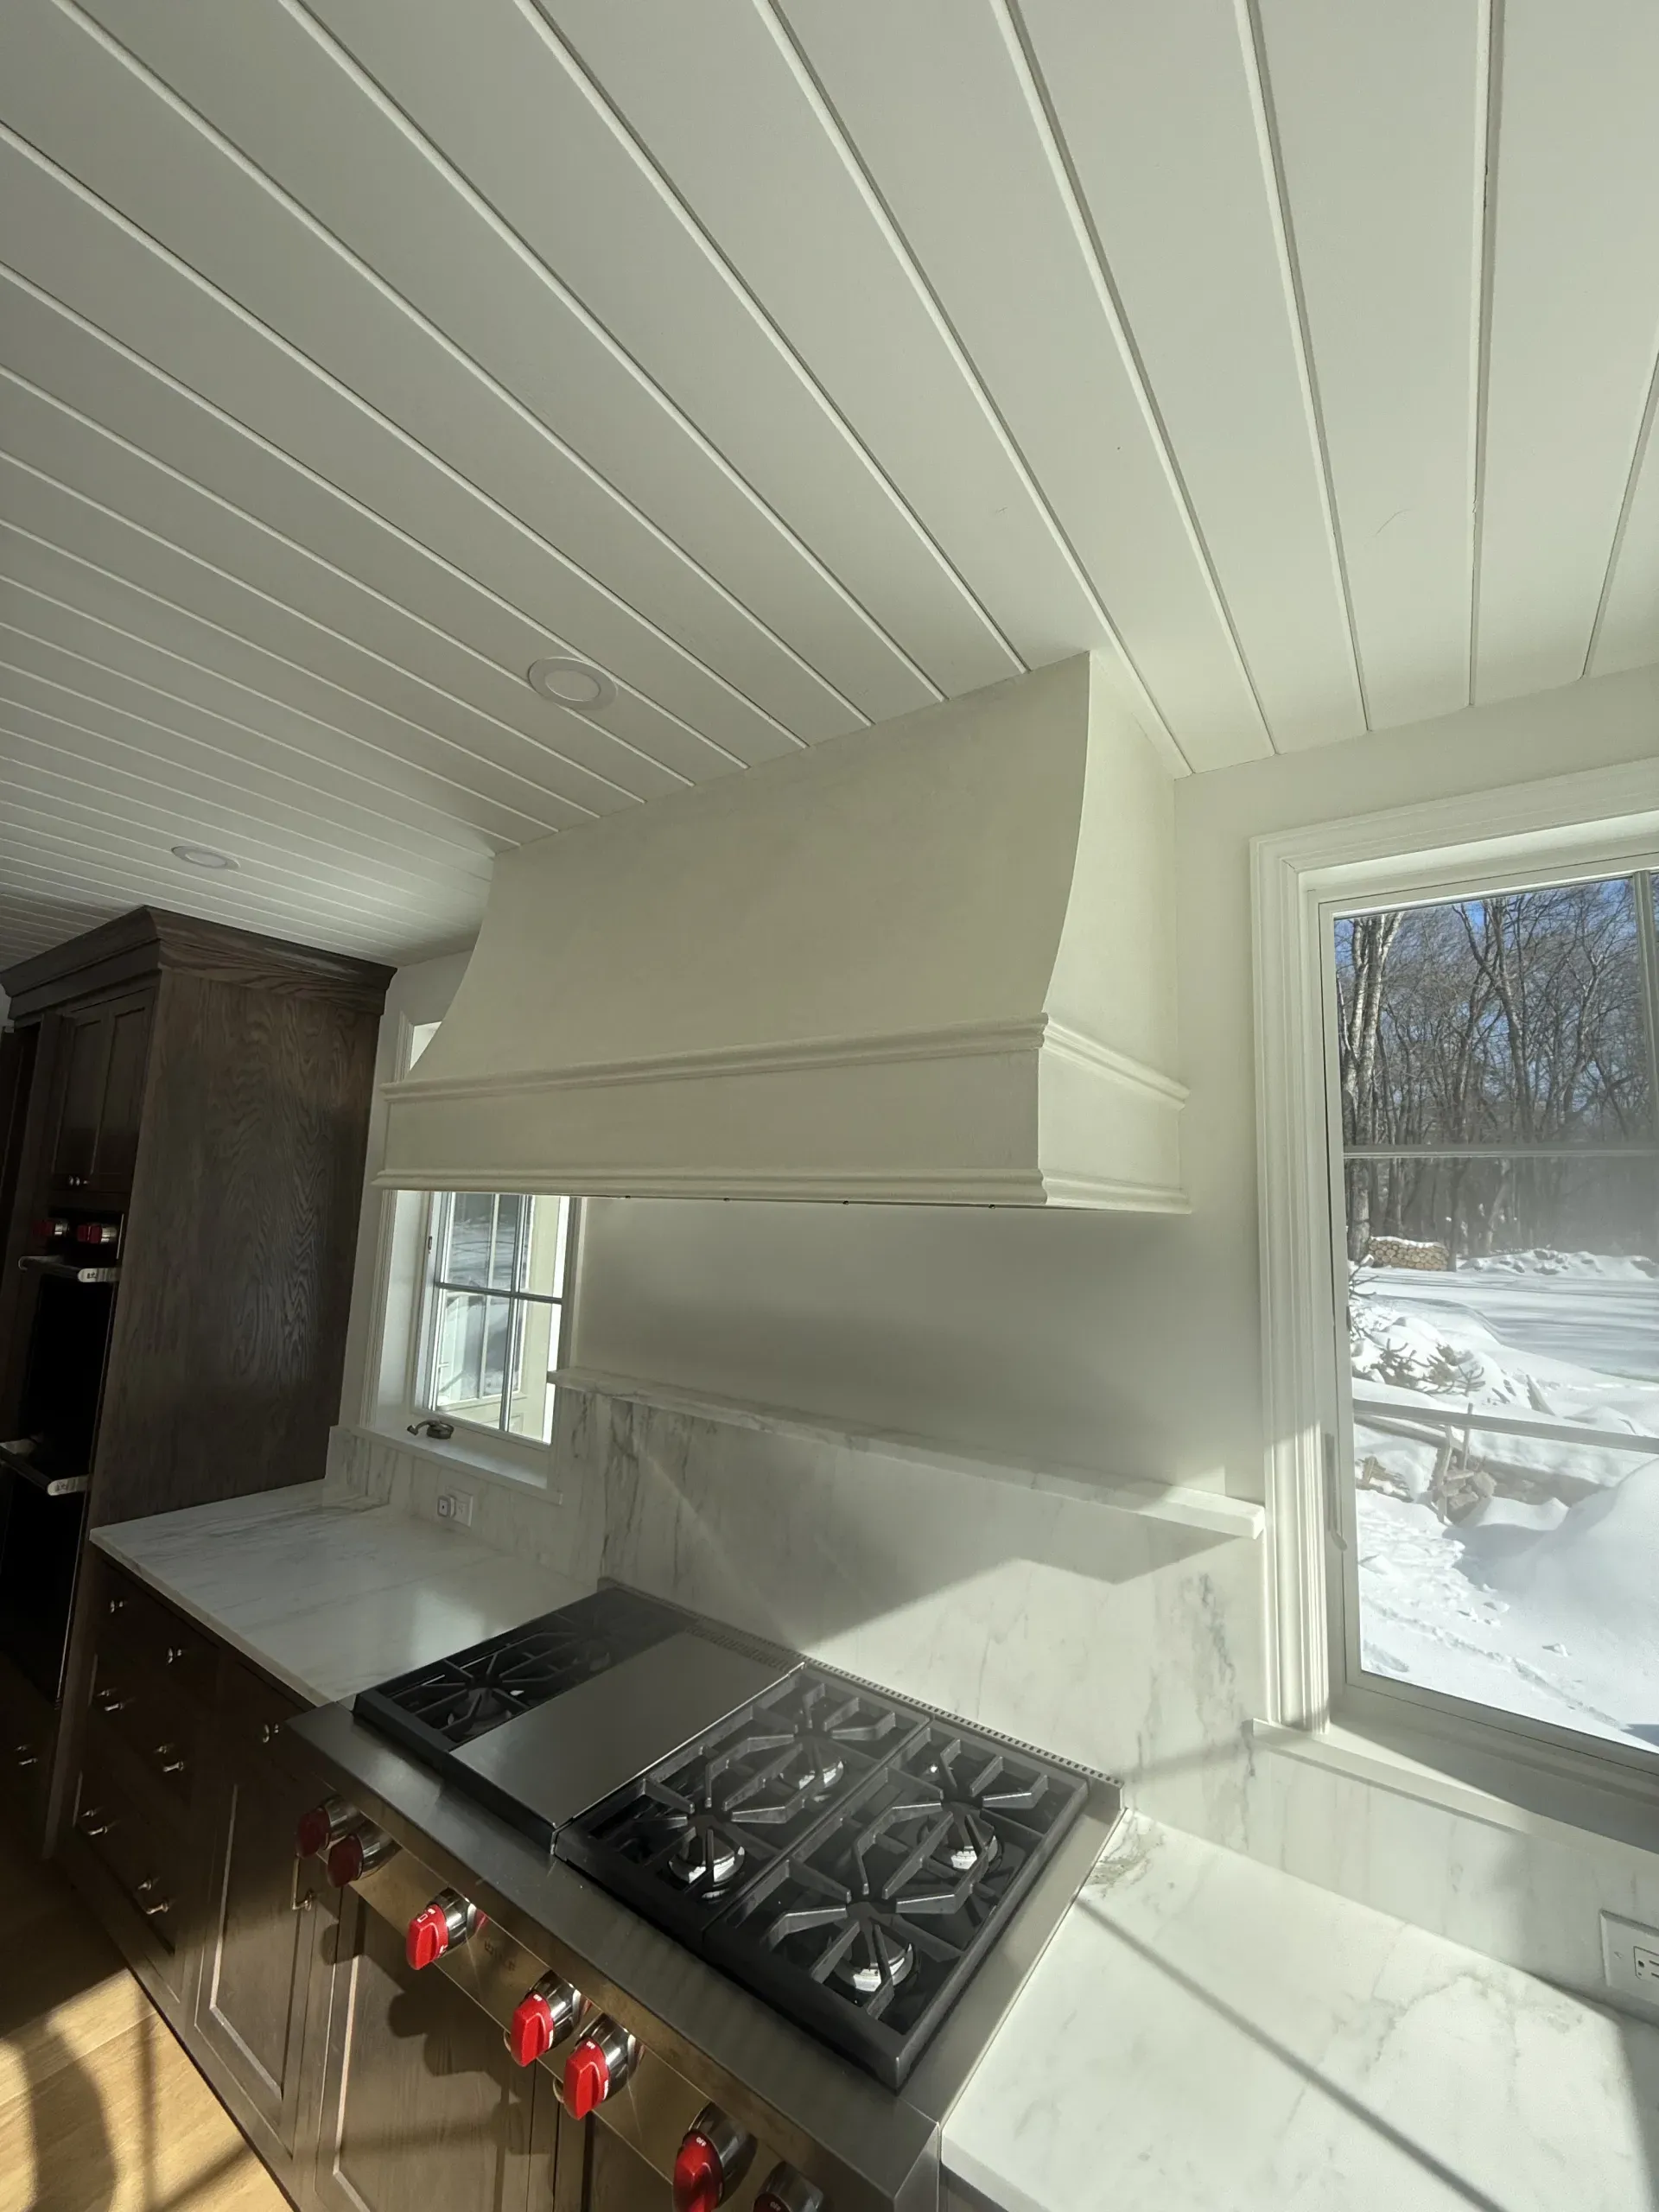
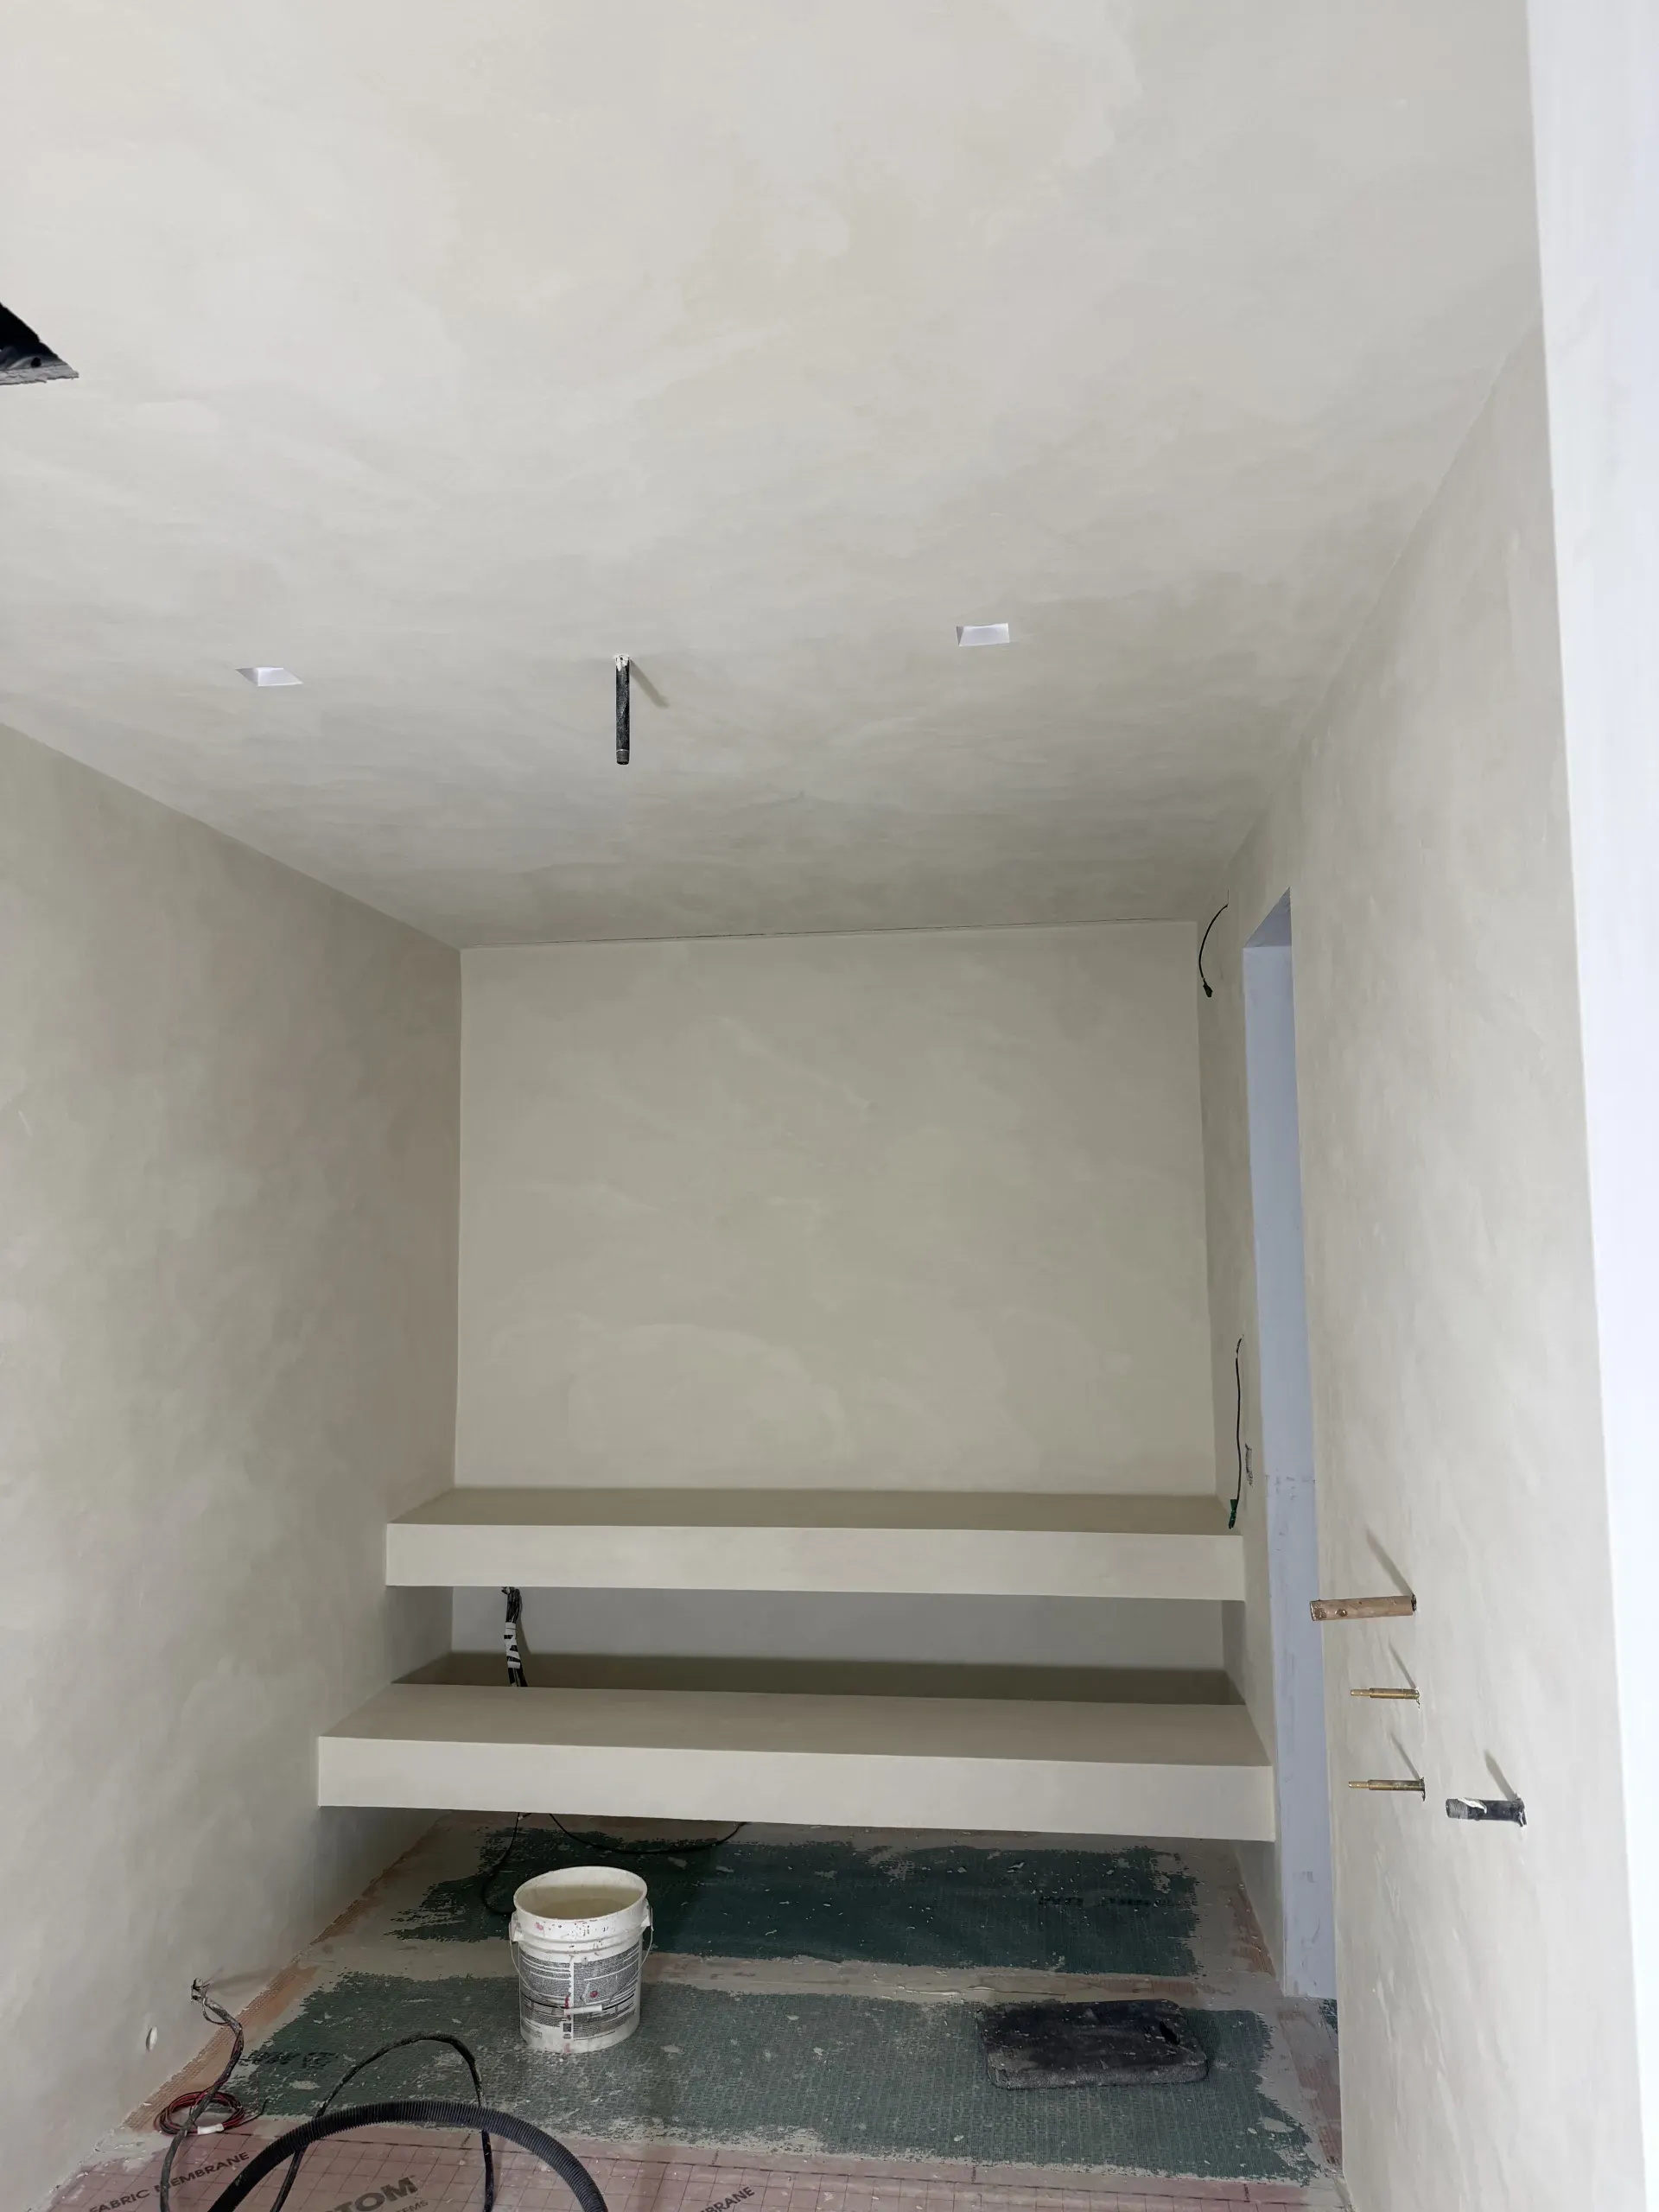
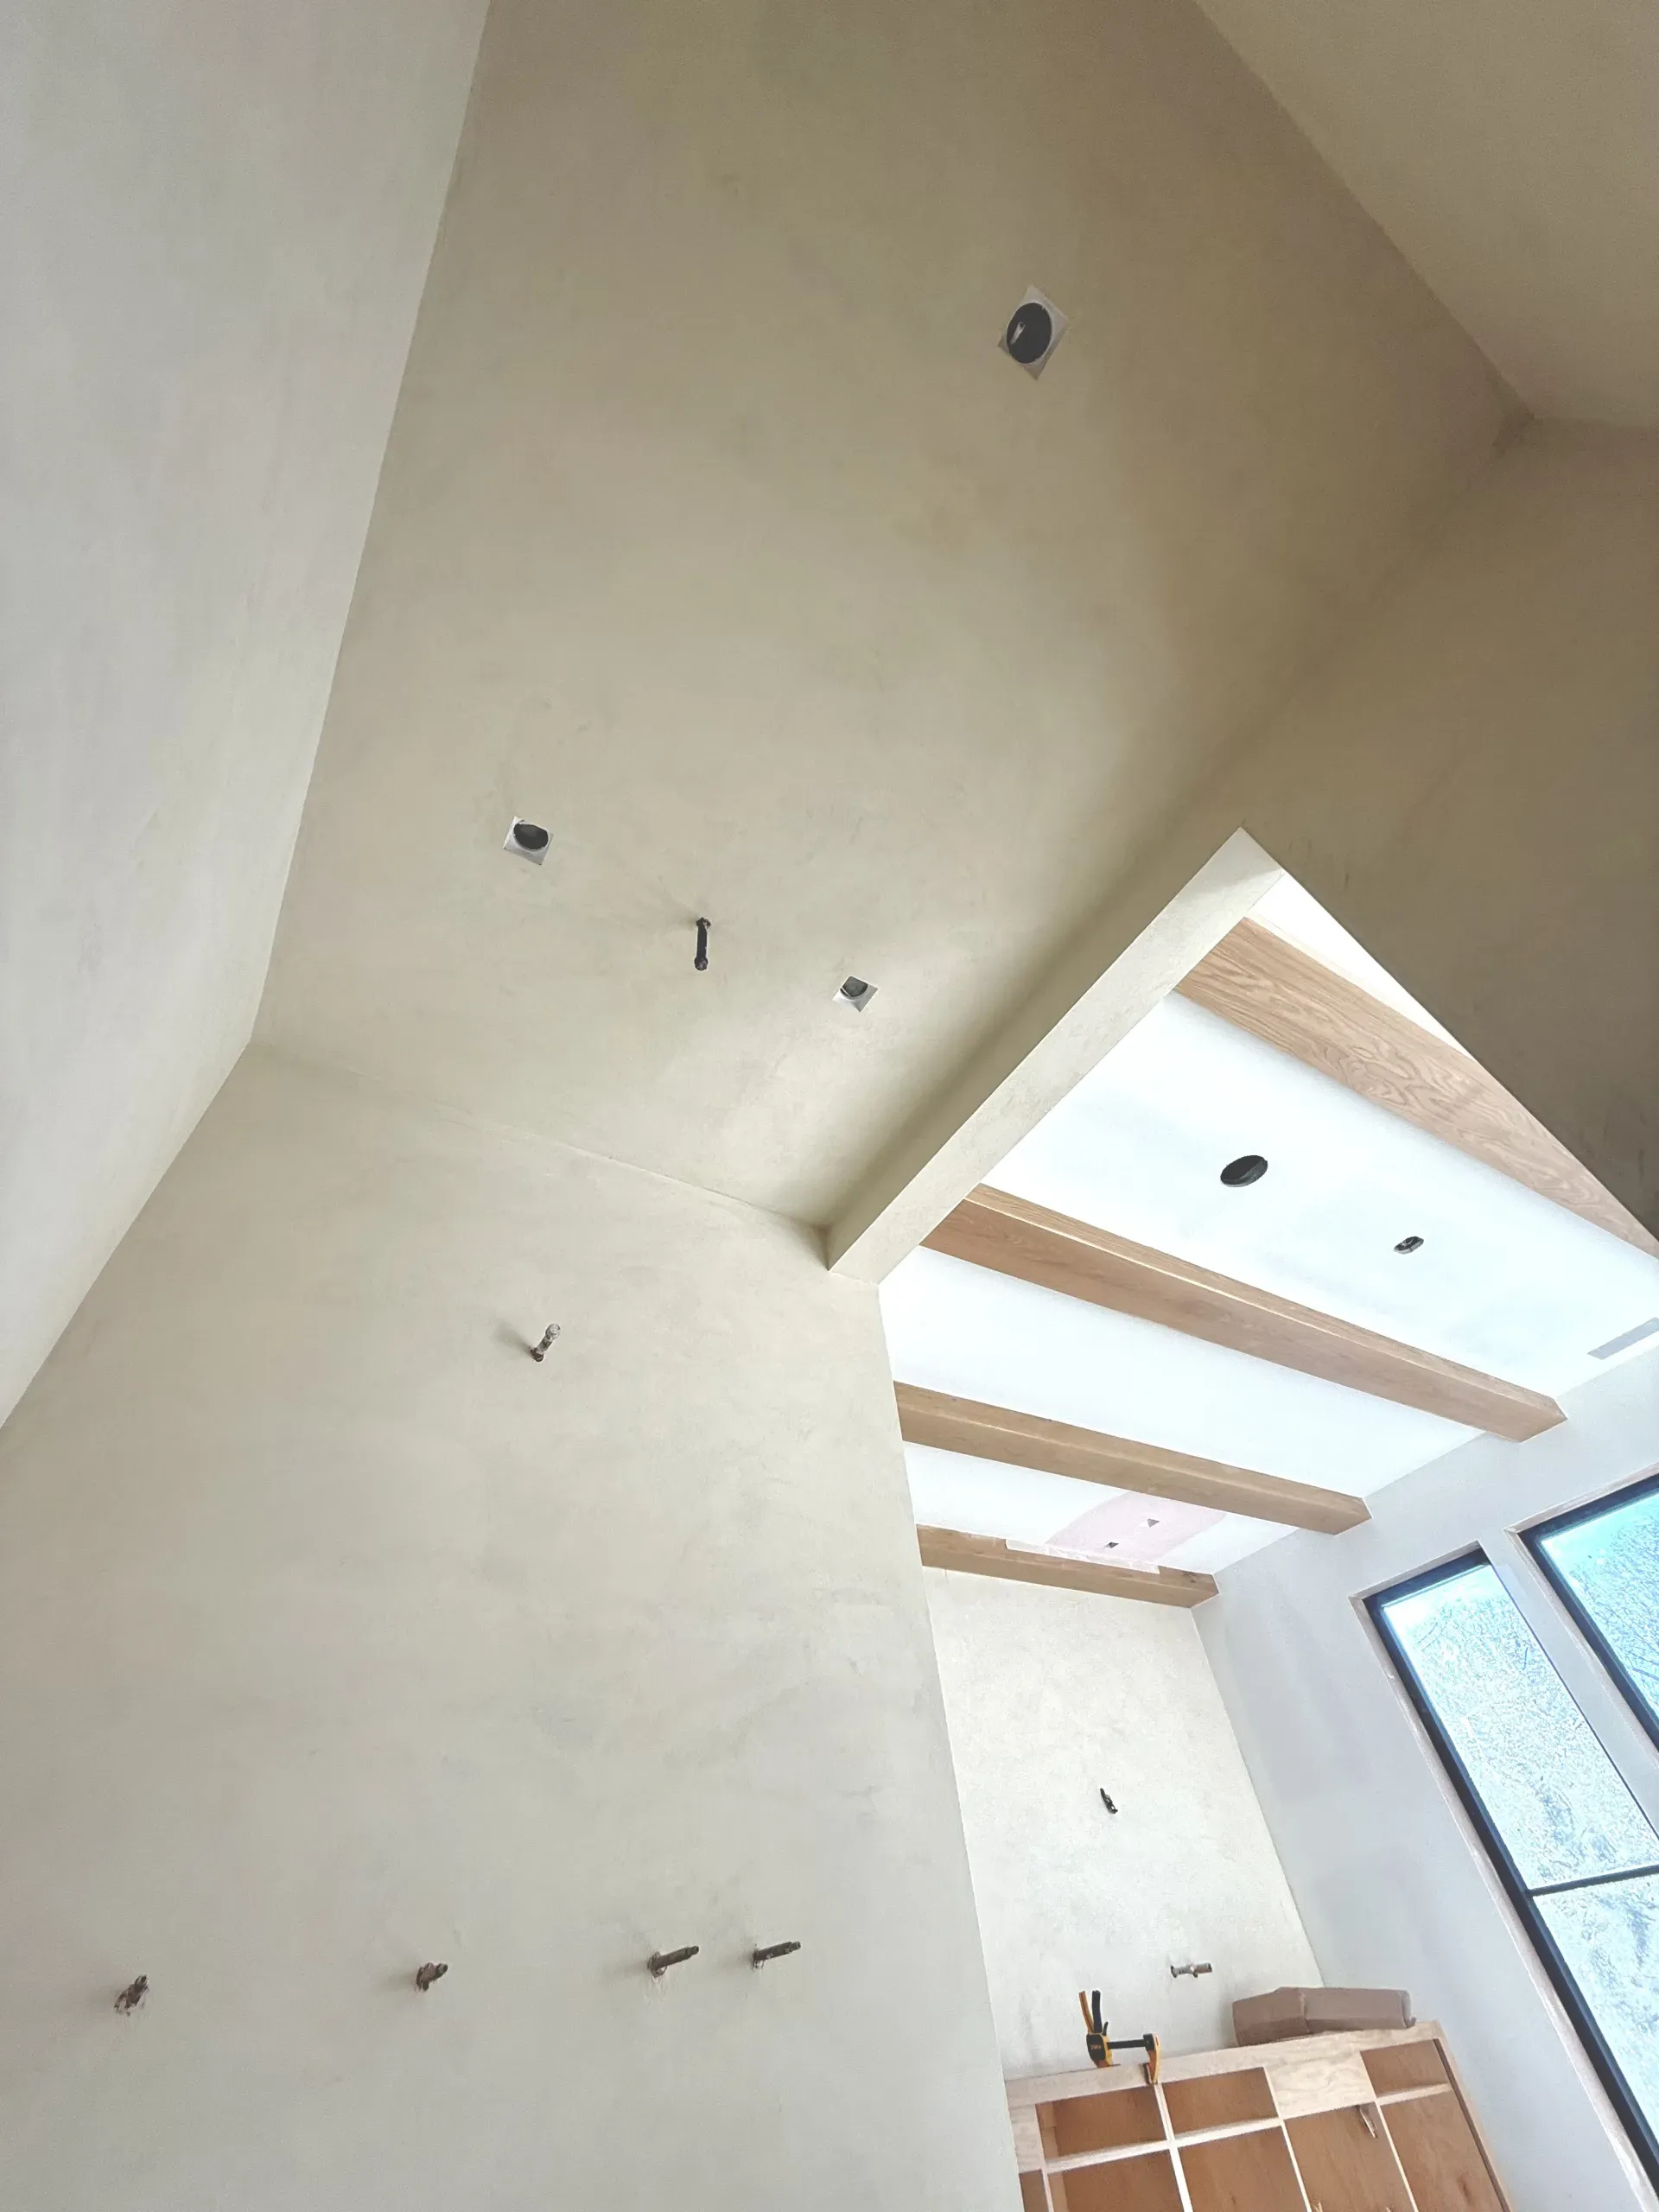
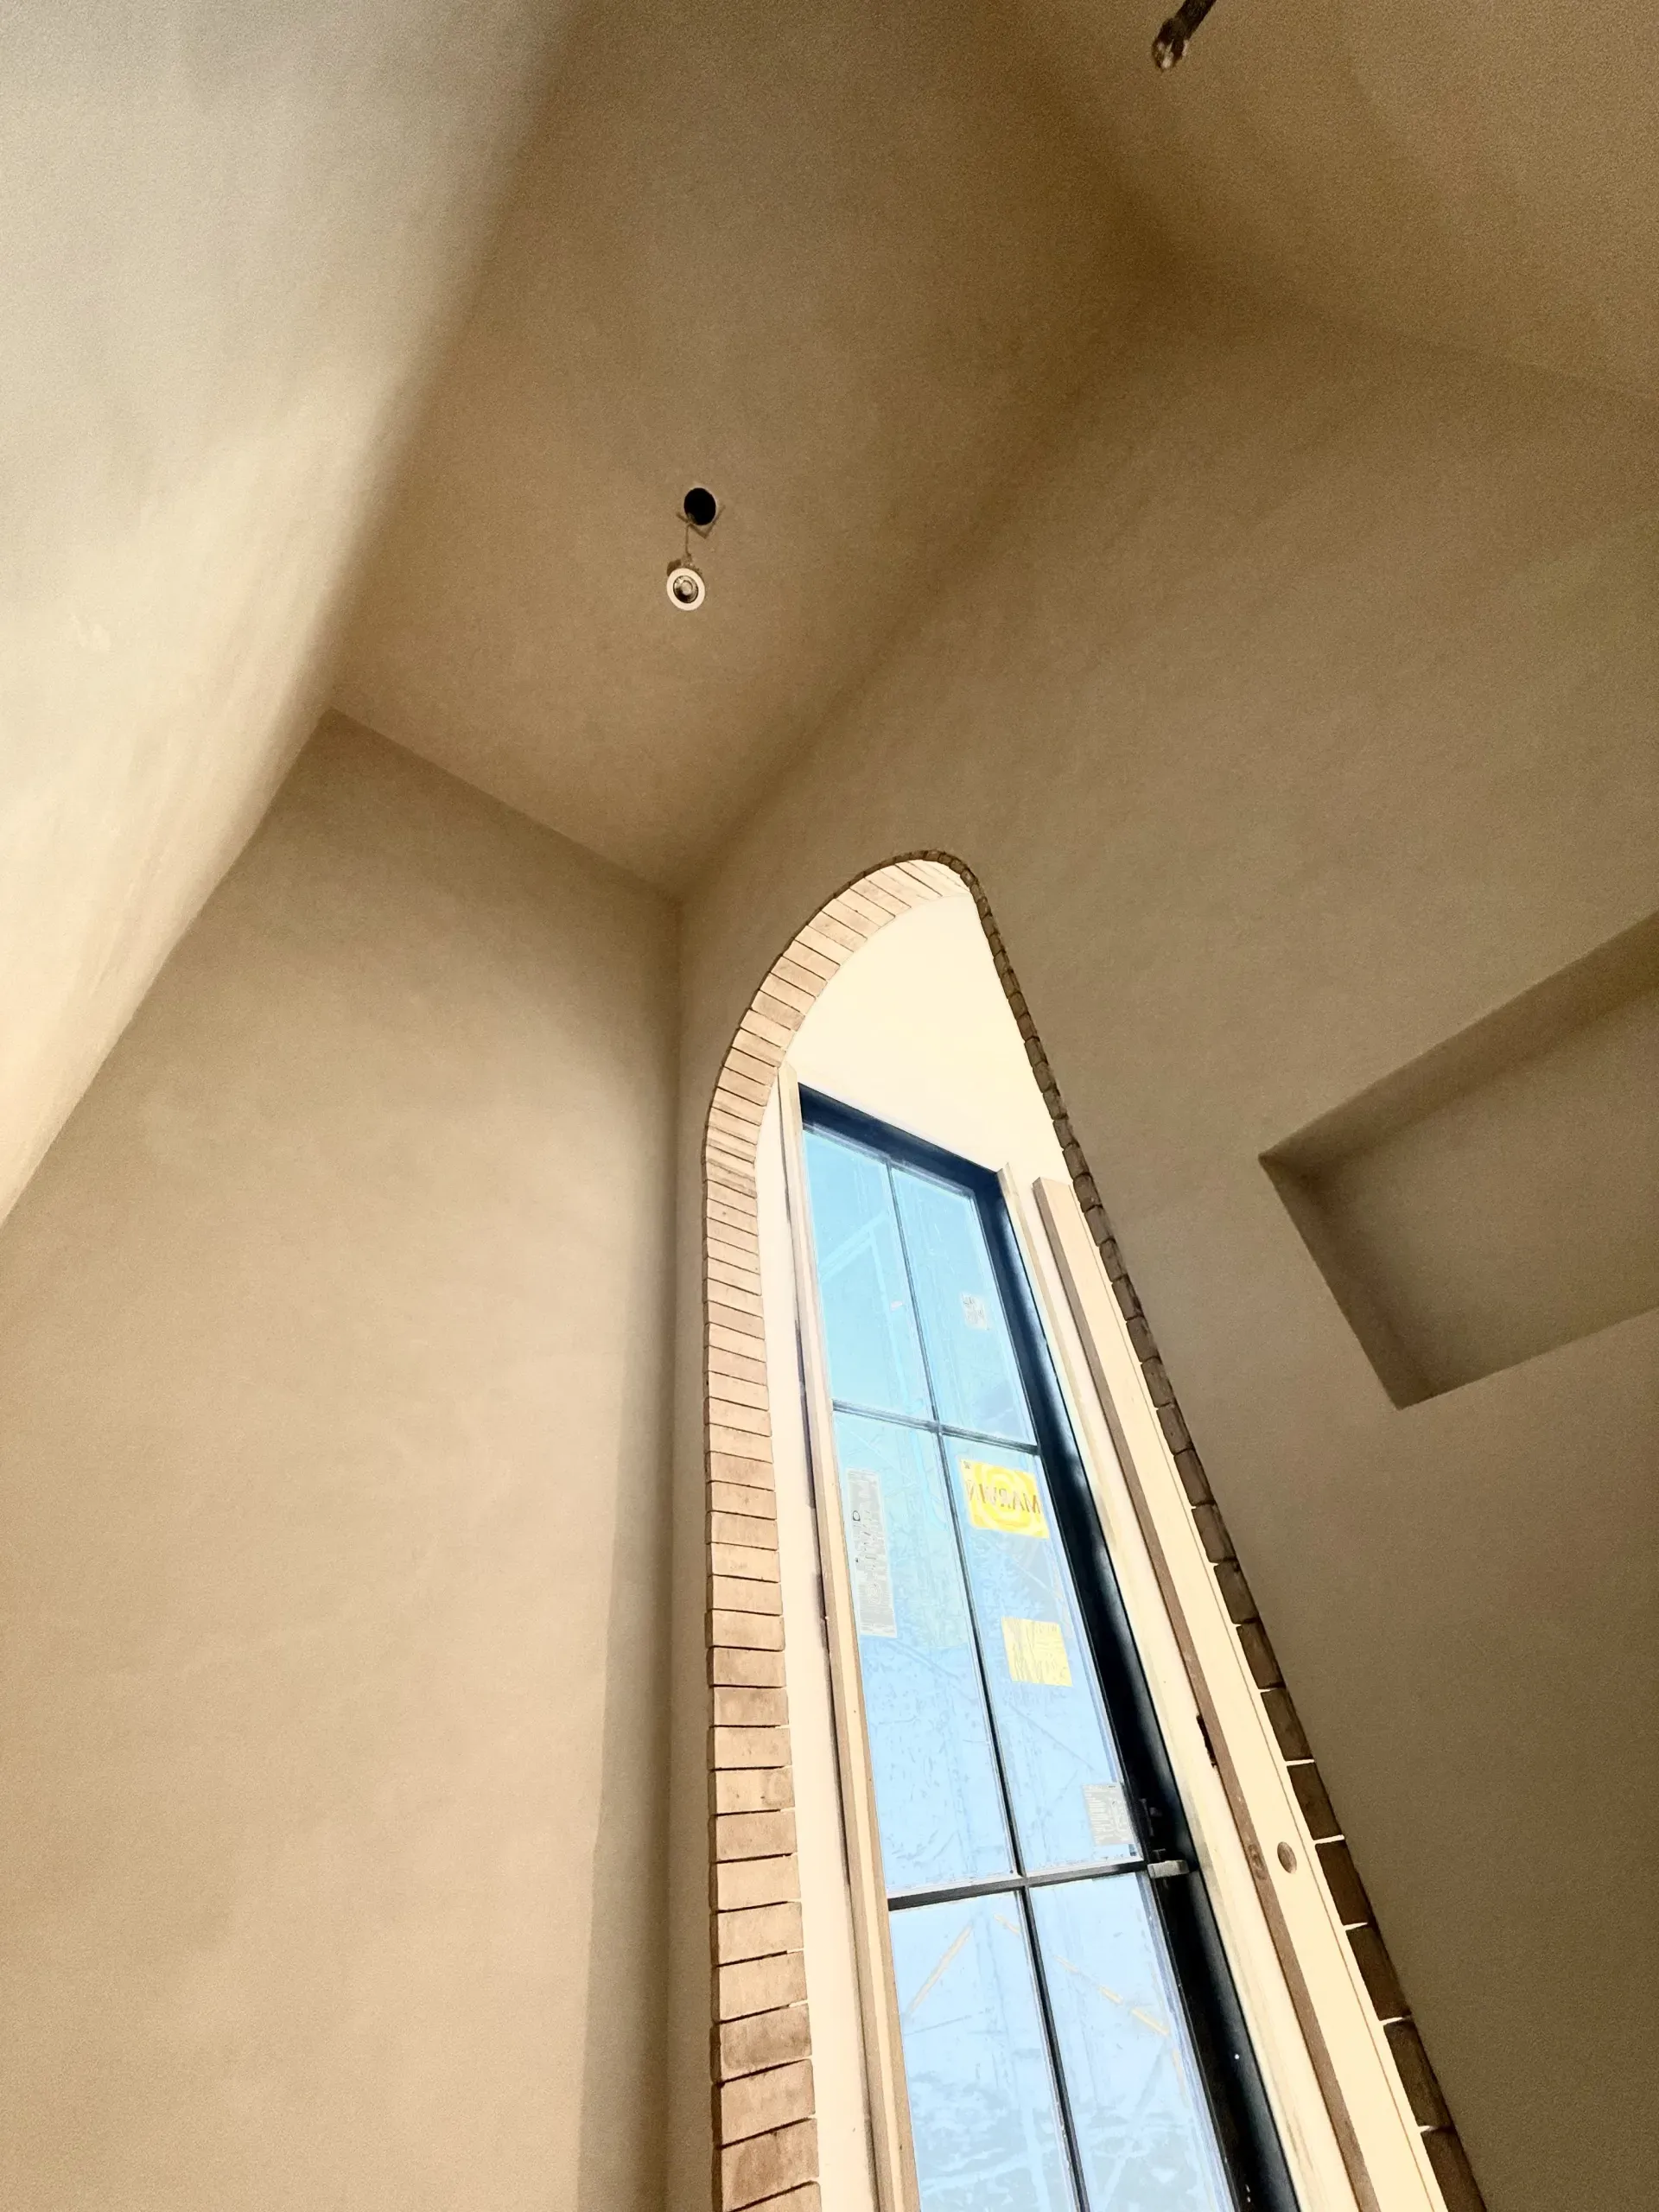
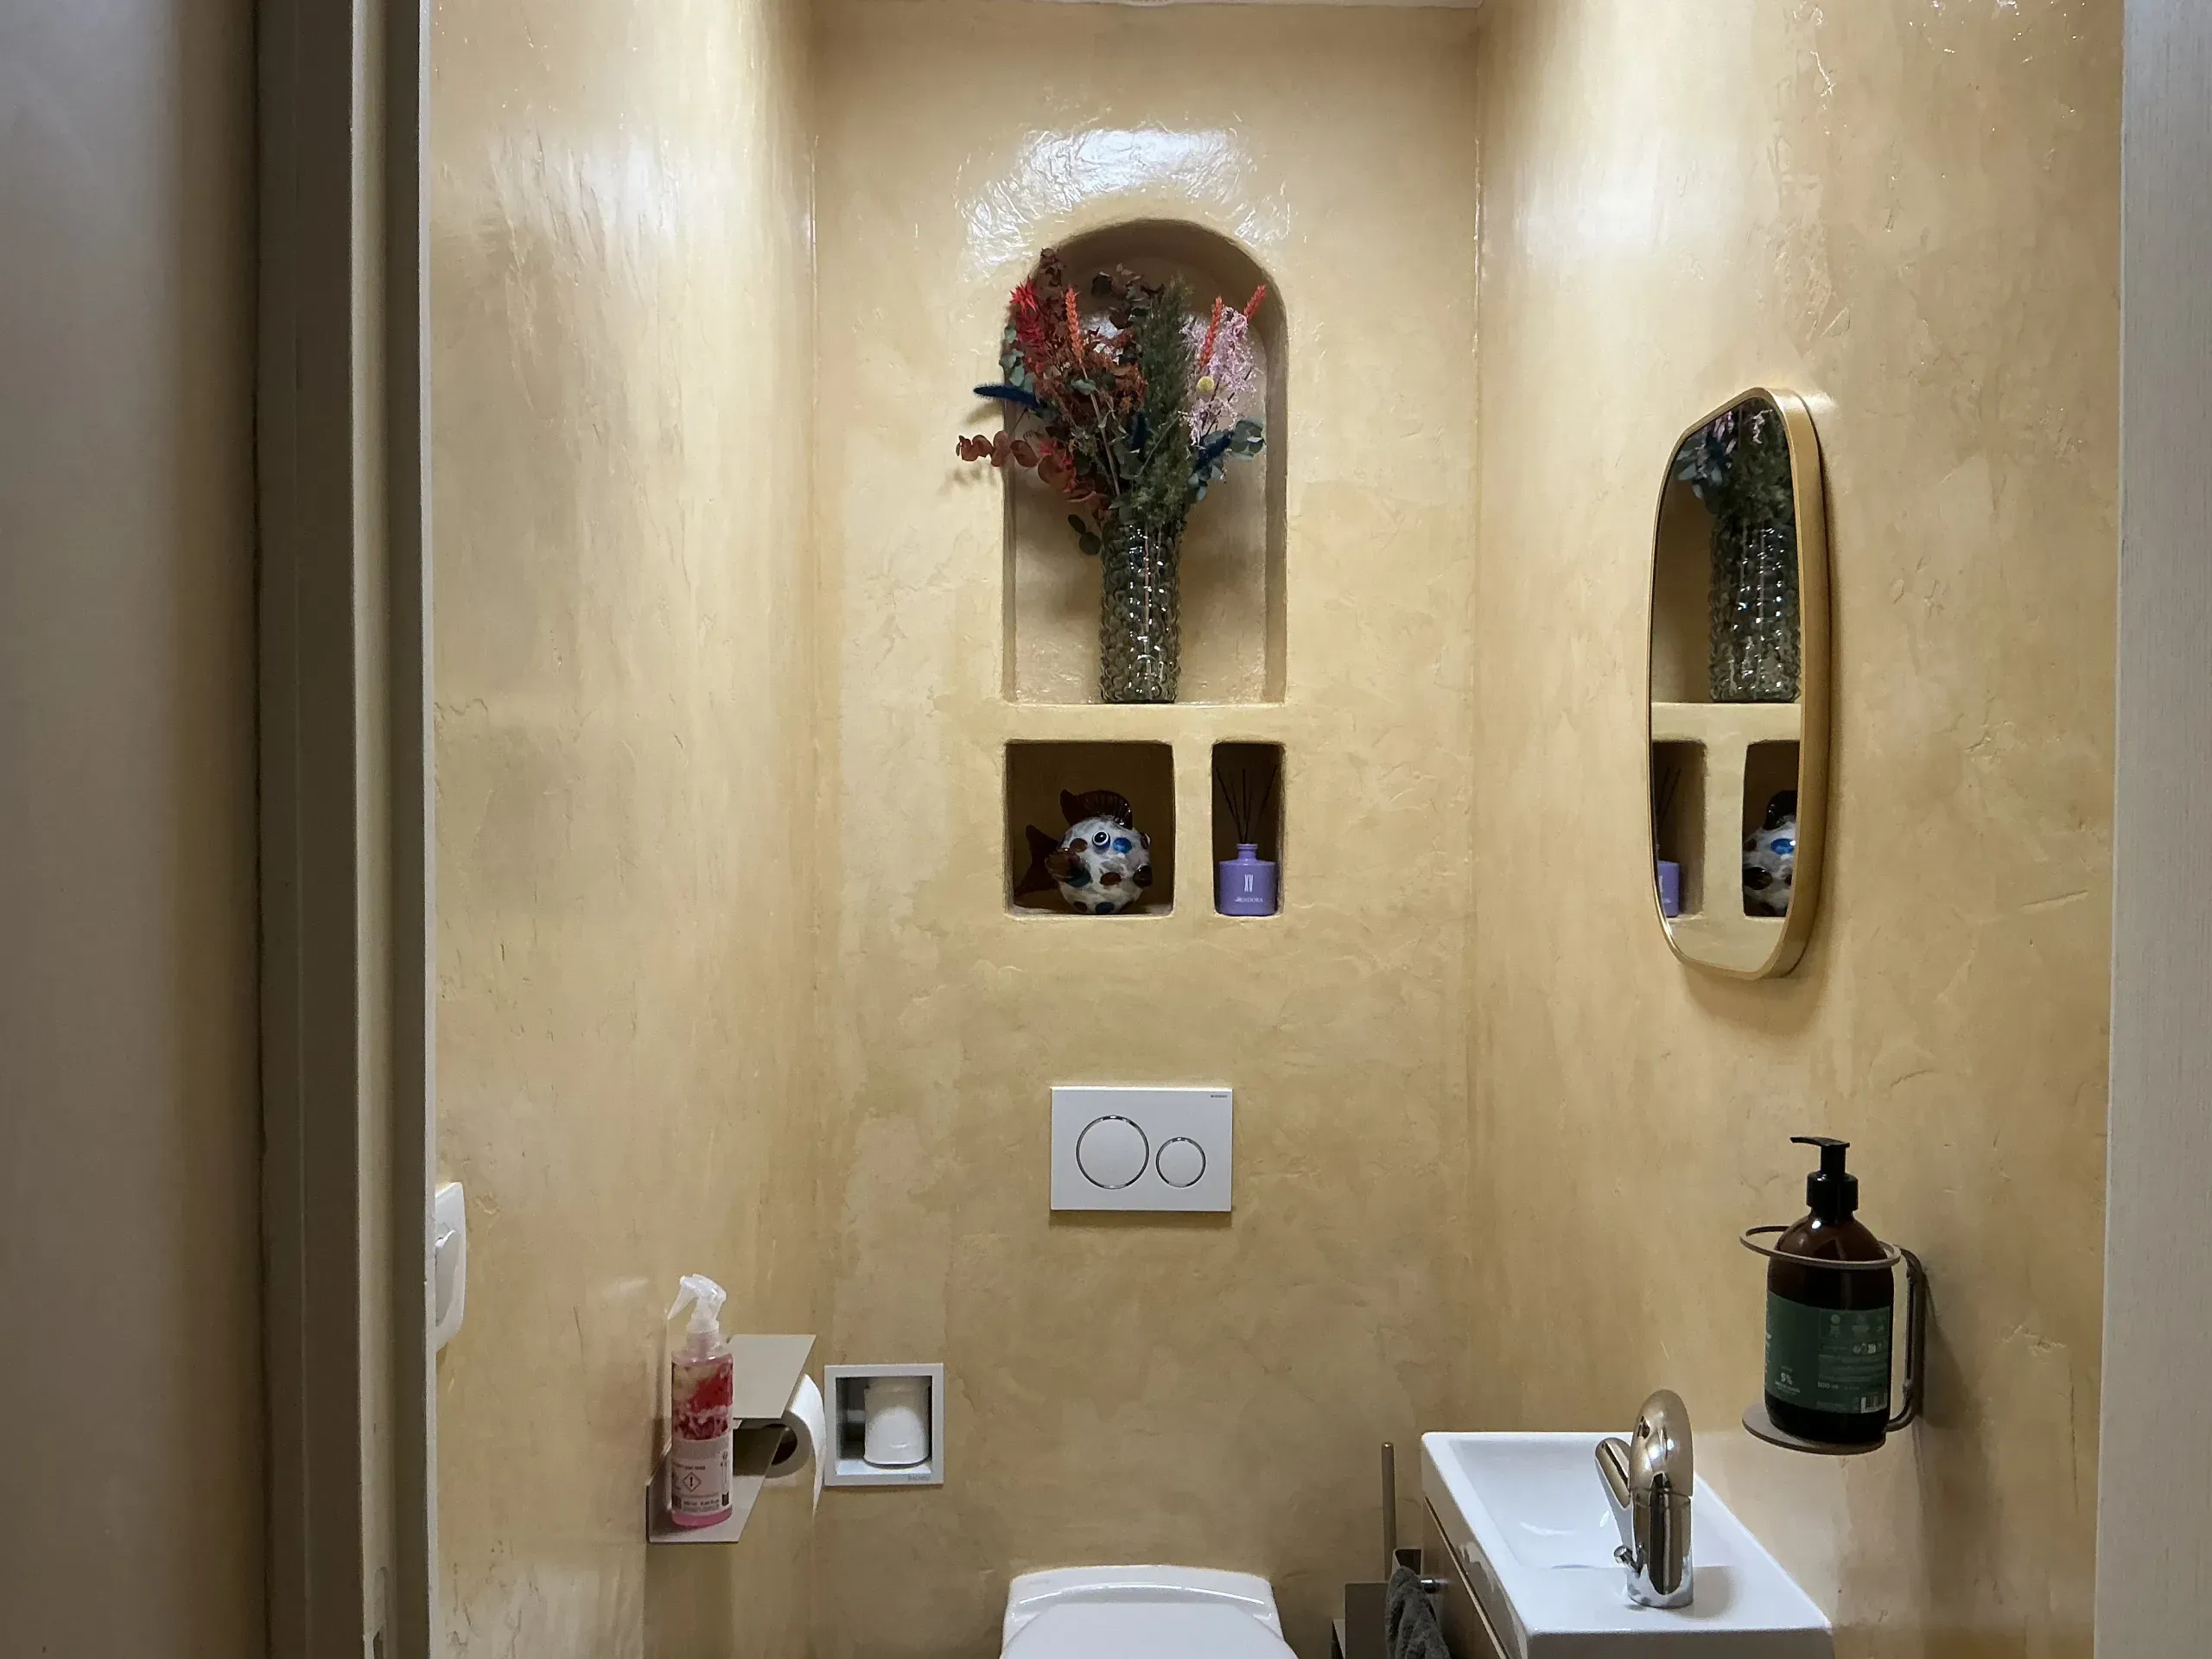
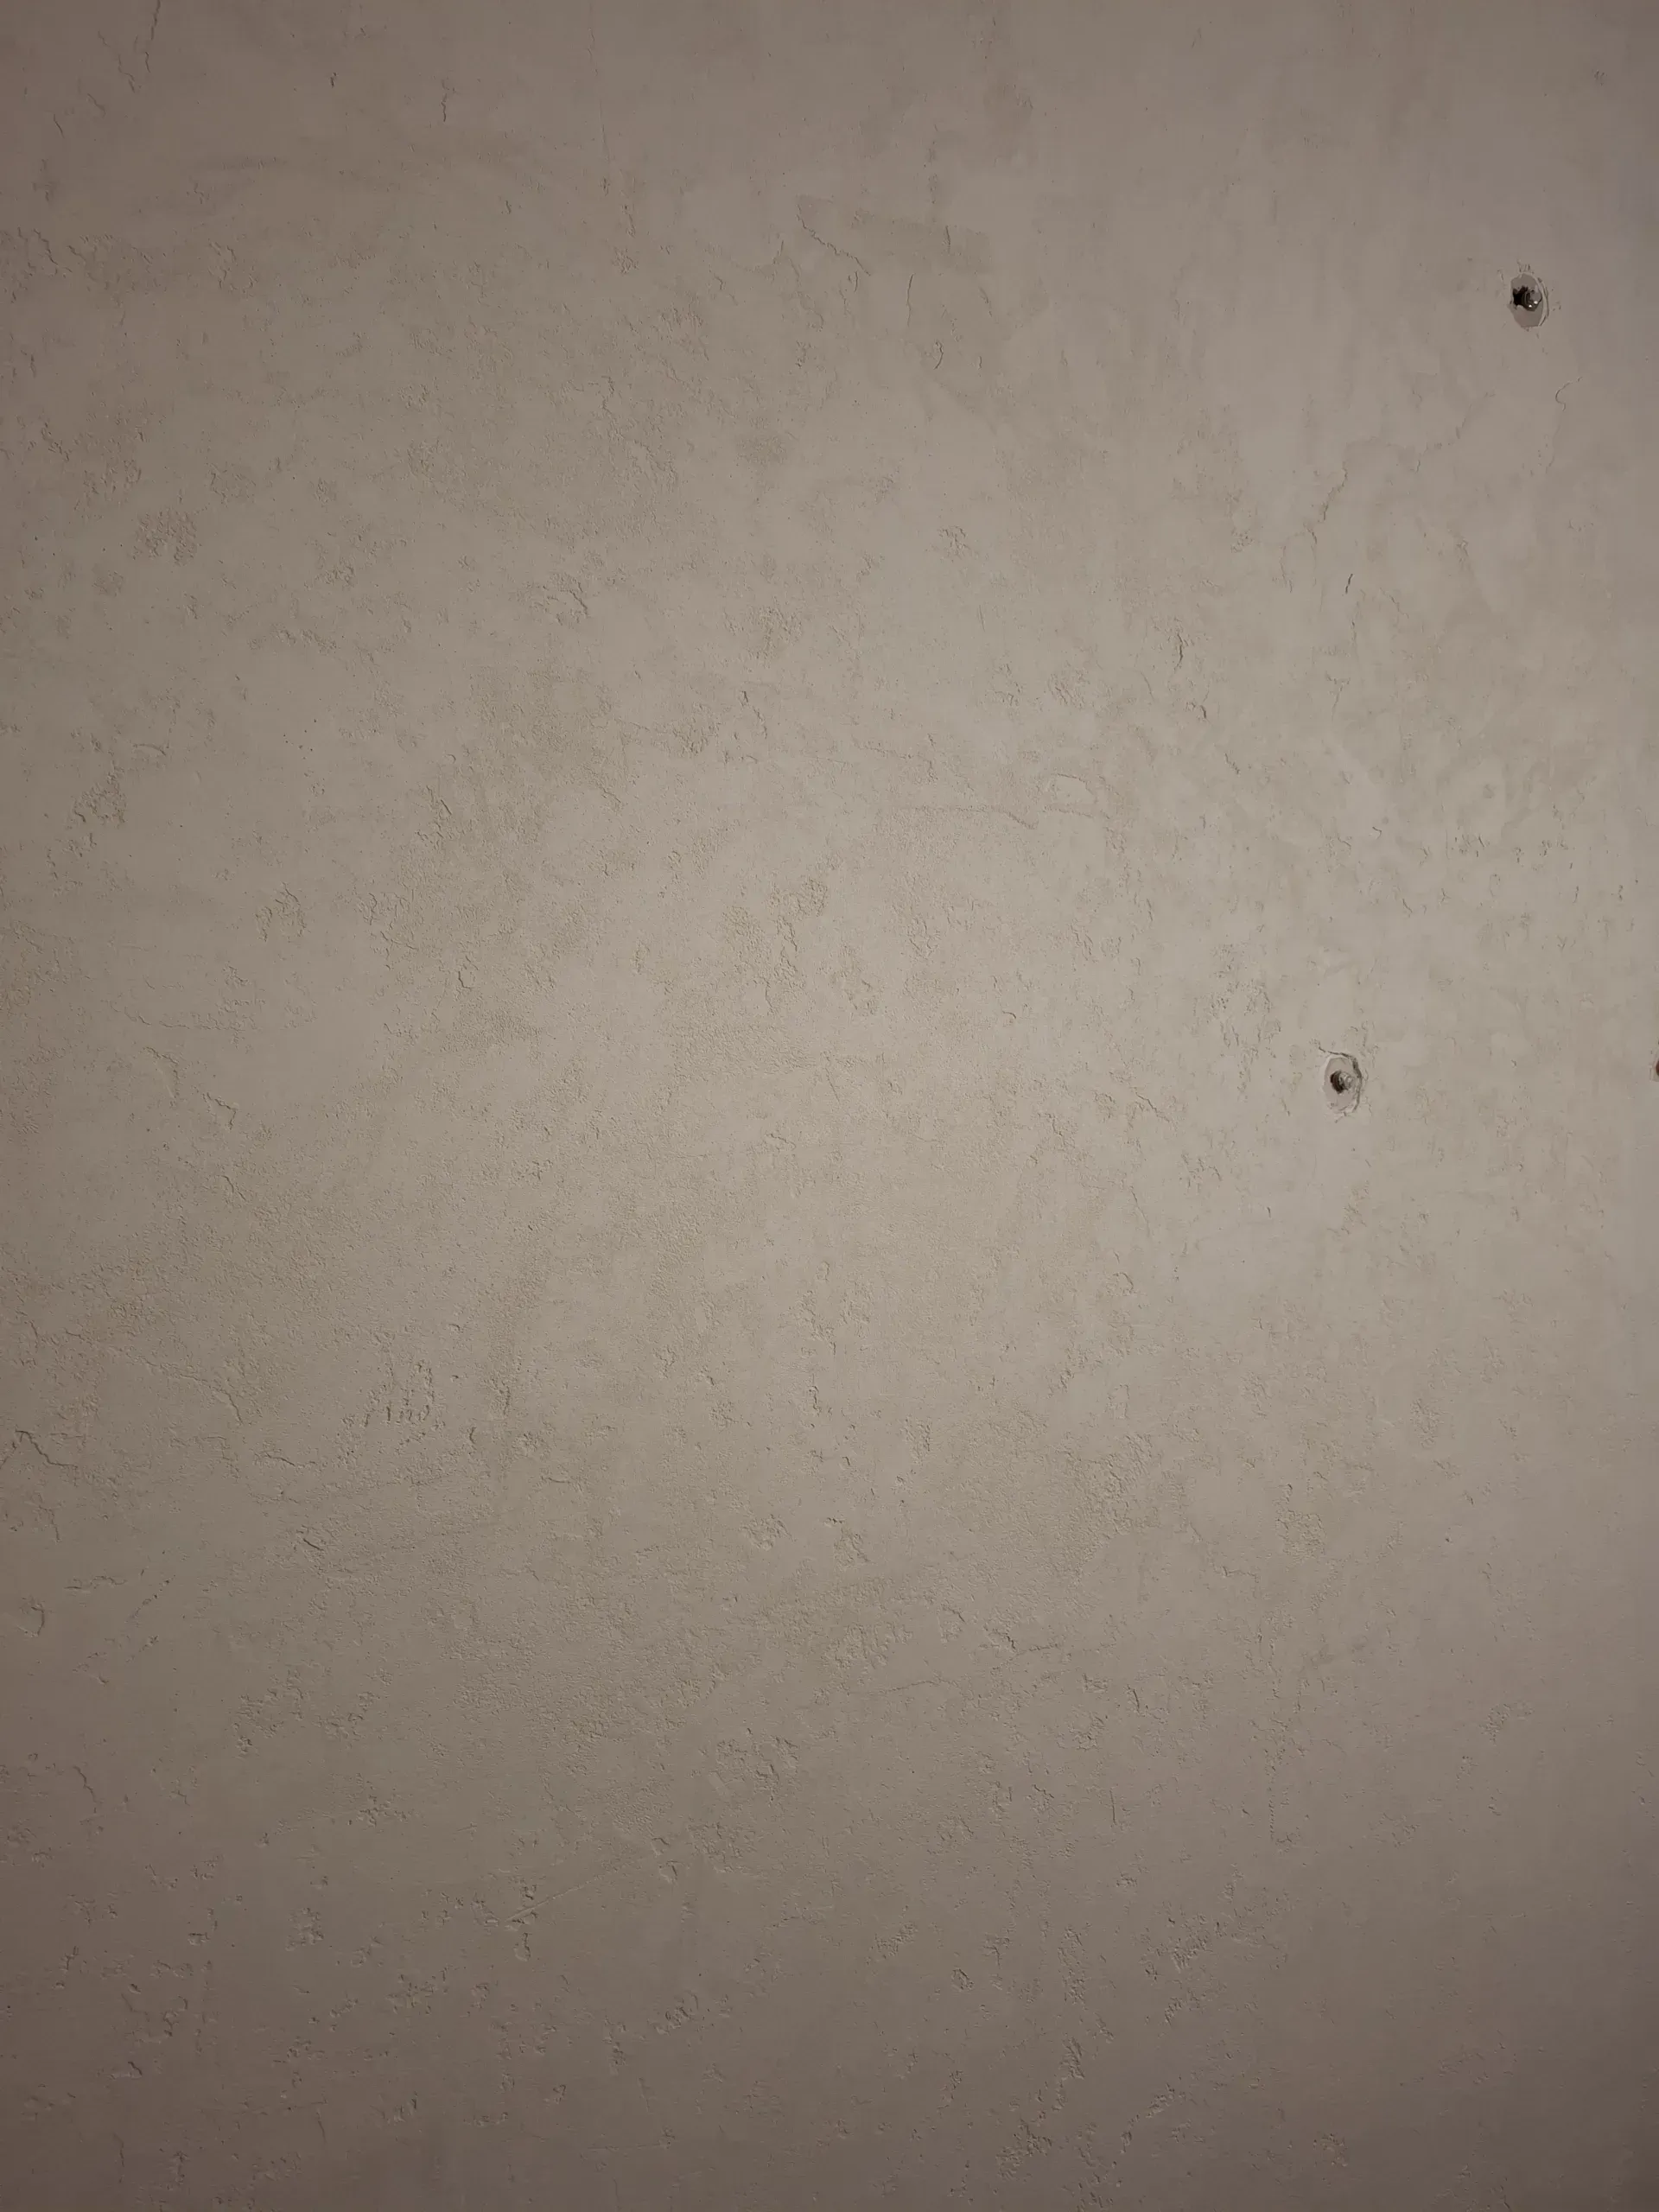
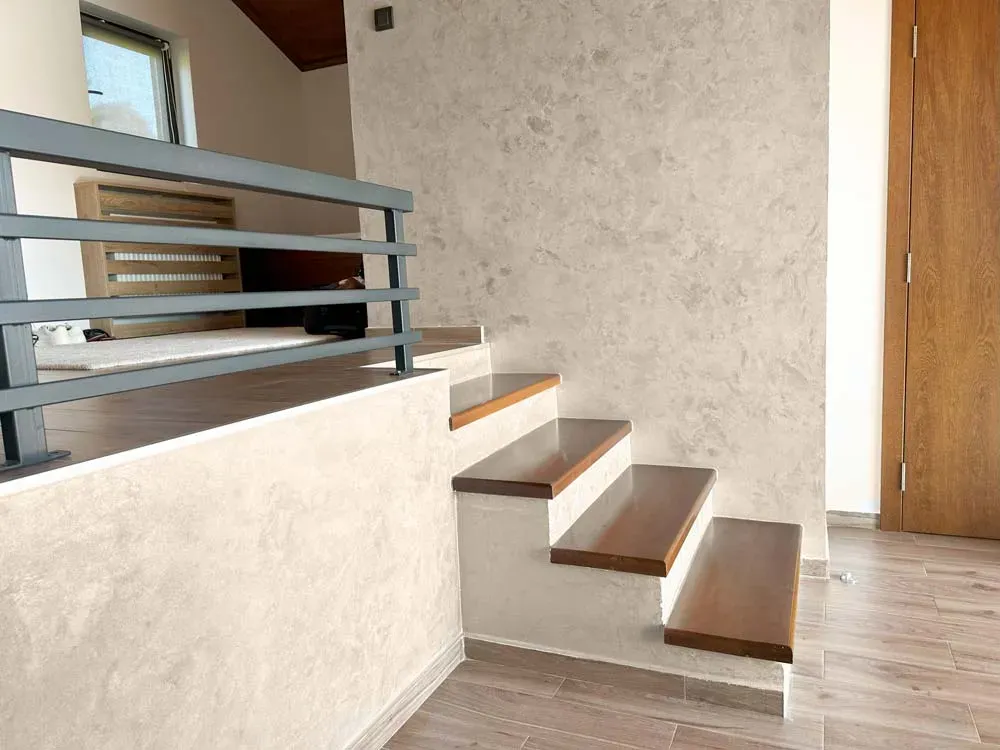
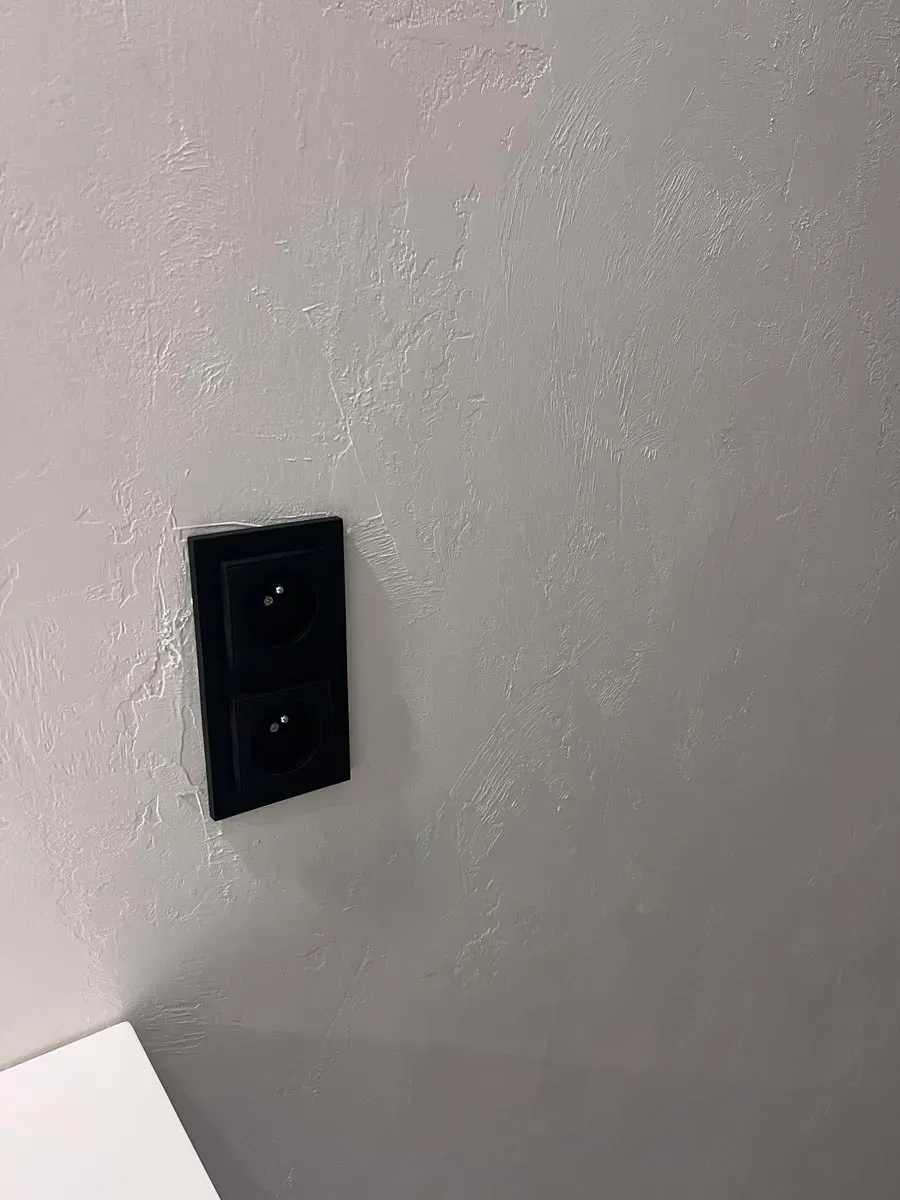
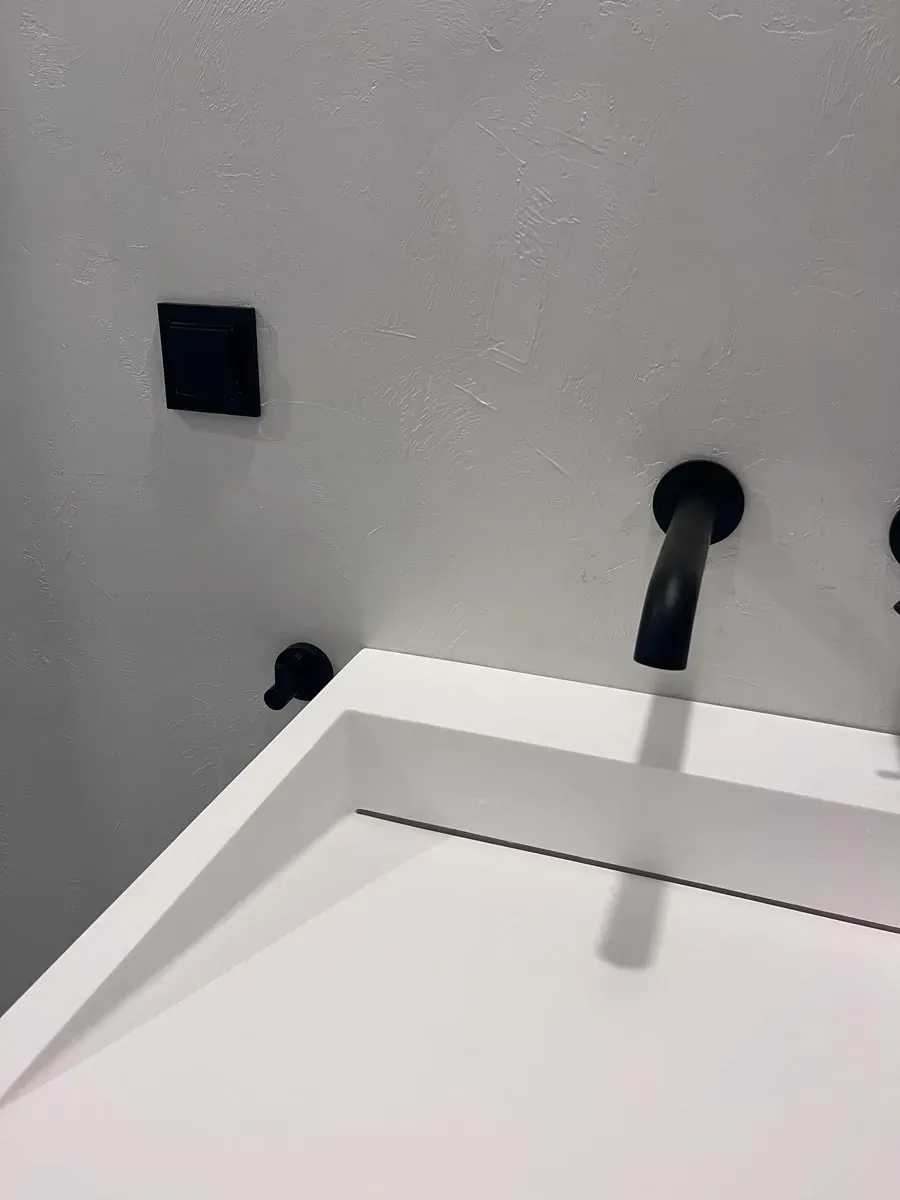
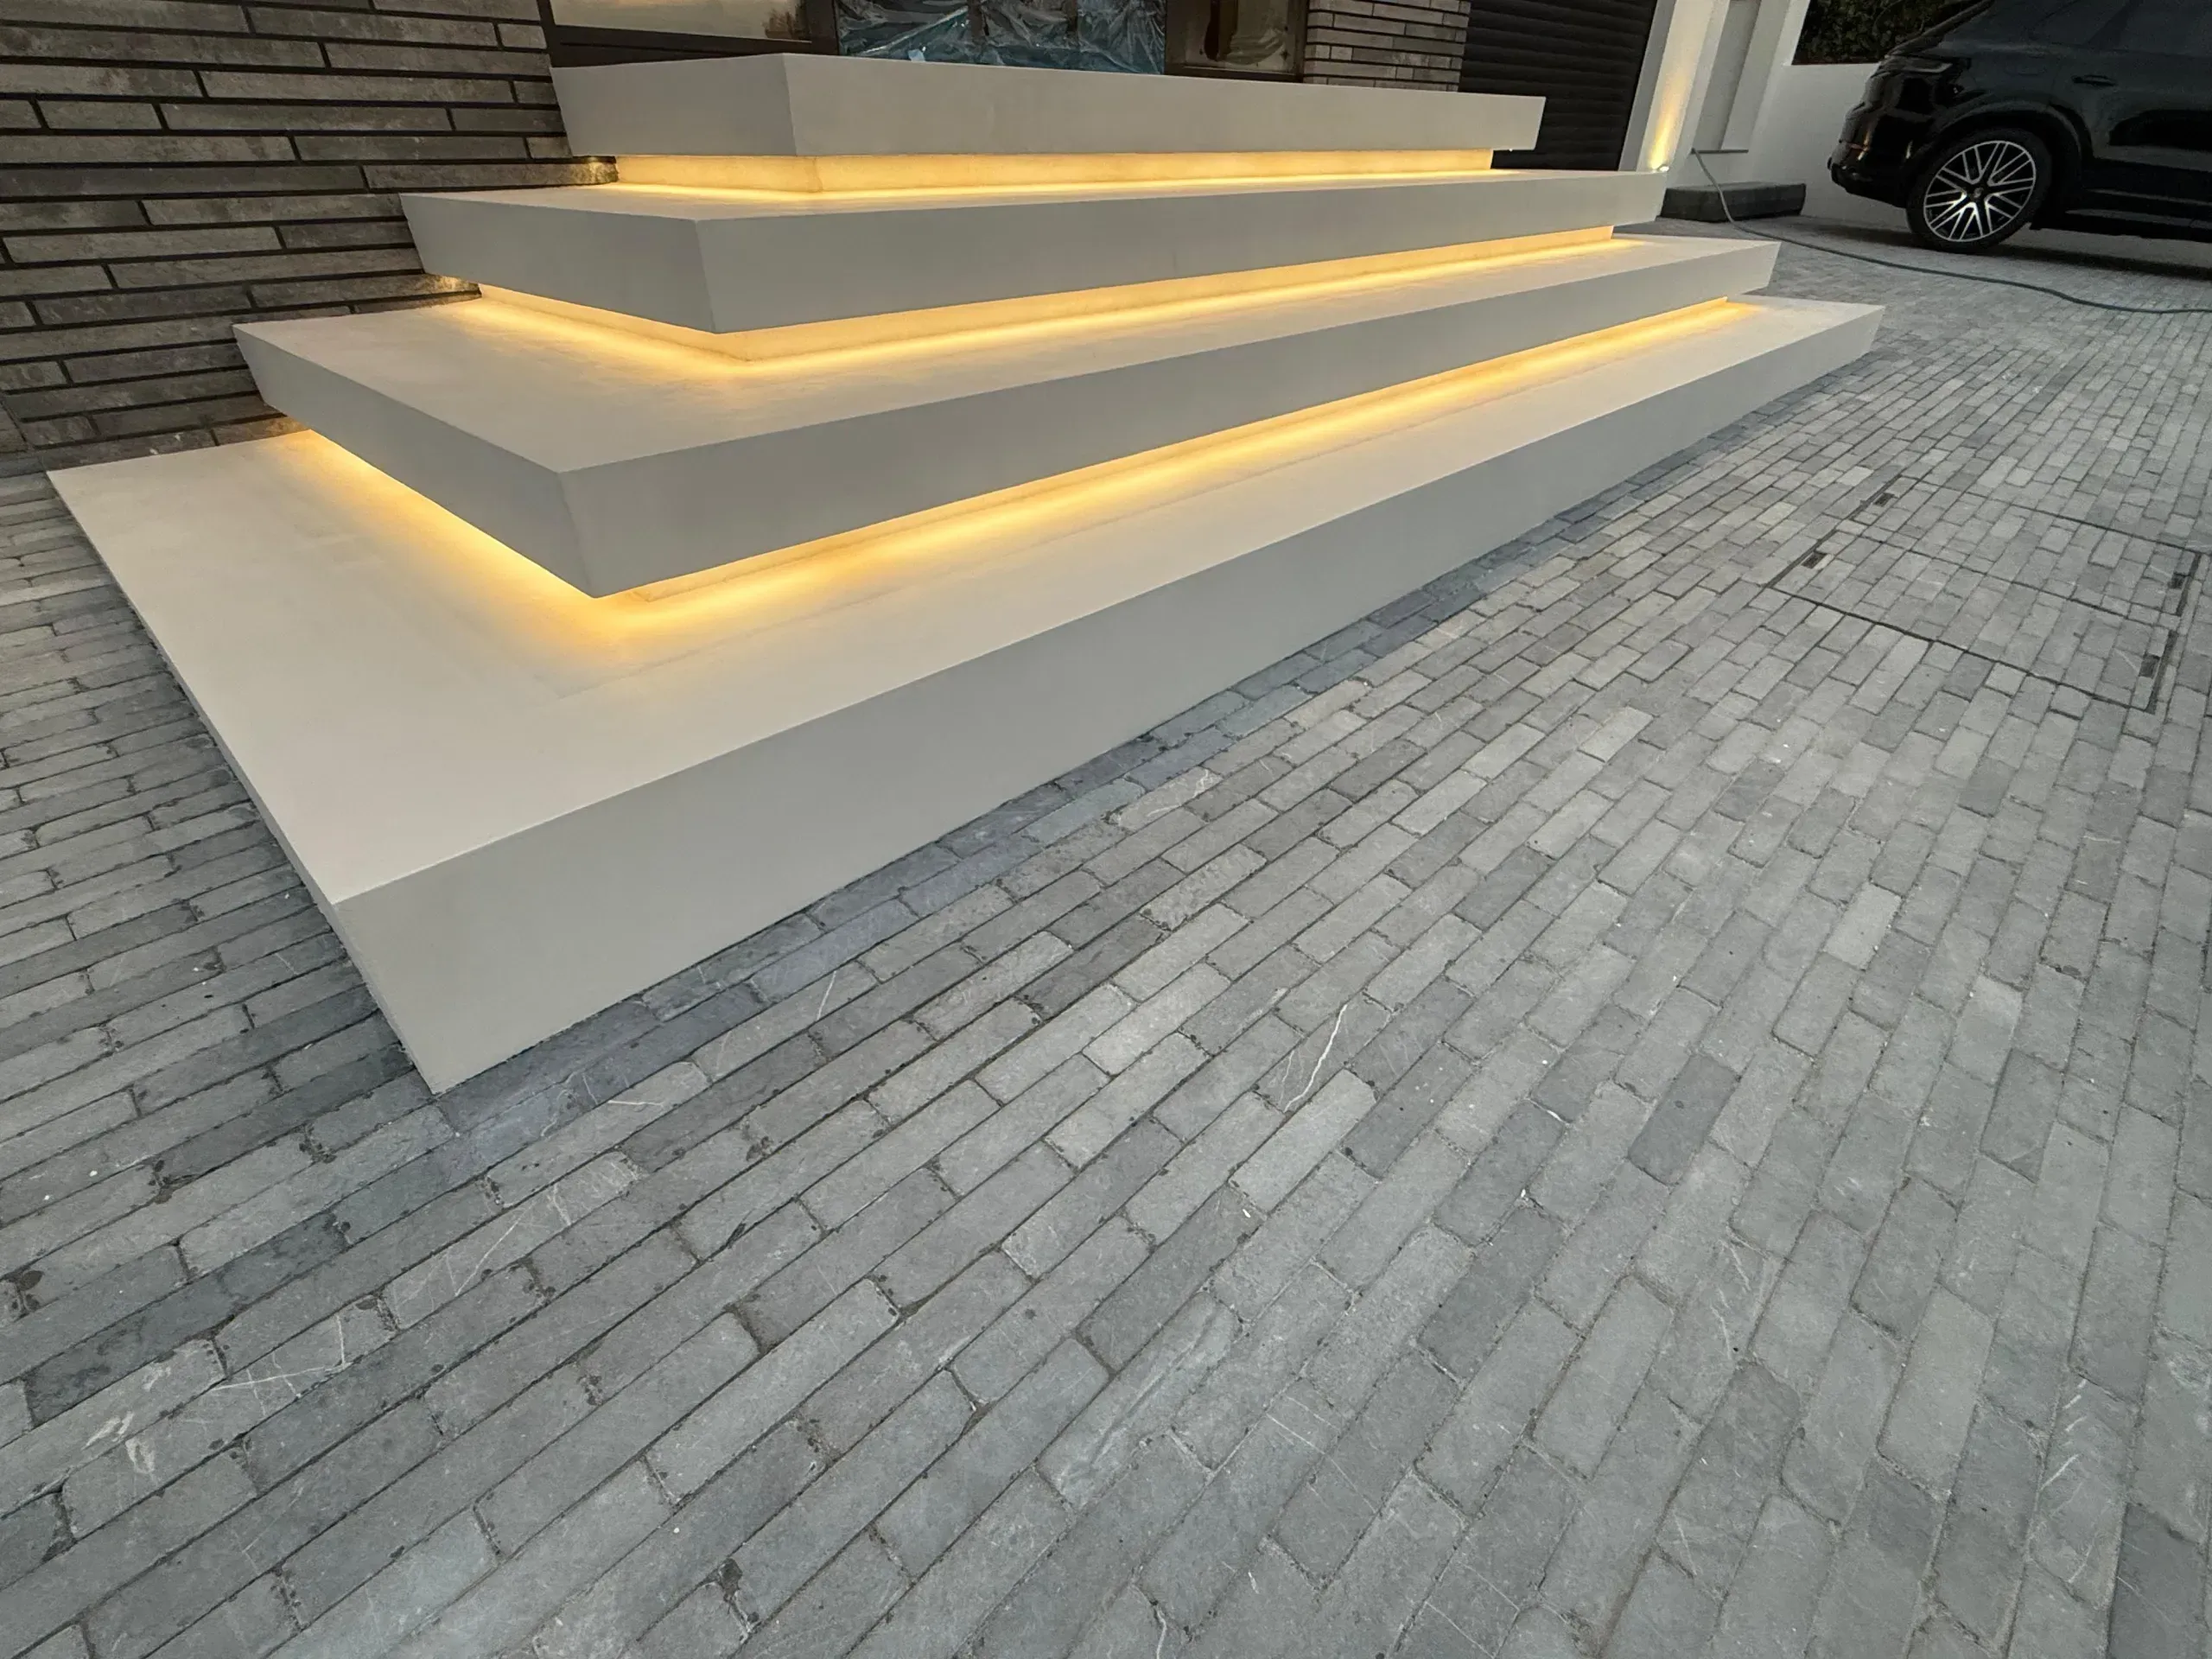
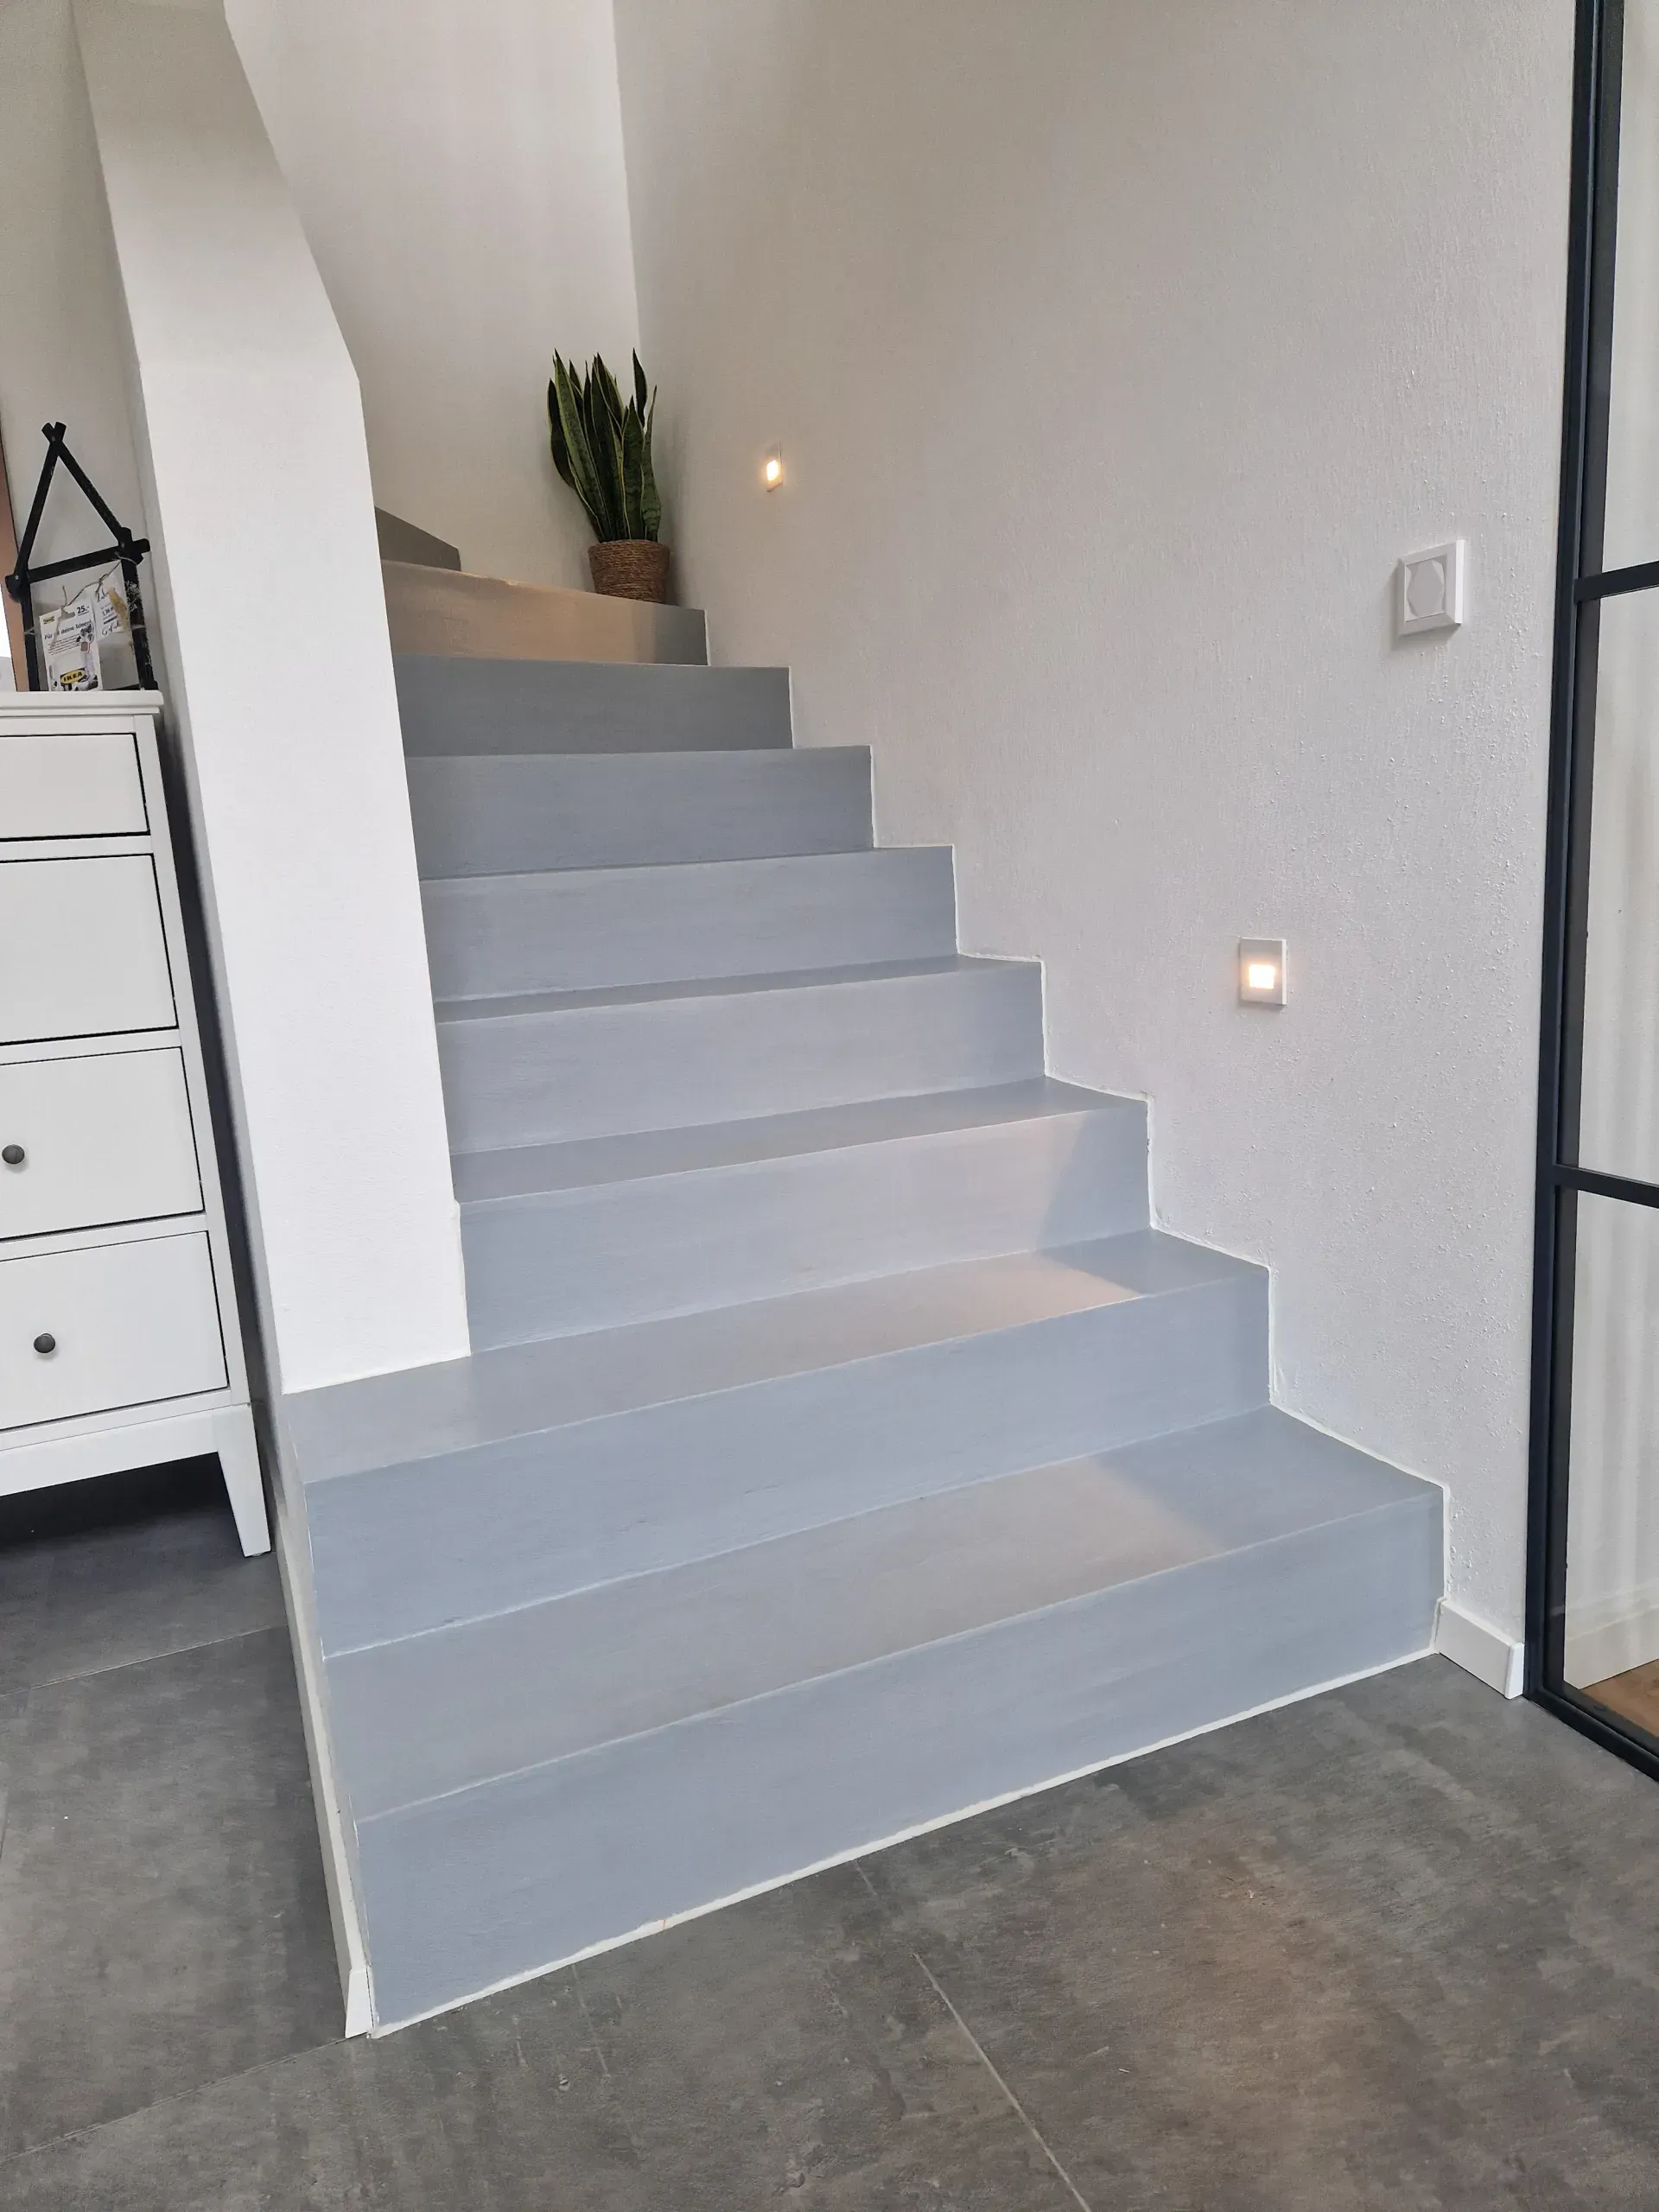
EPODEX Microcement is a special, easy-to-apply decorative levelling compound. It can be applied onto floors, walls, stairs, tables, and more! Achieve a unique, modern interior decor in no time. From exposed concrete wth natural cavities to multi-colored designs with 3D effect - Everything is possible!
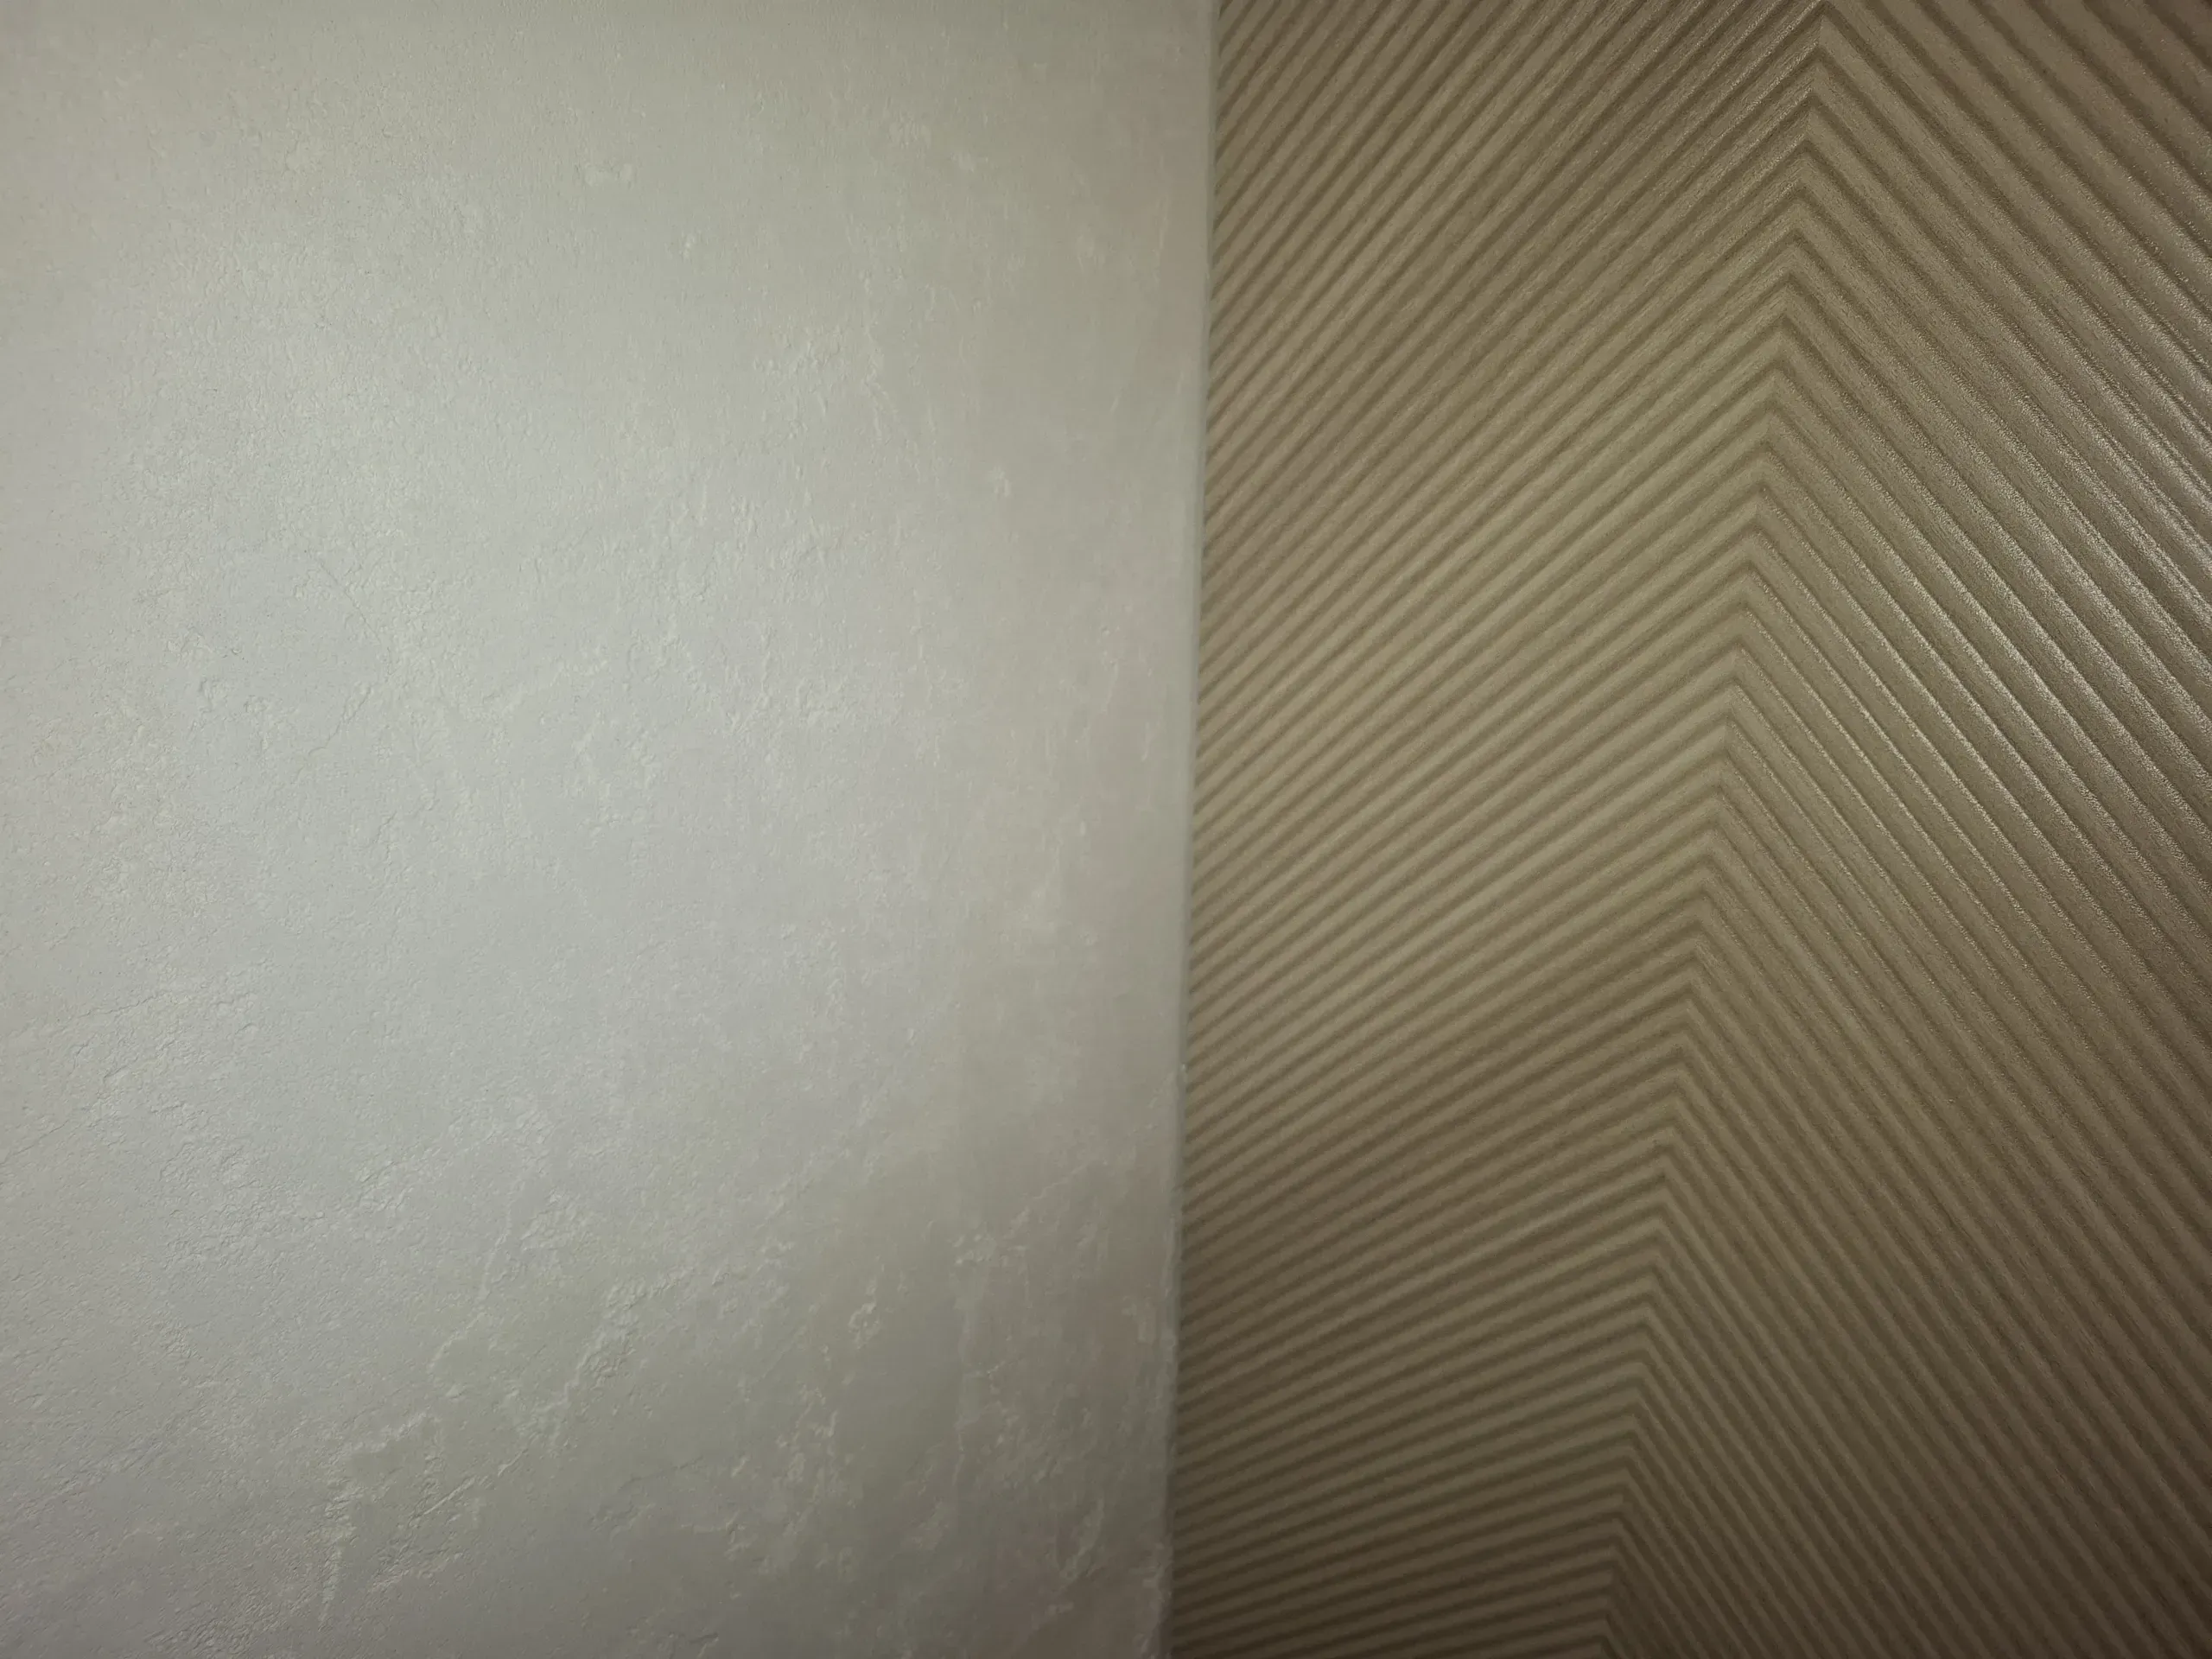
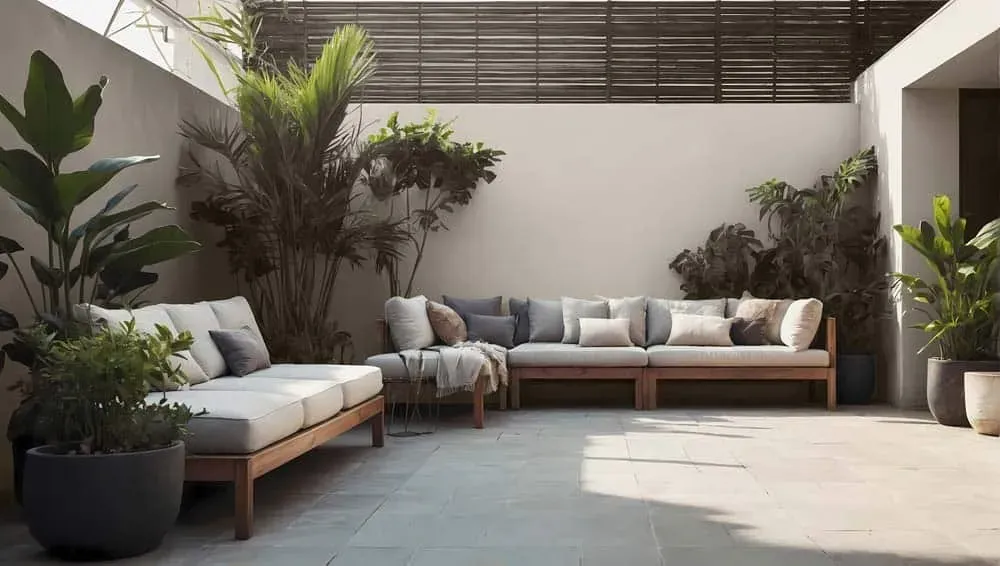
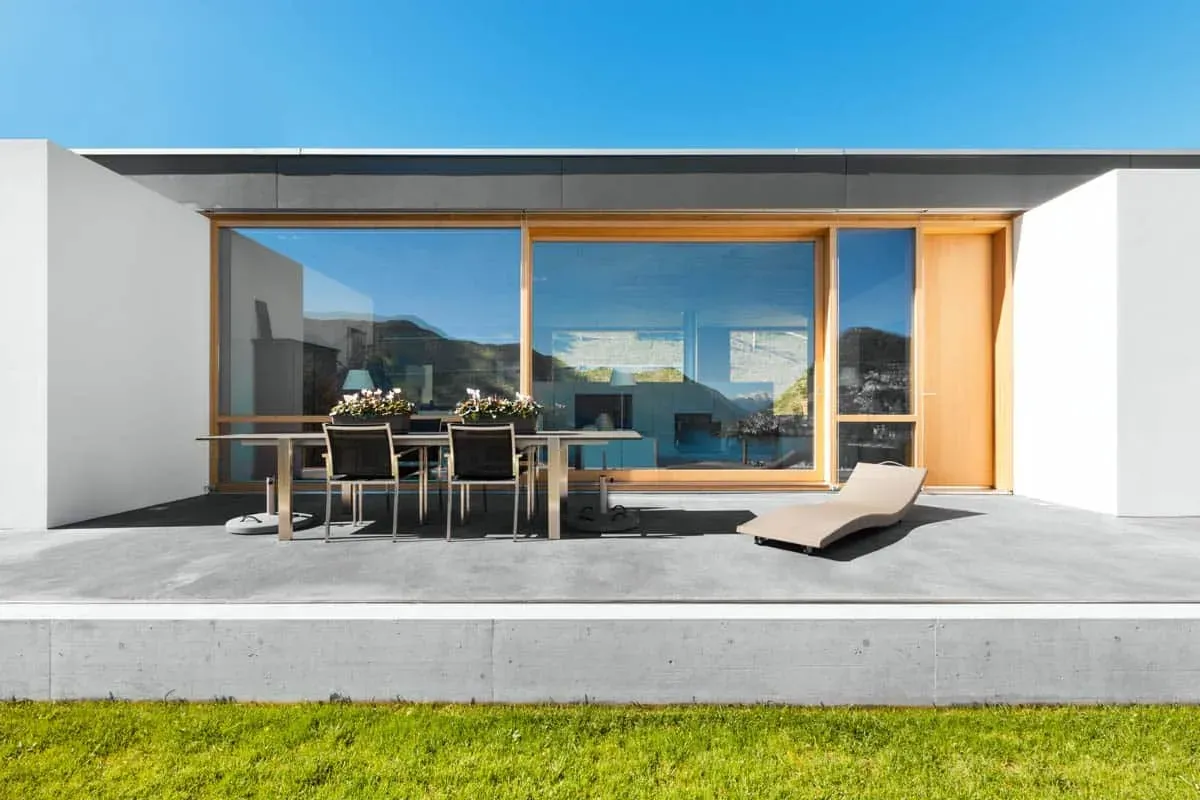
Our microcement is suitable for indoor and outdoor use and can be applied to almost any substrates such as parquet, tiles, natural stone, plasterboard, metal, ceramic, marble, OSB, and more. The material is highly resilient and UV-resistant. At the same time, it remains slightly flexible and breathable.
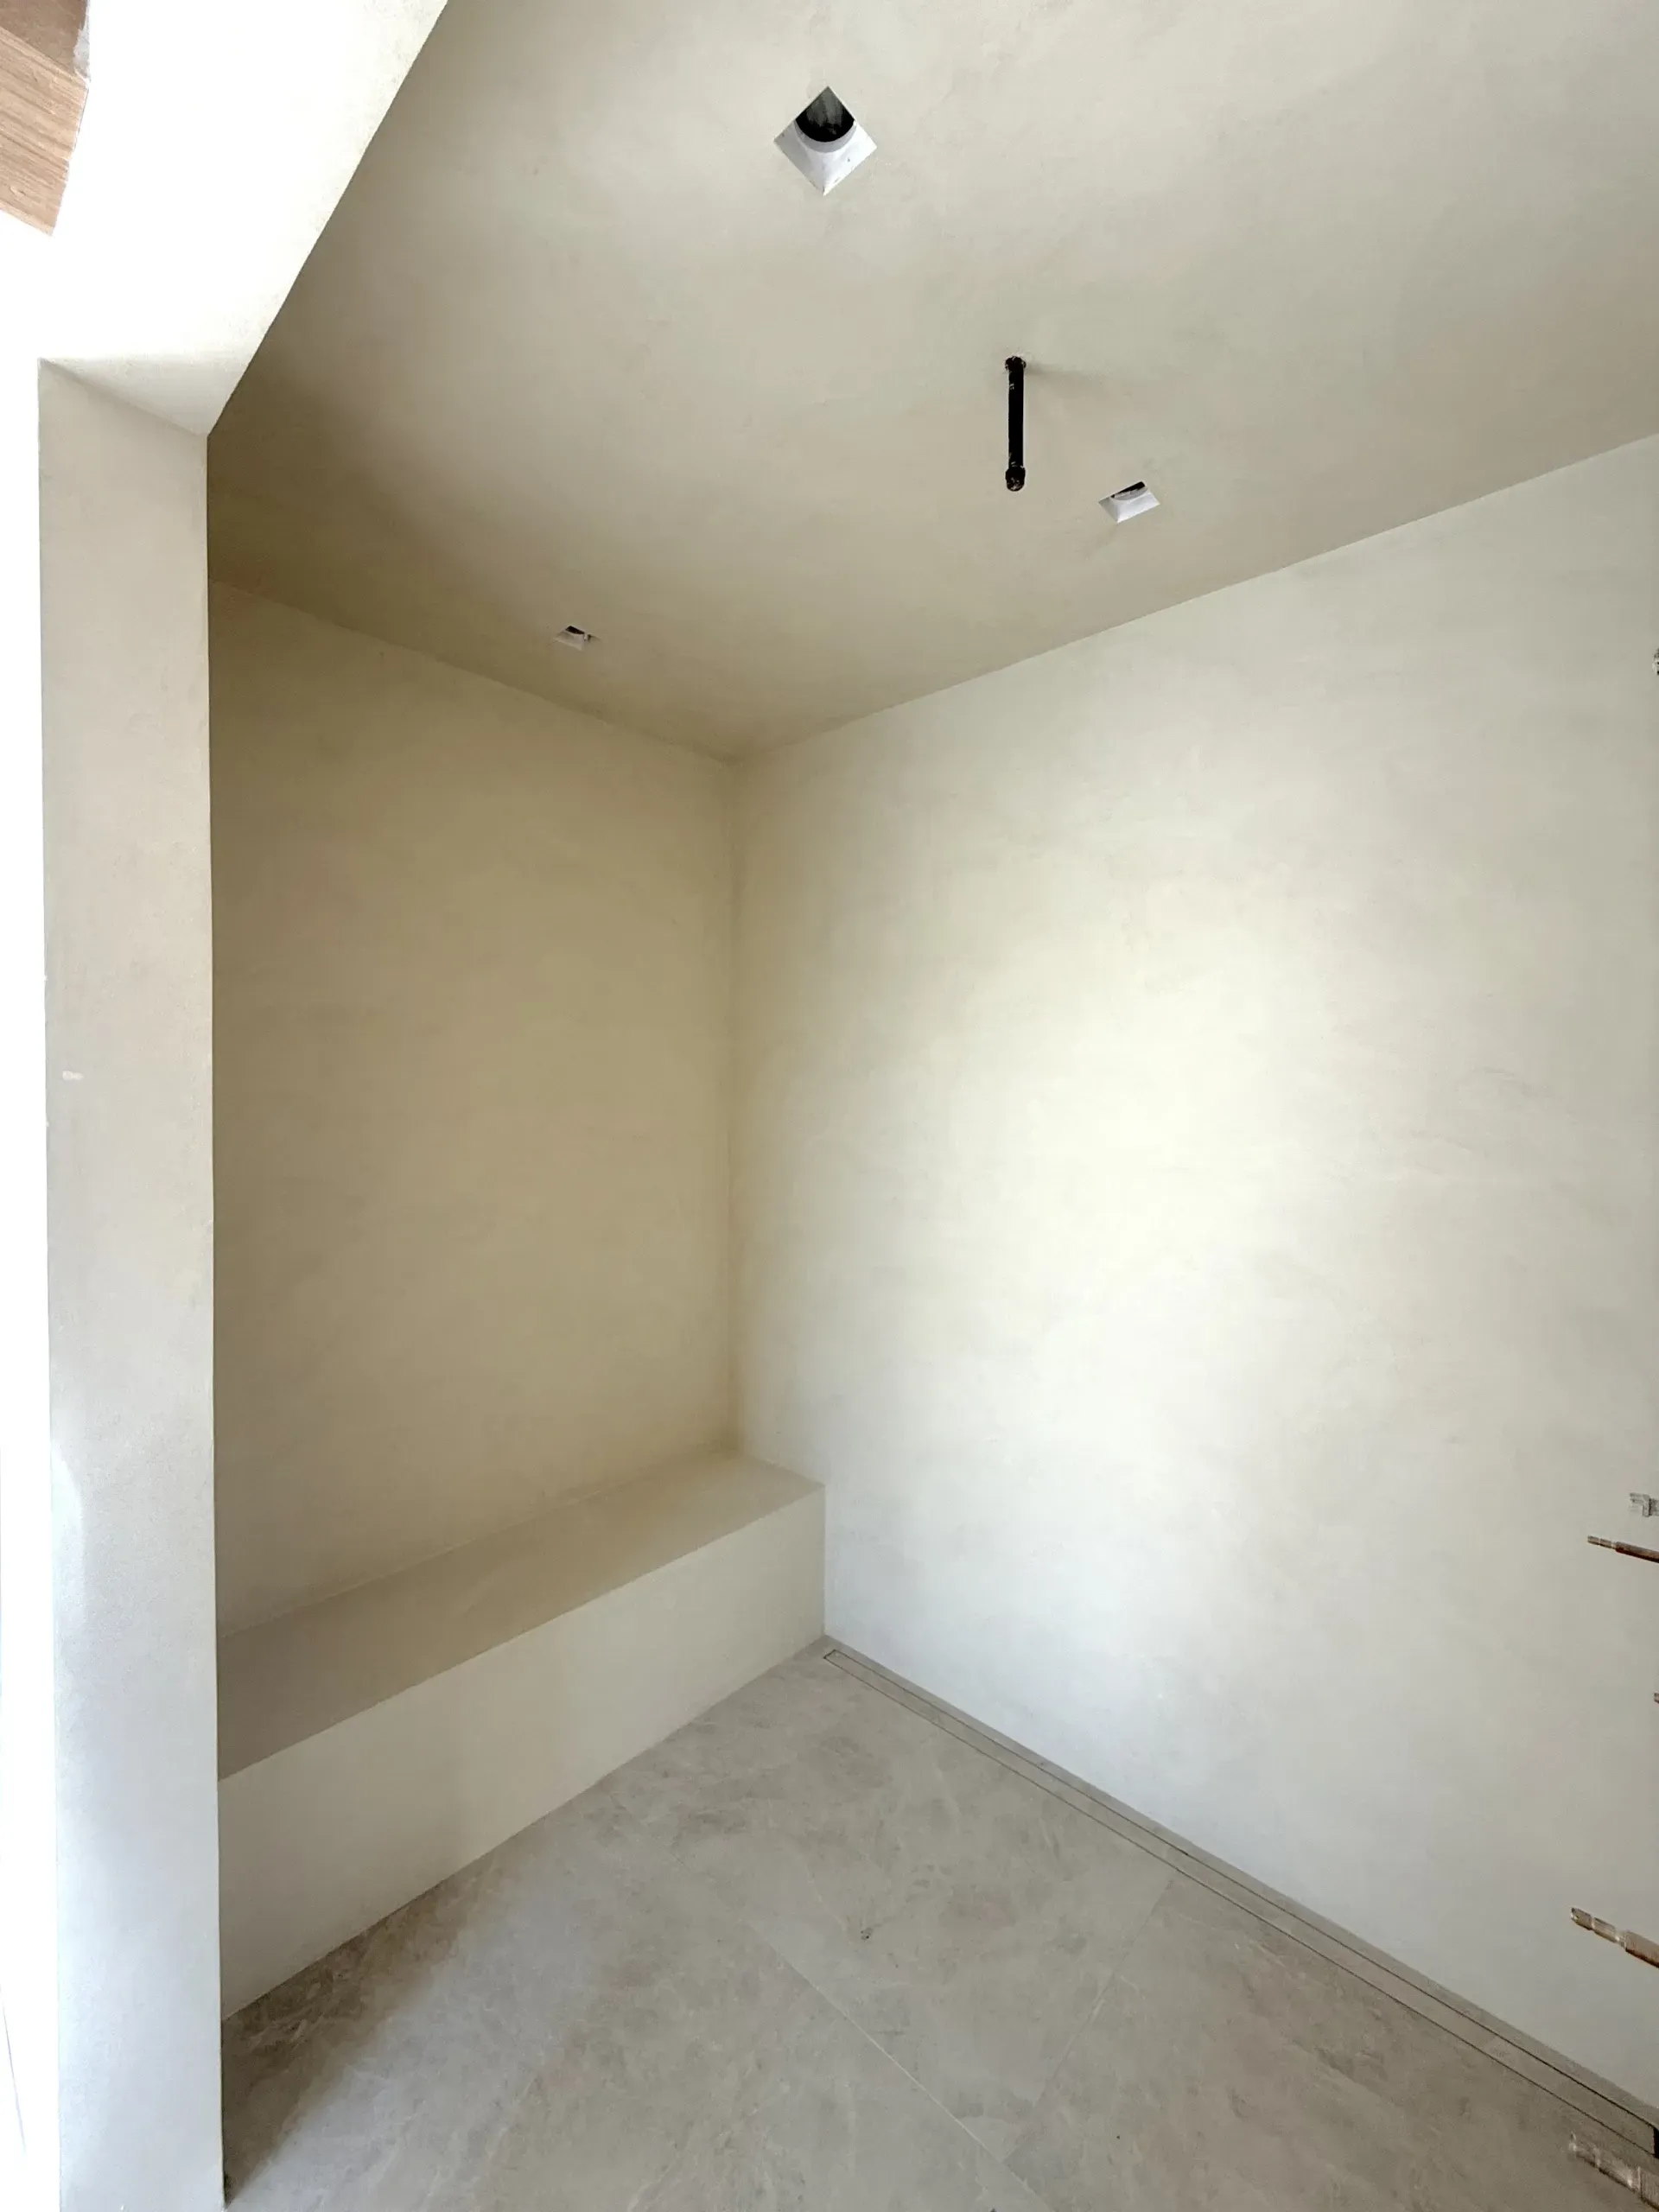
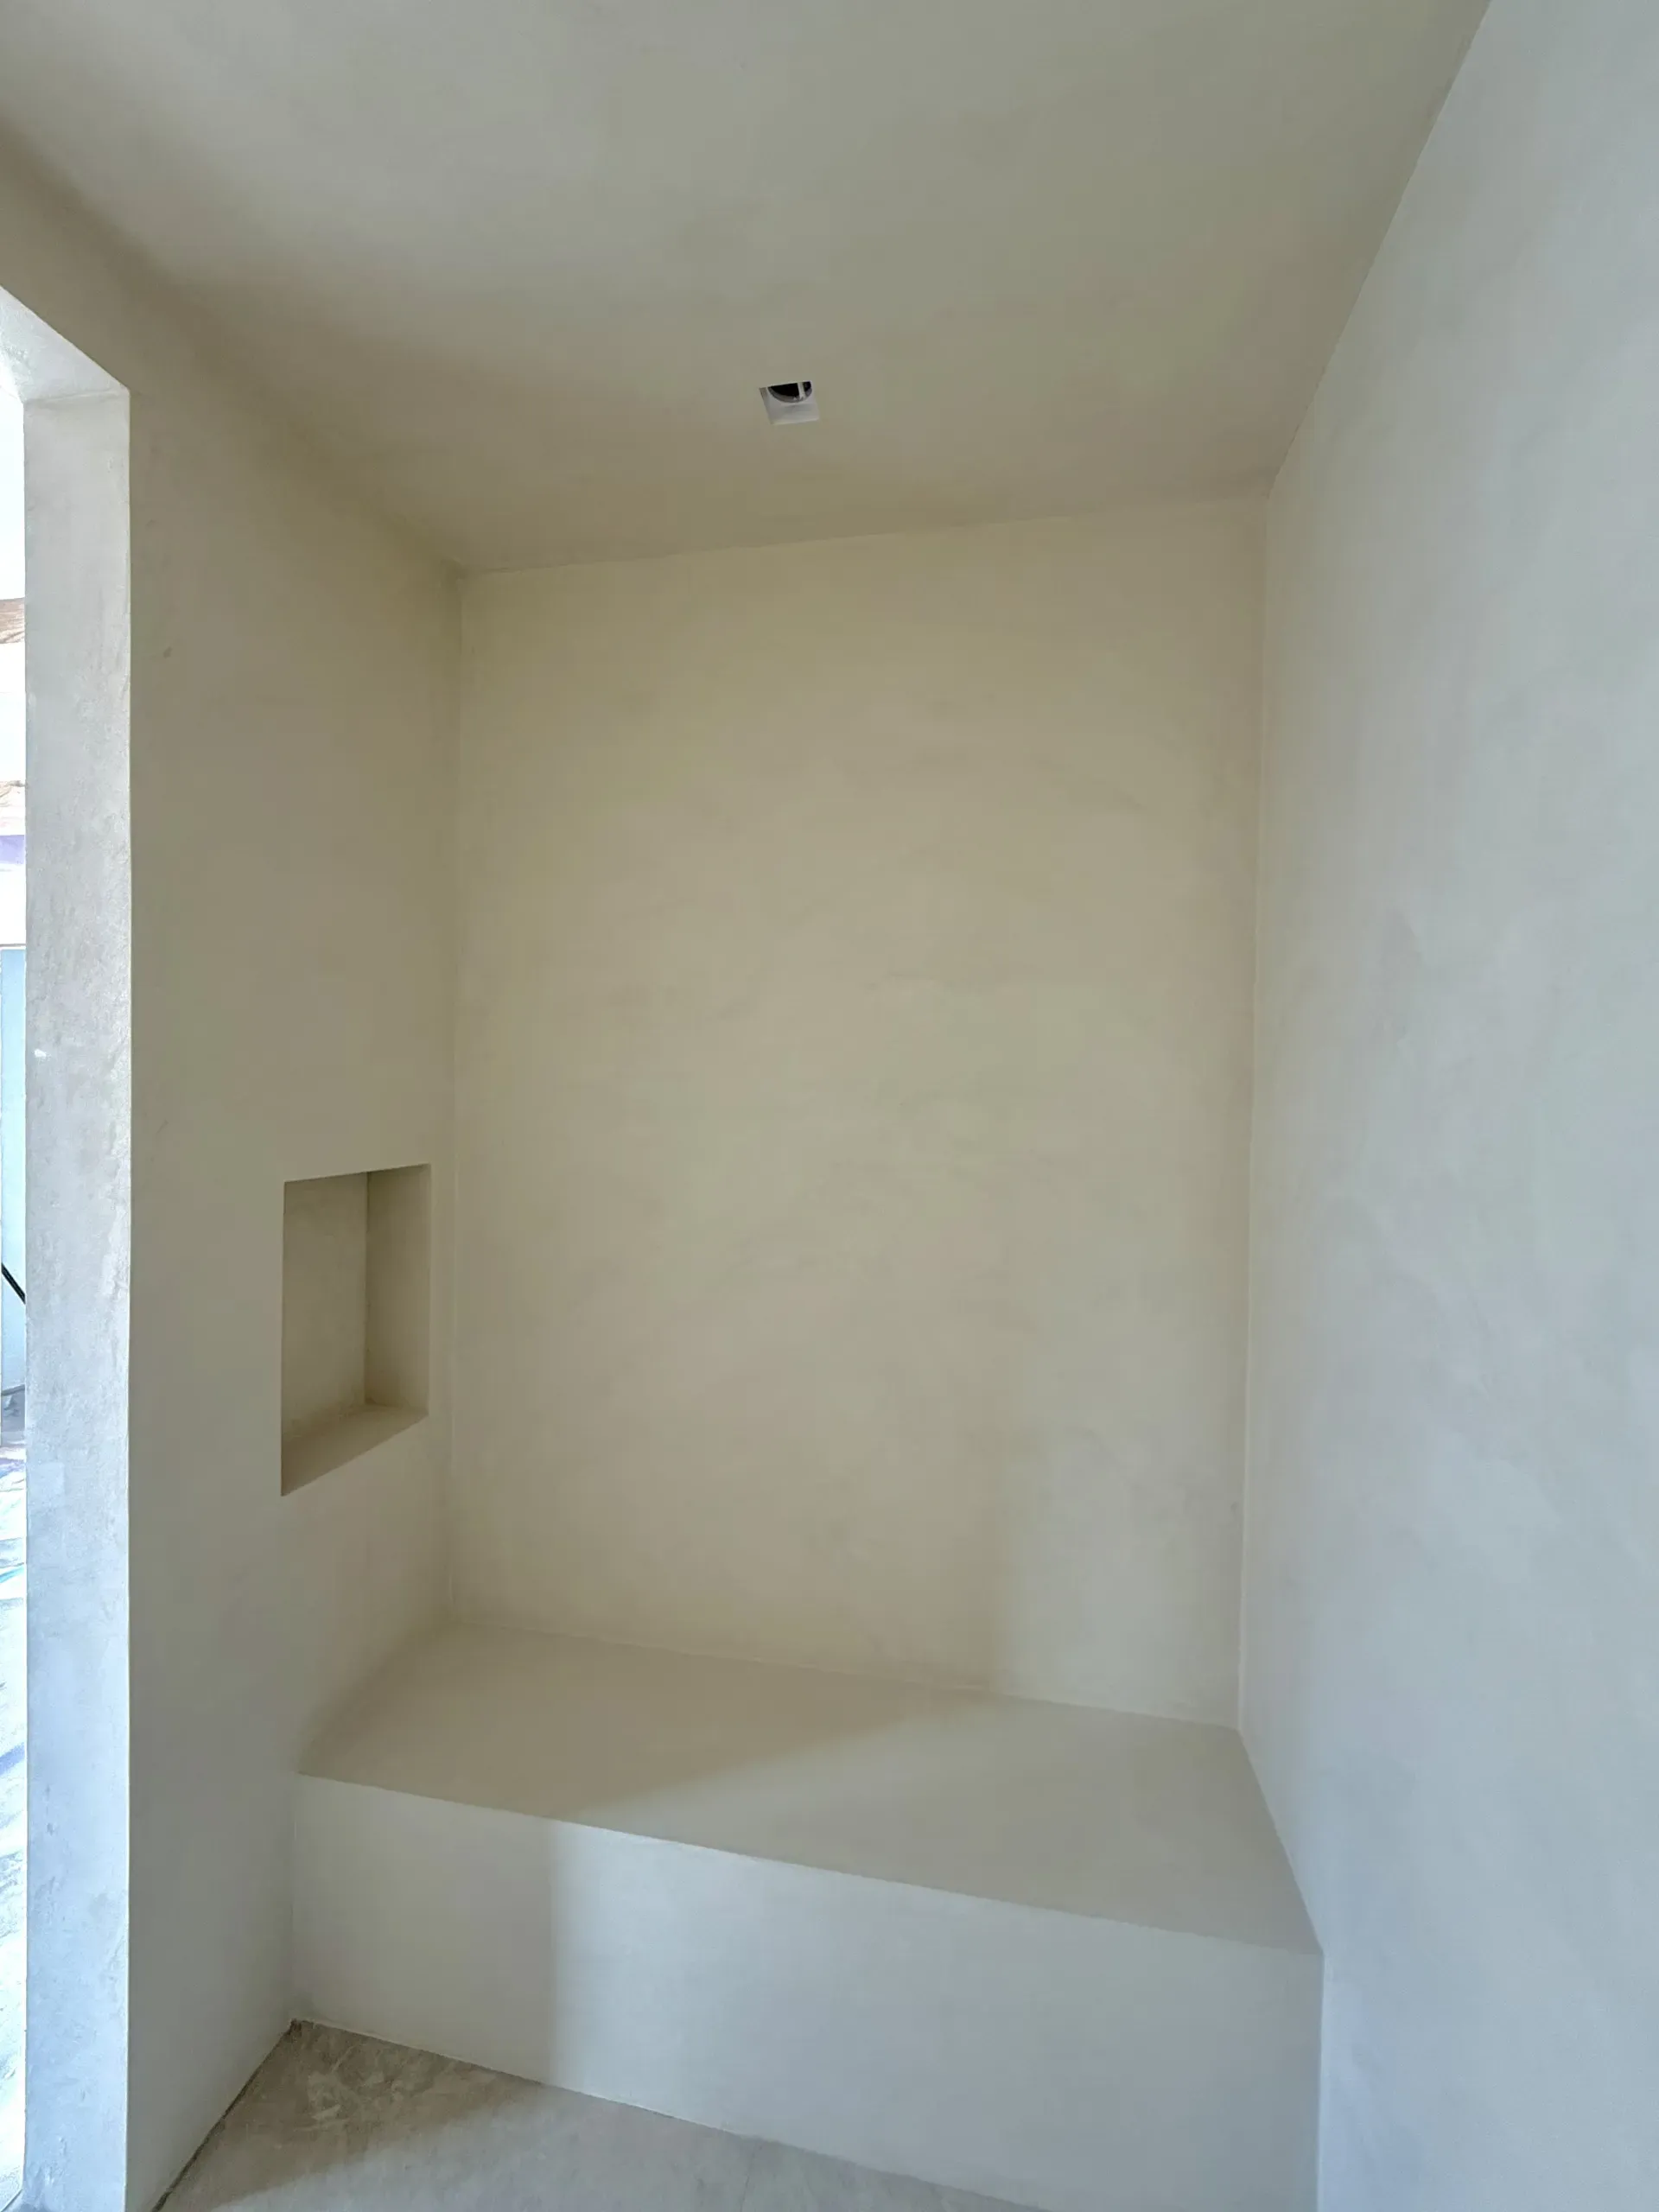
Completely Waterproof
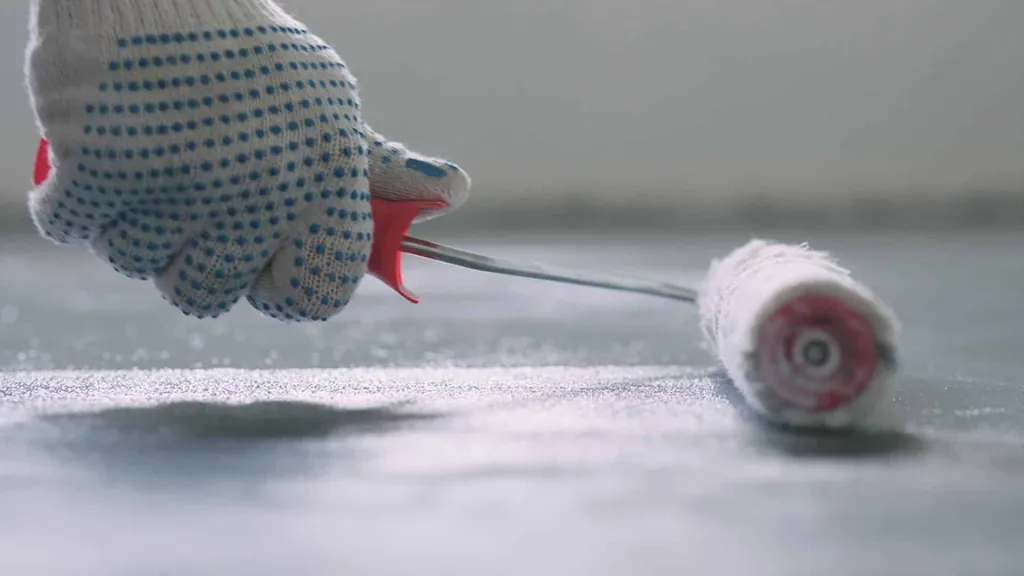
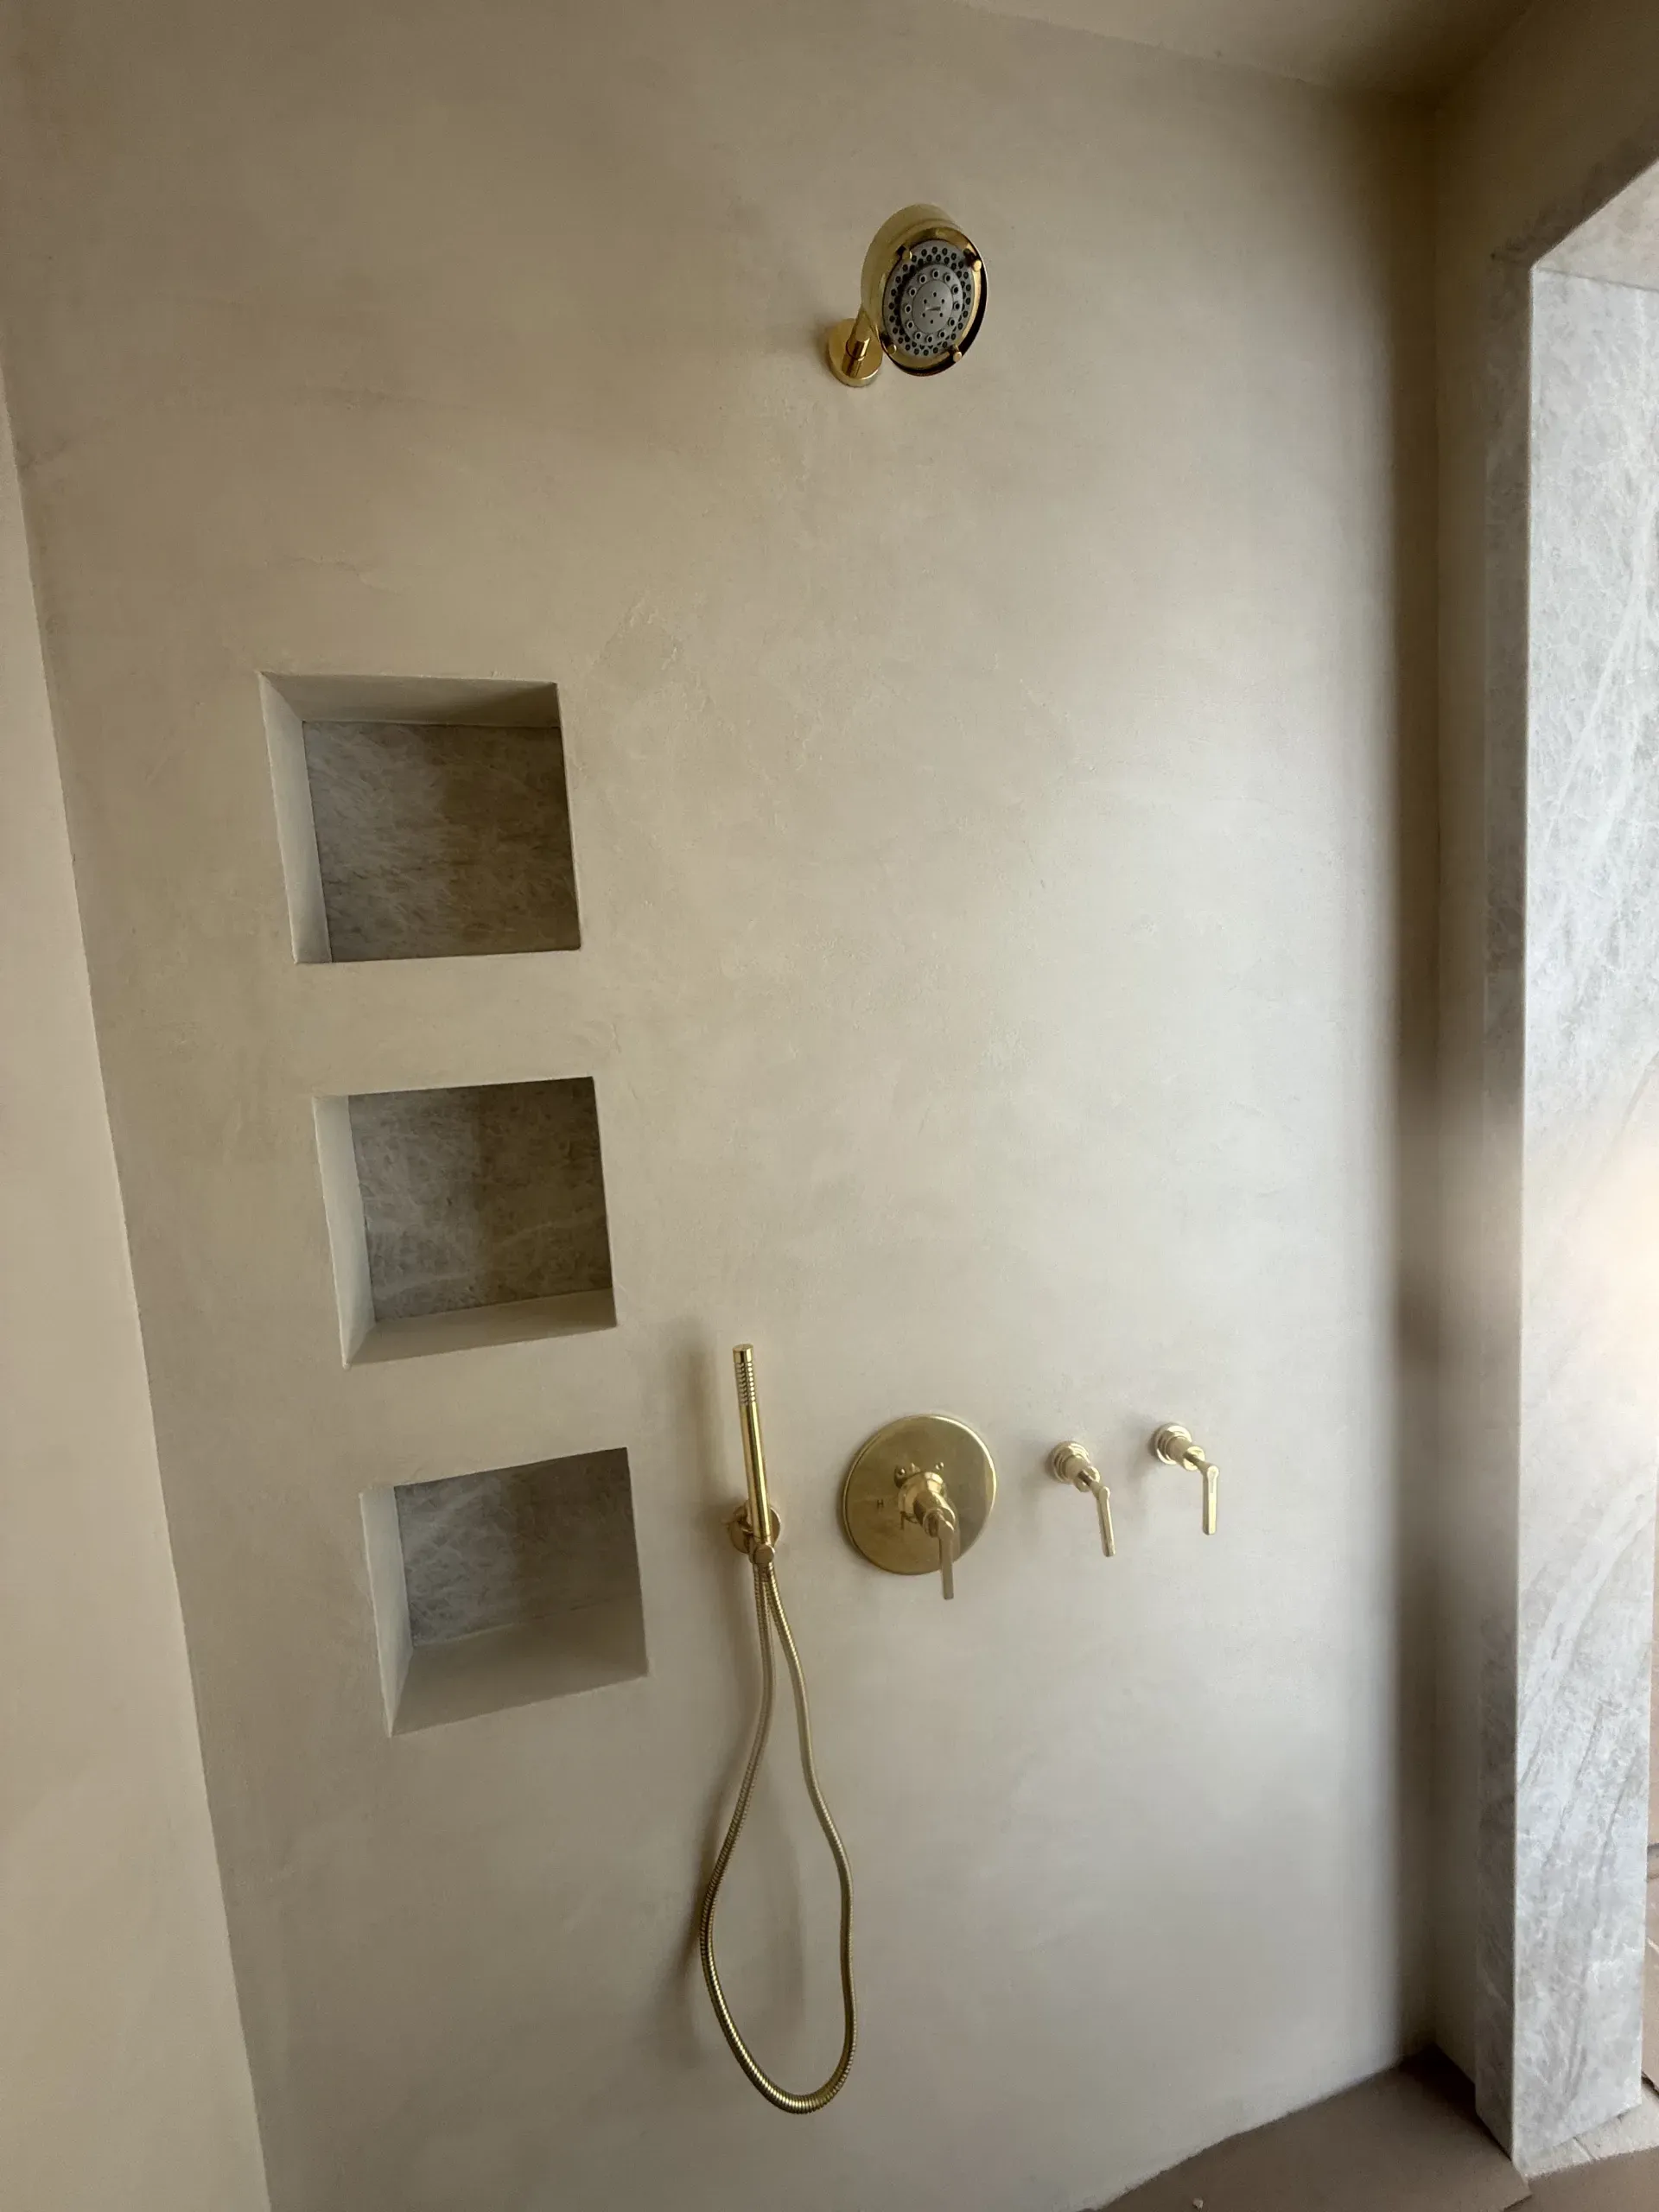
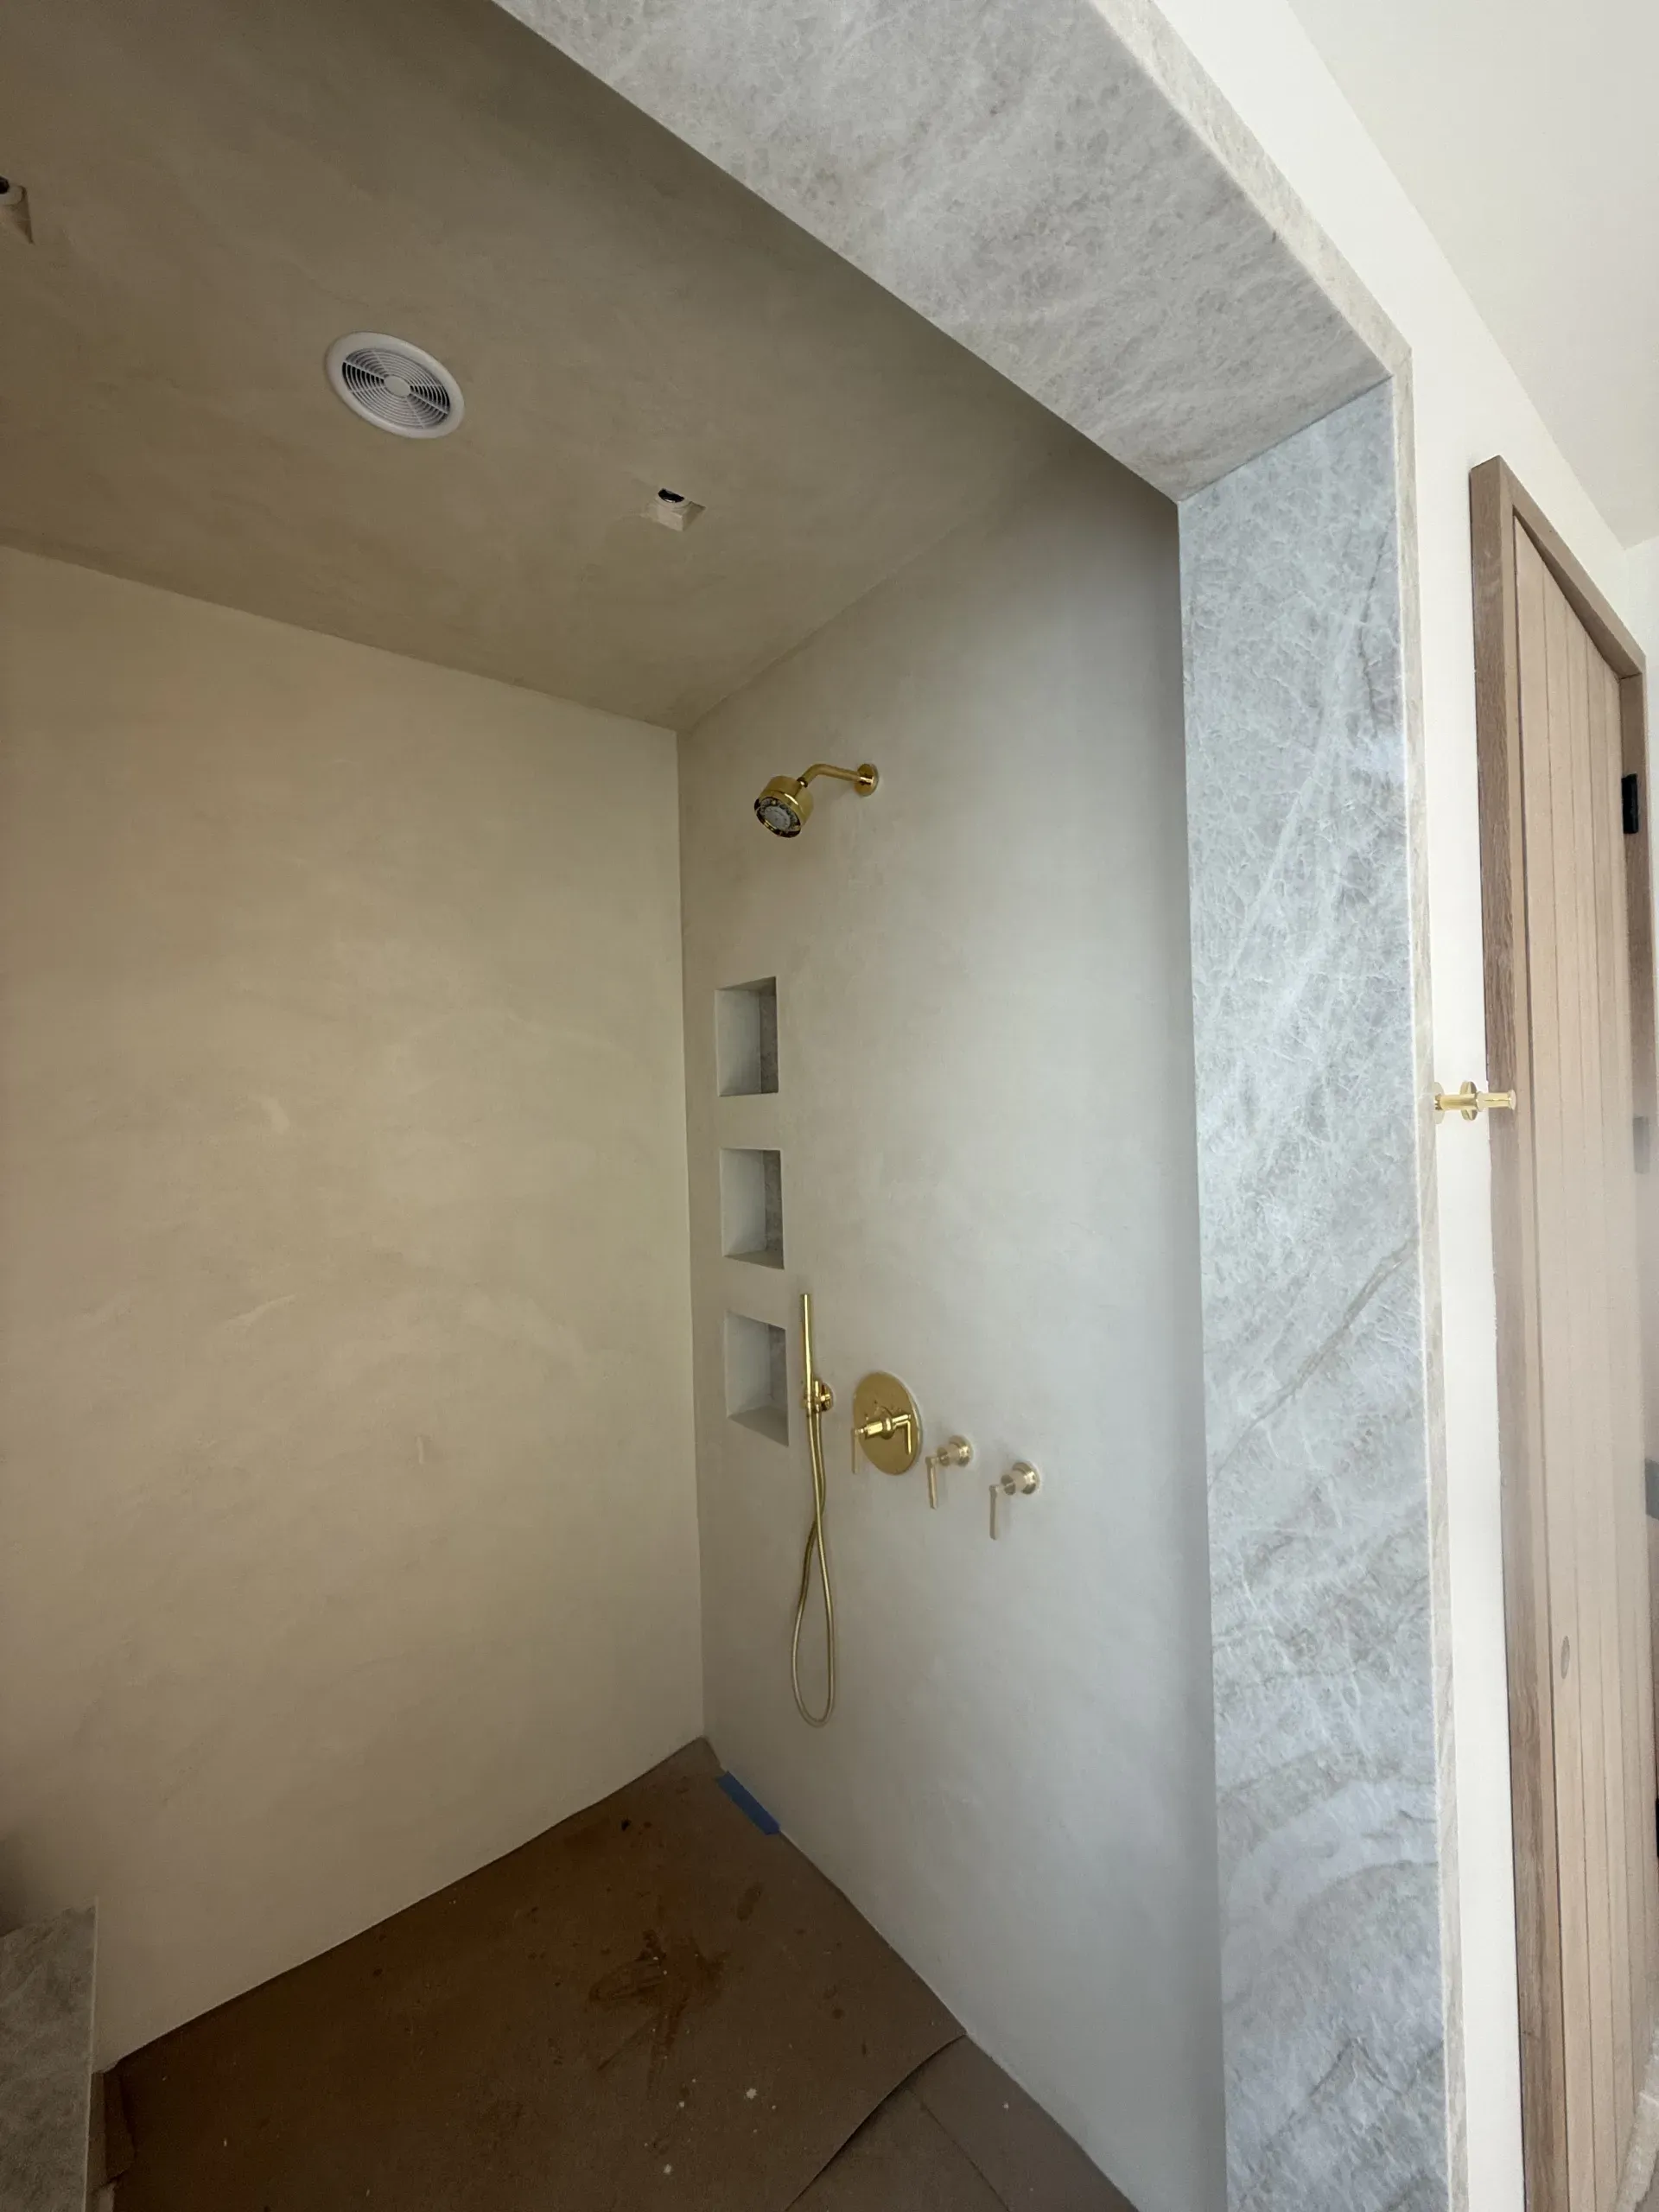
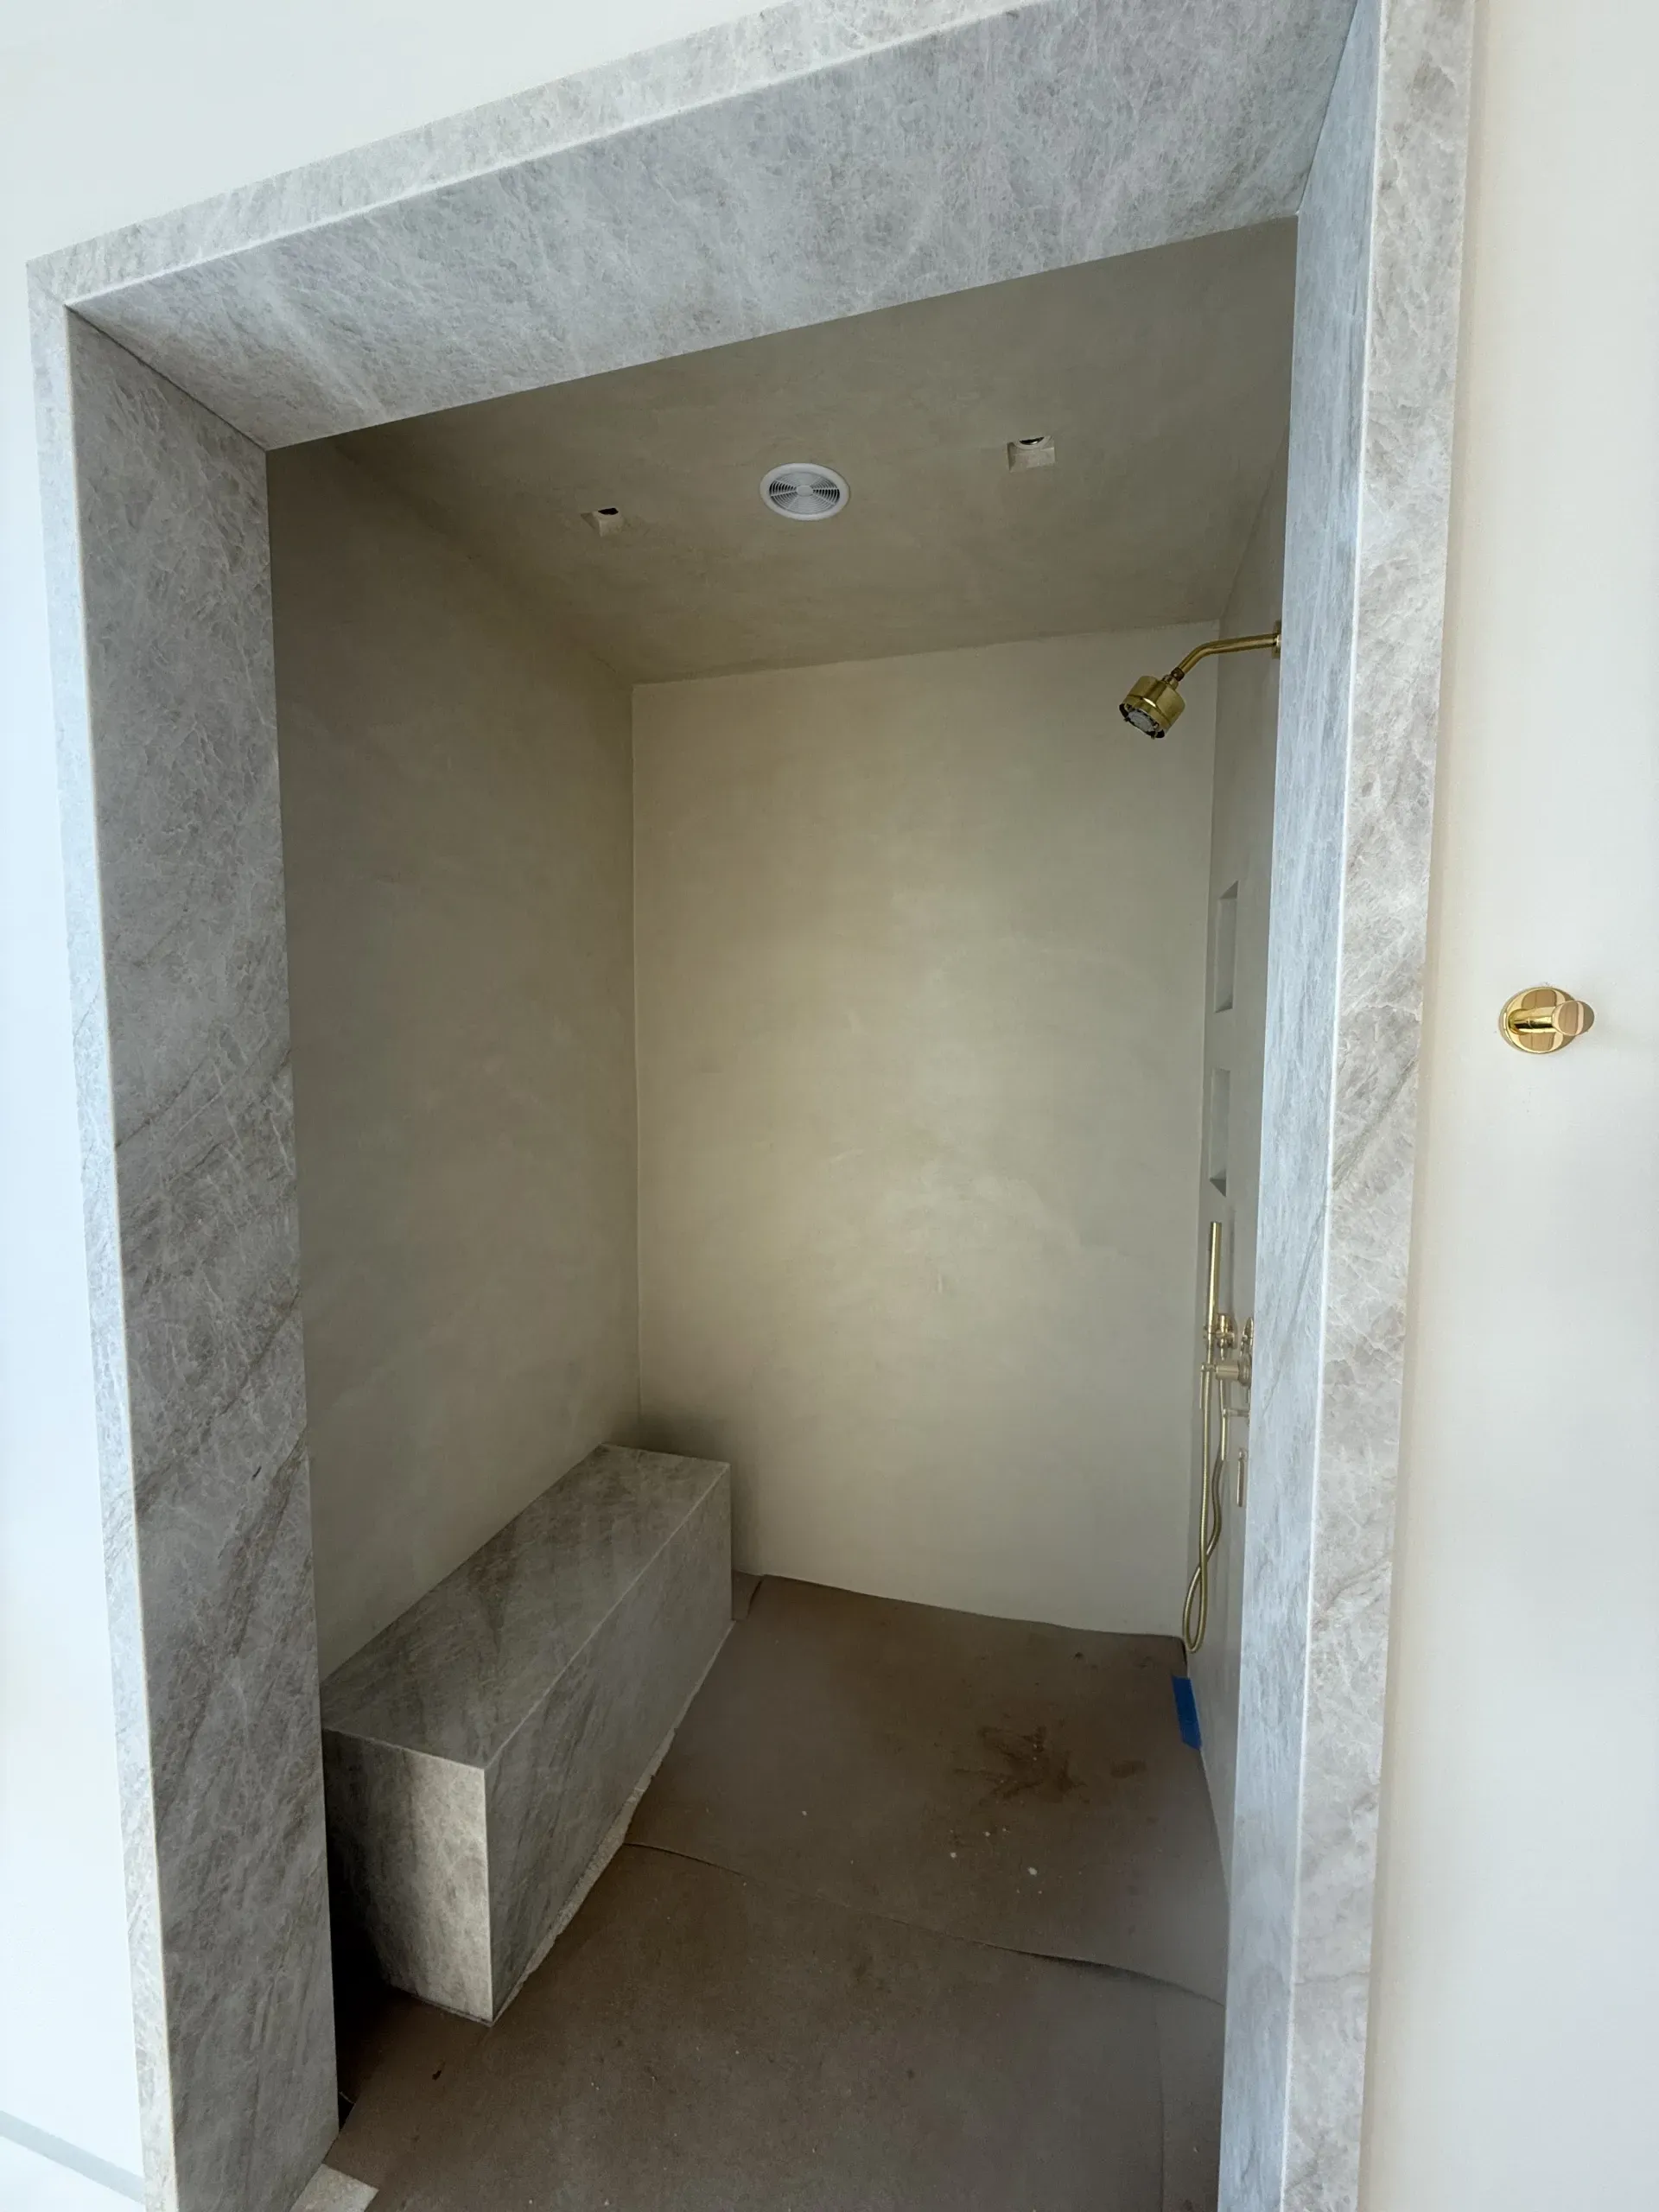
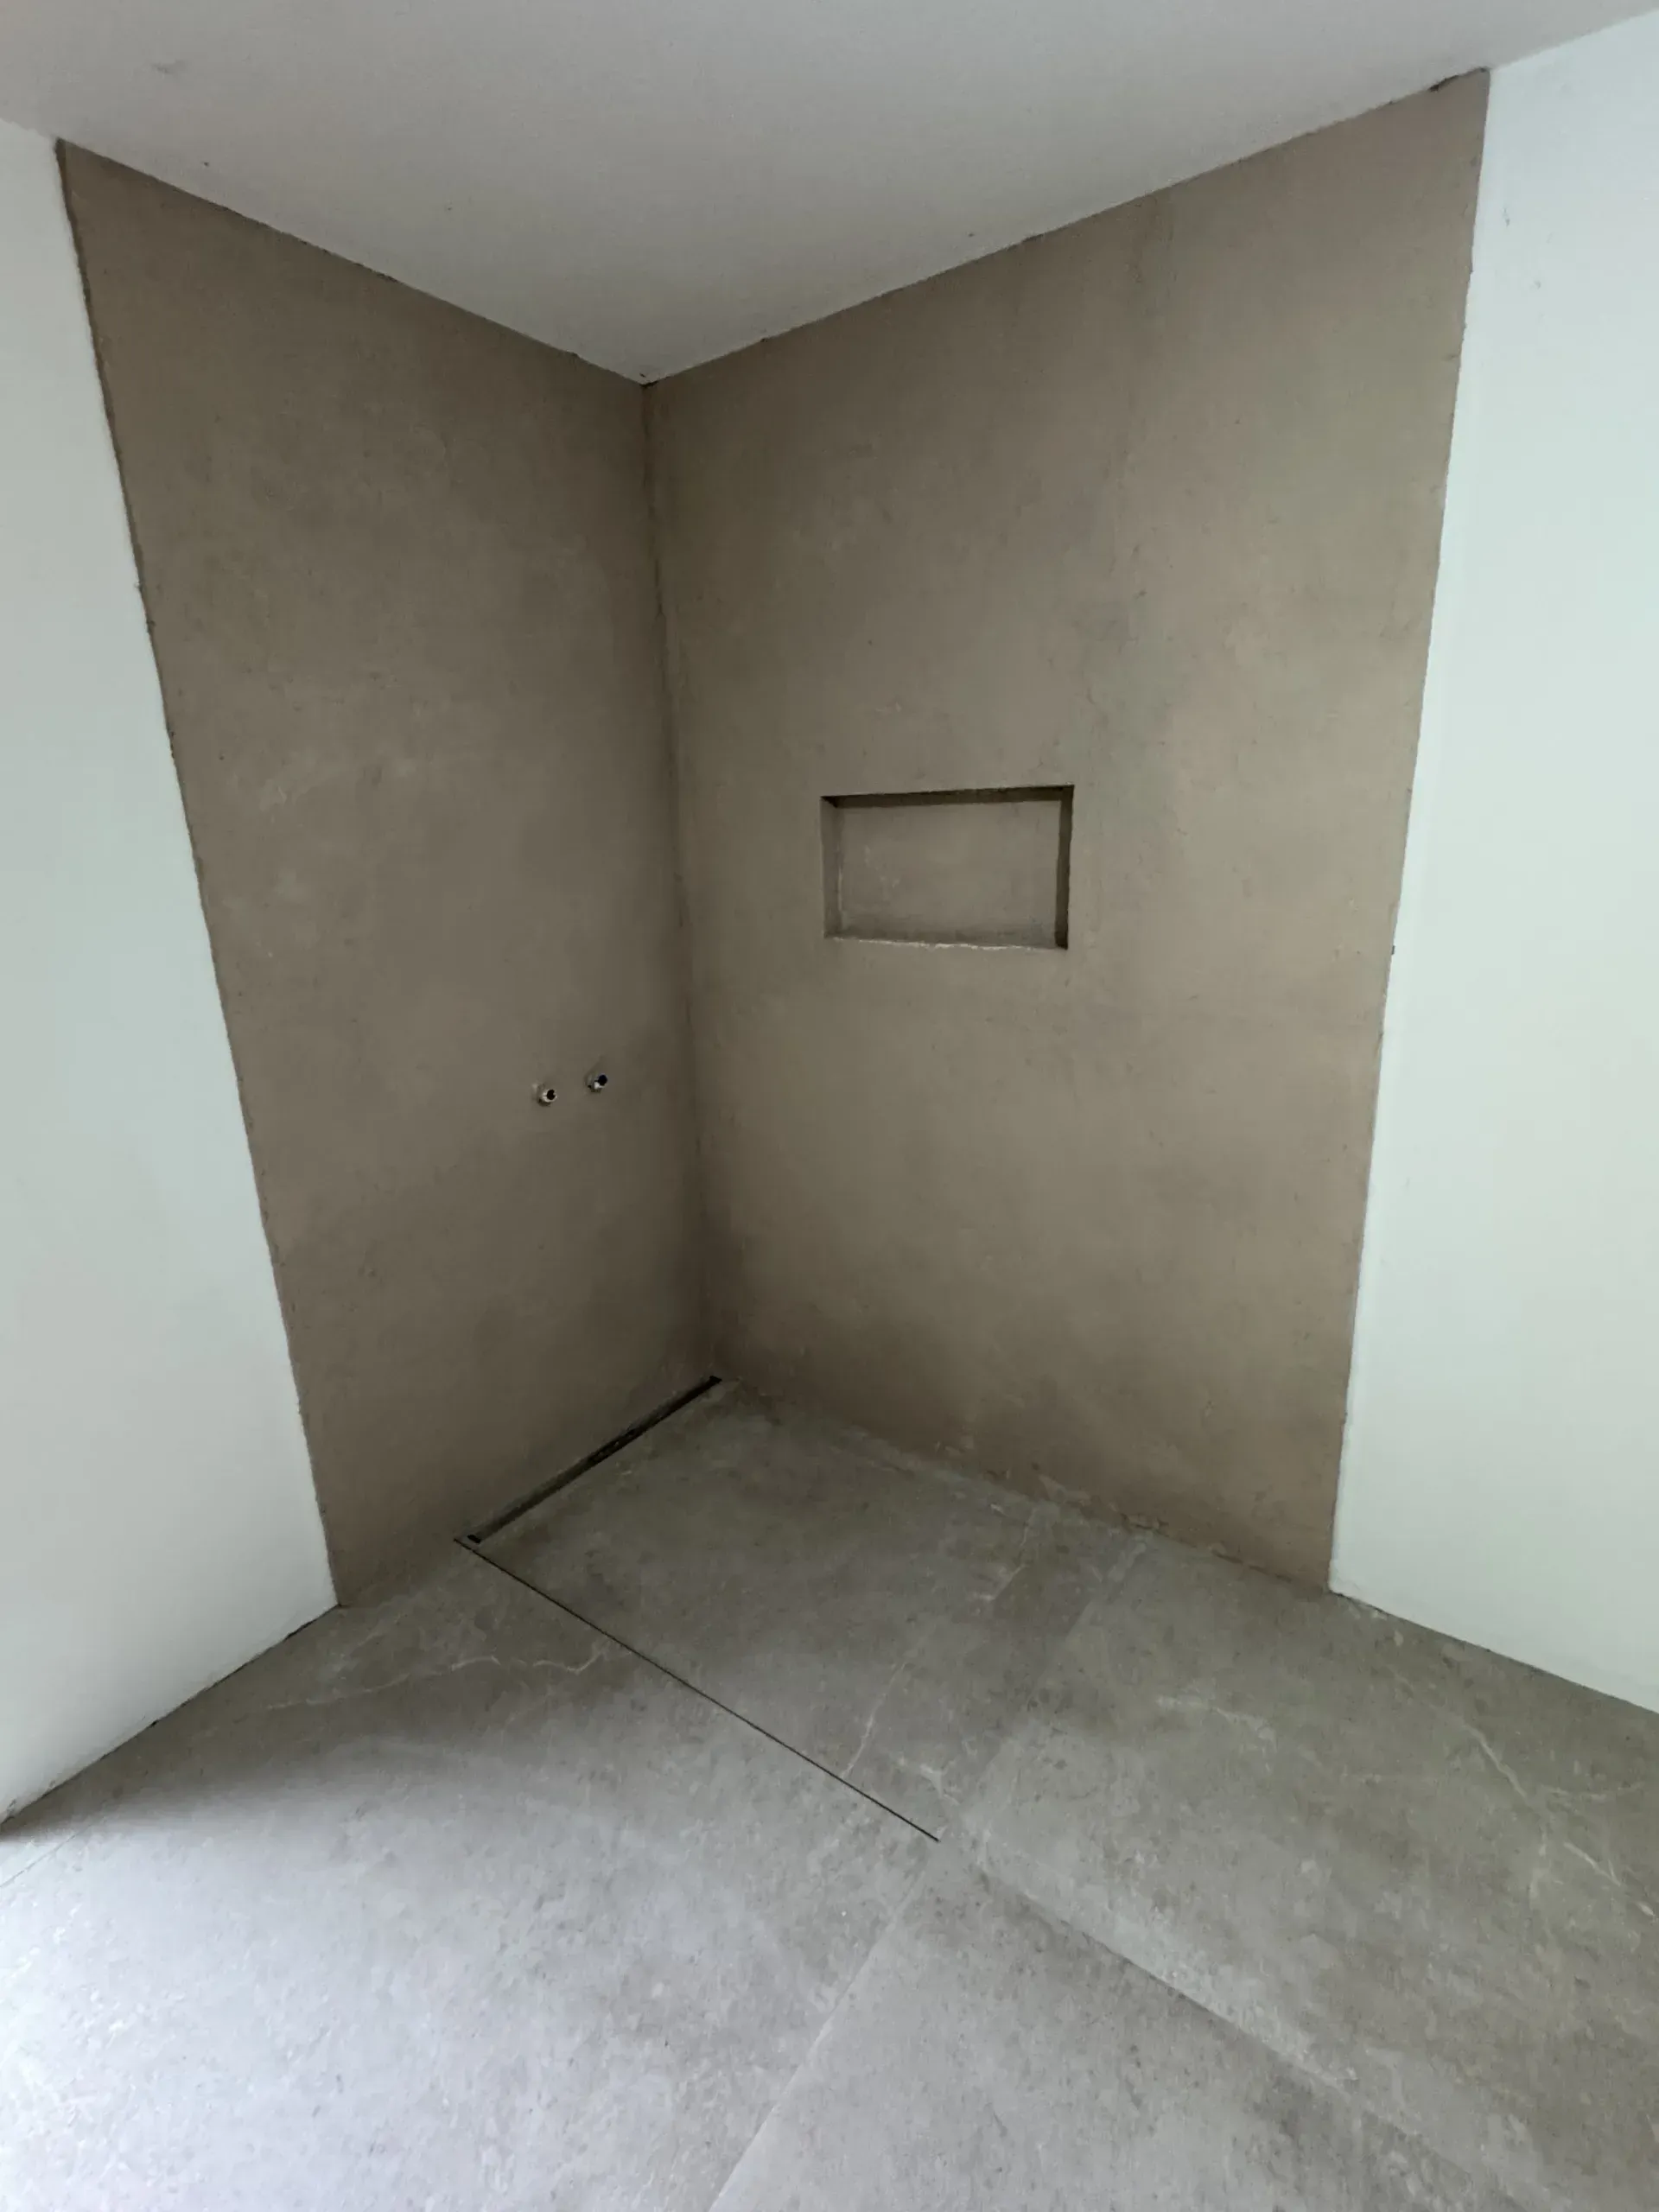
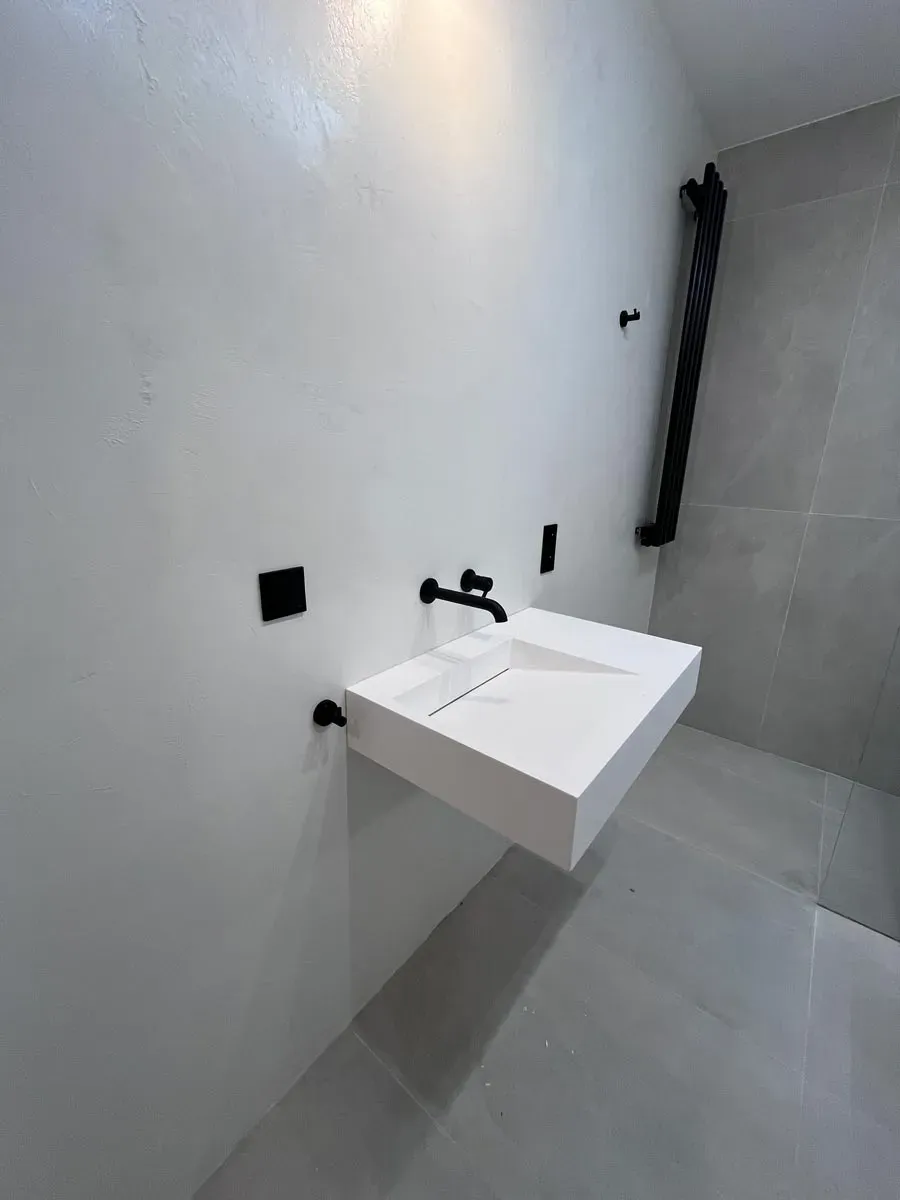
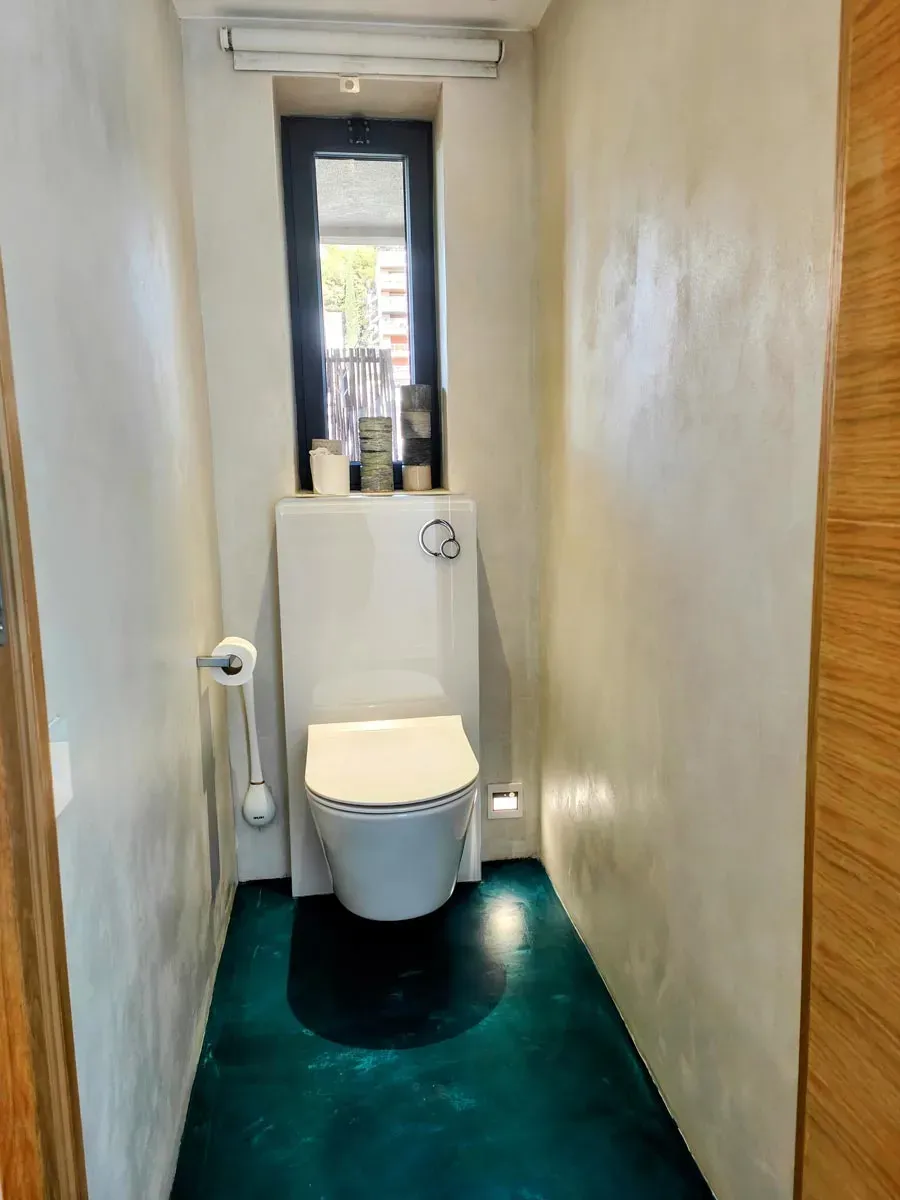
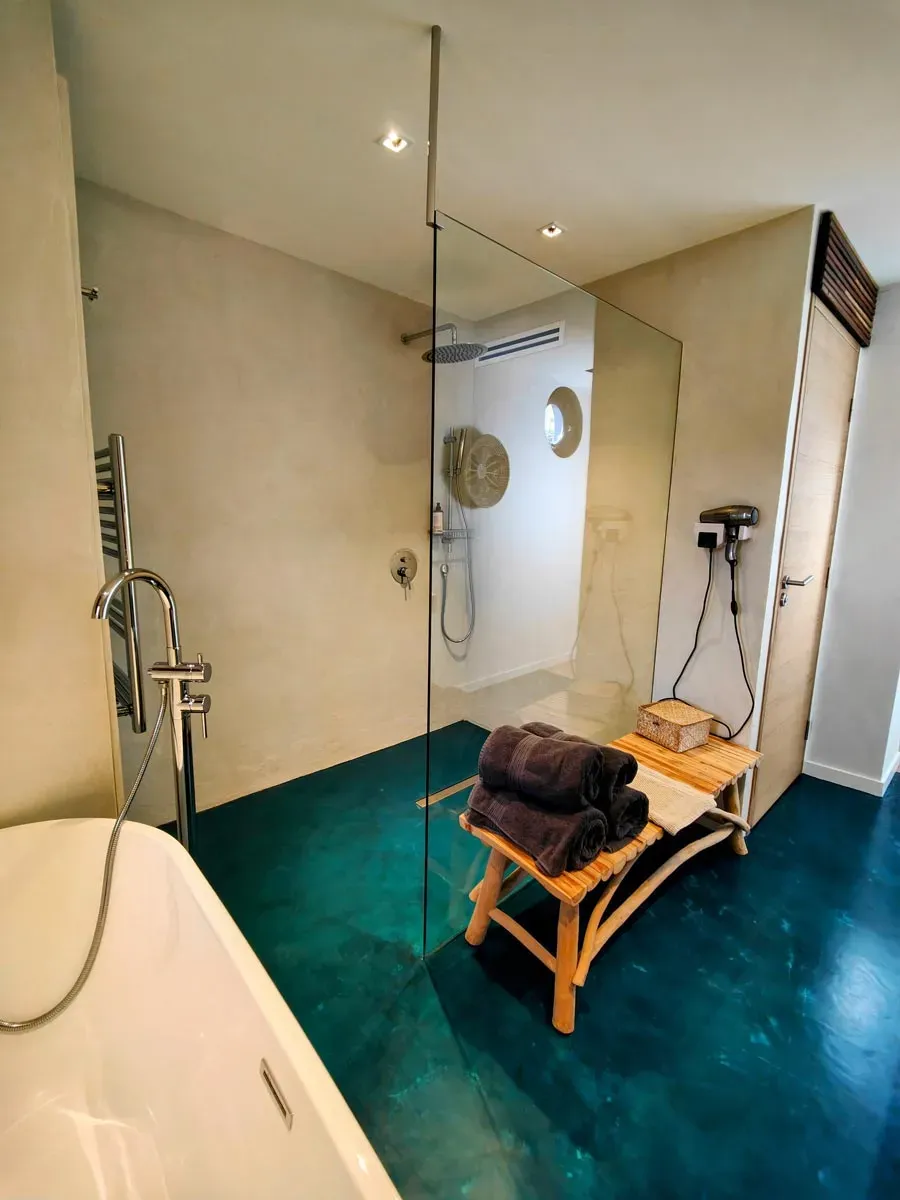
EPODEX microcement in combination with our polyurethane resin (PU Finish) sealant is waterproof. It is therefore ideal for showers and wet areas. The sealing layer is finally rolled onto the hardened microcement.
Get the service you deserve!
✓ Guaranteed hassle-free shopping experience. Simply select the colour and the area you want to cover. We automatically calculate the required amount of microcement and dye for you.
✓ No surprises. You always get the colour you see online. We present all our colours in 4K videos and high-resolution pictures so you can see exactly what you are getting.
✓ Professional, easy-to-follow step-by-step tutorials.
✓ Same Day Shipping
✓ Delivery across Canada
✓ Friendly 24h-Support
Instructions for Use
Primer
- The substrate must be stable, dry, and free of dirt, separating agents, and coarse unevenness.
- Sand off any unevenness.
- If required, use our Putty Primer on your walls and 2K EP Levelling Compound on your floor to level and prime, for example on tiles.
- If your area to be coated is already levelled and smooth, use either our 2K Bonding Primer (for non-absorbent surfaces) or DEEP PRIMER (for absorbent surfaces) to prime your furniture.
Main Coating
- Mix microcement A components with the Liquid B component in the mixing ratio specified on the label.
- Add 2% WB pigment to colour the material (i.e. 2×100 g WB Pigment to 1 bag microcement powder and its liquid B-component).
- Spread the material thinly with a trowel and allow it to dry.
- Sand off any unevenness in the surface greater than 3 mm and vacuum up any sanding dust.
- Apply a second coat in the same way within 24 hours.
Application of microcement on walls: Layer 1 (medium grain size): 1.2 kg/m², Layer 2 (medium grain size): 1.2 kg/m²
Application of microcement on a floor: Layer 1 (large grain size): 1.6 kg/m², layer 2 (medium grain size): 1.2 kg/m²
Pro Tip: Up to 10% WB Pigment can be added for more intense colours. If you exceed 24 hours between the microcement layers, sand the first layer and remove the dust. This roughens the surface for better bonding and ensures the next layer won’t break off.
For stubborn fine particles, use a light brush of liquid B. Brush or roll on a small amount to avoid flooding the surface.
Sealant
Note: For wet rooms, surfaces with direct water contact, as well as heavily used surfaces (high mechanical load, cleaning with aggressive cleaning agents, etc.), we recommend sealing the surface with EPODEX Polyurethane Resin (PU Finish) in matte.
- To mix, pour the entire contents of PU Finish Component B into the container of PU Finish Component A and mix thoroughly.
- Apply the material thinly and in a crosshatch pattern using a paint roller and brush. First paint laterally to the light source, then wet-on-wet in the direction of the light to avoid visible brush marks.
Important: Especially inside the shower and in areas with permanent water contact, we recommend applying our PU Finish exclusively with a brush (e.g. 10 cm width) in a crosshatch pattern to fully close all pores. For heavily textured surfaces outside the wet area, a brush should also be used (and not a paint roller). We recommend two coats. - Allow the material to cure for at least 16 hours, then apply the second coat.
- Allow the material to cure for 48 hours after the second coat. Inside the shower and in areas with permanent water contact, allow 7 days to cure before the coating comes into contact with water.
Pro Tip: To ensure that your PU is applied everywhere, apply the quantity received in 2 coats. By applying 2 coats in a criss-cross motion, the chance of an unsealed gap is greatly reduced.
Customer Service: If you have further questions, please contact us by phone, e-mail or use our WhatsApp support.
Note: Please note that due to different lighting conditions and monitors, the colours may not be uniformly displayed.
reviews


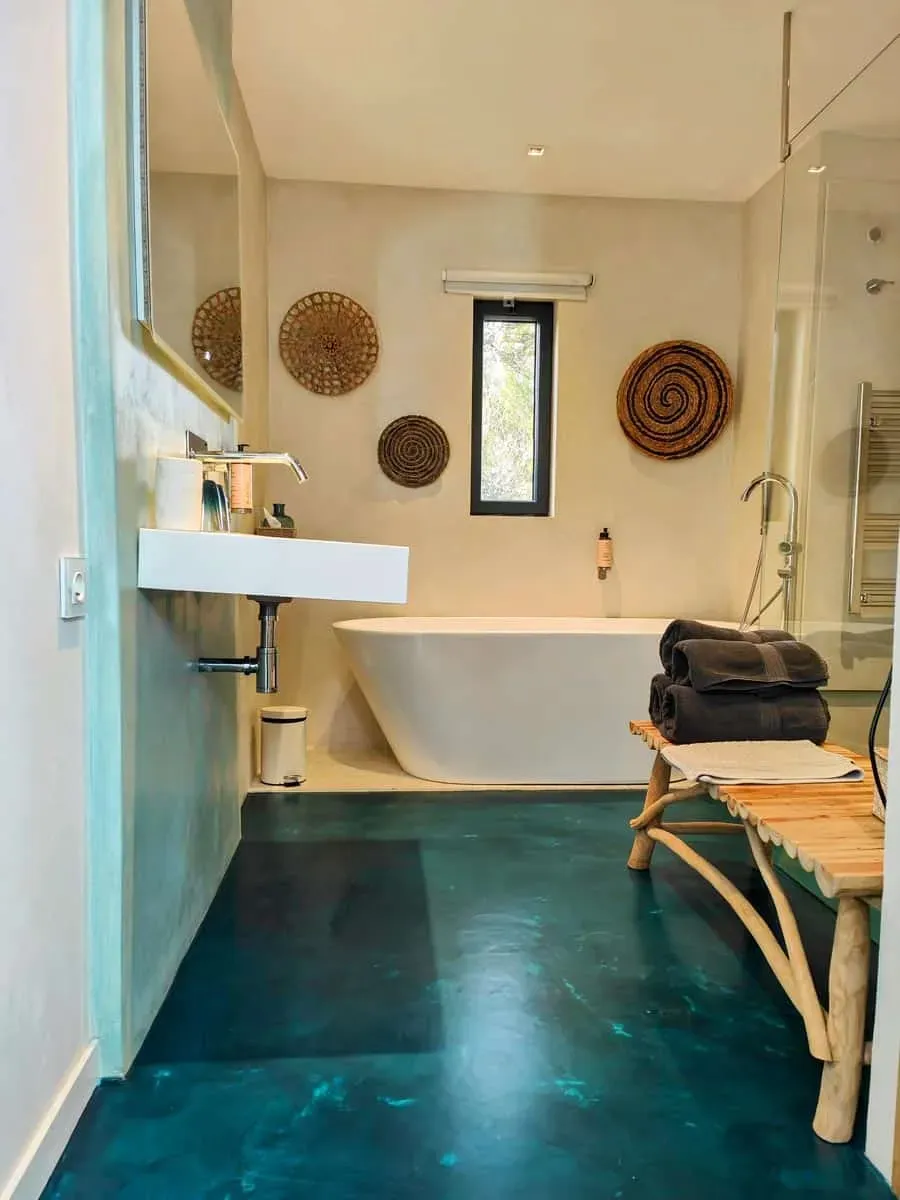

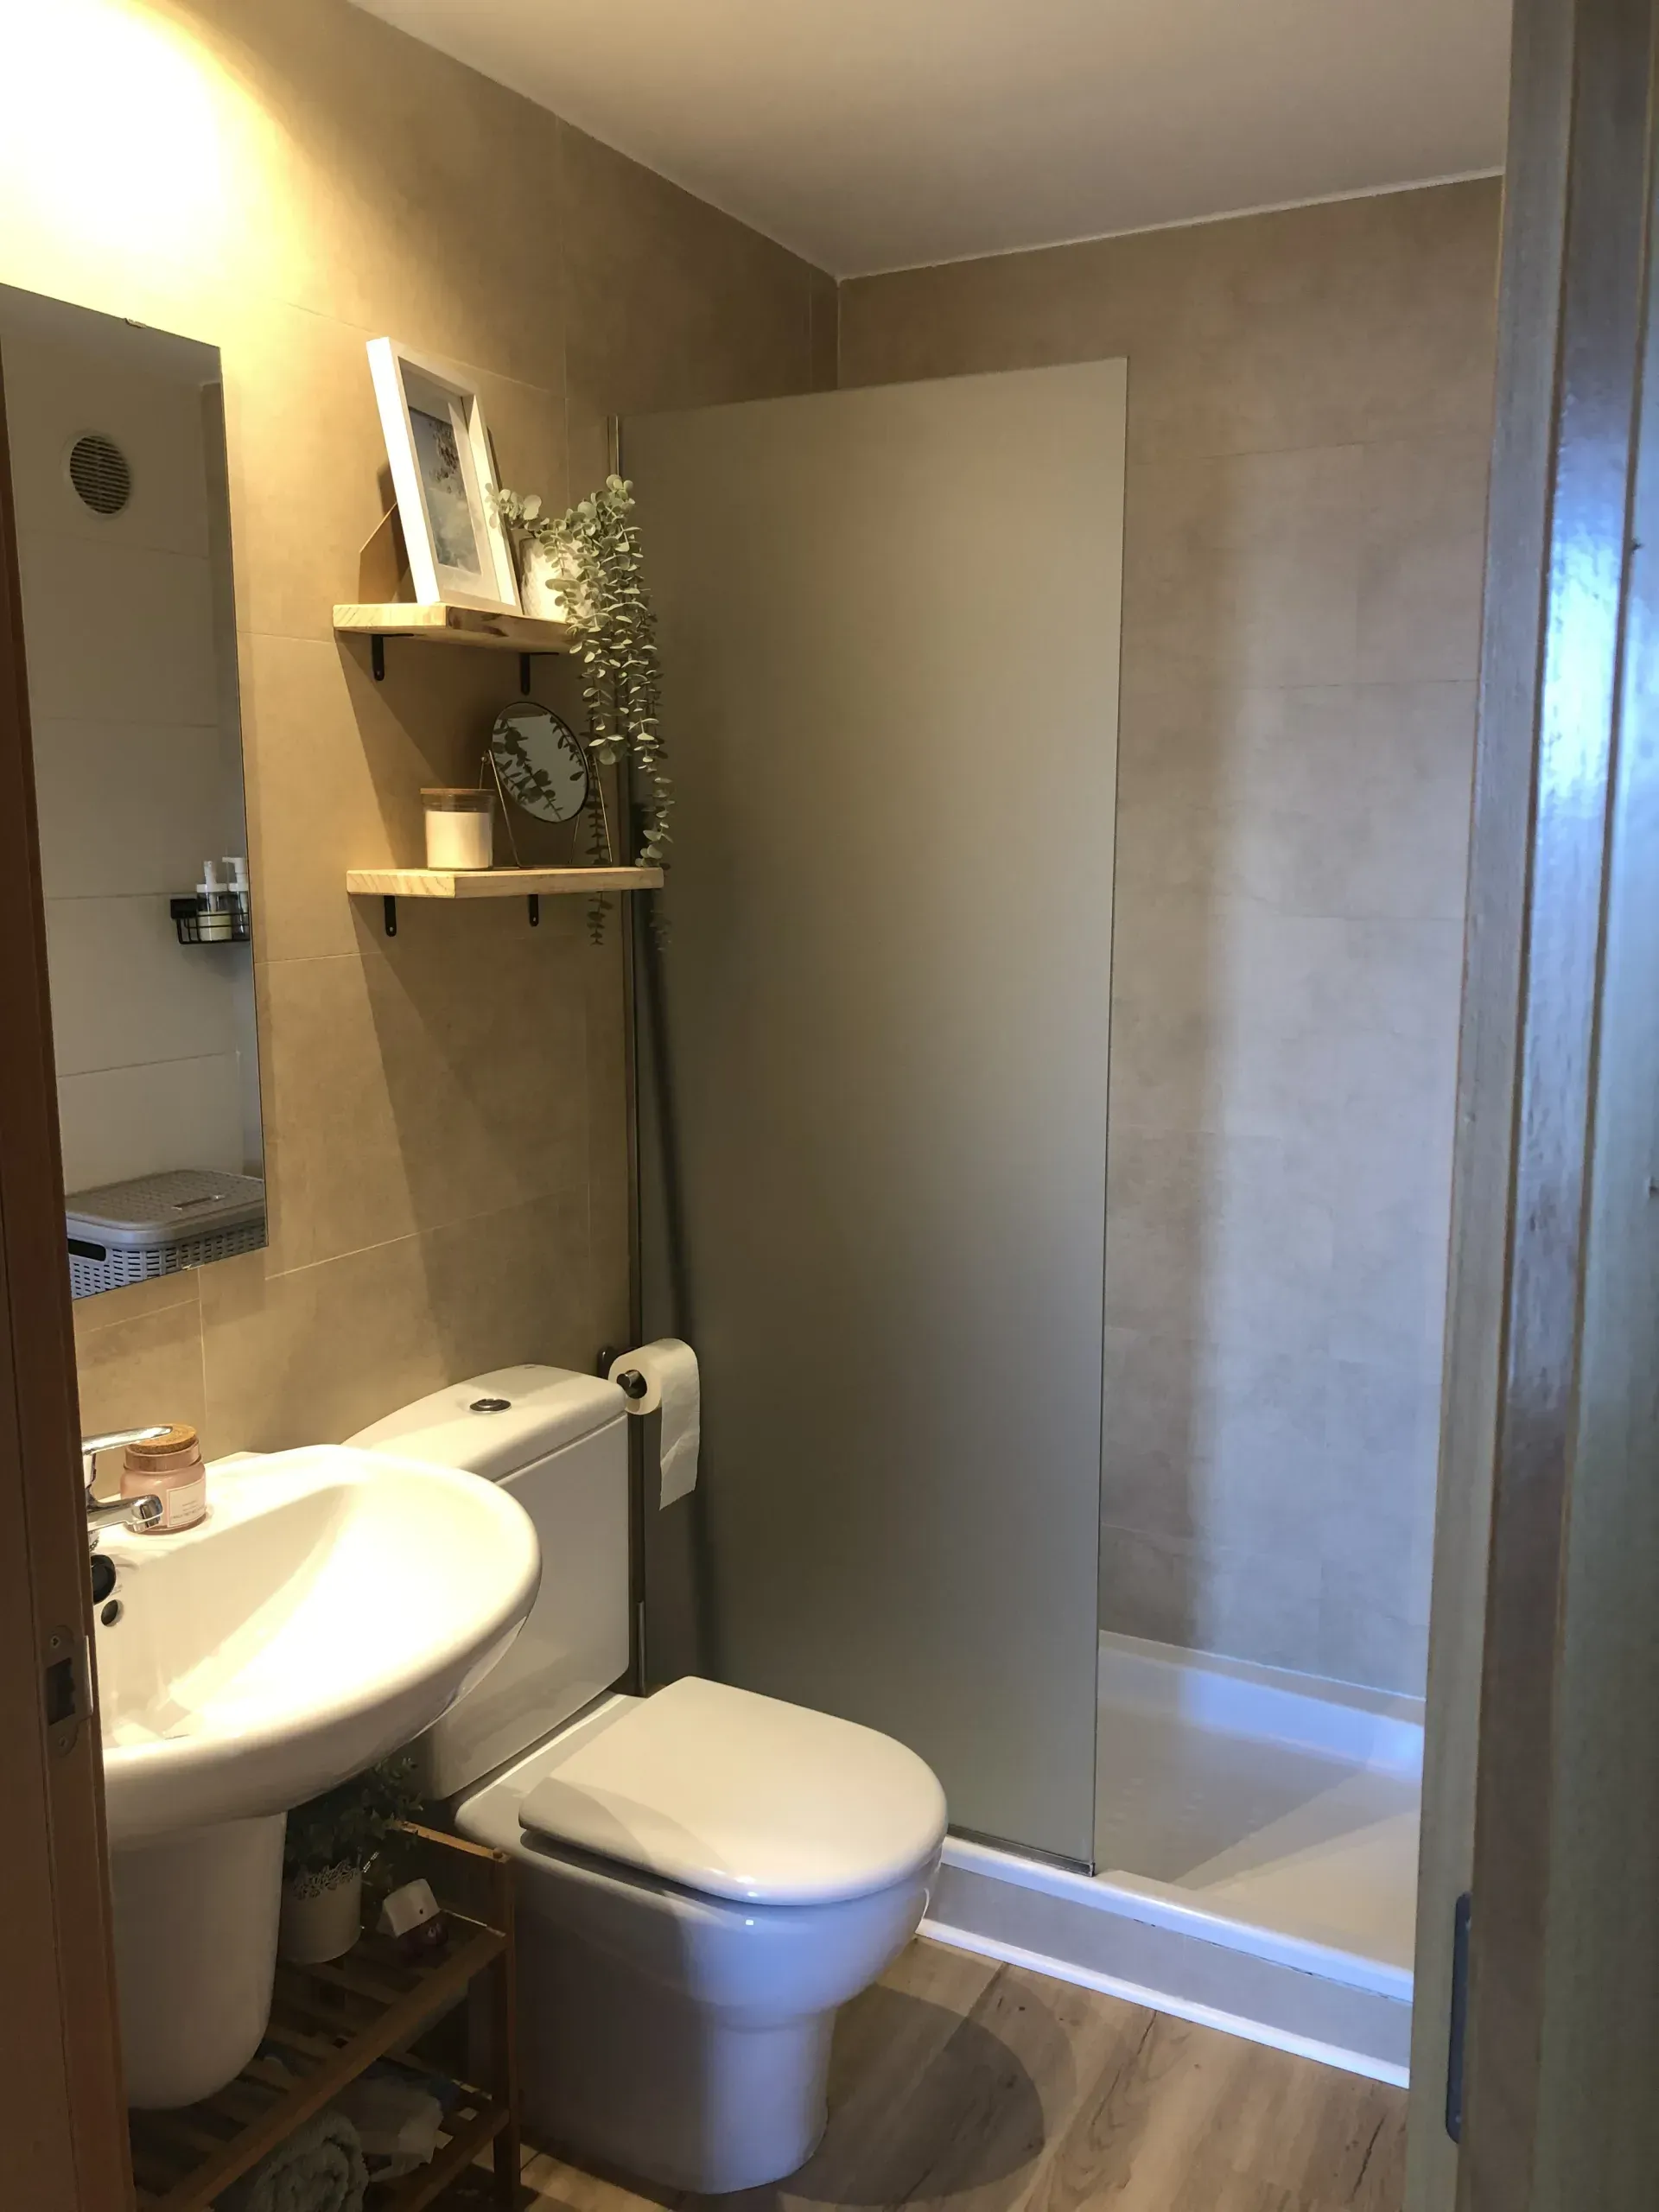
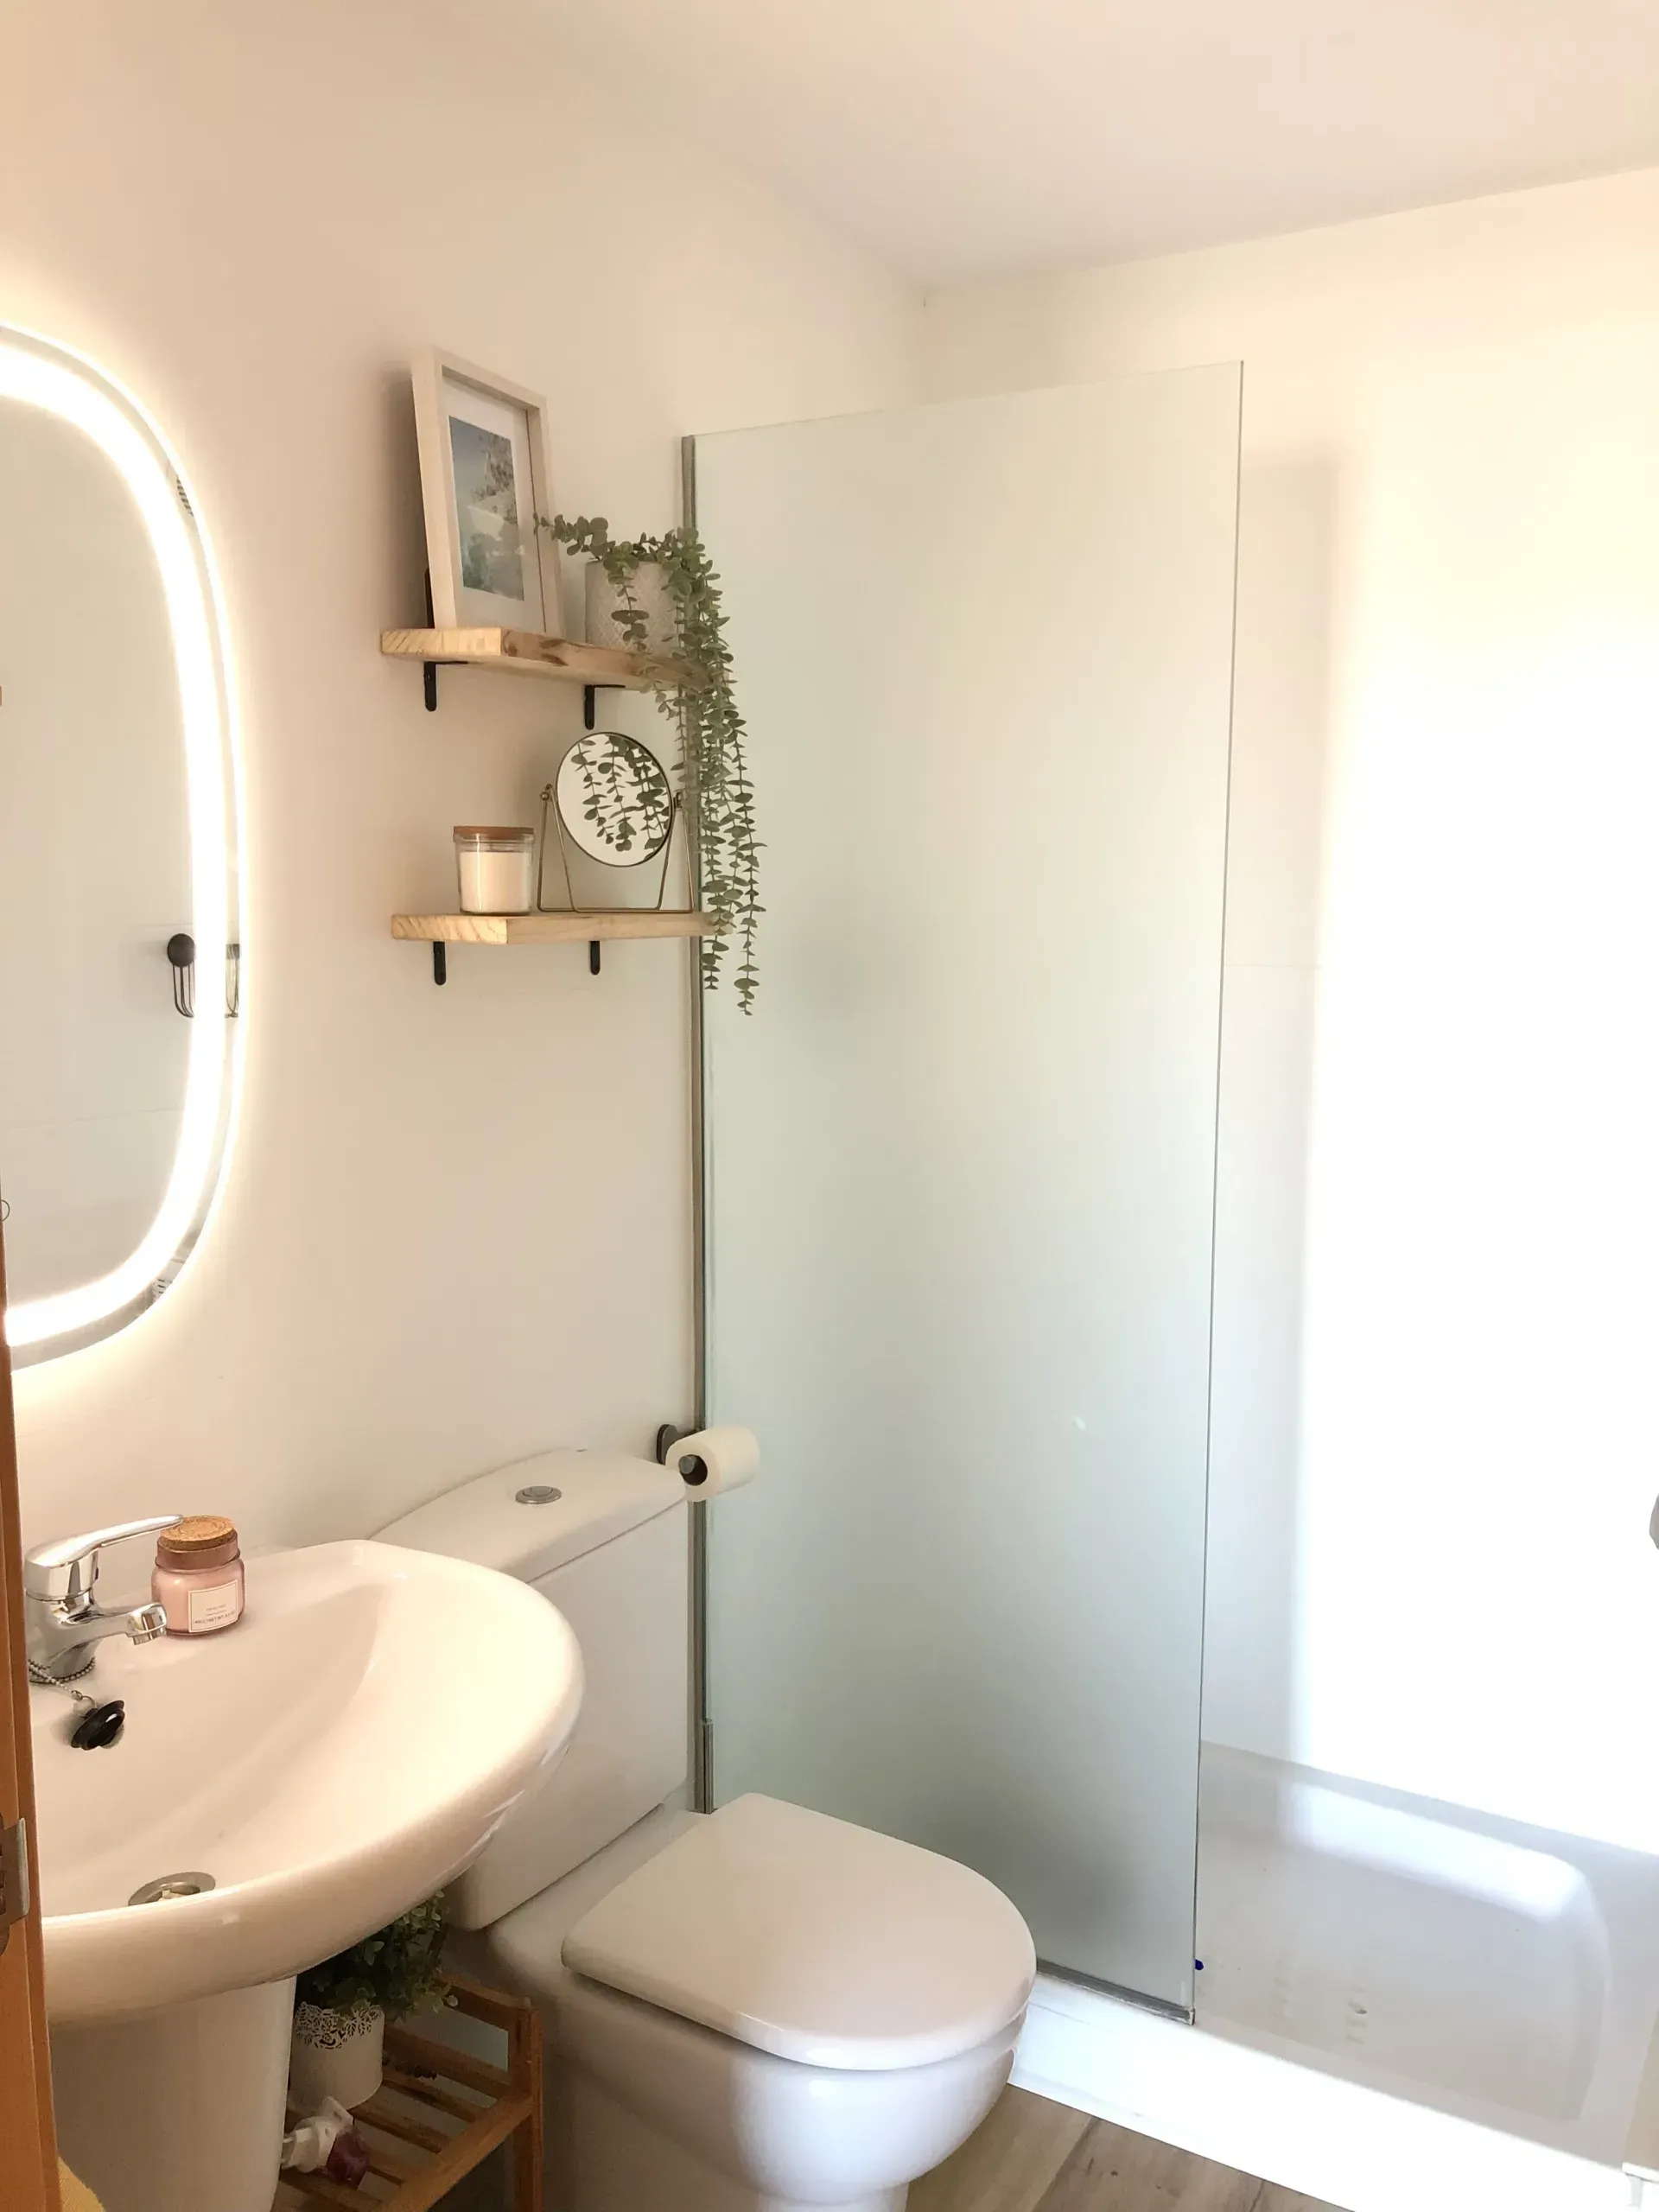
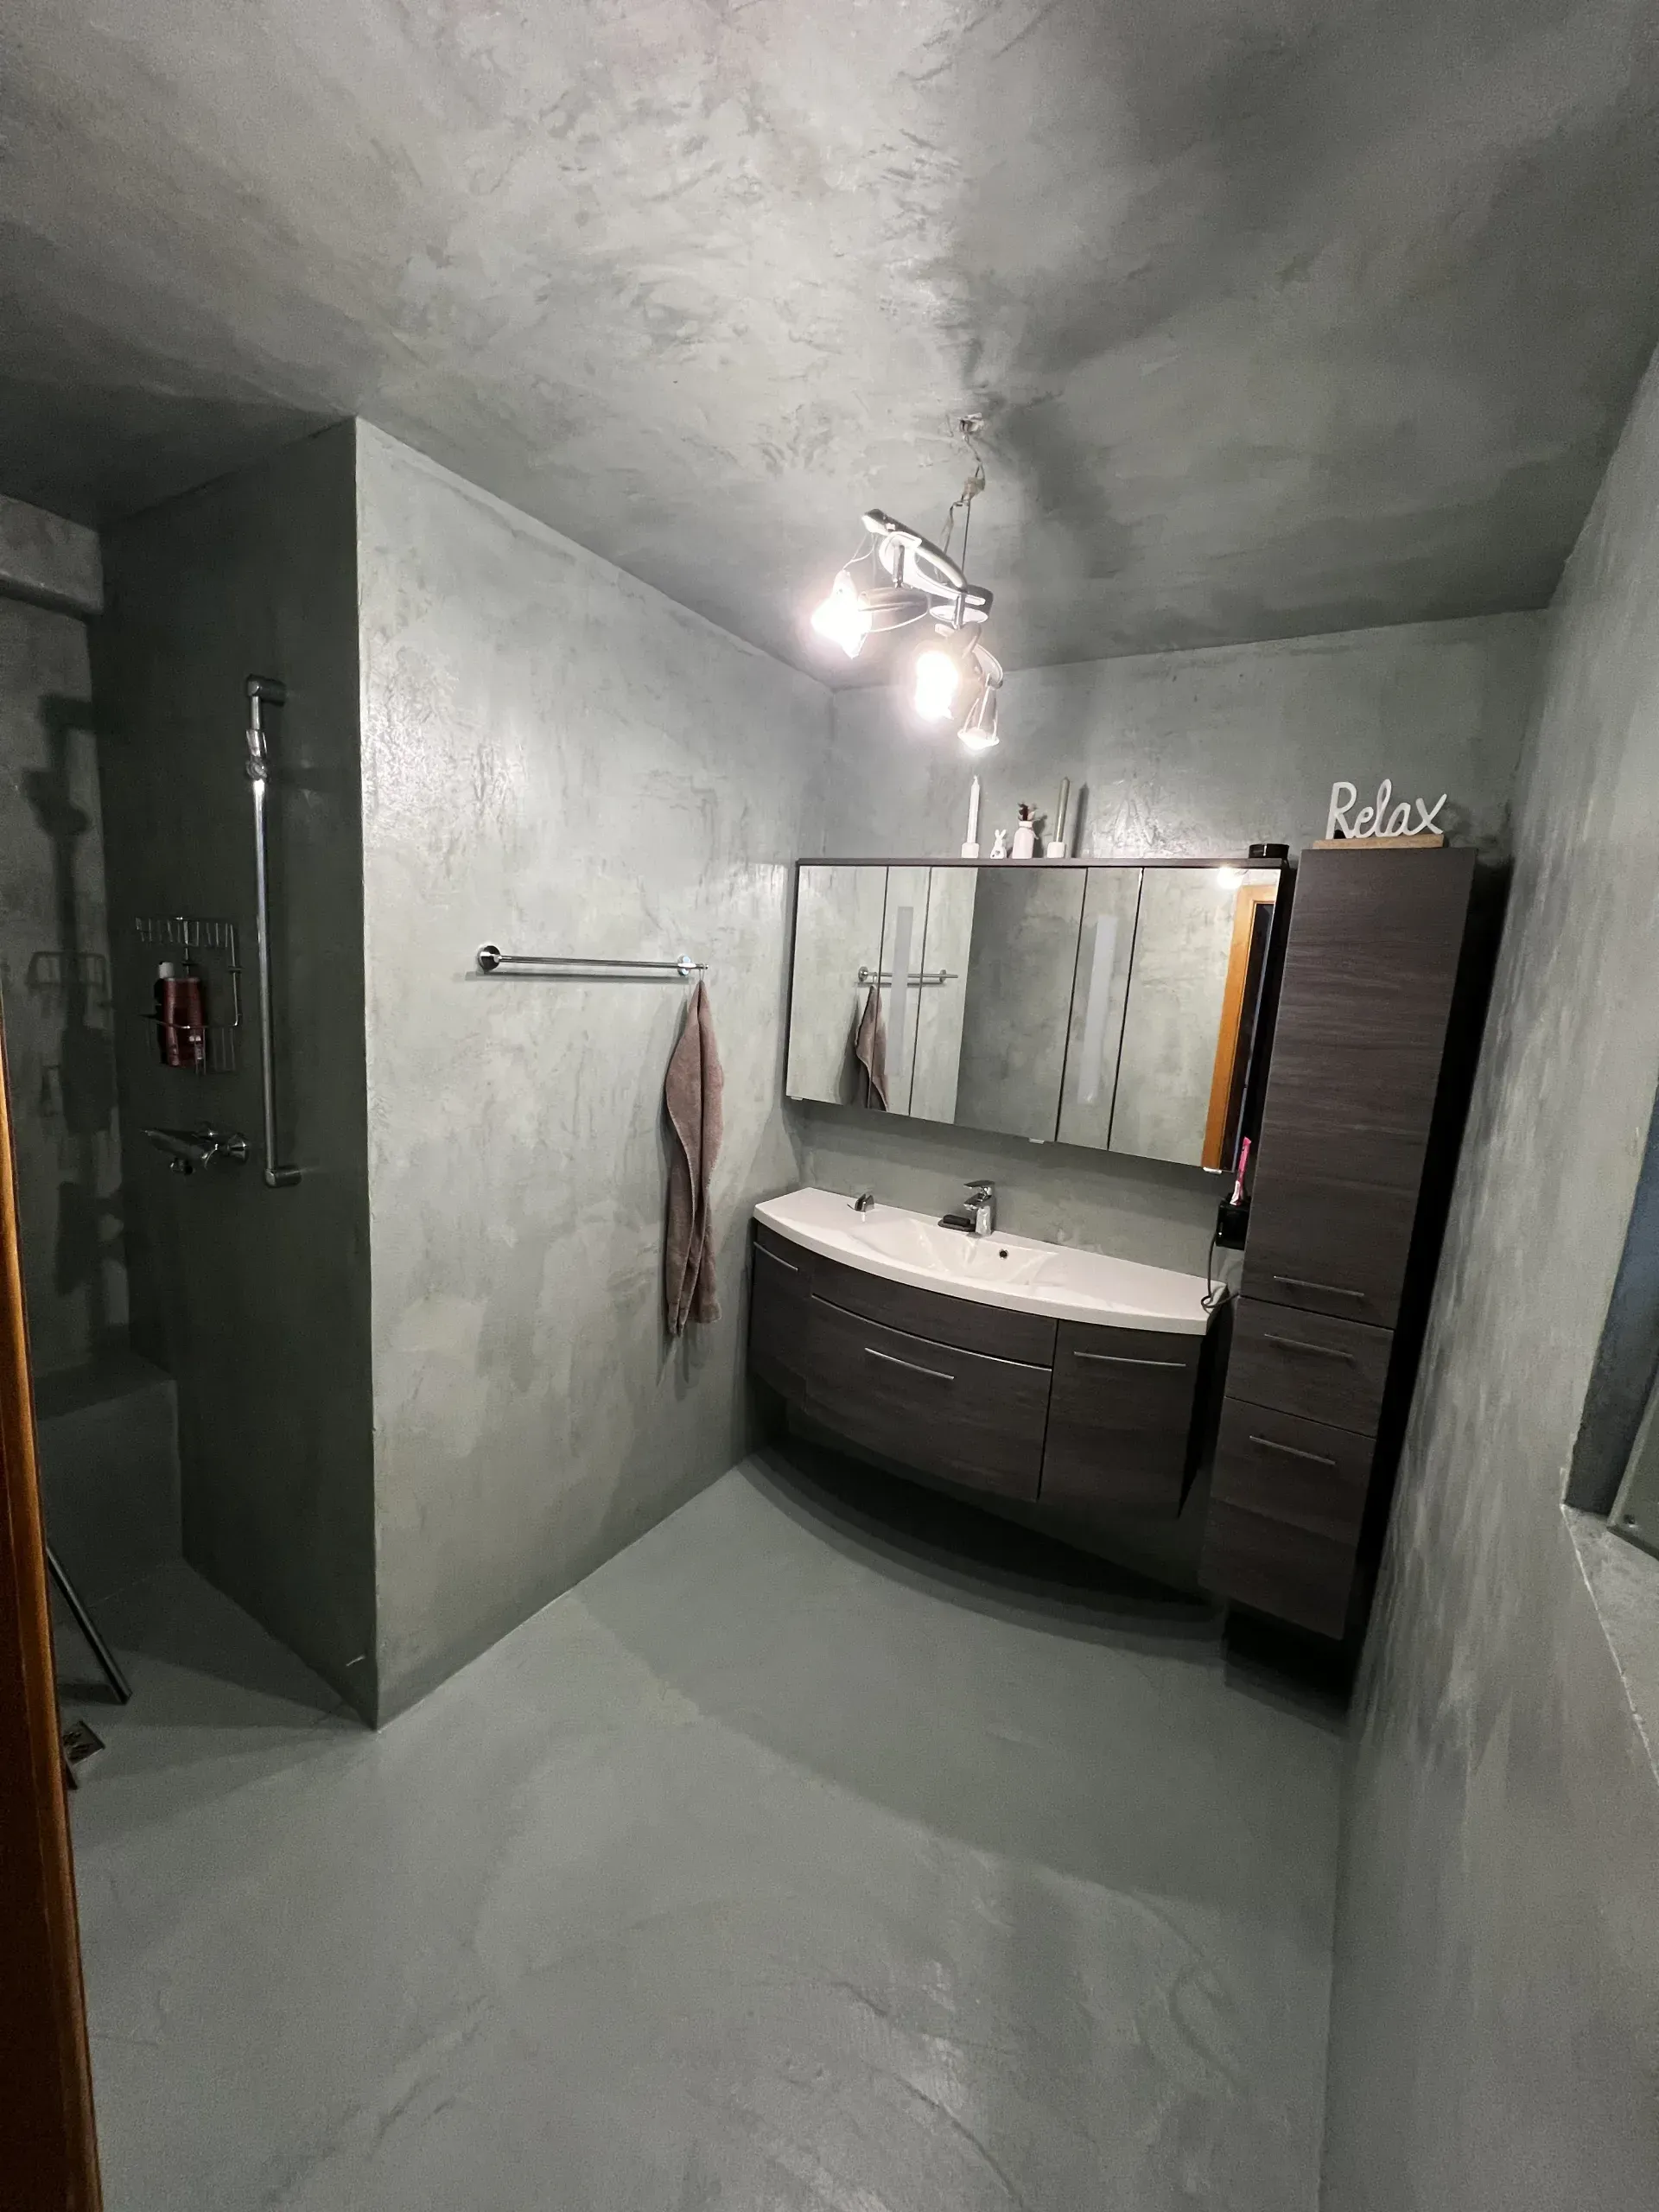
Warning Danger
Causes serious eye damage. Causes skin irritation. May cause respiratory irritation. May cause an allergic skin reaction. The information on the product label must always be followed.

Related Products
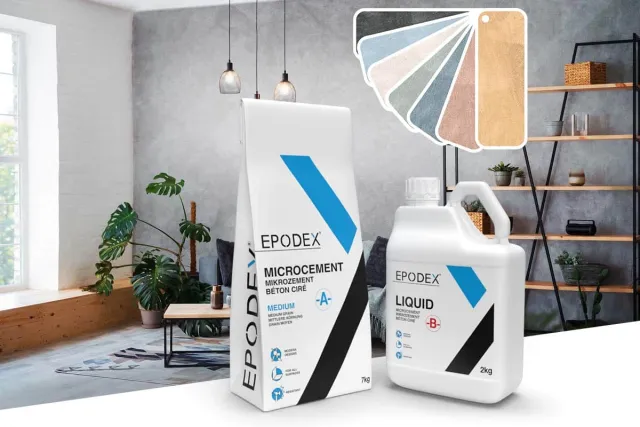
Complete set including everything you need to achieve a medium textured finish on walls indoors and outdoors.
 4.9
4.9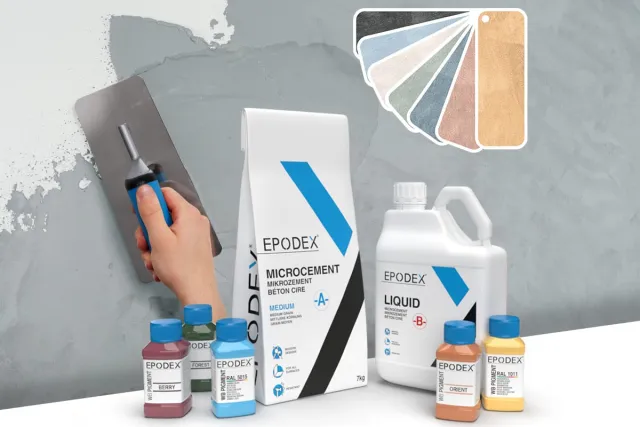
Bicomponent microcement in medium texture finished and up to 10 custom colours of your choice!
4.9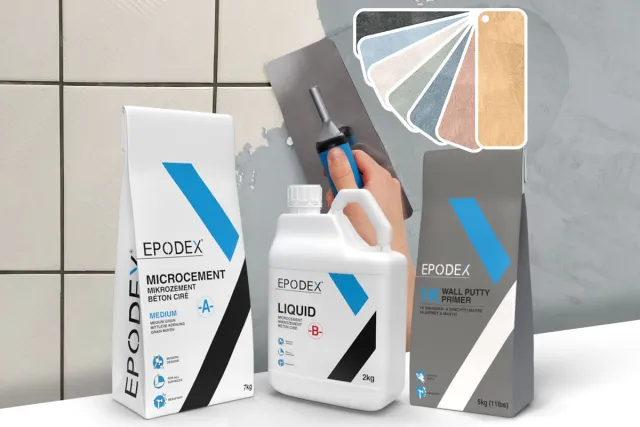
Complete Set including everything you need to apply microcement directly on tiles.
4.9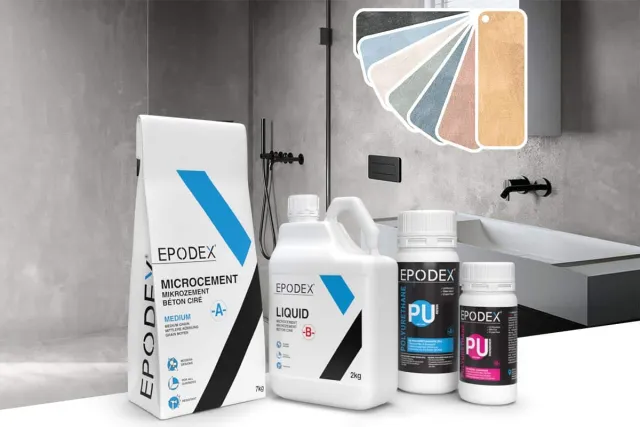
Complete set including everything you need to apply and waterproof microcement indoors and outdoors.
4.9